
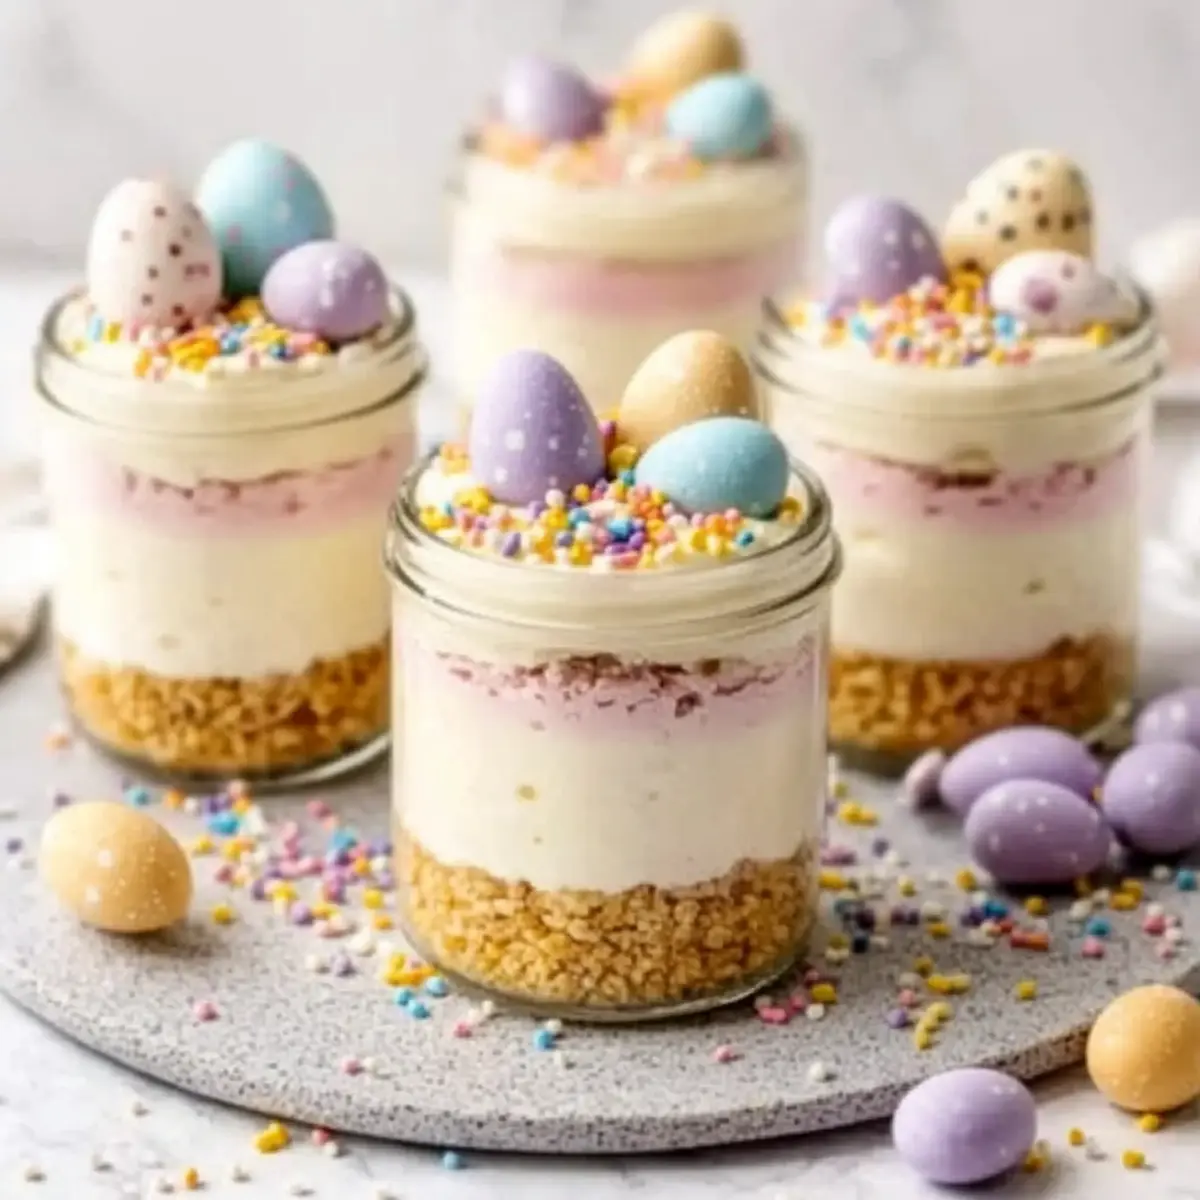
As I was setting the table for our upcoming Easter brunch, a little sparkle of creativity hit me—what if I could transform a classic dessert into a whimsical treat? Enter the Mini Easter Cheesecake Jars! These delightful no-bake desserts not only capture the essence of spring but also offer a fun, kid-friendly twist that will have everyone reaching for seconds. With their buttery cookie crust and fluffy cheesecake filling topped with festive candies, they’re perfectly portioned for easy serving. Plus, they can be made ahead of time, giving you more moments to enjoy with loved ones. Ready to add a splash of color and sweetness to your celebration? Let’s dive into this simple yet stunning recipe for Mini Easter Cheesecake Jars!
Why Will You Adore This Dessert?
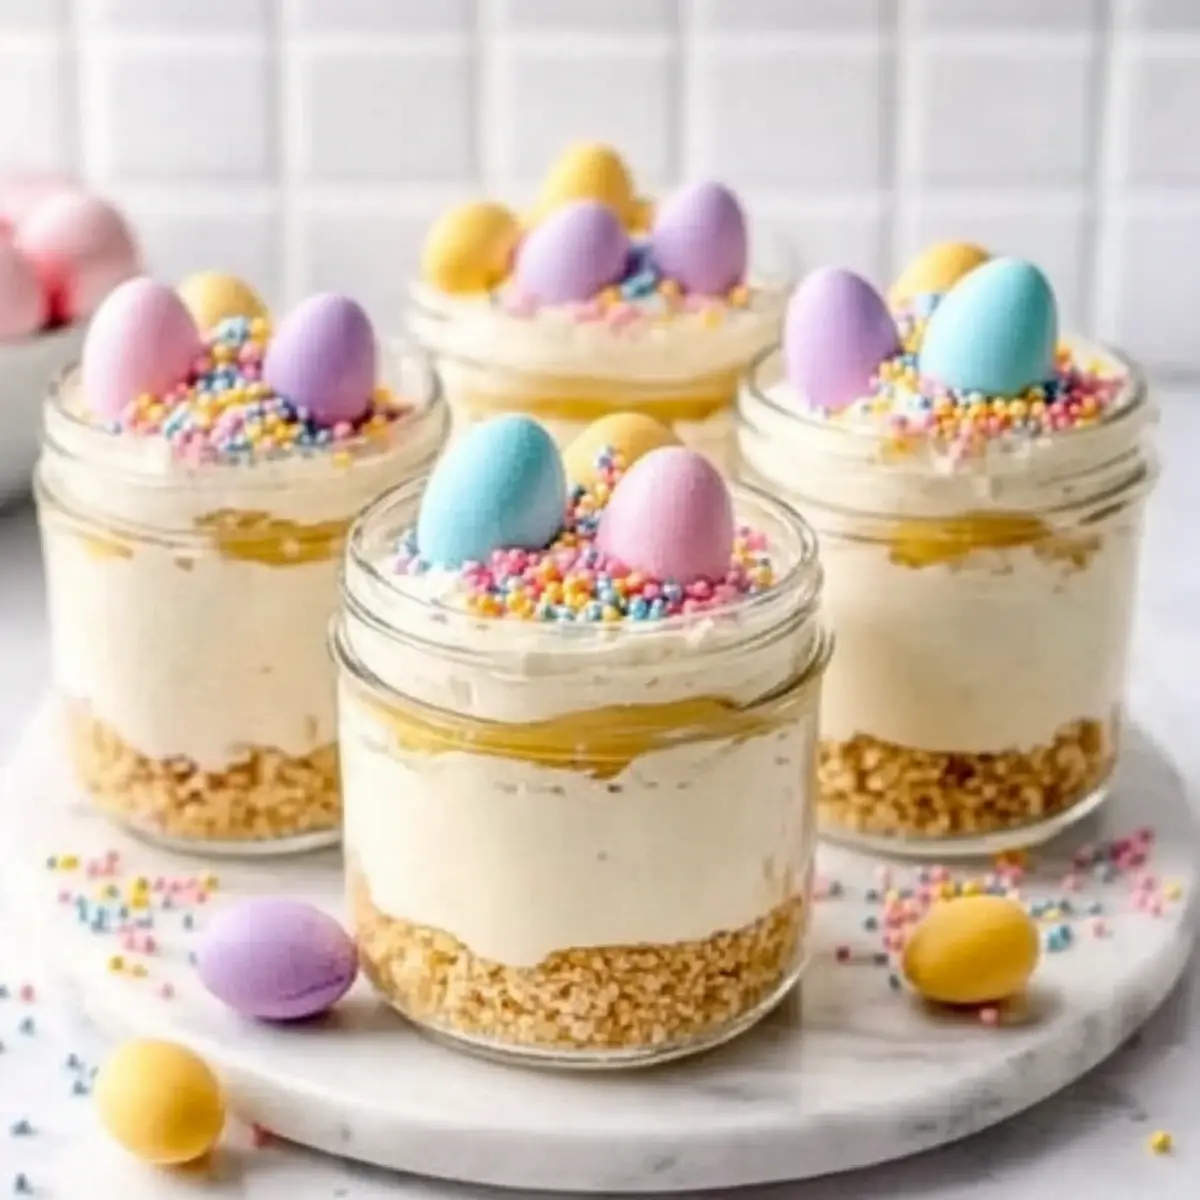
Colorful, Eye-Catching Presentation: These Mini Easter Cheesecake Jars are as delightful to look at as they are to eat, featuring vibrant layers of color and festive toppings that instantly brighten any spring table.
Kid-Friendly Fun: Little hands can easily participate in assembling these treats, making it a perfect family activity that brings joy to both kids and adults alike.
Versatile Variations: Whether you want a zingy lemon twist or a rich chocolate flavor, the customizable options let you tailor the cheesecake to your taste or dietary preferences, reminiscent of Meatloaf Stuffed Mini for your guests!
No-Bake Convenience: Save time and effort with this no-bake recipe that is easy to whip up, allowing you to focus on family and friends rather than fussing over the oven.
Make-Ahead Marvel: Prepare these delightful jars in advance to take the stress out of your gathering. Chill them overnight and serve them straight from the fridge, just in time for a lovely spring brunch or potluck.
Mini Easter Cheesecake Jars Ingredients
For the Crust
• Graham Cracker Crumbs – The base structure for the crust; can substitute with digestive biscuits for a similar texture.
• Unsalted Butter (melted) – Binds the crust ingredients together; use coconut oil for a dairy-free option.
• Sugar – Sweetens the crust; brown sugar can be used for a richer flavor.
• Pinch of Salt – Enhances sweetness in the crust and is necessary for balance.
For the Cheesecake Filling
• Cream Cheese (softened) – The main component of the cheesecake filling, providing creaminess; ensure it is softened but not melted for best results.
• Powdered Sugar – Sweetens the filling and adds smoothness; can reduce to taste without compromising structure.
• Vanilla Extract – Adds depth to the flavor; substitute with almond extract for an alternative profile.
• Lemon Juice – Brightens flavor in the filling; fresh lemon juice is recommended for the best taste.
• Cold Heavy Whipping Cream – Creates volume and lightness in the filling; substitute with whipped topping for convenience.
For Decoration
• Gel Food Coloring (optional) – Provides pastel shades for decoration; use as desired for color vibrancy.
• Mini Chocolate Eggs or Jelly Beans – Toppings for decoration; swap with seasonal candies to customize.
• Pastel Sprinkles – Adds festive flair to the topping; optional but recommended for presentation.
• Shredded Coconut (optional) – Creates a “grass” effect; can be dyed green for decoration.
Step‑by‑Step Instructions for Mini Easter Cheesecake Jars
Step 1: Prepare the Crust
In a mixing bowl, combine graham cracker crumbs, sugar, and a pinch of salt. Pour melted unsalted butter over the mixture and stir until it resembles wet sand. This buttery blend will create a delicious base for your Mini Easter Cheesecake Jars. Make sure all the crumbs are evenly coated, ensuring a firm crust once chilled.
Step 2: Pack the Crust
Distribute 2 to 3 tablespoons of the crumb mixture into each jar, pressing down firmly with the back of a spoon or your fingers. Ensure the crust is evenly packed at the bottom of each jar to provide a stable foundation for your cheesecake filling. This step is crucial for creating the right texture when you scoop into the finished dessert.
Step 3: Whip the Cream
In a separate, cold mixing bowl, pour in the heavy whipping cream. Using an electric mixer, whip the cream on medium-high speed until medium-stiff peaks form, which should take about 3-5 minutes. This aerated cream will add lightness and volume to the filling of your Mini Easter Cheesecake Jars, setting it apart with a delightful texture.
Step 4: Mix Filling
In another bowl, beat the softened cream cheese, powdered sugar, vanilla extract, and fresh lemon juice using an electric mixer on medium speed for 1-2 minutes until the mixture is smooth and fluffy. This luscious cheesecake filling is the heart of your dessert, so achieve a velvety consistency for the best results.
Step 5: Combine
Gently fold the whipped cream into the cream cheese mixture in two additions. Use a spatula to lift and fold the mixture together until you see no streaks, taking care not to deflate the whipped cream. This light folding technique will maintain the airy texture needed for your Mini Easter Cheesecake Jars.
Step 6: Add Color (Optional)
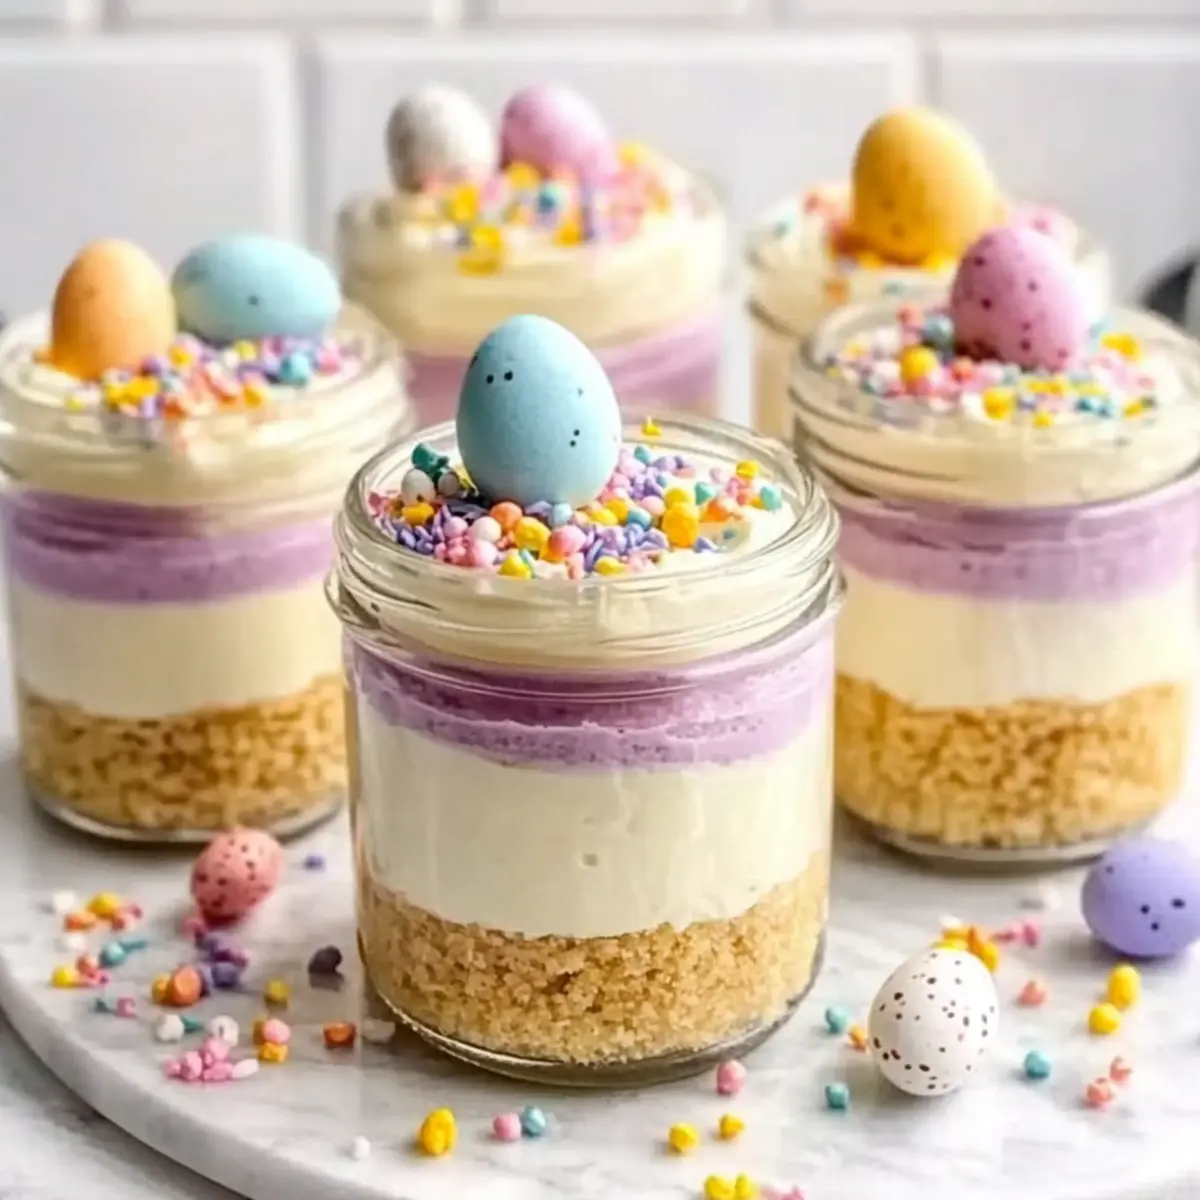
If you’d like to add some festive flair, divide the cheesecake filling into separate bowls and tint each with gel food coloring. Start with a small amount, mixing until you achieve your desired pastel shades. This step not only enhances the appearance but also adds a hint of fun to your Mini Easter Cheesecake Jars.
Step 7: Assemble Jars
Using a piping bag or spoon, carefully fill each jar with the cheesecake mixture over the crust, leaving a bit of space at the top for toppings. Aim for a smooth, even layer, and try to distribute the colors if you’ve used different shades in your filling. This creates an eye-catching treat that beckons to be enjoyed!
Step 8: Chill
Once all the jars are filled, cover them with lids or plastic wrap and refrigerate for at least 2 hours, or up to 24 hours. Chilling allows the filling to set properly and ensures your Mini Easter Cheesecake Jars reach the perfect consistency before serving, enhancing the overall flavor and texture.
Step 9: Decorate
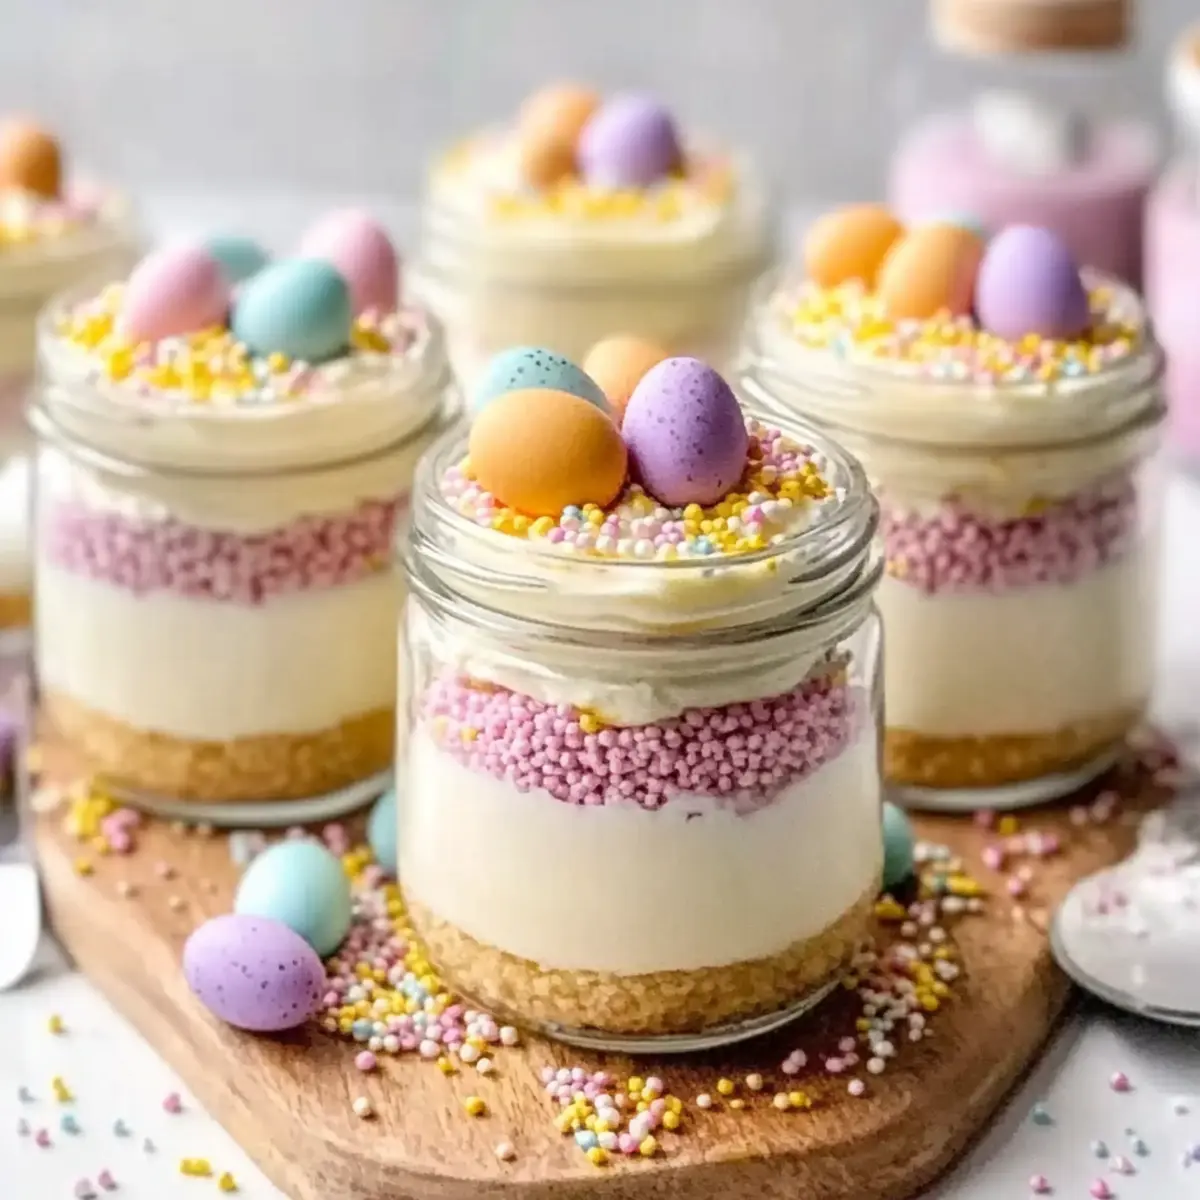
Right before serving, it’s time to get creative! Top your Mini Easter Cheesecake Jars with shredded coconut for a “grass” effect, colorful sprinkles, and mini chocolate eggs or jelly beans. This final touch will make your jars festive and delightful, perfect for any Easter celebration.
Step 10: Serve
Your Mini Easter Cheesecake Jars are now ready to be enjoyed! Serve them chilled with small spoons, allowing your guests to savor each delightful, layered bite. The combination of creamy filling, buttery crust, and vibrant toppings makes for a delicious end to any meal or gathering.
Make Ahead Options
These Mini Easter Cheesecake Jars are a fantastic choice for meal prep, saving you time and hassle during holiday gatherings! You can prepare the crust and cheesecake filling up to 24 hours in advance, allowing the flavors to meld beautifully. Simply prepare the crust and pack it into the jars, then whip up the cheesecake filling and distribute it on top. Cover and refrigerate until you’re ready to serve. This way, you preserve the creamy texture and delightful taste. Just before serving, add your colorful toppings like shredded coconut and mini chocolate eggs to maintain their freshness and visual appeal. Get organized and enjoy a stress-free celebration with these charming desserts!
Mini Easter Cheesecake Jars Variations
Feel free to get creative with these Mini Easter Cheesecake Jars and make them your own! Each suggestion adds a delightful twist to the classic recipe.
-
Flavor Swap: Use lemon extract instead of vanilla for a refreshing citrus burst that enhances the overall flavor profile. Imagine the bright contrast that adds to this delightful dessert!
-
Chocolate Version: Substitute chocolate cookie crumbs for the crust and incorporate cocoa powder into the filling for a rich, chocolatey experience. This version will satisfy any chocolate lover’s cravings.
-
Berry Layer: Incorporate a layer of homemade strawberry compote between the crust and filling. The juicy sweetness will surprise and delight your taste buds; it’s like spring in a spoon!
-
Pistachio Twist: Add pistachio paste to the filling and use chopped nuts for topping. This unusual flavor brings a nutty earthiness that beautifully complements the sweetness of the cheesecake.
-
Almond Coconut Nest: Mix shredded coconut with almond extract for the topping instead of dyed coconut. This will not only amplify the texture but also give your jars a cozy, nutty flavor.
-
Gluten-Free Option: Swap graham cracker crumbs with almond flour or gluten-free cookie crumbs to accommodate those with dietary restrictions. Everyone can enjoy a taste of spring with lovely alternatives!
-
Dairy-Free Delight: Replace cream cheese and heavy cream with cashew cream and coconut cream for a decadent vegan version. This twist will keep all the creamy goodness while catering to plant-based diets!
-
Spiced Pumpkin Layer: For a seasonal twist, add a layer of spiced pumpkin puree in the fall months. This warm, comforting flavor will make your jars perfect for autumn celebrations.
Each of these variations can help you craft the perfect dessert, just like Meatloaf Stuffed Mini that brings joy to your table! Don’t hesitate to experiment and share your favorite twists.
Expert Tips for Mini Easter Cheesecake Jars
-
Cream Cheese Consistency: Ensure the cream cheese is just softened, not melted, to avoid a runny filling that won’t hold its shape in your Mini Easter Cheesecake Jars.
-
Perfect Whipping Technique: Whip the heavy cream to medium-stiff peaks—soft peaks won’t provide the needed structure, leaving your filling less fluffy.
-
Gentle Folding: Remember to fold the whipped cream into the cheesecake mixture gently. This prevents deflation, helping maintain that airy texture crucial for a light filling.
-
Add Toppings Just Before Serving: To keep the toppings fresh and vibrant, add them right before serving. This ensures a visually appealing presentation and prevents color bleeding.
-
Customization Options: Don’t hesitate to experiment with flavors! From berry layers to chocolate filling, the Mini Easter Cheesecake Jars can easily adapt to your favorite tastes.
Storage Tips for Mini Easter Cheesecake Jars
-
Refrigerator: Store covered in the fridge for up to 3 days. Make sure they’re in an airtight container to maintain their freshness and texture.
-
Freezer: These Mini Easter Cheesecake Jars can be frozen without toppings for up to 1 month. Thaw them in the fridge overnight before serving to keep the creaminess intact.
-
Serving Suggestions: When you’re ready to serve, add fresh toppings like sprinkles and mini chocolate eggs right before enjoyment to keep them vibrant and appealing.
-
Shelf Life: To ensure the best taste and texture, consume them within the recommended timeframes for optimal enjoyment during your festive gatherings.
What to Serve with Mini Easter Cheesecake Jars
Indulging in these sweet, creamy treats is just the beginning; let’s elevate your Easter brunch with delightful pairings.
-
Fresh Berries: Their natural sweetness and slight tartness provide a refreshing contrast to the rich cheesecake. A vibrant mix of strawberries, blueberries, and raspberries can add a pop of color to your table.
-
Whipped Cream: Light and fluffy, a generous dollop on top enhances the creaminess of the jars. This classic pairing adds an extra layer of indulgence, making every bite feel luxurious.
-
Coffee or Tea: Both beverages complement the sweetness beautifully, with the warmth of a freshly brewed cup adding a comforting note to your dessert experience. Choose a light roast or herbal tea to balance the richness.
-
Mini Fruit Tarts: Their crisp crust and fresh fruit fillings harmonize wonderfully with the cheesecakes, creating a delightful dessert tableau. Offering variety allows guests to explore different textures and flavors!
-
Chocolate-Dipped Strawberries: Combining chocolate and fruit never goes wrong. The dark chocolate’s bitterness complements the cheesecake’s sweetness and brings a gourmet touch to your dessert spread.
-
Easter-themed Sugar Cookies: Fun and festive, these can enhance your celebration’s aesthetic, creating a delightful theme that kids and adults will love. Decorate them to match the colors of the cheesecake jars for a cohesive look.
-
Spring Salad: A refreshing mix of greens with citrus and nuts can cleanse the palate and balance the dessert’s richness, making the meal feel light and vibrant.
-
Sparkling Lemonade: This bubbly, zesty drink is a charming choice to pair with your Mini Easter Cheesecake Jars, uplifting your gathering with a burst of freshness.
-
Coconut Macaroons: These chewy, coconut treats resonate with the shredded coconut “grass” on the cheesecakes, reinforcing the Easter theme while adding contrast in texture.
-
Lemon Sorbet: Refreshingly tangy, this frozen dessert can act as a palate cleanser between bites, enhancing the flavors of both the cheesecake and your Spring gathering.
Mini Easter Cheesecake Jars Recipe FAQs
How do I choose the best ingredients for my Mini Easter Cheesecake Jars?
Absolutely! When selecting your ingredients, opt for fresh cream cheese that’s softened to room temperature, ensuring smooth integration into the filling. For lemon juice, squeeze fresh lemons for an irresistible zing—bottled juice can dull flavors. Select graham cracker crumbs without any added sugar if possible for better control over sweetness.
What’s the best storage method for Mini Easter Cheesecake Jars?
To keep your Mini Easter Cheesecake Jars fresh, store them covered in an airtight container in the refrigerator for up to 3 days. This prevents them from absorbing any unwanted odors and keeps the crust crisp. Always chill them before serving to enjoy their creamy texture at its finest!
Can Mini Easter Cheesecake Jars be frozen?
Very! You can freeze these jars without toppings for up to 1 month. Simply cover them tightly with plastic wrap or transfer to a freezer-safe container. When you’re ready to serve, thaw them in the refrigerator overnight. This maintains the filling’s creamy consistency, ensuring a delightful treat when you’re ready to indulge!
Are there any common troubleshooting tips for making Mini Easter Cheesecake Jars?
Of course! If your filling ends up too runny, it’s likely the cream cheese was too warm. Always make sure it’s softened but not melted. Additionally, if the whipped cream doesn’t hold stiff peaks while mixing, try chilling your mixing bowl and beaters for a few minutes before whipping for better results.
Can I customize the Mini Easter Cheesecake Jars for dietary preferences?
Yes, indeed! For a gluten-free version, use gluten-free graham cracker alternatives. If you have dairy allergies, substitute the cream cheese with a non-dairy cream cheese and use coconut cream in place of heavy whipping cream. Lastly, feel free to swap out sugars for alternatives like agave or maple syrup, adjusting quantities to suit your taste!
Mini Easter Cheesecake Jars That Bring Spring to Your Table
Ingredients
Equipment
Method
- In a mixing bowl, combine graham cracker crumbs, sugar, and a pinch of salt. Pour melted unsalted butter over the mixture and stir until it resembles wet sand.
- Distribute 2 to 3 tablespoons of the crumb mixture into each jar, pressing down firmly.
- In a separate bowl, whip the heavy whipping cream until medium-stiff peaks form.
- Beat the softened cream cheese, powdered sugar, vanilla extract, and lemon juice until smooth and fluffy.
- Gently fold the whipped cream into the cream cheese mixture in two additions.
- Divide the cheesecake filling into bowls and tint each with gel food coloring, if desired.
- Fill each jar with the cheesecake mixture over the crust, leaving space for toppings.
- Cover the jars and refrigerate for at least 2 hours before serving.
- Top with shredded coconut, sprinkles, and mini chocolate eggs or jelly beans just before serving.
- Serve chilled with small spoons and enjoy!
Leave a Reply