
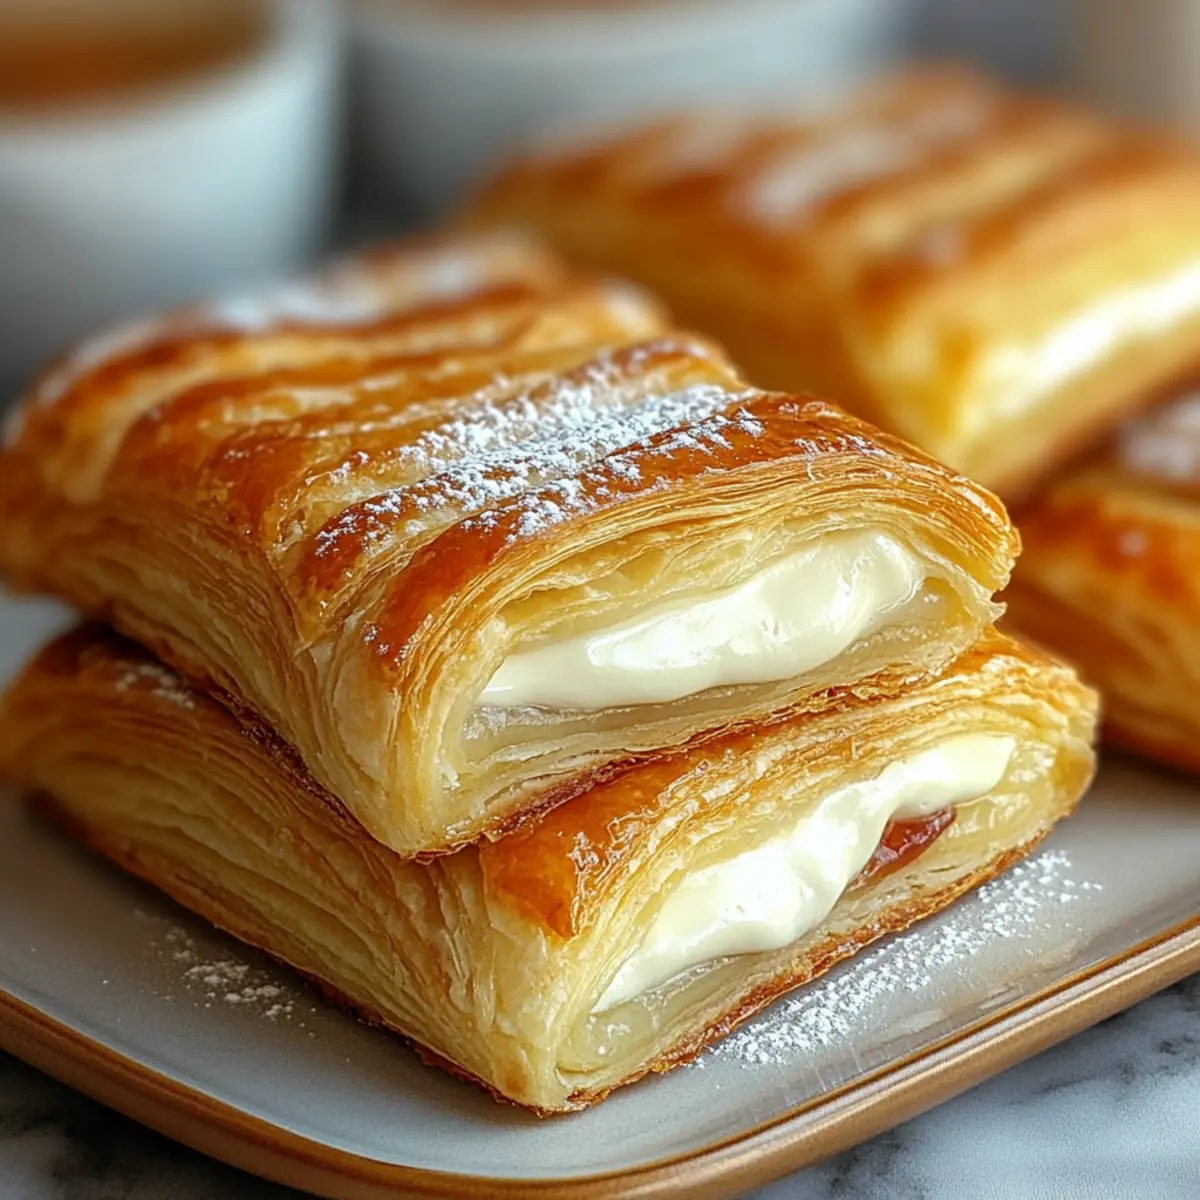
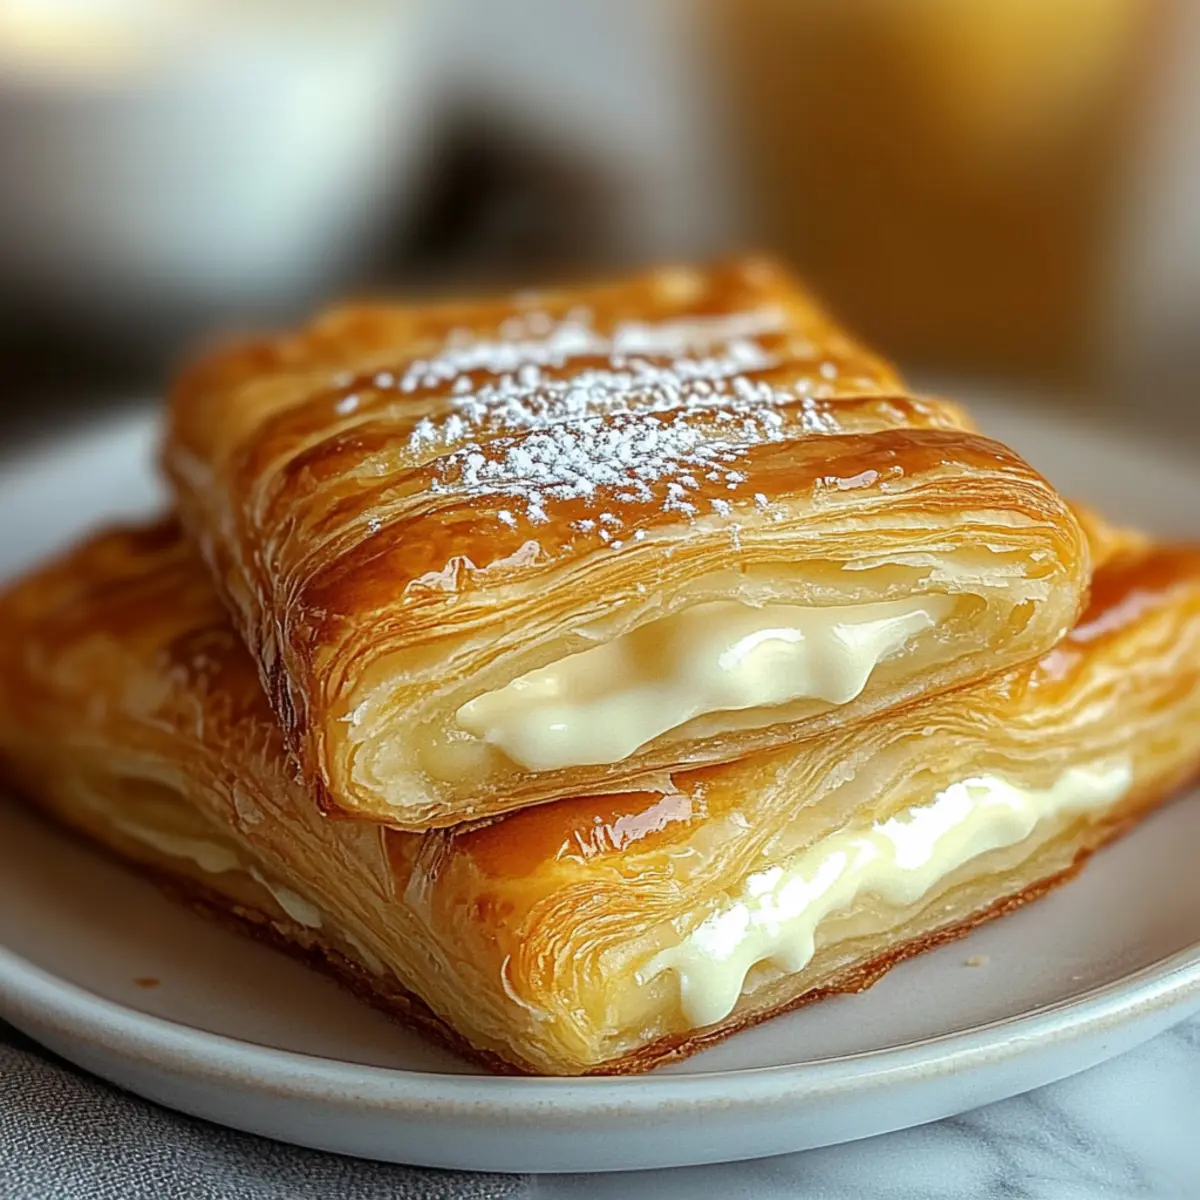
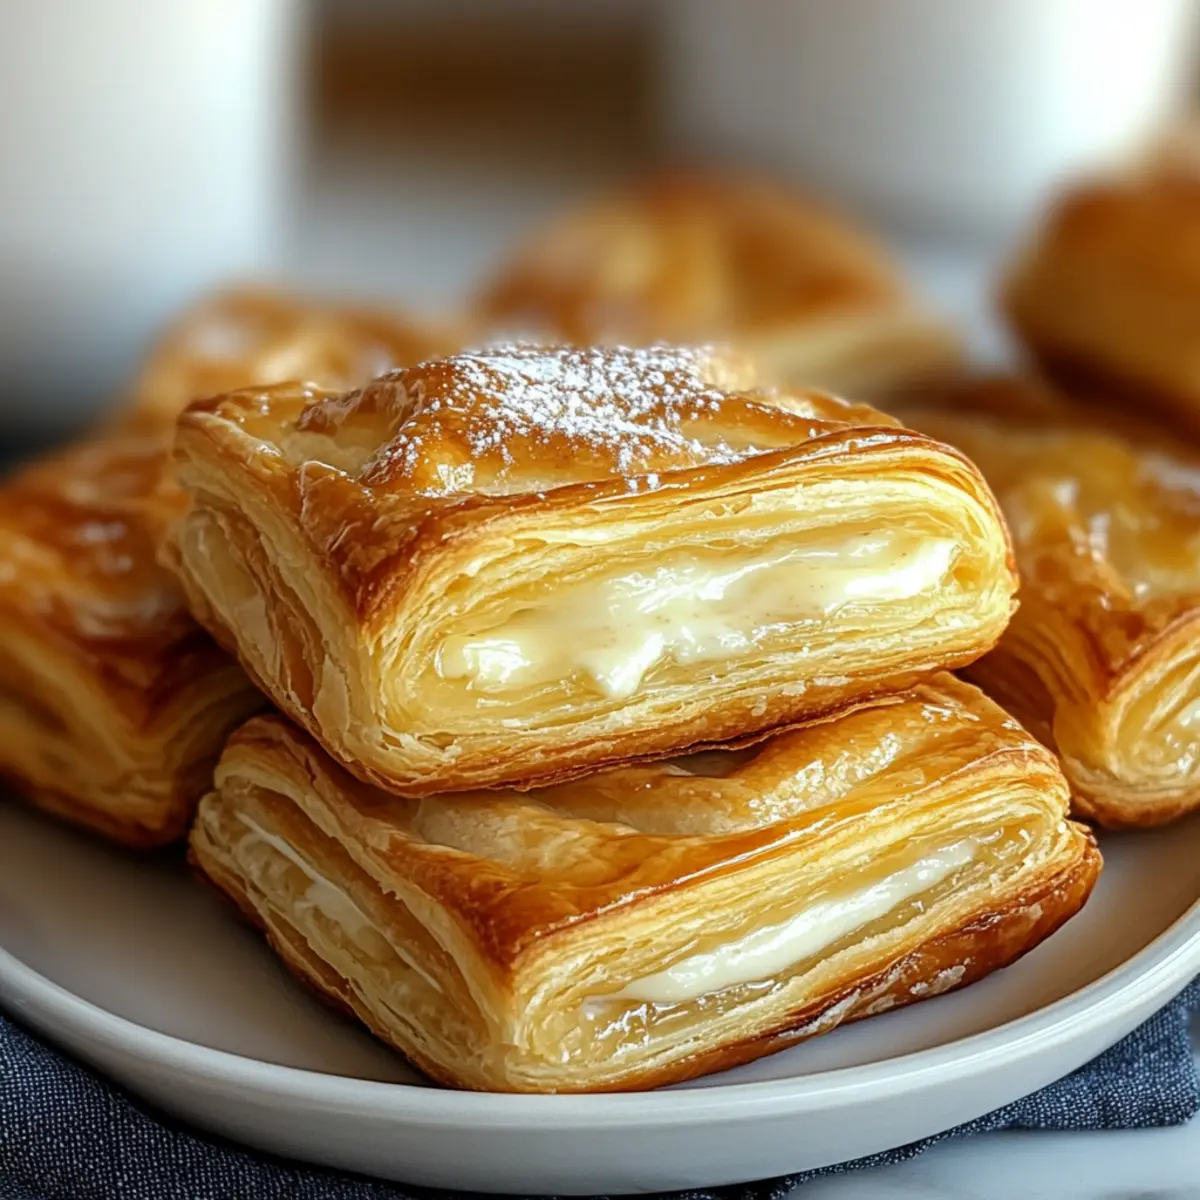
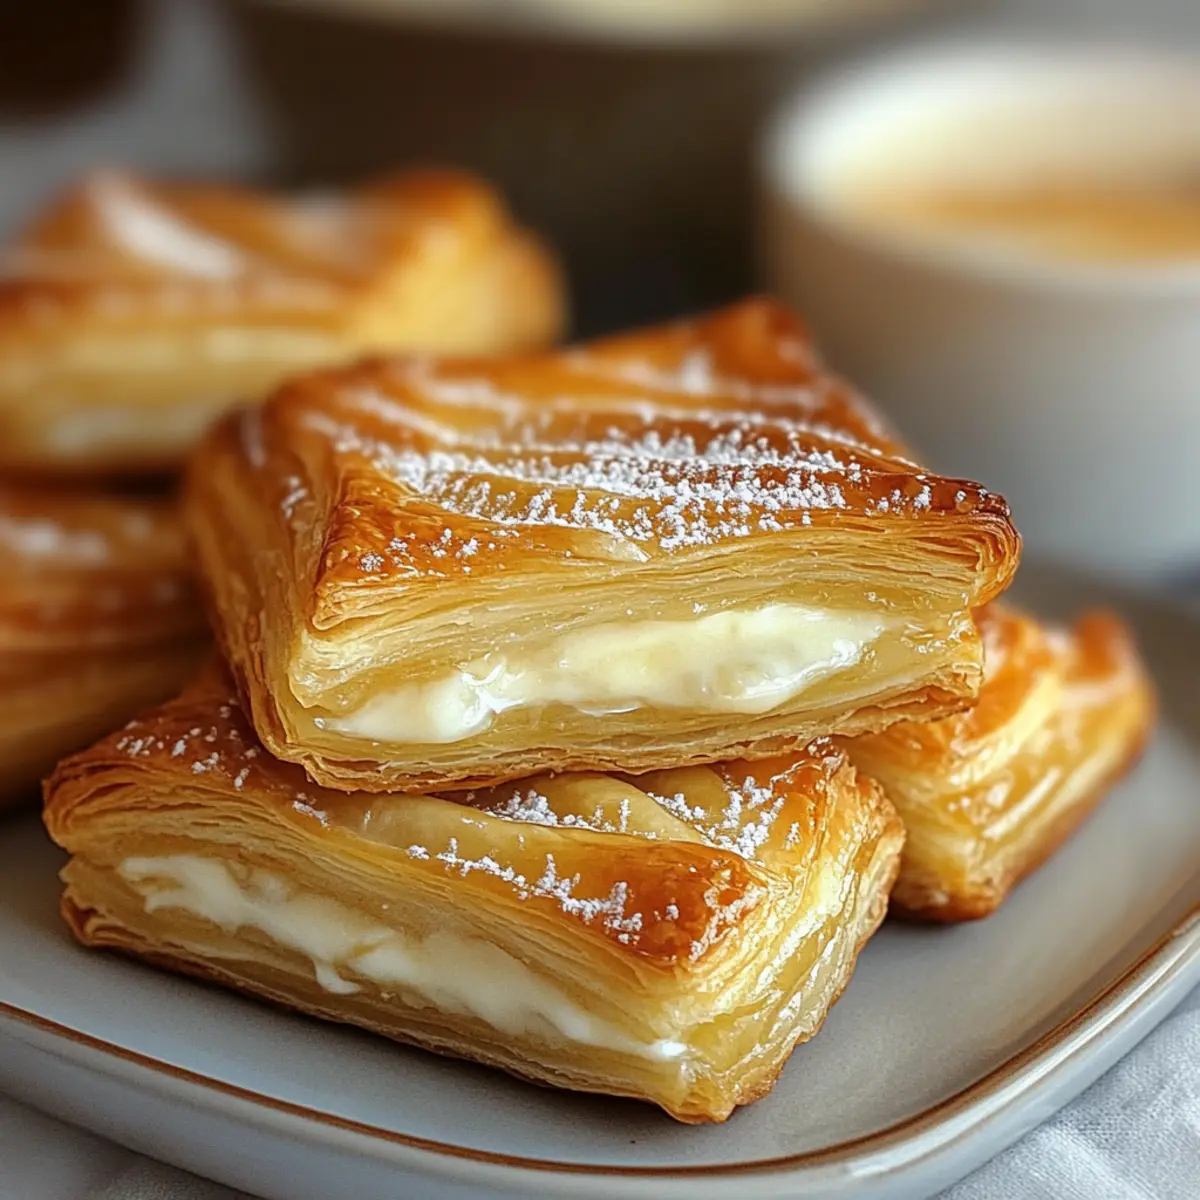
The sweet aroma of freshly baked pastries wafting through the kitchen is nothing short of enchanting. With just 30 minutes to spare, I’m about to transform frozen puff pastry into delightful Easy Mini Cheese Danishes that rival those from a fancy bakery. These treats offer a quick and easy way to impress friends and family, whether it’s a brunch gathering or a cozy coffee break at home. Each flaky and buttery pastry is filled with a rich cream cheese mixture that’s lightly sweetened and absolutely customizable. Feeling adventurous? You can even add a dollop of your favorite fruit preserves for a fruity twist. Are you ready to bring a touch of pastry magic into your kitchen? Let’s dive into this delightful recipe!
Why are Mini Cheese Danishes a must?
Quick and Easy: This recipe takes less than 30 minutes, giving you a scrumptious treat without the long wait.
Bakery-Style Delight: With a buttery, flaky pastry and creamy filling, you’ll enjoy the luxurious taste of a high-end pastry right at home.
Customizable Goodness: Add fruit preserves or change the filling to ricotta for a unique spin—your creativity knows no bounds!
Impressive Presentation: Perfect for brunch gatherings or fancy coffee breaks, these danishes will surely wow your guests. You could even serve them alongside a delicious Grilled Cheese Burrito for a creative brunch platter!
Minimal Ingredients: Using frozen puff pastry makes this recipe accessible, keeping the ingredients simple yet satisfying.
Get ready to elevate your baking game!
Mini Cheese Danish Ingredients
For the Pastry
- Frozen Puff Pastry – This flaky pastry forms the delightful base; ensure it’s fully thawed for best results.
- Egg (for Egg Wash) – Brush on the pastry for a beautiful, golden finish after baking.
For the Cream Cheese Filling
- Cream Cheese – Rich and creamy, it’s the heart of this filling; opt for full-fat to achieve the best texture.
- Granulated Sugar – This sweetens the filling perfectly; powdered sugar can also be used if you prefer a smoother consistency.
- Egg Yolk – Ensures a rich filling and helps bind everything together; no substitute recommended.
- Vanilla Extract – Enhances the flavor, but feel free to use almond extract for a delightful alternative.
- All-Purpose Flour (optional) – Helps stabilize the filling, though you can skip it for a softer texture.
For Added Flavor
- Fruit Preserves or Jam (optional) – Add a sweet fruity layer to the top of the cream cheese; raspberry, apricot, or strawberry are excellent choices.
- Powdered Sugar Glaze (optional) – Mix powdered sugar and milk for a drizzle that brings extra sweetness and charm to your Mini Cheese Danish.
These simple yet delightful Mini Cheese Danish ingredients make it a breeze to whip up a batch of these gorgeous pastries in no time!
Step‑by‑Step Instructions for Mini Cheese Danish
Step 1: Preheat the Oven
Begin by preheating your oven to 400°F (200°C). While the oven warms up, prepare a baking sheet by lining it with parchment paper. This will prevent the pastries from sticking and ensure even cooking. It’s essential to preheat properly so your Mini Cheese Danishes bake to perfection, coming out beautifully golden and flaky.
Step 2: Prepare the Puff Pastry
Unfold the thawed puff pastry on a lightly floured surface, ensuring it remains cool to the touch for easy handling. Cut the pastry into 12 equal squares, each about 3 inches wide. You should see layers forming as you cut—the perfect base for your delicious Mini Cheese Danishes. Place these squares on your prepared baking sheet, giving them a little space between each piece.
Step 3: Make the Cream Cheese Filling
In a mixing bowl, combine the cream cheese, granulated sugar, egg yolk, and vanilla extract. Beat the mixture with a hand mixer or a whisk until it’s smooth and creamy, about 2-3 minutes. If using, add the optional flour to help stabilize the filling. The mixture should be thick yet creamy enough to hold its shape when spooned onto the pastry squares.
Step 4: Fill the Pastry Squares
Spoon approximately 1 teaspoon of the cream cheese filling into the center of each pastry square. For an extra burst of flavor, you can add a dab of fruit preserves on top of the filling if desired. Be careful not to overfill; this step is crucial to prevent any spillage as your Mini Cheese Danishes bake, ensuring they remain tidy.
Step 5: Shape the Danish
Gently fold the corners of each occupied pastry square inward, creating a small pocket to showcase your filling, or leave them open for a traditional look. Once shaped, brush the edges lightly with the beaten egg for that shiny, golden finish. This glossy egg wash will help seal the pastry edges, ensuring they remain perfectly set during baking.
Step 6: Bake the Danishes
Place the baking sheet into the preheated oven and bake your Mini Cheese Danishes for 15-18 minutes, or until they puff up and turn a lovely golden brown. Keep an eye on them during the last few minutes to ensure they don’t overbake. The delightful aroma wafting through your kitchen will be an irresistible sign of their readiness!
Step 7: Cool and Glaze
Once baked, remove the Mini Cheese Danishes from the oven and allow them to cool briefly on the baking sheet. After a few minutes, transfer them to a wire rack to cool completely. If you chose to add a glaze, mix powdered sugar with a little milk to achieve the desired drizzling consistency, then drizzle it over the cooled pastries before serving.
How to Store and Freeze Mini Cheese Danish
Fridge: Store leftover Mini Cheese Danishes in an airtight container in the fridge for up to 3 days to maintain their freshness and flavor.
Freezer: To freeze, wrap each cooled Danish tightly in plastic wrap, then place them in a freezer-safe bag. They can be frozen for up to 2 months.
Reheating: When ready to enjoy, thaw overnight in the fridge, then reheat in a toaster oven at 350°F (175°C) for about 10 minutes to restore that fresh-baked texture.
Make-Ahead: Assemble the danishes and refrigerate them before baking. Bake them fresh when you’re ready—perfect for last-minute brunch plans!
Mini Cheese Danish Variations & Substitutions
Feel free to explore your culinary creativity with these delightful twists on the classic Mini Cheese Danish to make them uniquely yours!
- Fruit-Filled: Add blueberries or strawberries directly into the cream cheese for a burst of fruity goodness.
- Ricotta Twist: Swap the cream cheese for ricotta cheese for a lighter, creamy flavor that’s just as indulgent.
- Nutty Crunch: Top with chopped nuts or shredded coconut for an extra layer of texture and crunch that complements the filling beautifully.
- Chocolate Drizzle: After baking, drizzle melted chocolate over the danish for a decadent treat that chocolate lovers will adore!
- Lemon Zest: Incorporate lemon zest into the cream cheese mixture for a refreshing tang that brightens every bite.
- Almond Extract: Swap the vanilla extract for almond extract for a nutty flavor that adds a delightful twist.
- Savory Style: Use a savory filling of cream cheese mixed with herbs for a unique appetizer version, perfect for parties.
- Gluten-Free: For a gluten-free option, use gluten-free puff pastry, and enjoy the same flaky goodness without the gluten!
These small changes will not just customize your danishes but can elevate your brunch spread to new heights! Pair them alongside an elegant Grilled Cheese Burrito for an unforgettable dining experience!
Expert Tips for Mini Cheese Danish
-
Thawed Pastry: Make sure your frozen puff pastry is completely thawed before working with it; this helps in achieving that perfect flaky texture.
-
Avoid Overfilling: Be cautious not to overfill each pastry square with the cream cheese mixture; doing so can cause spillage and ruin their shape during baking.
-
Egg Wash Application: Apply a thin layer of beaten egg only to the edges of the pastries; this will give you a beautiful golden finish without compromising the filling.
-
Baking Time Vigilance: Keep a close eye on your danishes towards the end of the baking time to prevent burning. Ovens can vary in temperature, so they may need a slightly shorter or longer time.
-
Cooling Properly: Allow the Mini Cheese Danishes to cool on a wire rack after baking; this prevents them from becoming soggy and keeps the pastry crisp.
What to Serve with Easy Mini Cheese Danish
Indulge in a delightful brunch experience by pairing these gorgeous pastries with thoughtful accompaniments that elevate every bite.
-
Fresh Fruit Salad: A mix of berries and melons brings vibrant color and refreshing taste, balancing the rich creaminess of the danishes perfectly.
-
Syrupy Maple Bacon: The salty crunch of bacon drizzled with maple syrup creates a wonderful contrast to the sweetness, adding depth to your meal.
-
Cafe-Style Coffee: A rich, aromatic brew enhances this luxurious treat, making it feel like a café outing right at home.
-
Herbal Tea: A fragrant tea, such as chamomile or mint, offers a soothing complement, allowing the sweet flavors of the danish to shine.
-
Yogurt Parfait: Layers of creamy yogurt and granola provide a satisfying crunch and creamy backdrop to enjoy alongside your danish.
-
Simple Green Salad: A light salad with mixed greens and a citrus vinaigrette lifts the richness of the pastries while keeping the meal balanced.
-
Lemonade Spritzers: Refreshing and slightly tart, a lemonade spritzer gives a bright kick that beautifully contrasts the sweet danishes.
-
Dark Chocolate Squares: For dessert lovers, dark chocolate adds a decadent touch. Its bittersweet notes will be a match made in heaven with the creamy filling.
These pairing ideas will create a memorable dining moment that not only showcases your delicious Easy Mini Cheese Danishes but also leaves your guests longing for more.
Make Ahead Options
These Mini Cheese Danishes are perfect for busy home cooks looking to save time without sacrificing deliciousness! You can assemble the danishes up to 24 hours in advance. To prep ahead, follow the recipe instructions to fill and shape the pastries, then place them on a parchment-lined baking sheet. Cover and refrigerate until you’re ready to bake. This helps maintain their flaky texture and ensures they are just as delightful when baked. When you’re ready to serve, simply remove them from the fridge and bake as instructed, adding a couple of extra minutes in the oven if they’re still cold. Enjoy warm, gooey pastries with minimal effort!
Mini Cheese Danish Recipe FAQs
What type of frozen puff pastry should I use?
I recommend using high-quality, all-butter frozen puff pastry for the best flaky texture. Be sure to check the package instructions for thawing to ensure it is fully softened before working with it.
How should I store leftovers?
Store any leftover Mini Cheese Danishes in an airtight container in the fridge for up to 3 days. I often reheat them in a toaster oven at 350°F (175°C) for about 10 minutes to bring back their deliciously crispy texture.
Can I freeze Mini Cheese Danishes?
Absolutely! To freeze, allow the danishes to cool completely, then wrap each one tightly in plastic wrap. Place them in a freezer-safe bag, and they will keep well for up to 2 months. When ready to enjoy, thaw overnight in the fridge and reheat as instructed.
What if my cream cheese filling is too runny?
If your filling turns out too runny, it’s likely the cream cheese wasn’t thick enough or you might have added too much sugar. To fix it, you can mix in a tablespoon of all-purpose flour to help stabilize the filling. Make sure to blend until smooth!
Are there any common allergies associated with this recipe?
This recipe contains dairy and egg, so it might not be suitable for those with lactose intolerance or egg allergies. For a dairy-free alternative, you could try using a dairy-free cream cheese, keeping in mind it might alter the flavor slightly.
Can I make these in advance?
Yes! You can assemble the Mini Cheese Danishes ahead of time and keep them covered in the fridge until you’re ready to bake. Just remember to bake them fresh for the best texture and flavor. Enjoy the effortless magic of freshly baked pastries!
Irresistible Mini Cheese Danish in 30 Minutes Flat
Ingredients
Equipment
Method
- Preheat the oven to 400°F (200°C) and prepare a baking sheet lined with parchment paper.
- Unfold the thawed puff pastry and cut into 12 equal squares, placing them on the baking sheet.
- In a mixing bowl, combine cream cheese, granulated sugar, egg yolk, and vanilla extract, and beat until smooth.
- Spoon about 1 teaspoon of filling onto each pastry square, optionally adding fruit preserves on top.
- Fold the corners of the pastry squares inward and brush the edges with beaten egg.
- Bake for 15-18 minutes until golden brown; watch closely at the end.
- Cool briefly on the baking sheet, then transfer to a wire rack. Drizzle with icing if desired.
Leave a Reply