
There’s nothing quite like the joy of a sweet, creamy Ice Cream Sheet Cake to transport me back to carefree summer days. This delightful no-bake treat is not just a dessert; it’s a celebration of flavor and nostalgia! Layering rich vanilla and chocolate ice cream with a crunchy Oreo cookie layer, it offers a customizable experience that suits every palate. Plus, it’s incredibly quick to prepare and perfect for making ahead of time—just freeze it for 12 hours, and you’re all set for your next gathering. Whether you’re hosting a birthday party or simply craving a comforting slice, this recipe guarantees smiles all around. Are you ready to discover how to whip up this indulgent masterpiece?
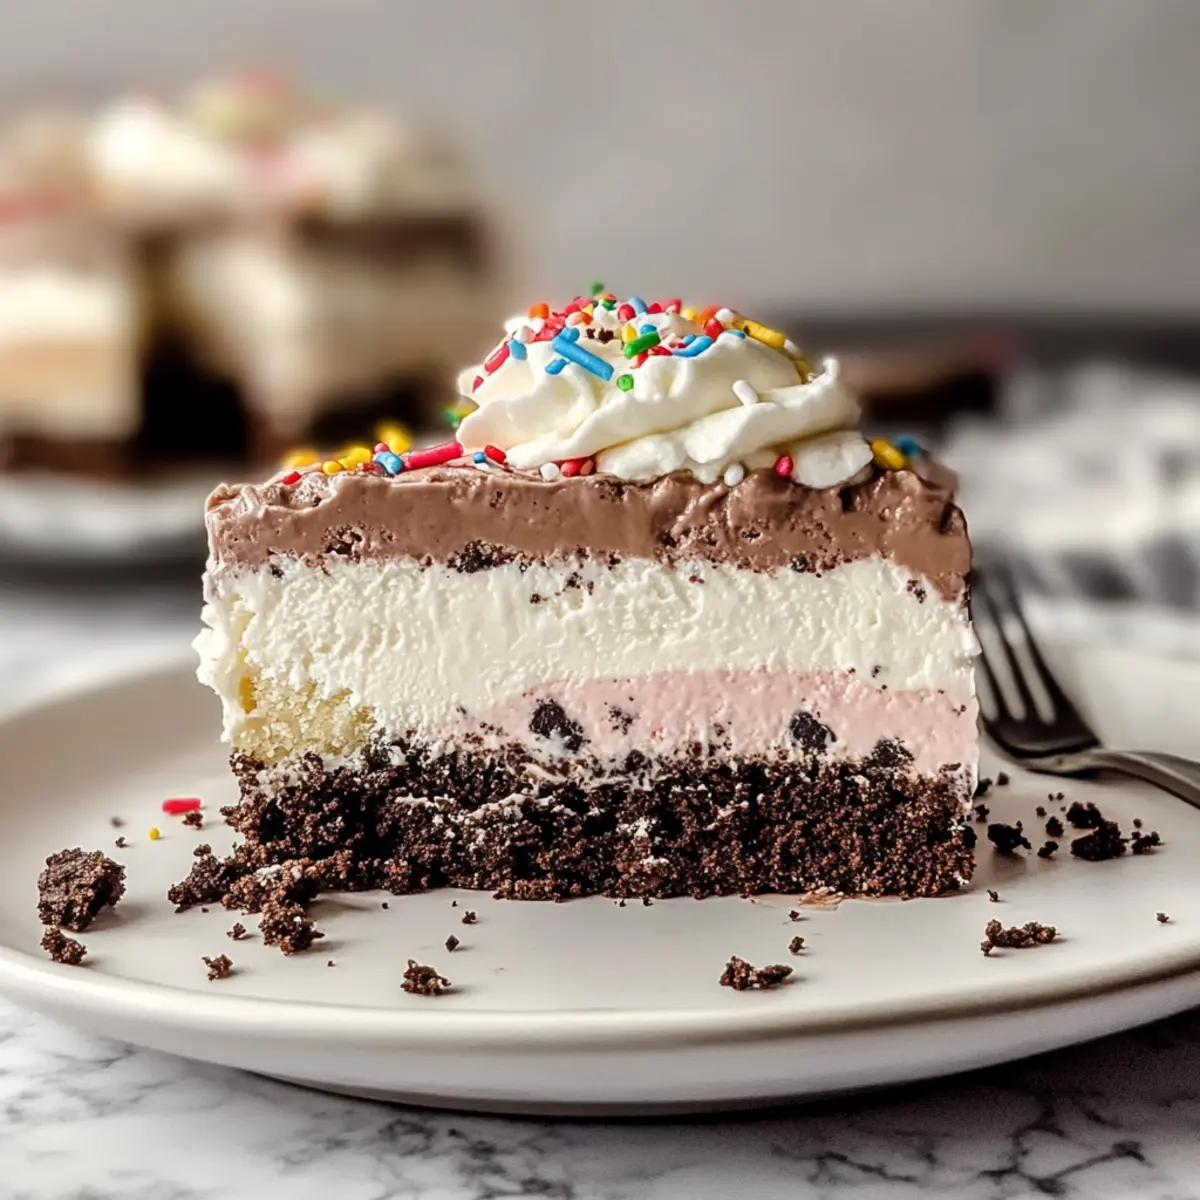
Why is this Ice Cream Sheet Cake Amazing?
Simplicity: This no-bake delight is incredibly easy to assemble, making it perfect for home cooks of any skill level.
Customizable Flavors: From classic vanilla and chocolate to exotic options like mint chocolate chip, you can tailor this cake to your taste buds.
Textural Bliss: The crunchy Oreo layer adds a satisfying contrast to the creamy ice cream, creating a bite that’s oh-so enjoyable.
Make-Ahead Magic: Ideal for busy schedules, you simply prepare it in advance and let the freezer do the work—perfect for unexpected guests!
Crowd-Pleaser: Whether it’s a birthday party or a summer BBQ, this Ice Cream Sheet Cake is sure to impress and please everyone.
For more delightful dessert ideas, don’t miss our delicious Strawberry Shortcake Layer or try a comforting Chocolate Poke Cake for your next special occasion!
Ice Cream Sheet Cake Ingredients
Ready to create your own delicious Ice Cream Sheet Cake? Here’s everything you’ll need!
For the Ice Cream Layers
• Vanilla Ice Cream – A creamy base layer that pairs perfectly with other flavors; use store-bought for convenience.
• Chocolate Ice Cream – Offers a wonderful contrast with its rich, deep flavor; homemade or store-bought works great.
For the Crunchy Layer
• Oreos – Adds delightful crunch to the cake; you can use gluten-free Oreos as a substitute if needed.
• Homemade Magic Shell – This chocolatey coating enhances the Oreo layer; store-bought versions are fine for a quick fix.
For the Whipped Cream Topping
• Heavy Cream – Essential for whipping up a light and fluffy topping; heavy whipping cream is also an option.
• Granulated or Powdered Sugar – Sweetens the whipped cream; powdered sugar gives a smoother texture.
• Vanilla Extract – Enhances the flavor of the whipped cream, bringing everything together deliciously.
Get ready to enjoy this Ice Cream Sheet Cake that’s perfect for any occasion!
Step‑by‑Step Instructions for Ice Cream Sheet Cake
Step 1: Prepare the Baking Dish
Start by ensuring your 9″ x 13″ baking dish is ready. Place it in the freezer to chill while you let the vanilla ice cream soften at room temperature for about 10-15 minutes. This will make spreading the ice cream easier later on, so keep an eye on its consistency—it should be pliable but not completely melted.
Step 2: Crush the Oreos
In a food processor, crush about 20 Oreos until they reach fine crumb consistency. Once crushed, transfer them to a mixing bowl and drizzle in the homemade magic shell, mixing thoroughly until all crumbs are evenly coated. This crunchy layer will add delightful texture to your Ice Cream Sheet Cake, so ensure it’s well combined.
Step 3: Spread the Vanilla Ice Cream
Once the vanilla ice cream is softened, scoop it into your chilled baking dish. Using a spatula, spread it into an even layer, reaching all the corners of the dish. The layer should be smooth and well-distributed. After you’ve layered the vanilla ice cream, sprinkle the Oreo mixture over it, ensuring an even coverage before placing the dish back into the freezer for 20 minutes.
Step 4: Add the Chocolate Ice Cream
After the first layer has firmed up, soften the chocolate ice cream similarly—about 10-15 minutes should suffice. Once soft, spread the chocolate layer evenly over the Oreo crumb layer. Be careful to distribute it smoothly so it adheres well. After spreading, top it once more with the remaining Oreo crumbs, creating a delightful contrast for your Ice Cream Sheet Cake, and freeze again for 20 minutes.
Step 5: Make the Whipped Cream Topping
While the cake layers freeze, pour the heavy cream, granulated sugar, and vanilla extract into a mixing bowl. Using a hand mixer, whip the mixture on medium-high speed until stiff peaks form—about 3-5 minutes. The whipped cream should be fluffy and hold its shape well. This is the delightful topping that will crown your Ice Cream Sheet Cake beautifully.
Step 6: Assemble the Final Layer
Take the cake from the freezer and gently spread the whipped cream topping over the chocolate layer. Use a spatula to smooth it out evenly, making sure it covers the cake fully. After frosting, you can add any additional toppings like sprinkles if desired. This final layer adds a touch of sweetness and a beautiful presentation to your cake.
Step 7: Final Freeze
Once layered with the whipped cream, your Ice Cream Sheet Cake needs to freeze for at least 12 hours for the best texture and flavor. Place it in the freezer, covering it if needed, to prevent any ice crystals from forming. This extended freezing will set the layers beautifully, making it easy to slice once ready to serve.
Step 8: Slicing for Serving
When you’re ready to serve, remove the cake from the freezer and let it sit at room temperature for about 5 minutes. This brief thawing will allow for easier slicing. Use a sharp knife run under hot water for cleaner cuts. Serve the slices immediately, and watch the smiles appear as guests enjoy your stunning Ice Cream Sheet Cake!
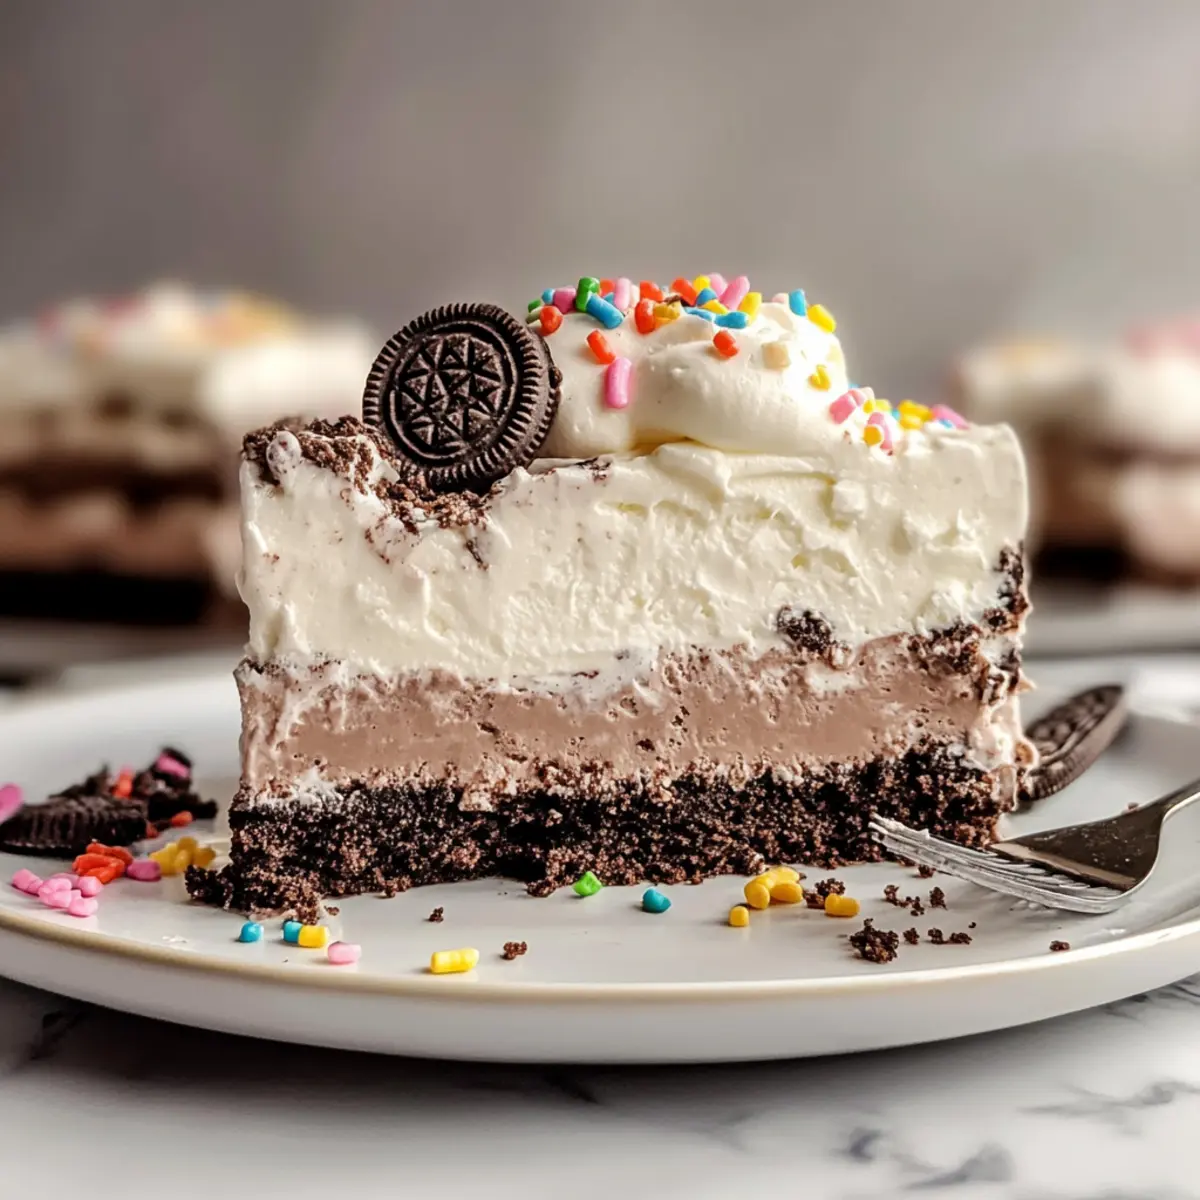
What to Serve with Ice Cream Sheet Cake
Elevate your dessert experience by pairing this indulgent treat with just the right accompaniments.
-
Fresh Berries: Bright, juicy berries like strawberries or raspberries contrast the creaminess, adding a burst of refreshing flavor. They’re the perfect sweet-tart foil!
-
Chocolate Sauce: A drizzle of warm chocolate sauce takes this cake to new heights, enhancing the chocolatey flavor and adding luscious richness.
-
Whipped Cream: For those who crave extra creaminess, a dollop of freshly whipped cream brings a light, airy texture that complements the cake’s density.
-
Mint Leaves: Fresh mint leaves not only add a pop of color but also invigorate your palate, creating a delightful contrast with the sweet layers.
-
Crushed Nuts: Chopped nuts offer lovely crunch and a nutty flavor, making each bite more exciting. Try walnuts or almonds for extra texture!
-
Ice Cream Scoops: Serve a scoop of your favorite ice cream alongside for an extra cold, creamy treat that pairs wonderfully with each slice.
-
Coffee or Iced Tea: A warm cup of coffee or a refreshing glass of iced tea balances the sweetness of the cake, creating an enjoyable flavor experience.
-
Chocolate Chip Cookies: Classic chocolate chip cookies add a delightful, chewy counterpart to the cake, perfect for dipping!
-
Sundae Toppings: Consider adding sprinkles, maraschino cherries, or even crushed candy bars to customize each slice, giving guests a fun interactive dessert experience.
-
Fudge Brownies: Serve alongside small slices of fudgy brownies for an indulgent duo that’s sure to satisfy any sweet tooth craving.
Ice Cream Sheet Cake Variations
Feel free to get creative with your Ice Cream Sheet Cake and make it uniquely yours!
- Flavor Swap: Substitute vanilla with any preferred ice cream, like mint chocolate chip or strawberry, for a fresh twist.
- Dairy-Free: Use coconut or almond milk ice cream for a delicious vegan-friendly option.
- Gluten-Free: Choose gluten-free Oreos or other gluten-free cookies to accommodate dietary needs without losing flavor.
- Extra Layers: Add a layer of crushed fruit, such as strawberries or raspberries, between the ice cream layers for a fruity surprise.
- Fudge Drizzle: Drizzle warmed homemade fudge over the whipped cream for a decadent touch that will have everyone coming back for seconds.
- Nutty Crunch: Mix chopped nuts into your Oreo layer for a delightful crunch that adds an extra flavor dimension.
- Spicy Kick: Incorporate a pinch of cayenne pepper or chili powder into the chocolate layer for a surprising, tasty heat.
- Party Fun: Change up the toppings—consider candies, chocolate chips, or sprinkles to match the theme of your gathering.
Looking for more dessert inspiration? Try our delightful Chocolate Poke Cake or check out this classic Crab Bisque Luxuriously for a comforting treat!
How to Store and Freeze Ice Cream Sheet Cake
Fridge: Keep any leftovers tightly covered in the fridge for up to 3 days. However, for best texture and taste, freezing is recommended.
Freezer: Wrap the Ice Cream Sheet Cake tightly in plastic wrap or aluminum foil and store it in the freezer for up to one month. This ensures it remains fresh and flavorful.
Reheating: There’s no need to reheat this no-bake creation. Simply allow it to sit at room temperature for about 5 minutes for easier slicing before serving.
Make-Ahead: You can assemble this delightful cake up to a month in advance. Just freeze it immediately after layering, and it’ll be ready when you are!
Expert Tips for Ice Cream Sheet Cake
-
Perfectly Softened Ice Cream: Ensure your ice cream is soft enough to spread easily but not completely melted; this balance is key for a beautiful Ice Cream Sheet Cake.
-
Layer Freezing Intervals: Freeze each layer for 20 minutes before adding the next. This keeps the distinct layers intact and prevents them from blending.
-
Slicing Tips: For cleaner slices of your Ice Cream Sheet Cake, run a knife under hot water before cutting. Wipe it dry between slices for the best results.
-
Mix Up Flavors: Don’t hesitate to get creative! Swap vanilla and chocolate for your favorite flavors like mint chocolate chip or strawberry.
-
Storage Solutions: If you have leftovers, ensure they are tightly covered and stored in the freezer. The dessert will stay fresh for up to a month.
Make Ahead Options
Preparing the Ice Cream Sheet Cake in advance is a total time-saver for busy home cooks! You can assemble the cake up to 3 days ahead of time. Start by layering the ice creams and cookie crumbs as instructed, but don’t add the whipped cream topping until just before serving. Cover the assembled cake tightly with plastic wrap or foil to prevent freezer burn, allowing it to freeze for the full 12 hours for optimal texture. When it’s time to enjoy, simply whip up the cream and spread it over the frozen cake, adding any sprinkles or toppings if desired. This way, your dessert will be just as delicious and fresh, ensuring smiles all around!
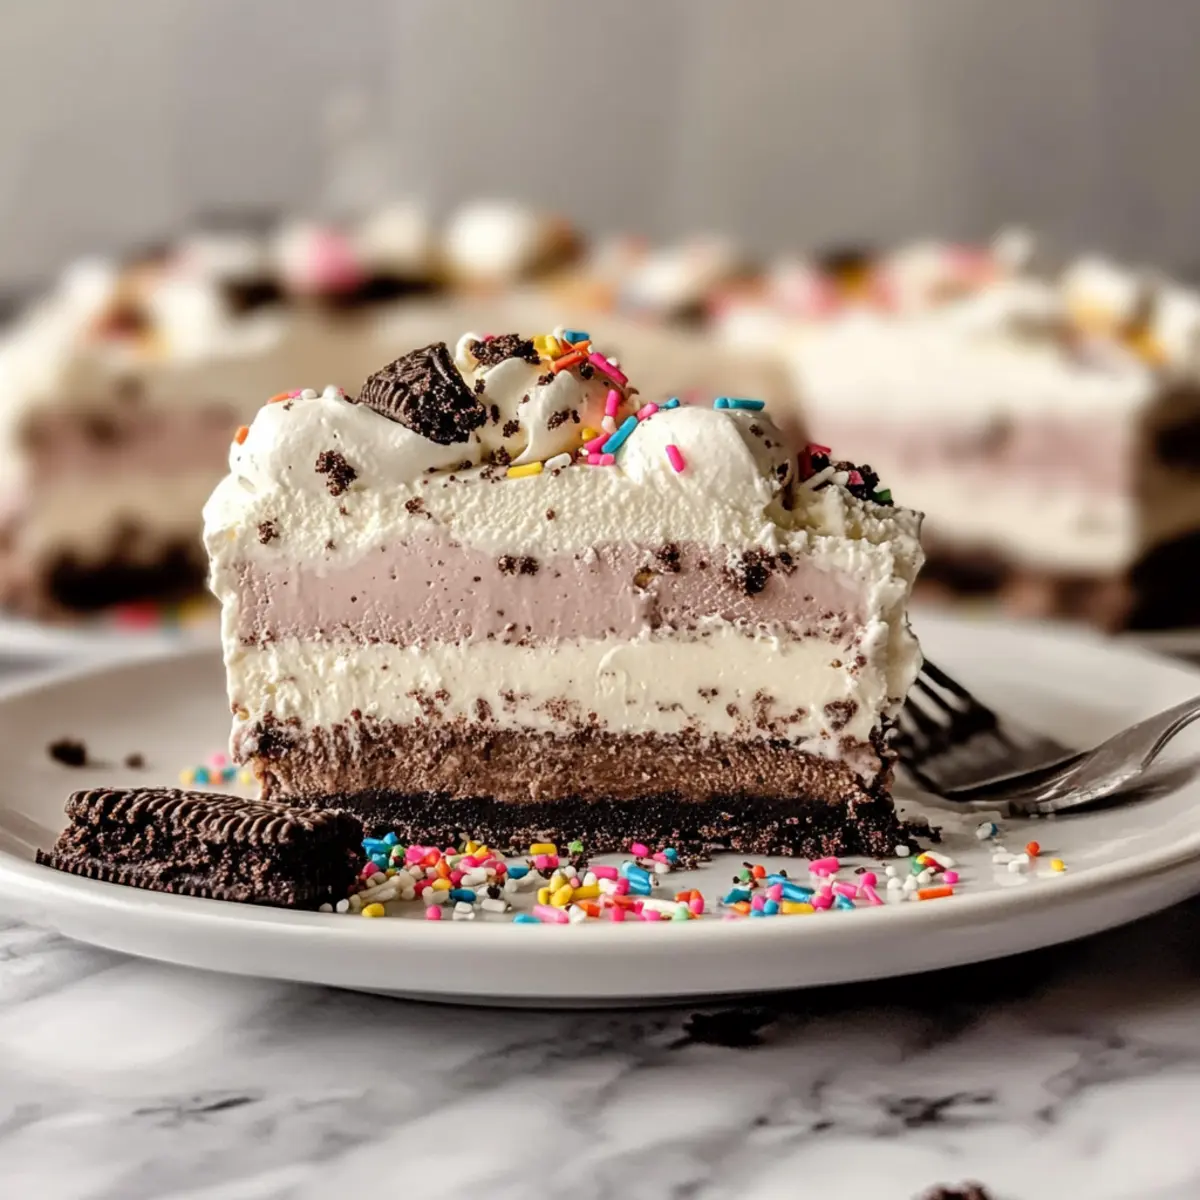
Ice Cream Sheet Cake Recipe FAQs
What type of ice cream should I use for the best flavor?
Absolutely! For the best taste, I recommend using high-quality vanilla and chocolate ice creams, as their creamy flavors serve as a perfect base for the cake. You can opt for store-bought varieties for convenience or make your own at home if you’re feeling adventurous!
How do I store leftovers of the ice cream sheet cake?
To keep your Ice Cream Sheet Cake fresh, store any leftovers tightly covered in the freezer for up to one month. This will preserve its flavors and textures. You can wrap it in plastic wrap or aluminum foil for added protection. Just remember, always slice the cake while it’s still frozen, then allow it to sit for about 5 minutes at room temperature before serving!
Can I freeze this cake for longer than one month?
While you can technically freeze this cake for up to three months, I wouldn’t recommend it for the best taste and texture. Freezing it for longer than one month may affect the creaminess and overall quality. For the best flavors, enjoy your Ice Cream Sheet Cake within one month of making it.
What if my ice cream melts while assembling?
Very! If your ice cream becomes too soft while you’re layering, don’t panic—just refreeze it for about 10-15 minutes until it firms up a bit. This will make spreading it easier without creating a gooey mess. Remember, it’s all about patience and making sure that each layer is well-set before adding the next!
Can I make this cake gluten-free?
Of course! For a gluten-free Ice Cream Sheet Cake, simply use gluten-free Oreos, which are widely available. Additionally, ensure all ice creams you choose are gluten-free. Enjoy customizing this no-bake dessert while accommodating dietary needs!
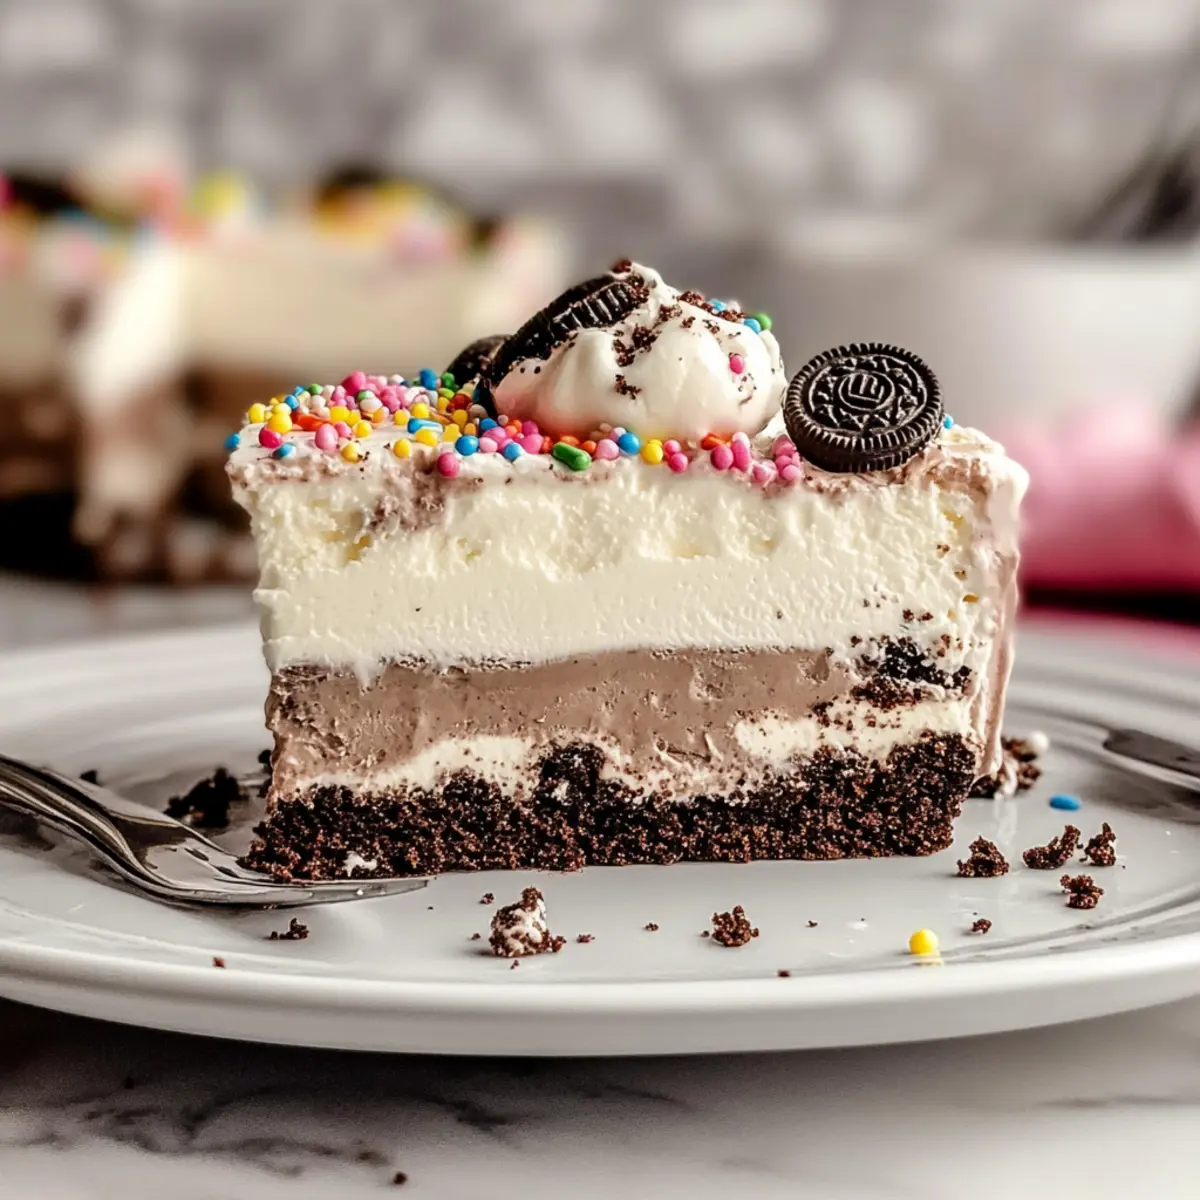
Deliciously Creamy Ice Cream Sheet Cake for Any Occasion
Ingredients
Equipment
Method
- Prepare the Baking Dish by chilling a 9" x 13" baking dish in the freezer.
- Crush about 20 Oreos until fine and mix with homemade magic shell until combined.
- Spread softened vanilla ice cream into the baking dish and sprinkle the Oreo mixture on top.
- After freezing, soften and spread chocolate ice cream on the Oreo layer, topping with remaining crumbs.
- Whip heavy cream, sugar, and vanilla until stiff peaks form, then spread over the chocolate layer.
- Freeze for at least 12 hours before slicing at room temperature for serving.
- When ready to serve, run a knife under hot water for clean cuts.
Leave a Reply