
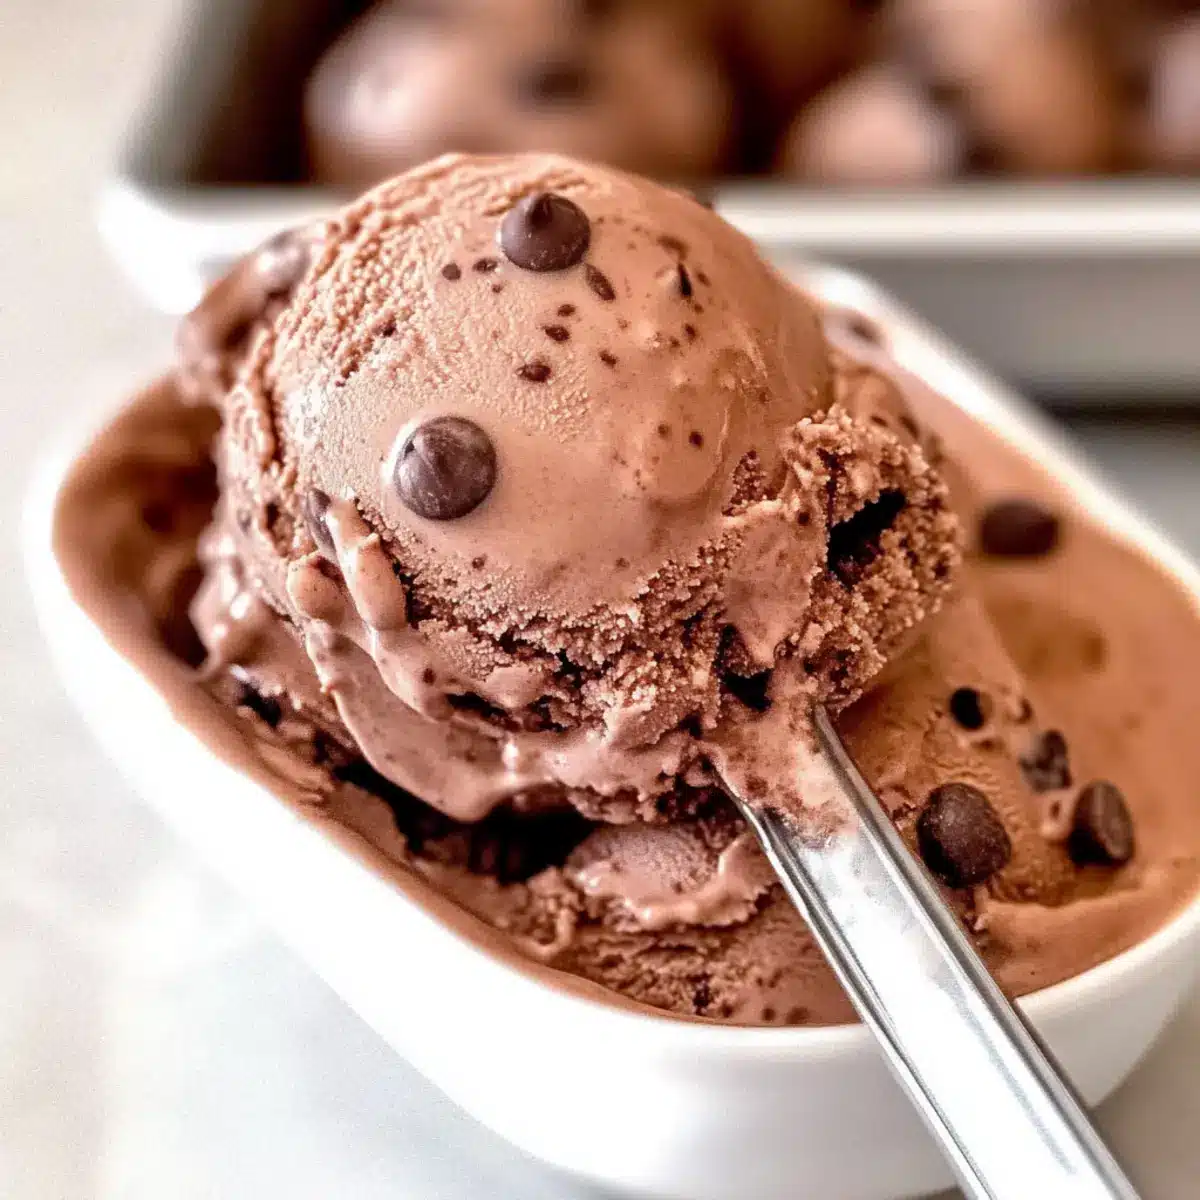
As I stood in my kitchen this afternoon, a deep chocolate craving hit—who could resist? So, I decided it was time to whip up some Easy Chocolate Chocolate Chip Ice Cream. With just seven simple ingredients and no cooking required, this rich and creamy dessert is the ultimate joy for those who love a sweet treat without the hassle. Perfect for satisfying late-night cravings or impressing family and friends, this ice cream also caters to dietary preferences, featuring vegan and gluten-free options. In under five minutes of blending, you’ll have a heavenly concoction ready for the ice cream maker. Intrigued about how to create this indulgence? Let’s dive into the recipe!
Why Is This Ice Cream So Irresistible?
Simplicity at Its Finest: You’ll adore how easy this recipe is to whip up, needing just seven ingredients and zero cooking time!
Decadent Chocolate Flavor: The mix of cocoa powder and mini chocolate chips delivers a rich, chocolatey experience in every spoonful.
Versatile Options: With vegan and gluten-free substitutes available, everyone can enjoy this treat, making it perfect for gatherings.
Quick to Prepare: Under five minutes in a blender, and you’ll be ready to churn—ideal for spur-of-the-moment cravings.
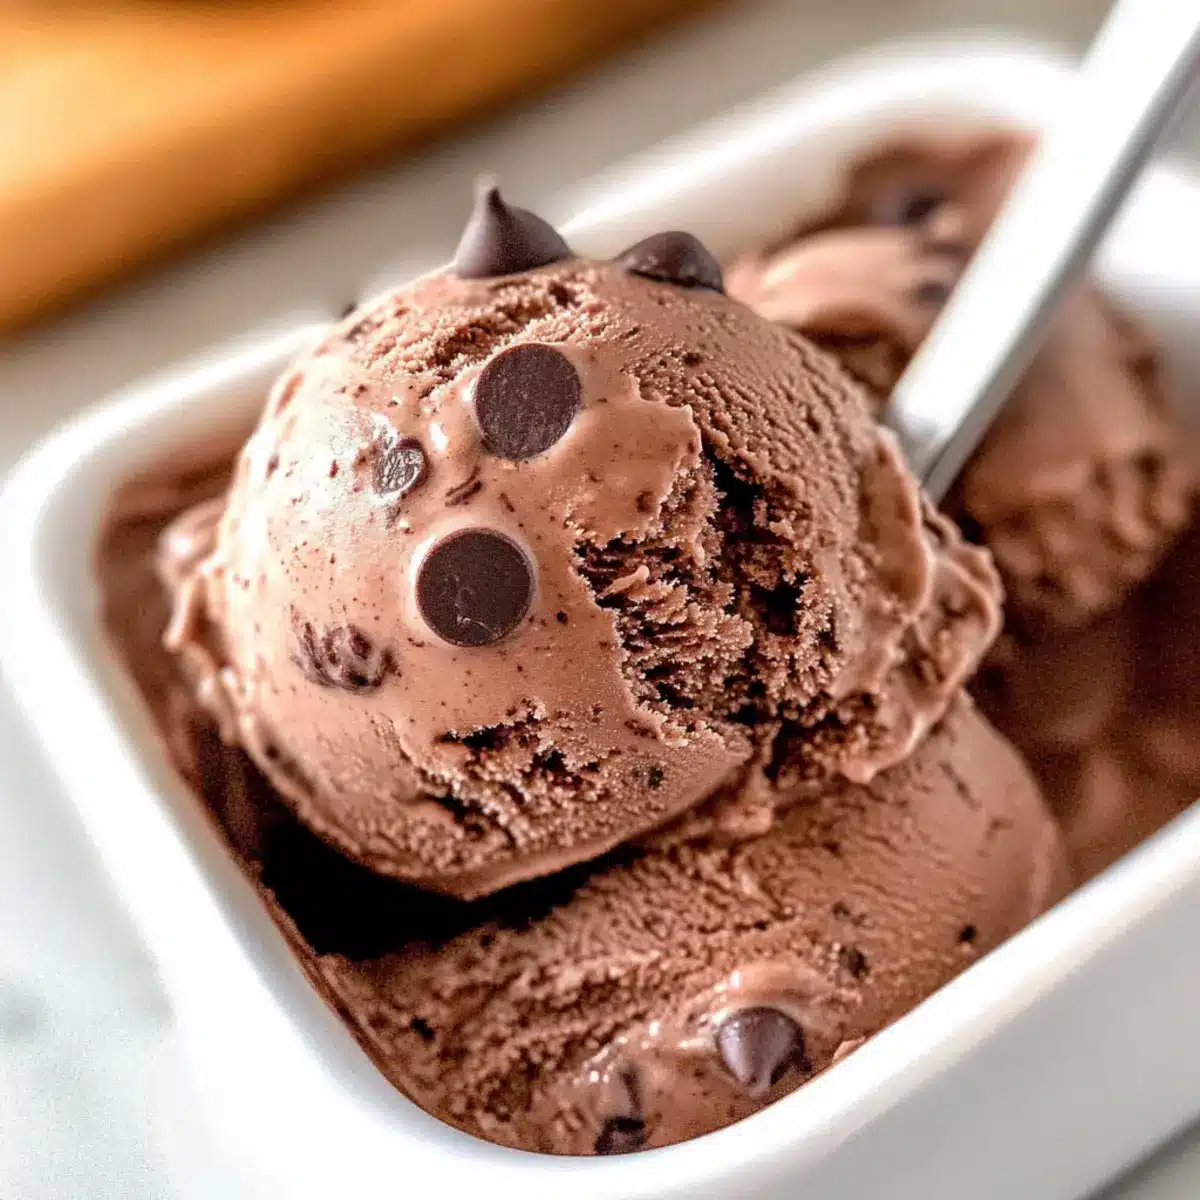
Texture Perfection: The smooth, creamy base with delightful chocolate bursts creates a luxurious mouthfeel that rivals any store-bought option.
Pair it with a drizzle of chocolate sauce or fresh berries for the ultimate dessert experience! If you also love cozy desserts, try our Pumpkin Spice Gooey cake or the cozy Hot Chocolate Poke cake for a delightful treat!
Chocolate Chocolate Chip Ice Cream Ingredients
• For the Base
- Sweetened Condensed Milk – Provides sweetness and creaminess; vegan substitute: sweetened condensed coconut milk.
- Evaporated Milk – Adds a rich texture; vegan substitute: evaporated oat milk.
- Half-n-Half – Offers creaminess and body; for a vegan option, use vegan whipping cream or full-fat canned coconut milk.
- Vanilla Extract – Adds flavor depth; use pure vanilla extract for best results.
- Cocoa Powder – Provides rich chocolate flavor; adjust quantity for desired chocolate intensity.
- Kosher Salt – Enhances overall flavor and balances sweetness; regular salt can be used as a substitute.
• For the Mix-Ins
- Mini Chocolate Chips – Adds texture and bursts of chocolate in every bite; substitute with finely chopped chocolate if mini chips are unavailable.
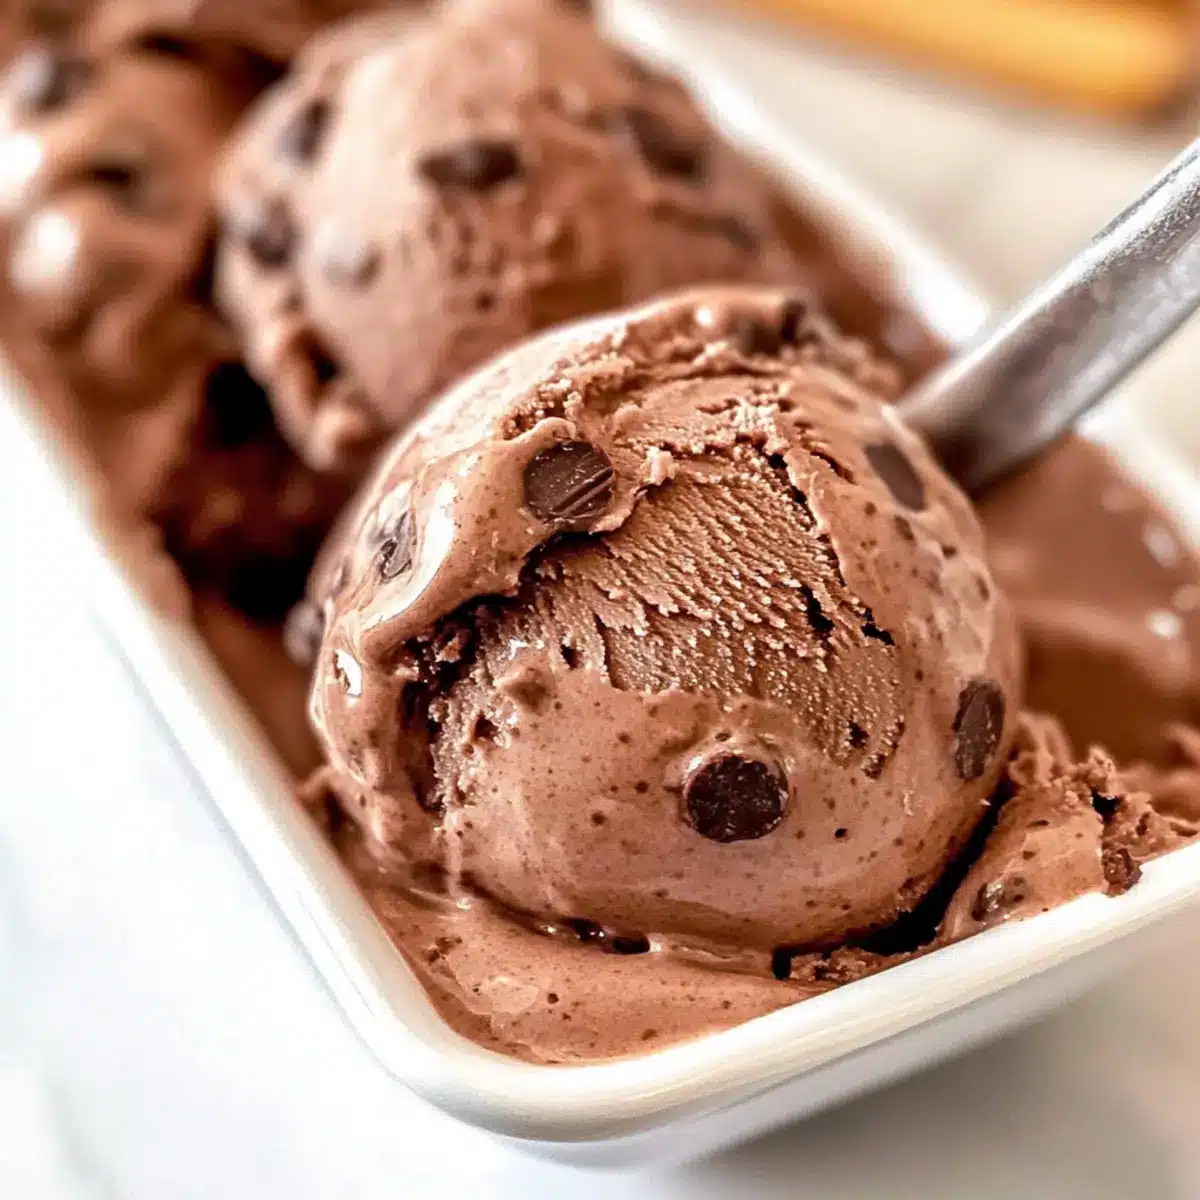
Get ready to indulge in the creamiest, most delicious Chocolate Chocolate Chip Ice Cream you’ve ever tasted!
Step‑by‑Step Instructions for Easy No-Cook Chocolate Chocolate Chip Ice Cream
Step 1: Blend Ingredients
In a blender, combine the sweetened condensed milk, evaporated milk, half-n-half, vanilla extract, cocoa powder, and kosher salt. Blend on medium speed for about 30 seconds or until the mixture is smooth and uniform in color. You want to achieve a rich, chocolatey base that’s free of lumps—this is where your Easy Chocolate Chocolate Chip Ice Cream starts to come together!
Step 2: Churn Mixture
Pour the blended mixture into an ice cream maker’s bowl. Turn on the machine and churn according to the manufacturer’s instructions, typically for about 20-25 minutes, until the mixture thickens and resembles soft-serve ice cream. Keep an eye on it, as you want it to reach a creamy consistency that’s perfect for incorporating those mini chocolate chips.
Step 3: Add Chocolate Chips
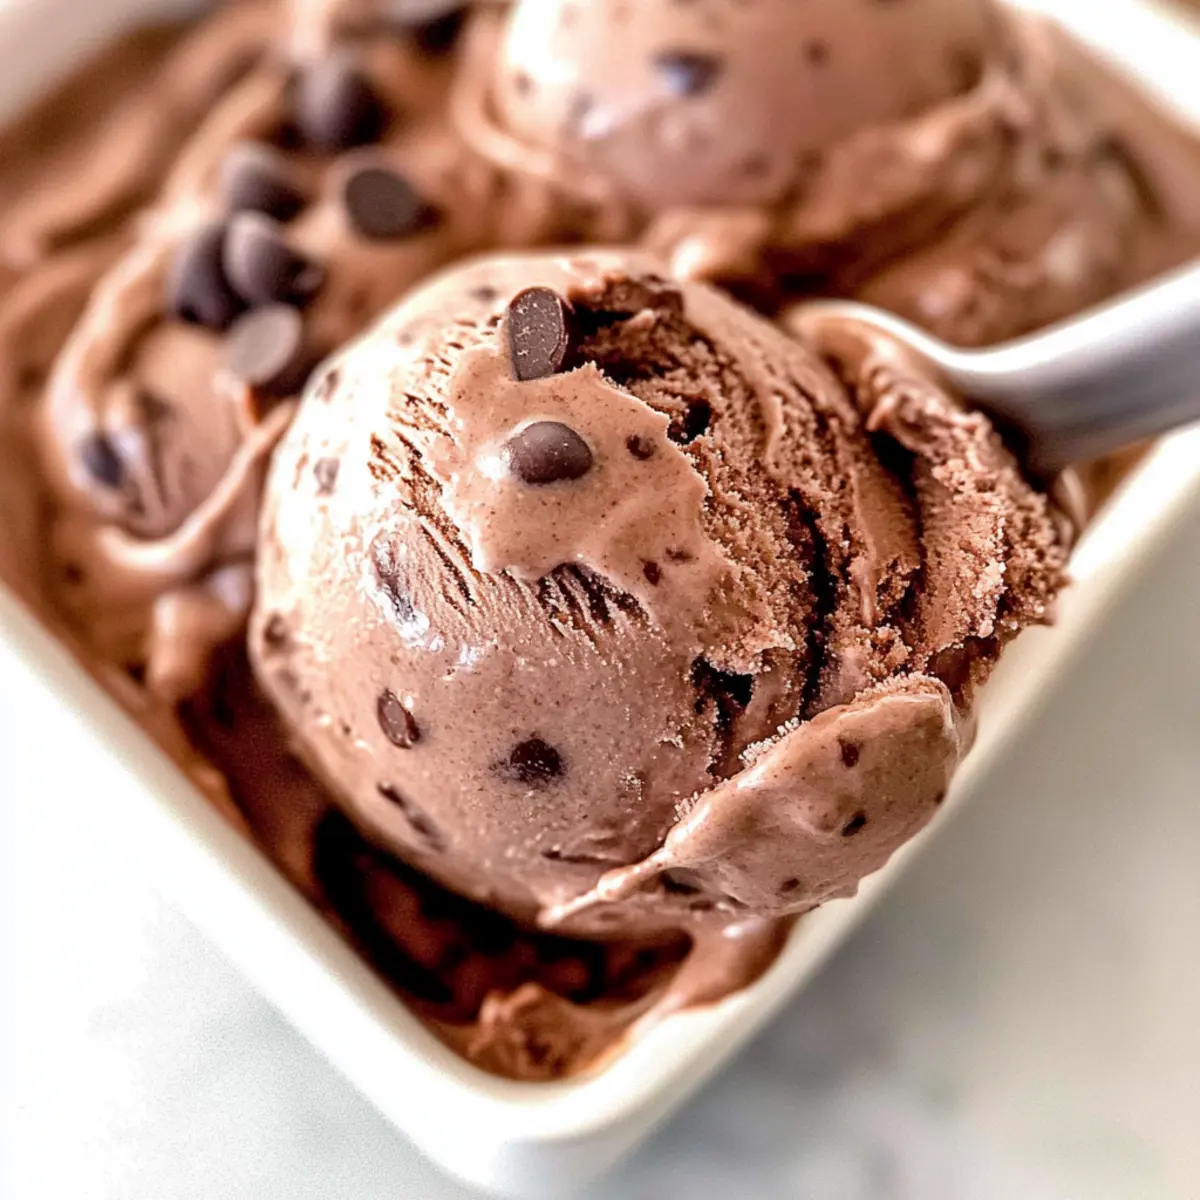
Approximately 5 minutes before the churning process is complete, add in the mini chocolate chips to the ice cream maker. This will allow the chips to evenly distribute throughout the ice cream without fully melting. The result? Irresistible bursts of chocolate in every scoop of your Chocolate Chocolate Chip Ice Cream!
Step 4: Freeze
Once the churning is done, transfer the ice cream into a freezer-safe container. Press a sheet of parchment paper against the top of the ice cream to minimize ice crystal formation, then wrap it tightly with plastic wrap. Freeze the ice cream for at least 4 hours, or until it becomes solid enough to scoop. Your Easy No-Cook Chocolate Chocolate Chip Ice Cream awaits!
How to Store and Freeze Chocolate Chocolate Chip Ice Cream
Freezer: Place your Chocolate Chocolate Chip Ice Cream in a freezer-safe container, pressing parchment paper against the top to prevent ice crystals. Freeze for up to 2 weeks for best texture.
Airtight Seal: Wrap the container tightly with plastic wrap after sealing it to ensure freshness and minimize freezer burn.
Reheating: If the ice cream becomes too hard, let it sit at room temperature for about 5-10 minutes before scooping for a creamy consistency.
Portion Control: Consider dividing the ice cream into smaller containers before freezing; this makes it easier to enjoy single servings while keeping the rest fresher longer.
Chocolate Chocolate Chip Ice Cream Variations
Feel free to get creative and personalize your ice cream; after all, the culinary world is your oyster!
-
Vegan Substitute: Swap regular dairy ingredients for coconut-based or almond-based versions to create a delightful vegan treat.
-
Gluten-Free Twist: Use gluten-free mini chocolate chips or finely chopped chocolate to keep this dessert safe for gluten-sensitive friends.
-
Minty Fresh: Substitute vanilla extract with mint extract to transform your chocolate ice cream into a refreshing mint chocolate chip delight. The vibrant minty flavor adds a cool twist with every bite!
-
Nutty Flavor: Blend in a tablespoon of almond or peanut butter for a delicious nutty undertone. This adds a whole new layer of richness that’s both satisfying and comforting.
-
Fruity Burst: Incorporate fresh raspberries or strawberries in the mix for a fruity twist. Their tartness beautifully complements the sweet chocolatey goodness, offering a delightful contrast.
-
Coffee Lover’s Dream: Add a teaspoon of instant coffee or espresso powder for a mocha flavor that will perk up your palette! It enhances the chocolate while delivering a gentle caffeine kick.
-
Chocolate Hazelnut: Mix in Nutella (or a vegan chocolate hazelnut spread) for an ultra-decadent version. This combination beckons indulgence, bringing warmth and nostalgia with every spoonful.
Explore delicious pairings to elevate your dessert experience, and if you’re interested in cozy desserts, don’t miss our Creamy Vegetable Pot Pie with Puff Pastry Crust or the luxurious Crab Bisque Luxuriously. Your taste buds will thank you!
What to Serve with Easy No-Cook Chocolate Chocolate Chip Ice Cream
Indulge in a delightful experience by pairing your chocolatey creation with complementary flavors and textures.
-
Chocolate Sauce: A warm drizzle adds an extra layer of indulgence, enhancing the rich chocolate flavor in every bite. Your scoops will feel even more decadent and luxurious!
-
Fresh Berries: Strawberries, raspberries, or blueberries provide a refreshing tartness that beautifully balances the sweetness of the ice cream. They create a lovely contrast between rich and refreshing.
-
Shortbread Cookies: The buttery crunch of shortbread cookies creates an enjoyable texture contrast. Dip them in the ice cream for a delightful combination that mirrors classic cookie and cream themes!
-
Coconut Whipped Cream: Top with airy coconut whipped cream for a light, creamy finishing touch. It adds a tropical flair and enhances the dessert’s rich nature.
-
Mint Leaves: Garnish with fresh mint for a pop of color and a refreshing aroma. The mint complements the chocolate and elevates the dessert without overpowering it.
-
Espresso or Coffee: A small cup of espresso or coffee brings out the chocolate flavors further. They create a gourmet twist, perfect for after dinner or a late-night treat.
-
Peanut Butter Sauce: Drizzle peanut butter sauce over the ice cream for a delightful nutty contrast. The combination of chocolate and peanut butter is a fan-favorite that never disappoints!
-
Chocolate Chip Cookies: Serve alongside freshly baked chocolate chip cookies for an irresistible dessert platter. This classic pairing satisfies both cookie lovers and ice cream enthusiasts!
-
Vanilla Bean Panna Cotta: For an elegant finish, pair with a silky vanilla bean panna cotta. Its creaminess will echo the ice cream while providing a sophisticated flair.
Make Ahead Options
These Easy Chocolate Chocolate Chip Ice Cream preparations are perfect for busy home cooks looking to save time without sacrificing flavor! You can blend the base ingredients (sweetened condensed milk, evaporated milk, half-n-half, vanilla extract, cocoa powder, and kosher salt) up to 24 hours in advance and refrigerate it in an airtight container. This way, you’ll have your chocolatey base ready to churn at a moment’s notice. Just remember to shake or stir the mixture before pouring it into your ice cream maker to ensure it’s well combined. When you’re ready to enjoy your delightful ice cream, simply churn, add the mini chocolate chips in the last minutes, and freeze as directed for delicious, ready-to-scoop results!
Expert Tips for Chocolate Chocolate Chip Ice Cream
-
Use Quality Ingredients: Invest in good-quality cocoa powder and vanilla extract for richer flavors in your Easy Chocolate Chocolate Chip Ice Cream.
-
Avoid Over-Churning: Don’t let the ice cream maker run too long; over-churning can lead to a grainy texture. Stop when it reaches a soft-serve consistency.
-
Check the Freezer Temperature: Ensure your freezer is at the right temperature (around -0°F) to achieve optimal firmness and prevent ice crystals from forming.
-
Store Wisely: Layer parchment paper directly on top of the ice cream before sealing it with plastic wrap to minimize freezer burn.
-
Experiment with Mix-Ins: For fun variations, try adding different flavored chocolate chips or nuts to your mix before the last churning stage!
Easy No-Cook Chocolate Chocolate Chip Ice Cream Recipe FAQs
What type of chocolate should I use for the cocoa powder?
Absolutely! I recommend using high-quality unsweetened cocoa powder for the richest flavor. This will provide a deep chocolate essence that pairs beautifully with the sweetened condensed milk. If you’re looking for a lighter flavor, you can adjust the amount according to your taste.
How should I store leftover chocolate ice cream?
Store your Chocolate Chocolate Chip Ice Cream in a freezer-safe container. Press a piece of parchment paper directly against the top of the ice cream, then seal it tightly with plastic wrap to prevent freezer burn. This keeps the ice cream fresh for up to two weeks, but it’s best enjoyed within the first week!
Can I freeze this chocolate ice cream mixture before churning?
It’s not recommended to freeze the mixture before churning. The goal is to churn it to a soft-serve consistency first, which incorporates air and gives it that delightful texture. Freezing it beforehand would remove that opportunity, leading to a denser product.
How do I prevent ice crystals from forming in my ice cream?
To reduce ice crystals, store your ice cream in the coldest part of the freezer and ensure the container is airtight. After scooping, cover the surface with parchment paper before sealing it. This helps maintain that velvety smooth texture for longer!
Can I make this chocolate ice cream vegan and gluten-free?
Yes! For a vegan option, use sweetened condensed coconut milk, evaporated oat milk, and vegan whipping cream or full-fat canned coconut milk. Additionally, ensure your chocolate chips are dairy-free and gluten-free to cater to dietary needs. Everyone can enjoy this delicious treat!
What should I do if my ice cream is too hard to scoop?
If your Chocolate Chocolate Chip Ice Cream is too hard after freezing, let it sit out at room temperature for about 5-10 minutes. This helps soften it enough to scoop easily. Enjoy your rich, creamy dessert!
Decadent Chocolate Chocolate Chip Ice Cream in Minutes
Ingredients
Equipment
Method
- In a blender, combine the sweetened condensed milk, evaporated milk, half-n-half, vanilla extract, cocoa powder, and kosher salt. Blend on medium speed for about 30 seconds or until smooth.
- Pour the blended mixture into an ice cream maker's bowl. Turn on the machine and churn according to the manufacturer’s instructions, typically for about 20-25 minutes, until the mixture thickens.
- Approximately 5 minutes before the churning process is complete, add in the mini chocolate chips to allow even distribution without fully melting.
- Once churning is done, transfer the ice cream into a freezer-safe container, press parchment paper against the top to minimize ice crystal formation, and wrap it tightly with plastic wrap. Freeze for at least 4 hours.
Leave a Reply