
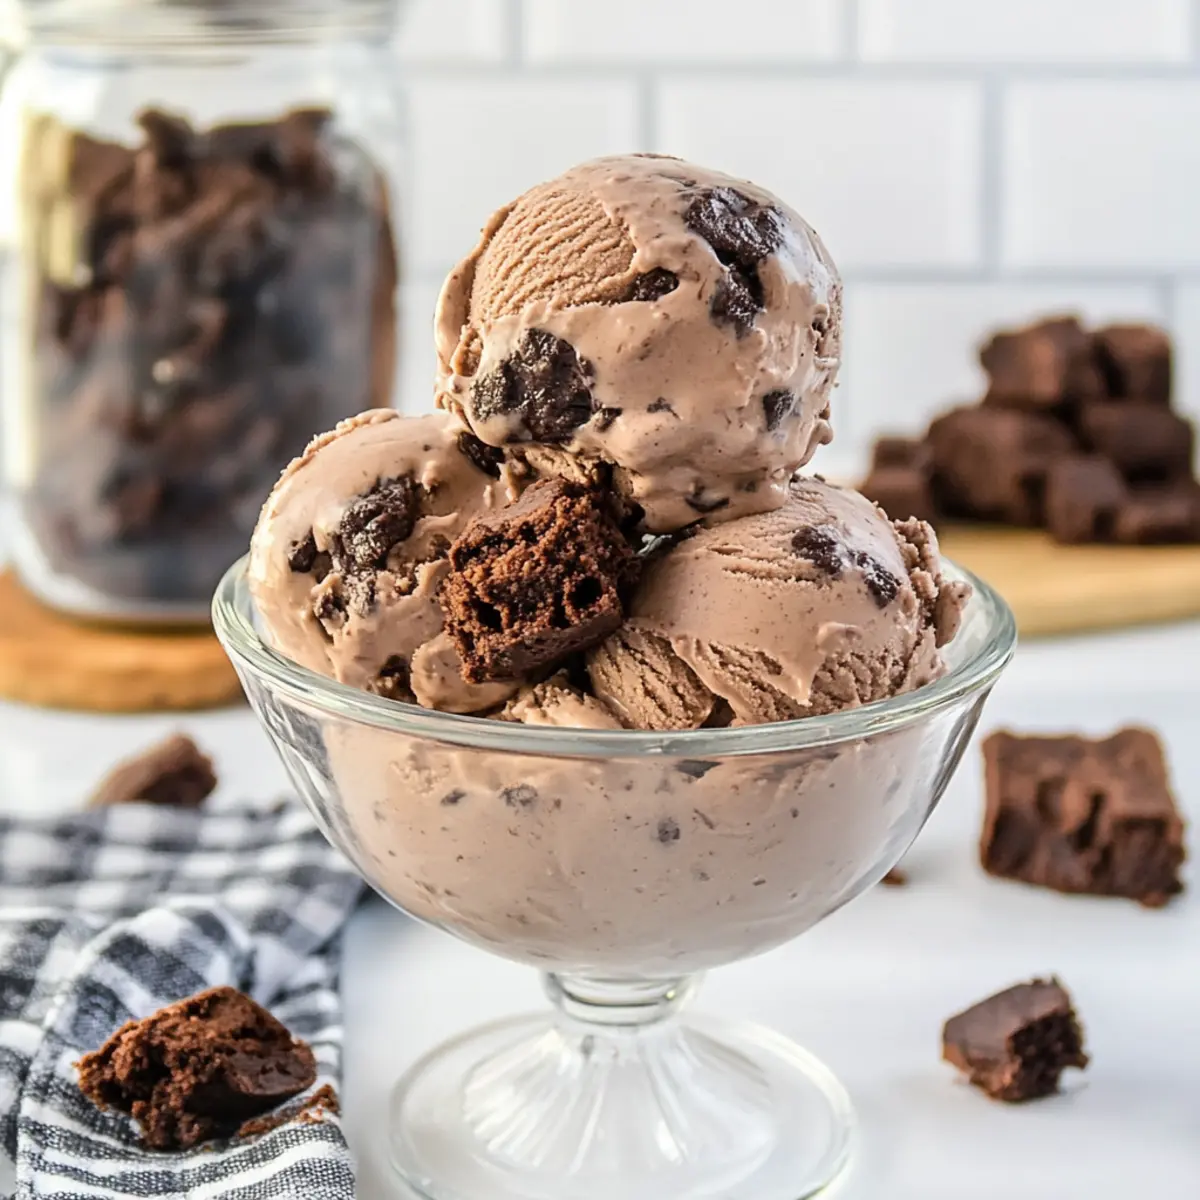
As I stood in my kitchen, the warm aroma of freshly baked brownies filled the air, instantly transporting me back to carefree summer days. That’s when the idea struck me—why not capture that nostalgic flavor in a creamy, no-churn Chocolate Brownie Ice Cream? This delightful dessert combines the luxuriously smooth texture of ice cream with the rich, chewy bites of chocolate brownie, and it comes together in just 15 minutes with only four ingredients! It’s an easy recipe that not only impresses friends and family but also satisfies those chocolate cravings without the hassle of an ice cream maker. Whether you’re looking for a quick treat after dinner or a crowd-pleaser for your next gathering, this creamy dream is bound to be a hit. Ready to uncover how to make this decadent delight? Let’s dive in!
Why is this recipe a must-try?
Simplicity: This no-churn Chocolate Brownie Ice Cream requires just four ingredients, making it a breeze for anyone, from novice cooks to seasoned chefs.
Decadent Treat: Imagine a creamy, smooth base filled with gooey brownie chunks, satisfying even the most intense chocolate cravings.
Quick to Prepare: With only 15 minutes of hands-on time, this dessert is perfect for last-minute entertaining or a sweet family treat.
Versatile Options: Feel free to customize with a vanilla twist or explore dairy-free adaptations that cater to different dietary preferences.
Crowd-Pleasing Delight: Whether for a casual night in or a special gathering, your guests will rave about this indulgent ice cream, coming back for seconds!
For other delectable treats, don’t miss out on my Pumpkin Spice Gooey cake or Decadent Chocolate Strawberry overnight oats.
Chocolate Brownie Ice Cream Ingredients
• Get ready to indulge in a heavenly dessert with these simple ingredients.
For the Ice Cream Base
- Heavy Whipping Cream – This ingredient provides creaminess and structure to your chocolate brownie ice cream.
- Cocoa Powder – Adding rich chocolate flavor, this is a must for any chocoholic; consider using Dutch-process cocoa for an intense taste.
- Sweetened Condensed Milk – Acts as a smooth sweetener and stabilizer, ensuring the ice cream stays perfect even without churning.
For the Brownie Mix-ins
- Chopped Brownies – These chewy chunks elevate the texture and chocolate richness; you can substitute with brownie cookies for a delightful twist.
With just these four ingredients, your chocolate brownie ice cream will be a creamy explosion of flavor and nostalgia!
Step‑by‑Step Instructions for Chocolate Brownie Ice Cream
Step 1: Whip the Cream
In a large mixing bowl, add 2 cups of heavy whipping cream and ½ cup of cocoa powder. Using an electric mixer, whip on medium-high speed for 2-3 minutes, or until the mixture forms stiff peaks. This will ensure your Chocolate Brownie Ice Cream has a light and airy texture, perfect for creamy scoops.
Step 2: Combine the Ingredients
Gradually pour in one 14-ounce can of sweetened condensed milk while continuing to mix on low speed. Be careful not to deflate the whipped cream. Mix until fully combined, and you’ll see a smooth, chocolatey base forming that radiates indulgence—the essence of delicious no-churn Chocolate Brownie Ice Cream.
Step 3: Fold in Brownie Chunks
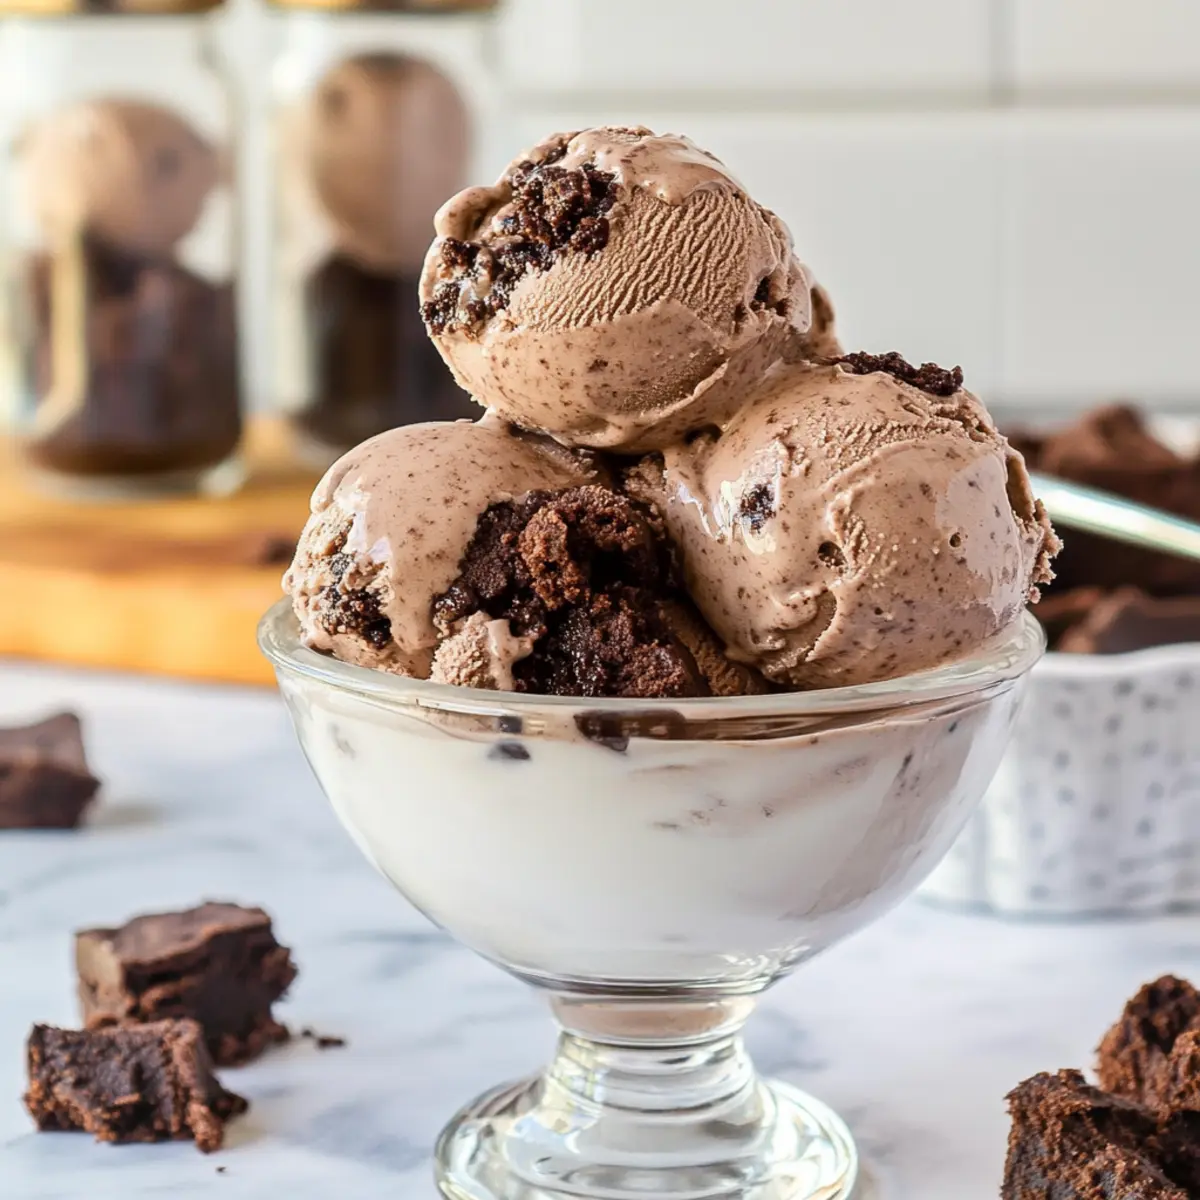
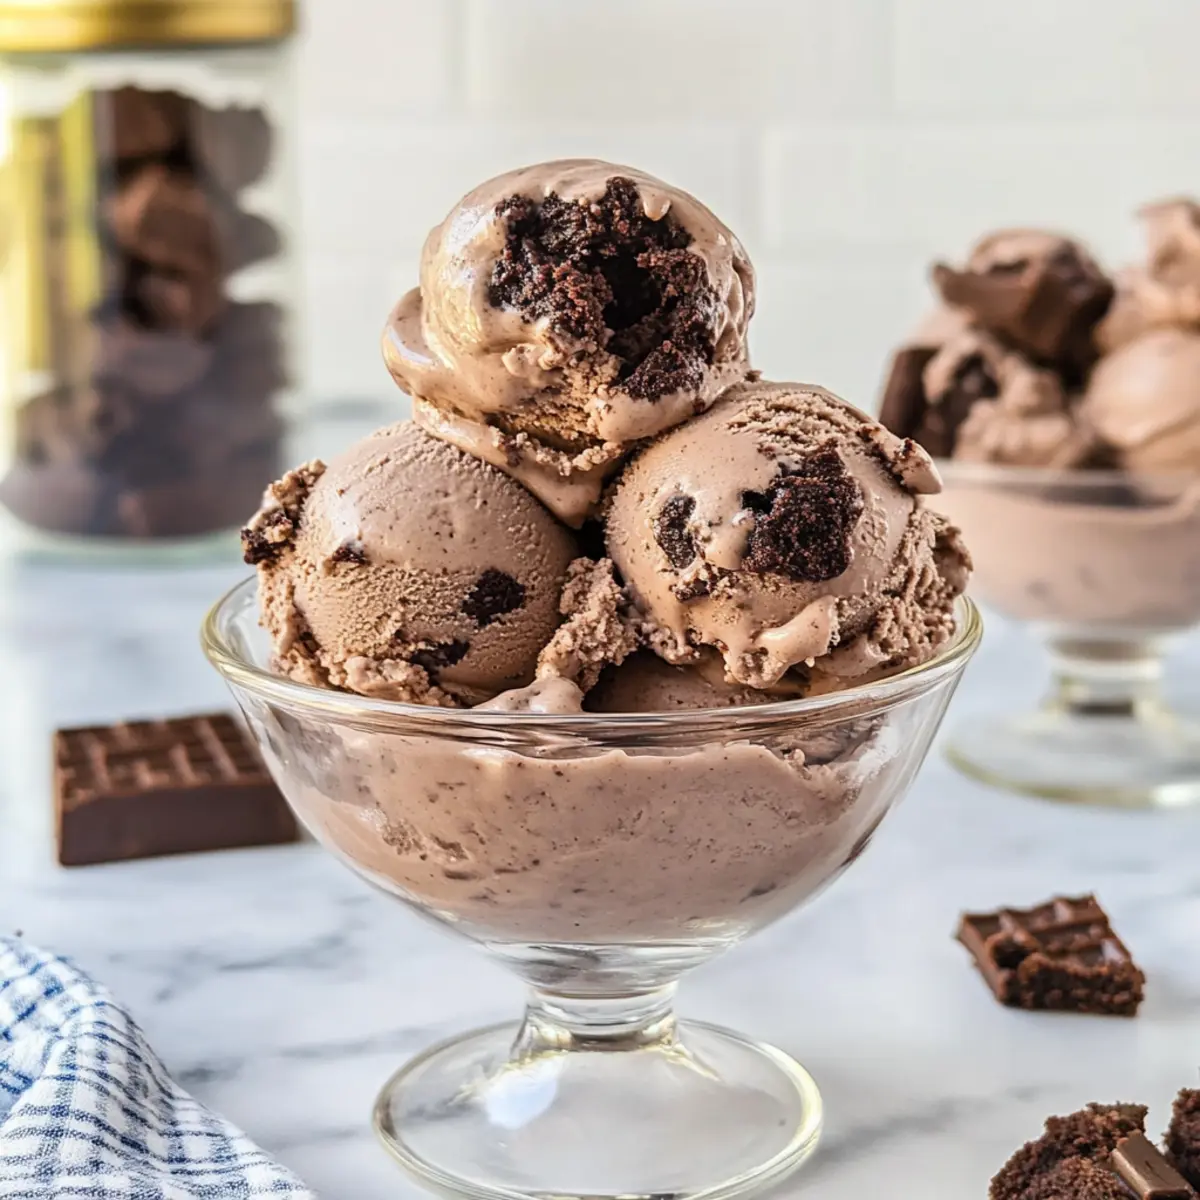
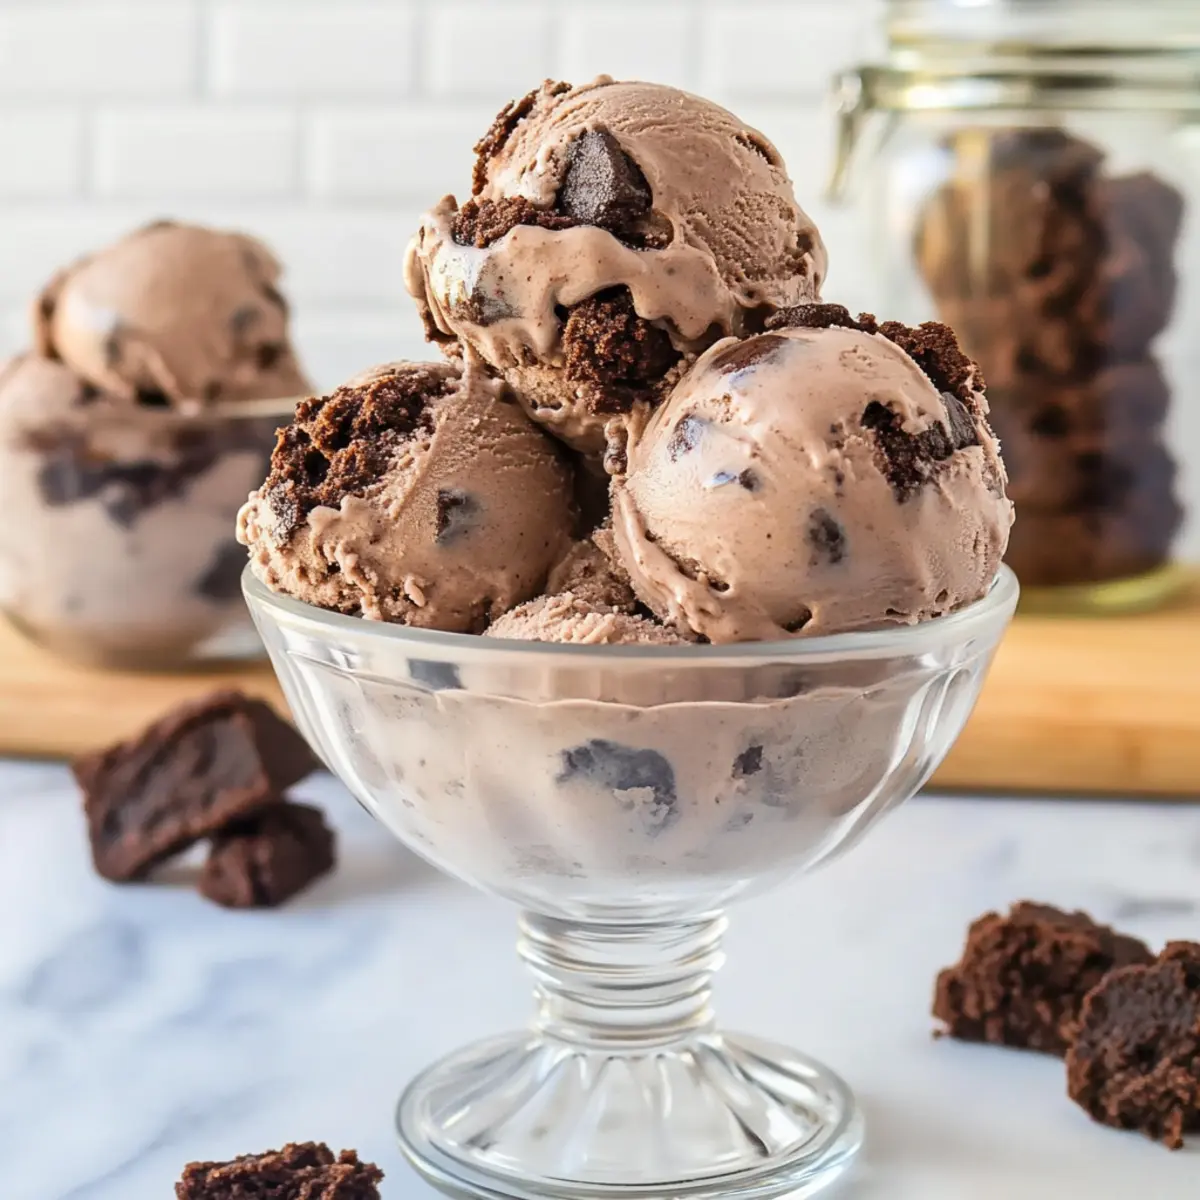
Gently fold in 1 cup of chopped brownies using a spatula. This is where the fun begins as those chewy brownie bits get nestled into the luscious chocolate ice cream base. Ensure the brownie pieces are evenly distributed throughout the mixture for that perfect bite of brownie in every scoop.
Step 4: Freeze the Mixture
Pour the entire mixture into a 9×5 inch loaf pan, smoothing the top with a spatula. Cover the pan tightly with plastic wrap to prevent ice crystals from forming. Place it in the freezer for at least 5 hours, or until solid. Patience is key here, so let those flavors meld beautifully while it transforms into a decadent frozen treat.
Step 5: Serve and Enjoy
Once your Chocolate Brownie Ice Cream is fully set, remove it from the freezer. Allow it to sit at room temperature for about 5 minutes before scooping. This will soften the ice cream just enough to make serving effortless, leaving you free to enjoy every creamy, chocolatey bite of your homemade masterpiece!
Make Ahead Options
These no-churn Chocolate Brownie Ice Cream is a fantastic option for busy home cooks looking to streamline dessert prep! You can whip together the ice cream base—a luscious combination of heavy whipping cream, cocoa powder, and sweetened condensed milk—up to 24 hours ahead of serving. Simply store the mixture in an airtight container in the refrigerator until you’re ready to fold in the chopped brownies. To maintain quality, cover the mixture tightly to prevent air exposure, which can lead to a loss of texture and flavor. Once ready to serve, pour it into your loaf pan, freeze for at least 5 hours, and delight in your deliciously prepared dessert that’s just as indulgent as if you made it fresh!
What to Serve with No-Churn Chocolate Brownie Ice Cream
Scoop into a harmonious dessert experience by complementing your creamy chocolate delight with these delightful pairings.
-
Whipped Cream: A dollop of fluffy whipped cream adds a light, airy contrast to the dense brownie ice cream, highlighting its richness.
-
Fresh Berries: Strawberries or raspberries bring a burst of tartness that beautifully balances the sweetness of the chocolate, creating a refreshing bite.
-
Chocolate Sauce: Drizzling warm chocolate sauce amplifies the decadence, enticing chocolate lovers to indulge even further.
-
Roasted Nuts: Chopped, toasted almonds or walnuts introduce a delightful crunch, providing texture and a nutty flavor that plays well with chocolate.
-
Mint Leaves: Garnishing with fresh mint brings a refreshing herbal note, elevating the ice cream’s rich flavors while adding a lovely pop of color.
-
Coffee: A warm cup of coffee pairs wonderfully with the chocolate brownie flavors, enhancing the taste while providing a cozy vibe.
Each pairing offers a unique texture or flavor element, enhancing your experience with this irresistible no-churn Chocolate Brownie Ice Cream!
Storage Tips for Chocolate Brownie Ice Cream
Fridge: Store any leftover Chocolate Brownie Ice Cream in the refrigerator for up to 3 days, but it’s best enjoyed fresh and frozen.
Freezer: Keep the ice cream in an airtight container or tightly covered loaf pan for optimal freshness, allowing it to last for up to 1 month in the freezer.
Serving: Before serving, let the ice cream soften at room temperature for about 5 minutes so it scoops easily, ensuring a delightful experience.
Avoid Freezer Burn: To prevent ice crystals, tightly cover the top with plastic wrap before sealing with a lid, keeping your ice cream smooth and creamy.
Chocolate Brownie Ice Cream Variations
Customize your no-churn chocolate brownie ice cream with these delightful twists that will elevate your dessert to new heights!
-
Vanilla Base: Substitute cocoa powder with 1-2 teaspoons of vanilla extract for a dreamy vanilla version.
The creamy backdrop will beautifully spotlight any mix-ins you choose to add. -
Dairy-Free Delight: Swap heavy cream and sweetened condensed milk with whipped coconut cream and coconut condensed milk for a plant-based treat.
Serve it with some toasted coconut flakes on top for an extra touch of flavor! -
Nutty Crunch: Toss in a handful of chopped nuts such as walnuts or pecans for added crunch and depth.
This variation combines the creamy texture of ice cream with a satisfying nutty bite, perfect for nut lovers. -
Chocolate Chip Explosion: Mix in ½ cup of chocolate chips for double the chocolate goodness.
Melted slightly into the ice cream, they create pockets of rich, gooey chocolate bliss. -
Mint Chocolate Swirl: Add a few drops of peppermint extract for a refreshing minty twist, and swirl in some chocolate sauce before freezing.
This invigorating flavor combination will transport you to an ice cream shop on a warm summer day! -
Spicy Kick: For an unexpected heat, sprinkle in a pinch of cayenne pepper or cinnamon.
This bold flavor contrasting with the sweetness makes for an exciting dessert experience that will surprise your taste buds. -
Brownie Cookie Variation: Instead of chopped brownies, use broken brownie cookies for a unique texture that adds a delightful bite.
This variation not only looks artful but also provides a fun crunch with every scoop.
As you explore these variations, feel free to mix and match! And while you’re at it, don’t miss out on my Hot Chocolate Poke or One Pot Skillet for even more sweet inspirations!
Helpful Tricks for Chocolate Brownie Ice Cream
-
Perfect Peaks: Whip the heavy cream until stiff peaks form; this crucial step gives your Chocolate Brownie Ice Cream its light, airy texture.
-
Gentle Mixing: When adding the sweetened condensed milk, mix gently on low speed to avoid deflating the whipped cream—a common mistake!
-
Brownie Distribution: Fold in the chopped brownies carefully to ensure every scoop is packed with delicious chunks; uneven distribution can lead to bites without brownies.
-
Freezing Tips: Use a covered loaf pan to prevent ice crystals from forming. This will keep your ice cream smooth and creamy, avoiding a grainy texture.
-
Soften Before Scooping: Let your Chocolate Brownie Ice Cream sit at room temperature for about 5 minutes before serving. This makes scooping easy, enhancing the experience!
Chocolate Brownie Ice Cream Recipe FAQs
How do I select the best heavy whipping cream?
When choosing heavy whipping cream, look for brands that are labeled “premium” or “ultra-pasteurized” for the best results. You want a cream that has at least 36% fat content for a rich, creamy texture. Also, check the expiration date, and choose one that has the most extended shelf life to ensure freshness when you’re ready to make your ice cream.
What’s the best way to store leftovers?
To keep your Chocolate Brownie Ice Cream fresh, store it in an airtight container in the freezer. You can also keep it in the loaf pan if you tightly cover it with two layers of plastic wrap. Properly stored, it will stay fresh for up to 1 month. If you notice any ice crystals forming on the surface, that’s a sign it needs more wrapping for protection!
Can I freeze Chocolate Brownie Ice Cream?
Absolutely! After you’ve prepared your chocolate brownie ice cream, pour the mixture into a loaf pan, cover tightly with plastic wrap or a lid, and freeze for at least 5 hours until solid. For longer storage, it can last up to 3 months if kept properly in an airtight container, but I recommend enjoying it within a month for the best flavor and texture.
What if my ice cream is too hard after freezing?
If your Chocolate Brownie Ice Cream is too hard to scoop, don’t worry! Just remove it from the freezer and let it sit at room temperature for about 5 minutes. This will allow it to soften slightly, making it easier to scoop. You can also try running your scooper under warm water before serving for an even smoother experience.
Is there a dairy-free option for this recipe?
Yes, you can easily make a dairy-free version of this Chocolate Brownie Ice Cream! Simply substitute the heavy whipping cream with whipped coconut cream and replace the sweetened condensed milk with coconut condensed milk. Make sure to use dairy-free brownies or brownie cookies as well. This way, everyone can indulge in this creamy delight!
How can I prevent ice crystals from forming in my ice cream?
To prevent ice crystals from forming, cover the surface of your Chocolate Brownie Ice Cream with plastic wrap directly touching the mixture before sealing it with a lid. This traps moisture and air out, which helps maintain its smooth and creamy texture. Additionally, store it at a stable temperature in the freezer, avoiding frequent opening and closing.
Irresistibly Creamy Chocolate Brownie Ice Cream Made Easy
Ingredients
Equipment
Method
- In a large mixing bowl, add 2 cups of heavy whipping cream and ½ cup of cocoa powder. Whip on medium-high speed for 2-3 minutes until stiff peaks form.
- Gradually pour in one 14-ounce can of sweetened condensed milk while mixing on low speed until fully combined.
- Gently fold in 1 cup of chopped brownies using a spatula until evenly distributed.
- Pour mixture into a 9x5 inch loaf pan, cover with plastic wrap, and freeze for at least 5 hours until solid.
- Once set, let sit at room temperature for about 5 minutes before scooping.
Leave a Reply