
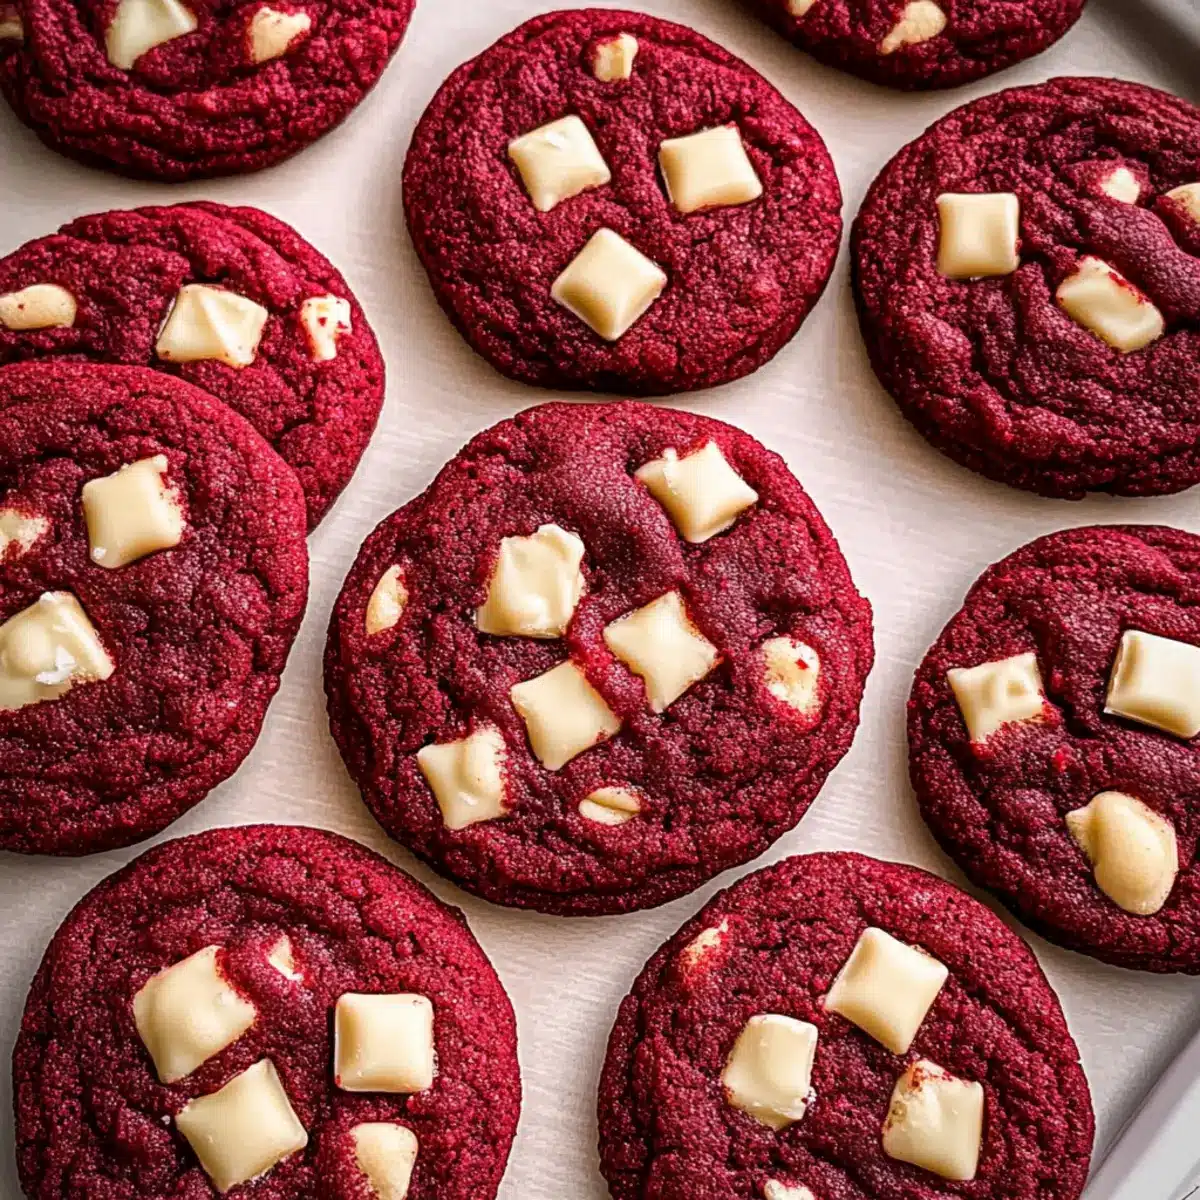
“Did you hear about those chewy red velvet cookies?” I overheard a friend raving, and my curiosity was instantly piqued. These cookies are not just visually stunning with their vibrant hue but also offer a delightful blend of subtle cocoa flavor and rich white chocolate chunks. What I love most about this Red Velvet Cookies recipe is how it requires zero chilling time, giving you fresh, warm cookies in under 30 minutes. Perfect for a quick indulgence or an impromptu gathering, they’re a delightful crowd-pleaser that will make your dessert table pop! If you’re ready to elevate your baking game and impress your friends and family, stay with me to bake the ultimate treat that will surely become a favorite. What’s your favorite occasion for baking something sweet?
Why Are Red Velvet Cookies So Irresistible?
Irresistible in both color and flavor: These cookies burst with a vibrant red hue that instantly catches the eye, making them perfect for special occasions. Quick to make: Ready in under 30 minutes, you can whip up a batch for unexpected guests or a cozy night in. Decadent white chocolate chunks add creamy sweetness with each bite, elevating these cookies to a new level of indulgence. Versatile treat: Pair them with a scoop of ice cream for a delicious dessert or package them as a thoughtful gift. Plus, if you adore cookies as much as I do, you might enjoy our Soft Pumpkin Cookies or Strawberry Crunch Cookies for more delightful inspiration!
Red Velvet Cookies Ingredients
• Taste the joy of baking with these delightful ingredients!
For the Cookie Dough
- All-Purpose Flour – Provides structure for the cookies; measure carefully to avoid excess.
- Dutch Process Cocoa Powder – Adds a hint of chocolate flavor; can be swapped with regular cocoa if needed.
- Baking Soda – Essential for rise; no substitutions recommended.
- Baking Powder – Offers extra lift; don’t replace with only baking soda.
- Salt – Enhances the overall flavor; use fine sea salt for the best outcome.
- Salted Butter (softened) – Contributes to chewiness and rich taste; unsalted butter can be used with added salt.
- Light Brown Sugar – Adds moisture and a subtle caramel note; granulated sugar can work in a pinch.
- Granulated Sugar – Sweetens the cookies without an alternate needed.
- Egg Yolks – Richens and binds the dough; whole eggs aren’t suitable here.
- Vanilla Extract – Imparts aromatic sweetness; imitation can be used, but expect a slight taste change.
- Red Gel Food Coloring – Gives cookies their striking red color; liquid coloring is a substitute, though it may affect texture.
- Chopped White Chocolate or Chips – Adds creamy sweetness; semi-sweet chocolate can be a delicious alternative.
Enjoy the process of whipping up these Red Velvet Cookies and watch them disappear!
Step‑by‑Step Instructions for Chewy Red Velvet Cookies with Melty White Chocolate Chunks
Step 1: Preheat and Prepare
Begin by preheating your oven to 350°F (175°C). While the oven is heating, line two baking sheets with parchment paper to prevent sticking. Make sure to set the baking sheets aside, as they’ll be needed for placing your delicious Red Velvet Cookies.
Step 2: Combine Dry Ingredients
In a medium-sized bowl, whisk together 2 cups of all-purpose flour, 2 tablespoons of Dutch process cocoa powder, 1 teaspoon of baking soda, 1 teaspoon of baking powder, and ½ teaspoon of salt. This mixture should be well-blended to ensure even distribution of the leavening agents, providing the perfect rise to your cookies.
Step 3: Cream the Butter and Sugars
In a large mixing bowl, cream together ¾ cup of softened salted butter, ½ cup of light brown sugar, and ½ cup of granulated sugar using a hand mixer on medium speed for about 2 minutes. The mixture should become light and fluffy, which is essential for achieving the chewy texture in your Red Velvet Cookies.
Step 4: Add Egg Yolks and Flavorings
Next, beat in 2 egg yolks, 1 teaspoon of vanilla extract, and 1 tablespoon of red gel food coloring to the creamed mixture. Continue to mix for another 2 minutes until the ingredients are thoroughly combined. The vibrant color will start to transform your dough, creating a beautiful base for your cookies.
Step 5: Mix Dry Ingredients into the Wet
Gradually add the dry ingredient mixture to the wet ingredients, stirring with a spatula or mixing on low speed until just combined. Be careful not to overmix, as this can affect the texture of your Red Velvet Cookies. You want a soft but well-integrated dough ready for the next step.
Step 6: Incorporate White Chocolate
Gently fold in 1 cup of chopped white chocolate or chips using a spatula, ensuring an even distribution throughout the dough. This will create delightful pockets of melted chocolate in each cookie, enhancing the sweet flavor profile of your Red Velvet Cookies.
Step 7: Shape the Cookie Dough
Using a cookie scoop or your hands, portion out the cookie dough into 18 equal balls, placing them about 2 inches apart on the prepared baking sheets. This spacing allows the cookies to spread while baking, ensuring each one maintains its shape and has enough room to form those irresistible chewy edges.
Step 8: Bake the Cookies
Place the baking sheets in the preheated oven and bake for 10-12 minutes. Keep an eye on them as they bake: for chewier centers, aim for the lower time, while a few more minutes will give you crispier edges. The cookies should look slightly puffed and set, with a vibrant red color.
Step 9: Cool the Cookies
After baking, remove the cookie sheets from the oven and let the cookies cool on the sheets for about 5 minutes. This will allow them to firm up slightly before transferring them to a wire rack to cool completely for an additional 5 minutes. They should be warm, fragrant, and just waiting to be enjoyed!
What to Serve with Chewy Red Velvet Cookies with Melty White Chocolate Chunks
Indulging in luscious red velvet cookies is a delightful treat, but pairing them with complementary flavors creates a full sensory experience.
-
Classic Vanilla Ice Cream: The creamy, cold texture contrasts beautifully with warm cookies, enhancing the cookie’s rich flavors.
-
Cream Cheese Frosting: A light spread of tangy cream cheese frosting not only adds flavor but also elevates the cookie experience to a cake-like indulgence.
-
Fresh Berries: Juicy strawberries or raspberries provide a refreshing contrast to the richness of the cookies, balancing sweetness with their natural tartness.
-
Gourmet Coffee: A warm cup of coffee enhances the flavors’ depth, making each bite of your red velvet cookies even more enjoyable.
-
Milkshake: An indulgent milkshake—vanilla or chocolate—adds a fun, nostalgic twist, perfect for dipping your cookies or sipping alongside them.
-
Chocolate Dipped Strawberries: These elegant treats mirror the rich chocolate notes in the cookies, making a beautiful addition to any dessert spread.
-
Homemade Whipped Cream: Light and airy whipped cream adds a touch of elegance that pairs beautifully with the cookies’ chewiness.
-
Chocolate Martini: For an adult twist, a rich chocolate martini makes for an indulgent pairing, suitable for special occasions.
Each of these suggestions will enhance your experience with the chewy red velvet cookies, creating an unforgettable moment that combines warmth, sweetness, and joy.
Red Velvet Cookies Variations & Substitutions
Feel free to get creative with these delightful red velvet cookies! Tailor them to your taste preferences and dietary needs for a truly personalized treat.
-
Richer Chocolate: Boost the chocolate flavor by increasing the cocoa powder to 1/4 cup. This adds an extra depth to every bite.
-
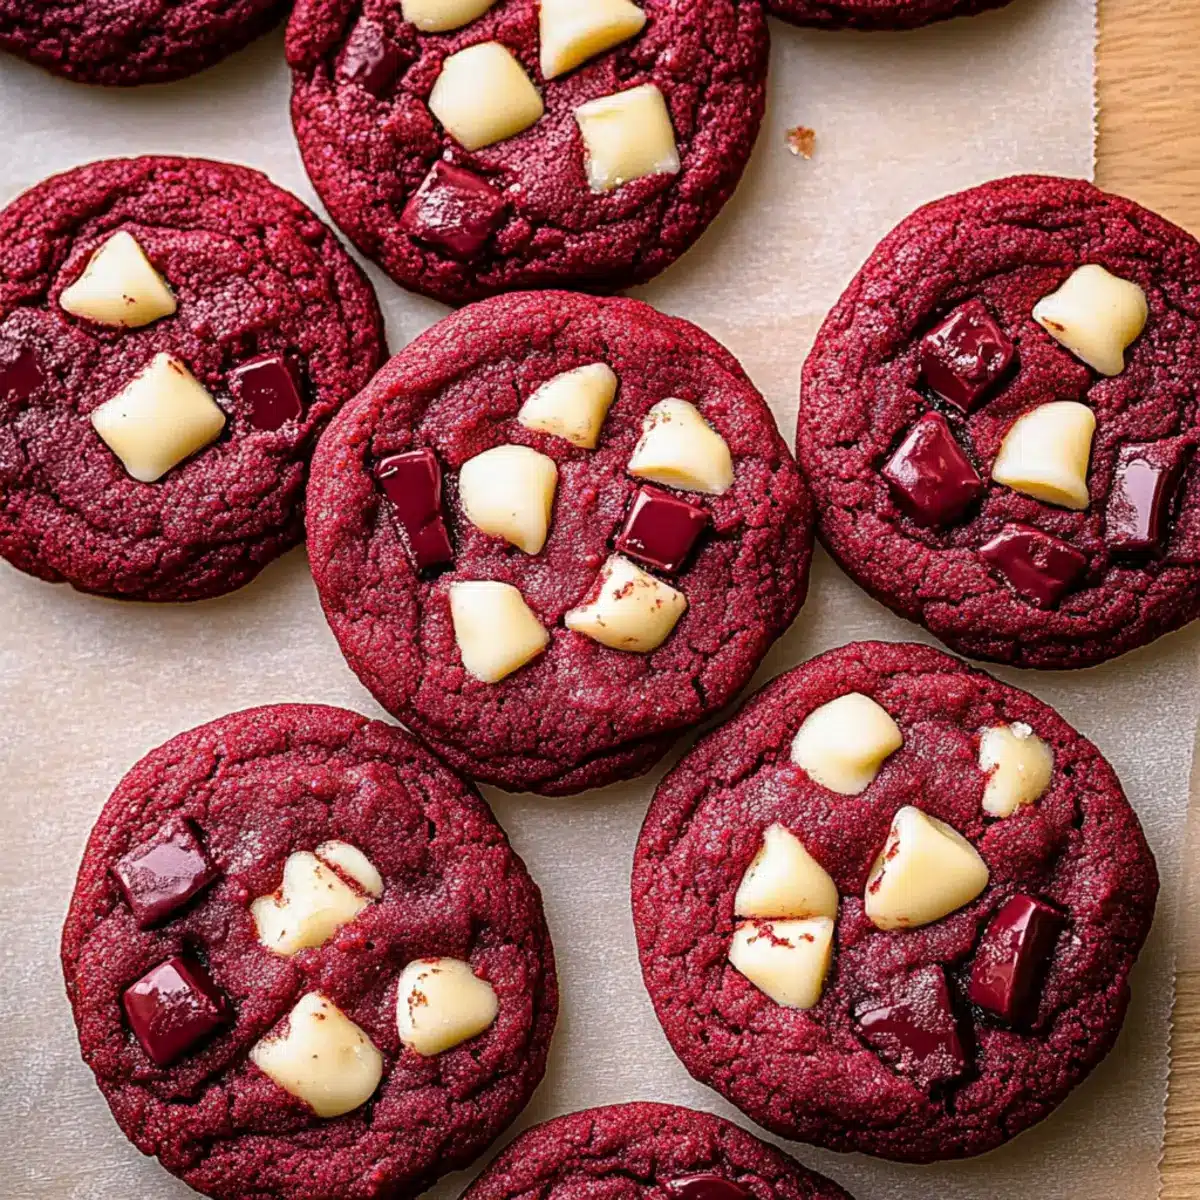
Chocoholic Delight: Substitute white chocolate with semi-sweet or dark chocolate chips for a rich flavor contrast. Each bite offers a decadent journey.
-
Cream Cheese Filling: Add a surprise cream cheese filling by placing a small dollop in the center of each cookie before baking. This twist is a game-changer!
-
Nutty Crunch: For extra texture, fold in 1/2 cup of chopped nuts like pecans or walnuts. Their crunch pairs beautifully with the chewy cookies.
-
Gluten-Free Option: Use a 1:1 gluten-free all-purpose flour blend as a substitute for traditional flour. Enjoy the same scrumptious taste without gluten!
-
Minty Fresh: Incorporate a few drops of peppermint extract for a refreshing mint flavor. This will take your cookies to a whole new festive level.
-
Spicy Kick: Add 1 teaspoon of cinnamon or a pinch of cayenne pepper for a warm and spicy finish. Sweet and heat make a compelling pair!
-
Toasty Coconut: Fold in 1/2 cup of sweetened shredded coconut for a tropical twist. The coconut adds an unexpected, delightful contrast to the chocolate flavor.
And for even more ideas, don’t forget to check out our Soft Pumpkin Cookies or Strawberry Crunch Cookies for some extra baking inspiration!
Expert Tips for Red Velvet Cookies
- Measure Accurately: Use the spoon and level method for flour to avoid dense cookies—too much flour leads to dry results.
- Butter Temperature Matters: Ensure your butter is truly softened for optimal creaming; cold butter won’t blend well.
- Avoid Overmixing: Mix the dough just until combined to keep your Red Velvet Cookies chewy and tender.
- Correct Baking Time: Watch your cookies closely; for chewier centers, aim for 10 minutes of baking time.
- Resting Period: Allow the cookies to cool on the baking sheets before transferring them to racks, ensuring they set perfectly.
Make Ahead Options
These Red Velvet Cookies are perfect for meal prep enthusiasts! You can prepare the cookie dough in advance and refrigerate it for up to 3 days. Simply mix all the ingredients as instructed but stop before baking. Once you’re ready to bake, scoop the dough onto baking sheets and follow the baking instructions directly. For longer storage, you can freeze the dough for up to 2 weeks—just make sure to thaw it in the refrigerator overnight before baking to maintain that delicious chewy texture. Whether you’re whipping up a quick dessert for a gathering or a sweet treat for yourself, these tips will ensure your cookies are just as delightful as freshly made!
Storage Tips for Red Velvet Cookies
- Room Temperature: Store your cookies in an airtight container at room temperature for up to 3 days to maintain their delicious chewiness.
- Fridge: You can store the cookies in the fridge for a longer freshness, lasting about a week. Just ensure they’re wrapped well to prevent drying out.
- Freezer: For longer storage, freeze your Red Velvet Cookies in a single layer within an airtight container for up to 2 weeks. Thaw them at room temperature before enjoying!
- Reheating: To warm them up, place the cookies in the microwave for about 10-15 seconds. This will enhance the melty white chocolate goodness!
Red Velvet Cookies Recipe FAQs
What type of flour should I use for the best Red Velvet Cookies?
For optimal results, it’s best to use all-purpose flour, as it provides the necessary structure for these cookies. Make sure to measure correctly by spooning it into your measuring cup and leveling it off; too much flour can lead to dry cookies.
How long can I store my Red Velvet Cookies?
You can store your cookies in an airtight container at room temperature for up to 3 days. For longer-lasting freshness, consider refrigerating them, which can extend their shelf life to about a week. Just ensure they’re wrapped properly to prevent them from drying out.
Can I freeze Red Velvet Cookies?
Absolutely! To freeze your cookies, first arrange them in a single layer on a baking sheet and place them in the freezer until solid. Then transfer them to an airtight container or zip-top bag for up to 2 weeks. When you’re ready to enjoy them, let them thaw at room temperature, and if you’d like, warm them briefly in the microwave for that freshly-baked taste!
I think my cookies turned out too dry. What could have gone wrong?
The most common culprit for dry cookies is using too much flour. Make sure to spoon and level your flour instead of scooping it directly from the bag. Another factor could be overbaking; even just a minute too long can dry out the cookies, so keep a close eye on them in the last few minutes of baking.
Can I use whole eggs instead of yolks in this recipe?
It’s best to stick with just egg yolks, as they provide richness and help bind the dough. If you substitute with whole eggs, the moisture content will change, possibly affecting the texture of your cookies. If you only have whole eggs, you may need to experiment with the liquid ingredients to achieve the right balance.
Are these Red Velvet Cookies safe for pets or people with allergies?
If you have pets, be cautious, as chocolate can be harmful to dogs and other animals. For allergies, note that this recipe contains common allergens like eggs, gluten, and dairy. If you’re serving these cookies to guests with allergies, it’s always best to check with them about their specific dietary needs before proceeding.
Light and Chewy Red Velvet Cookies with White Chocolate Bliss
Ingredients
Equipment
Method
- Preheat your oven to 350°F (175°C) and line two baking sheets with parchment paper.
- In a medium bowl, whisk together all-purpose flour, cocoa powder, baking soda, baking powder, and salt.
- In a large bowl, cream together the softened butter, light brown sugar, and granulated sugar until light and fluffy.
- Beat in the egg yolks, vanilla extract, and red gel food coloring until thoroughly combined.
- Gradually add the dry mixture to the wet mixture, stirring until just combined.
- Fold in the chopped white chocolate or chips until evenly distributed.
- Portion the cookie dough into 18 balls, placing them on the prepared baking sheets about 2 inches apart.
- Bake for 10-12 minutes until slightly puffed and set, then cool on the sheets for 5 minutes.
- Transfer cookies to a wire rack to cool completely for an additional 5 minutes.
Leave a Reply