
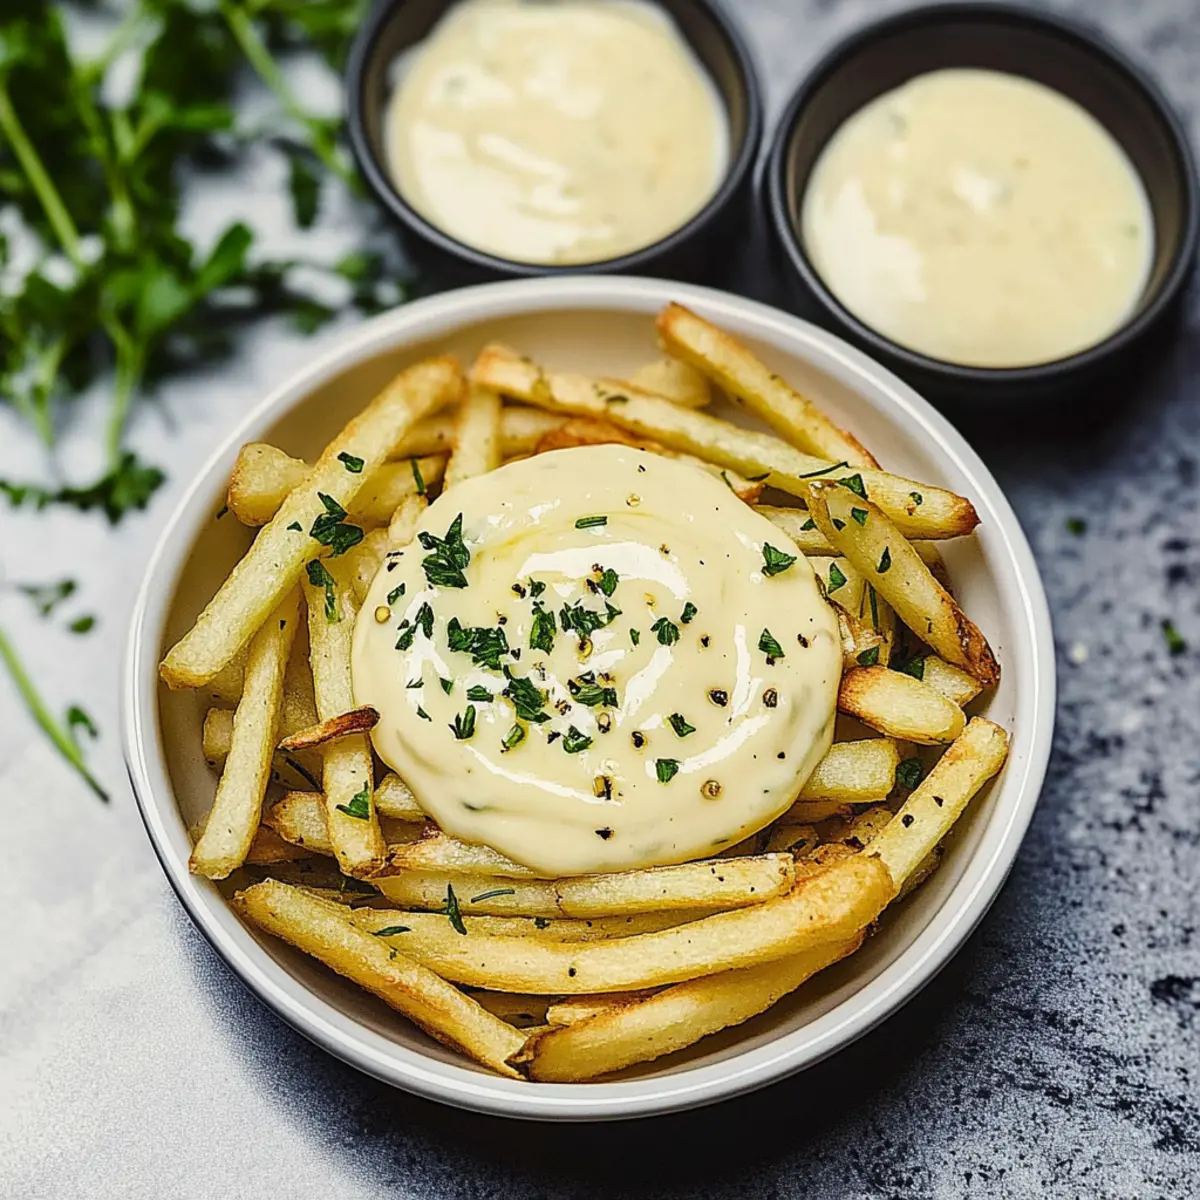
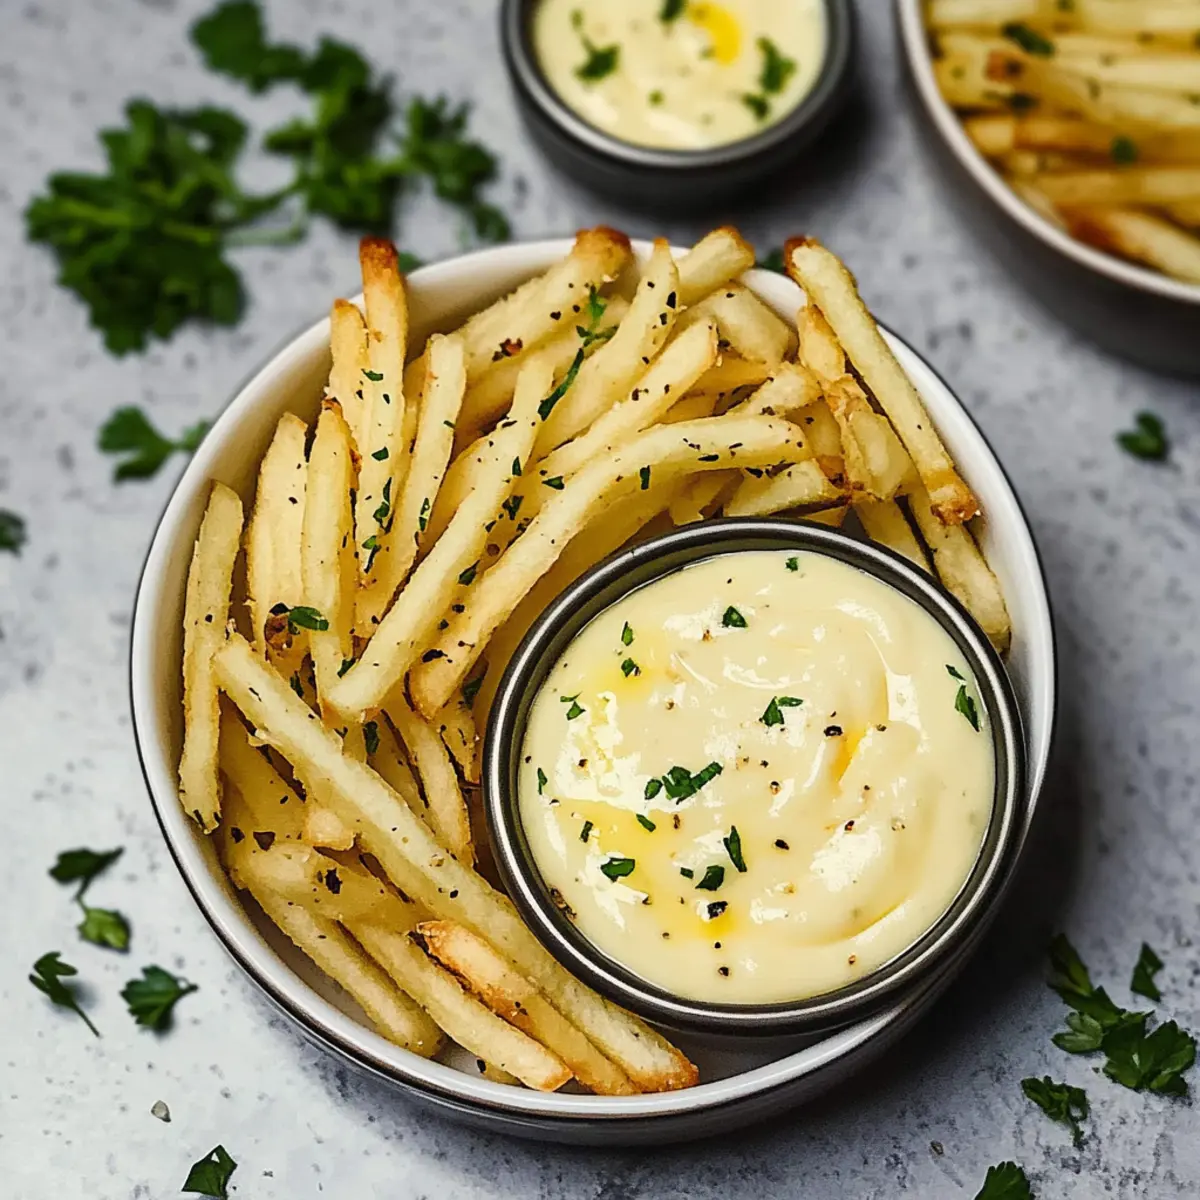
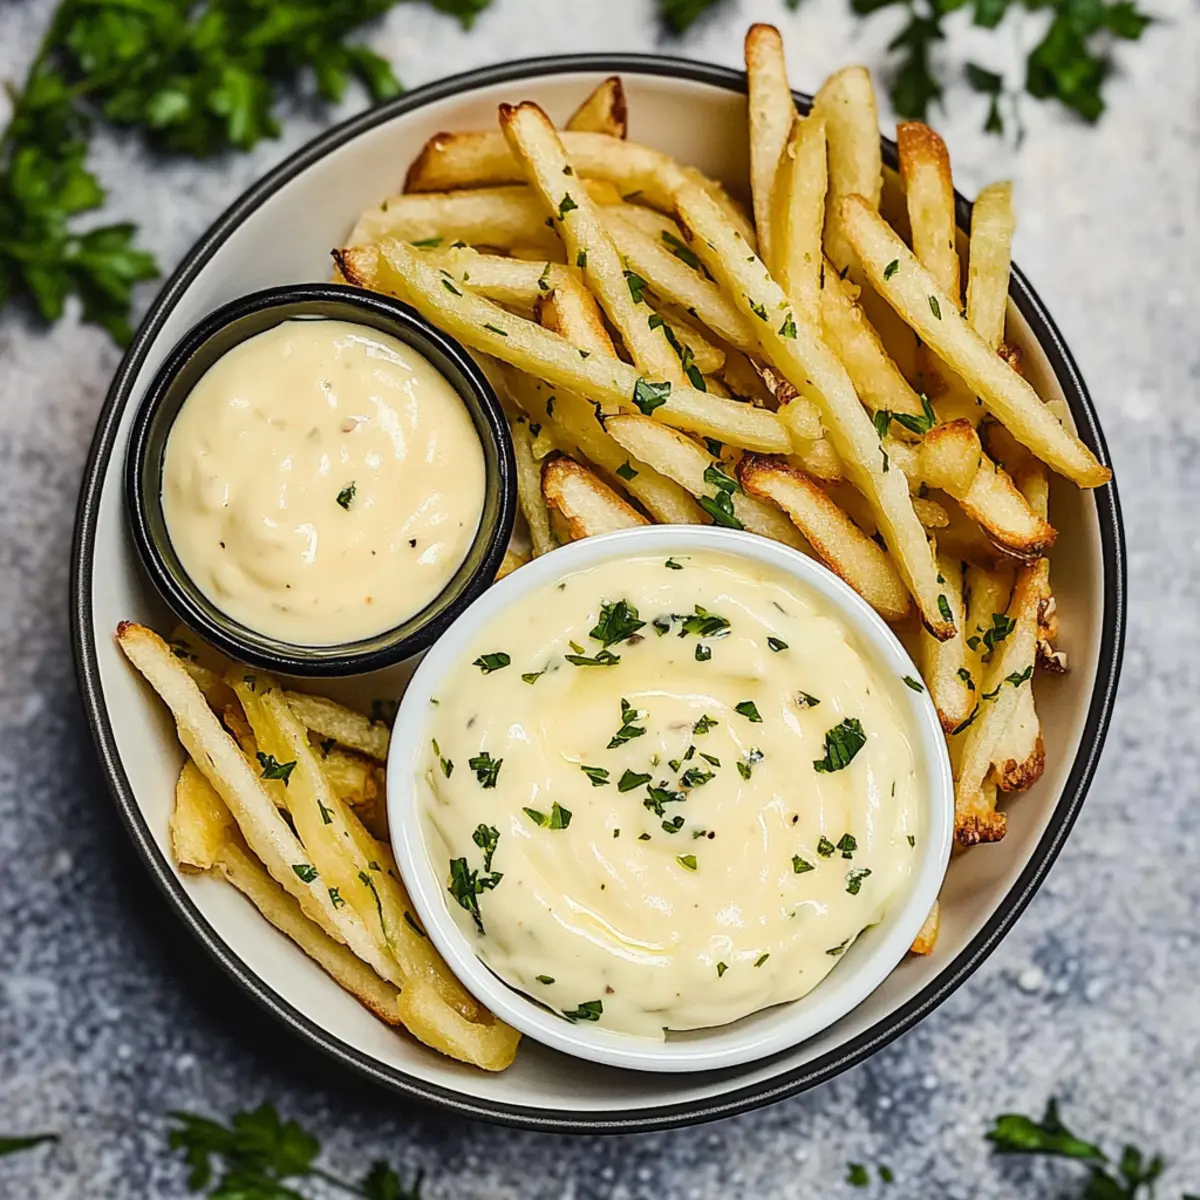
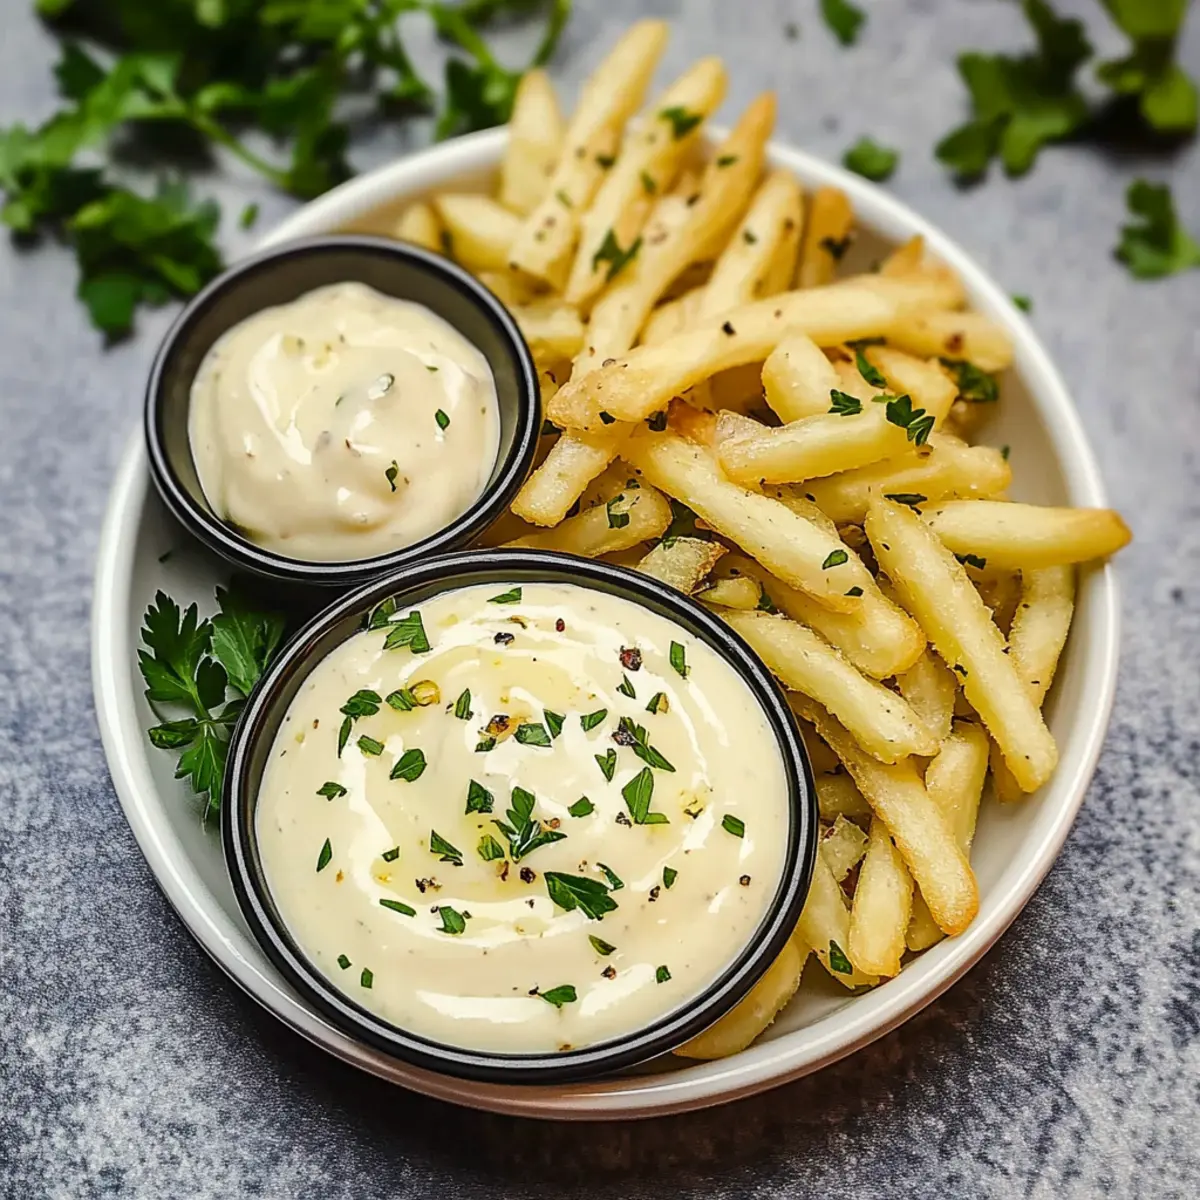
Aromas of garlic and fresh lemon dance through the kitchen as I prepare to whip up a batch of homemade aioli. This quick recipe is genuinely transformative; in just five minutes and with only five ingredients, I create a creamy condiment that elevates everything from crispy fries to fresh seafood. Unlike those store-bought options that often lack character, my homemade aioli offers a rich burst of flavor that is both satisfying and exciting. Plus, it’s gluten-free, making it a hero at gatherings for all to enjoy. Whether you’re dipping veggies, spreading on a sandwich, or experimenting with flavor variations like Sriracha or tarragon, you’ll find this aioli will quickly become a staple in your culinary repertoire. Are you ready to taste the magic you can craft at home?
Why is Homemade Aioli a Must-Try?
Simplicity at its best: Making homemade aioli is a breeze, requiring just five ingredients and five minutes of your time. Flavor explosion: Infuse your dishes with a rich garlic and lemon tang that store-bought versions simply can’t match. Versatile delight: Use it as a dip, spread, or sauce for an array of foods from crispy fries to fresh seafood. Customizable options: Experiment with exciting variations like Sriracha Aioli or herb-infused delights that cater to your unique palate. Crowd-pleasing favorite: This gluten-free condiment is sure to impress at any gathering, making it a staple in your kitchen!
Homemade Aioli Ingredients
• Elevate your cooking with these essentials!
For the Aioli
- Large egg – This is the critical base for emulsion and provides that creamy texture; avoid substitutes for authentic results.
- Fresh lemon juice (4 tsp) – Essential for brightness, and using freshly squeezed ensures the best flavor.
- Garlic clove (1, finely chopped) – Offers the classic aioli taste; feel free to adjust according to your garlic preference.
- Canola oil (½ cup) – A neutral oil perfect for emulsion; grapeseed is a suitable substitute if desired.
- Extra virgin olive oil (½ cup) – Contributes depth and richness; choose high-quality olive oil for optimal flavor.
- Kosher salt (½ tsp) – Enhances flavor; adjust to your own taste for perfect seasoning.
- Freshly ground black pepper (¼ tsp) – Adds warmth and a hint of spice to your aioli.
- Optional herbs (e.g., chopped fresh tarragon, 2 Tbsp) – Introduce lively, fresh notes; other herbs like dill or basil can work beautifully too.
With these essentials gathered, you’re just moments away from creating a luxurious homemade aioli that surpasses any store-bought version!
Step‑by‑Step Instructions for Homemade Aioli
Step 1: Combine base ingredients
In a food processor or blender, add 1 large egg, 1 finely chopped garlic clove, and 4 teaspoons of fresh lemon juice. Secure the lid tightly and pulse the mixture for about 10 seconds until smoothly blended. This will form the creamy emulsion base for your homemade aioli, essential for that rich texture you’re looking for.
Step 2: Add neutral oil
With the food processor running on a low setting, slowly drizzle in ½ cup of canola oil over a span of 30 seconds. Watch as the mixture gradually thickens and becomes creamy—this is the emulsion stage. If necessary, pause to scrape down the sides of the bowl, ensuring all ingredients are thoroughly combined for a delightful consistency.
Step 3: Incorporate olive oil
Transfer the thickened mixture to a large bowl, and while whisking vigorously, slowly incorporate ½ cup of extra virgin olive oil. Continue to whisk for another 30 seconds until the aioli is fully emulsified and reaches an even thicker texture. The beautiful blend of flavors in your homemade aioli truly begins to shine here, inviting you to taste the magic.
Step 4: Season
Now it’s time to season your aioli! Add ½ teaspoon of kosher salt and ¼ teaspoon of freshly ground black pepper. If you’re feeling adventurous, toss in any optional herbs like 2 tablespoons of chopped fresh tarragon for an aromatic twist. Stir the mixture well until all the seasoning is evenly distributed, enhancing the robust flavor of your aioli.
Step 5: Serve or store
Your homemade aioli is ready to shine! Serve immediately as a dip for crispy fries, seafood, or veggies, or spread it on sandwiches for added richness. If you’re not using it right away, store the aioli in an airtight container in the refrigerator for up to 4 days. This quick homemade aioli is sure to become a staple in your kitchen!
Homemade Aioli Variations & Substitutions
Feel free to experiment with these variations to make the perfect aioli that suits your taste buds!
-
Spicy Sriracha:
Add 1-2 teaspoons of sriracha or your favorite hot sauce for a kick of heat. This spicy twist will wake up your taste buds and add a delightful zing! -
Herb-Infused Delight:
Blend in fresh herbs like basil, parsley, or dill for a refreshing twist. The vibrant colors and flavors of herbs will brighten your aioli and pair beautifully with veggies or sandwiches. -
Truffle Aioli:
Incorporate a drizzle of truffle oil for extravagant richness. The complex, earthy flavors of truffle will elevate the entire experience, making it a luxurious addition to any dish. -
Smoky Chipotle:
Mix in ½ teaspoon smoked paprika and a teaspoon of adobo sauce for a smoky flavor that adds depth and warmth. Perfect for those who crave a new dimension to their aioli. -
Zesty Lemon-Dill:
Swap in lemon zest and stir in chopped fresh dill for a bright and refreshing twist. This is a fantastic option for topping grilled fish or veggies! -
Roasted Garlic Aioli:
Instead of using fresh garlic, roast a whole garlic bulb until sweet and tender, then blend it in. This luscious alternative offers a subtler, sweeter garlic flavor that’s simply irresistible. -
Mediterranean Olive-Aioli:
Stir in finely chopped kalamata olives for a savory Mediterranean flavor. This variation brings a briny goodness that pairs perfectly with warm pita and veggies. -
Avocado Aioli:
Blend in half a ripe avocado for a creamy texture and a dose of healthy fats. This twist not only adds richness but also a vibrant color, making your aioli stand out.
As you personalize your aioli with these flavorful variations, don’t hesitate to pair it with dishes like fries or seafood for an unforgettable experience. Each twist offers a unique avenue for culinary creativity! For more delightful inspirations, explore recipes like Grilled Cheese Burrito that can complement your homemade condiments!
How to Store and Freeze Homemade Aioli
Fridge: Store your homemade aioli in an airtight container in the refrigerator for up to 4 days. This will keep it fresh while maintaining its creamy texture.
Freezer: Freezing is not recommended, as it can cause the emulsion to break, leading to a watery consistency once thawed.
Reheating: If your aioli has thickened in the fridge, give it a gentle stir before serving. For a smoother consistency, add a teaspoon of water or lemon juice to adjust.
Use: Enjoy your aioli as soon as possible for the best flavor and texture, enhancing your favorite dishes!
Make Ahead Options
These Easy Homemade Aioli recipes are perfect for busy cooks looking to save time! You can prepare the aioli up to 4 days in advance. Simply whip up the base—blend the egg, garlic, and lemon juice—then add the oils and seasonings, ensuring a smooth consistency. To maintain quality, store the aioli in an airtight container in the refrigerator, preventing oxidation and keeping it fresh. When you’re ready to serve, just give it a quick stir to re-emulsify any separation that may occur. This way, you can enjoy a delightful homemade condiment whenever you need a flavor boost, all with minimal last-minute effort!
What to Serve with Easy Homemade Aioli?
Nothing elevates your meal quite like a delightful aioli that tantalizes the taste buds and complements a variety of dishes.
- Crispy French Fries: Perfect for dipping, these fries create a satisfying crunch partnered with the creamy richness of aioli.
- Grilled Vegetables: The smoky flavor of grilled veggies pairs beautifully with aioli’s garlicky warmth, making a colorful and nutritious side.
- Roasted Seafood: Whether it’s shrimp or fish, the rich aioli enhances the natural flavors, providing a delicious contrast to the ocean’s freshness.
- Savory Burgers: Slather aioli on juicy burgers to bring an upscale twist to a classic favorite, delighting your guests with each bite!
- Fresh Veggie Platter: Crisp veggies like carrots and cucumbers become irresistible when dunked in homemade aioli, adding flavor to your crisp bites.
- Crusty Bread: Spread aioli on warm, crusty bread for a quick and delicious appetizer that showcases every element of its creamy texture.
- Salads: Drizzle aioli over your favorite greens to act as a tasty dressing or dip for added flavor that brightens up every leaf.
- Wine Pairing: A chilled white wine such as Sauvignon Blanc balances the richness of the aioli, crafting a delightful dining experience.
- Dessert Finish: End your meal with lemon sorbet; its refreshing, zesty notes echo the bright flavors of aioli, leaving your palate satisfied.
Expert Tips for Homemade Aioli
-
Add Oil Slowly: Emulsification is key; adding the canola oil too quickly can cause your homemade aioli to break. Drizzle it in gradually for a perfect texture.
-
Use Fresh Ingredients: For the best flavor, use fresh lemon juice and high-quality extra virgin olive oil. This makes a world of difference in your aioli!
-
Adjust Garlic Levels: Start with 1 garlic clove, but feel free to adjust according to your taste preference. If you enjoy a milder flavor, consider roasting the garlic first.
-
Keep it Cool: If serving at a gathering, keep your aioli chilled until ready to serve. This will help retain its creamy consistency and fresh taste.
-
Flavor Variations: Get creative! Incorporate different herbs or spices—like sriracha for heat or smoked paprika for depth—to make your homemade aioli truly unique.
Homemade Aioli Recipe FAQs
What type of egg should I use for homemade aioli?
Absolutely! A large, fresh egg is essential for creating the perfect emulsion. This egg acts as the base that provides that signature creamy texture. It’s best not to substitute it, as you want the authentic richness that a whole egg delivers.
How should I store homemade aioli?
Store your homemade aioli in an airtight container in the refrigerator, where it will remain fresh for up to 4 days. If you notice any dark spots or changes in color, it’s best to discard it. Always give it a good stir before serving, as it may thicken slightly while resting.
Can I freeze homemade aioli?
Freezing is not recommended for homemade aioli. The emulsion can break when thawed, resulting in a watery consistency that won’t have the smooth texture you desire. If you want to make a batch ahead of time, it’s best to stick to refrigeration and enjoy it within a few days.
What if my aioli doesn’t thicken?
If your aioli isn’t thickening, it likely means that the oil was added too quickly during emulsification. To fix this, you can try to restart the process by placing the mixture in a clean bowl and slowly whisking in a new egg yolk or some additional oil very gradually until you achieve the desired thickness. Be patient—it’s all about that slow drizzle!
Is homemade aioli safe for those with allergies?
Homemade aioli contains raw egg, which may pose a risk for some, especially those with weakened immune systems, pregnant women, or very young children. Use pasteurized eggs if desired for safety. Always check with your guests regarding allergies, especially to garlic and eggs, to ensure everyone enjoys this delightful condiment!
Revitalize Your Dishes with Easy Homemade Aioli Bliss
Ingredients
Equipment
Method
- In a food processor or blender, add 1 large egg, 1 finely chopped garlic clove, and 4 teaspoons of fresh lemon juice. Secure the lid tightly and pulse the mixture for about 10 seconds until smoothly blended.
- With the food processor running on a low setting, slowly drizzle in ½ cup of canola oil over a span of 30 seconds. Pause if necessary to scrape down the sides of the bowl.
- Transfer the thickened mixture to a large bowl, and while whisking vigorously, slowly incorporate ½ cup of extra virgin olive oil. Continue to whisk until fully emulsified.
- Add ½ teaspoon of kosher salt and ¼ teaspoon of freshly ground black pepper. Stir well until all the seasoning is evenly distributed.
- Serve immediately as a dip or spread, or store in an airtight container in the refrigerator for up to 4 days.
Leave a Reply