
As I stood in my kitchen, the scent of ripe bananas began to swirl around me, instantly transporting me to springtime gatherings filled with joy and laughter. The inspiration for these Banana Pudding Easter Truffles dawned on me during a recent craving for something sweet yet simple; they combine the classic flavors of banana pudding with a playful twist. Not only are these no-bake delights a breeze to whip up, making them perfect for busy home chefs, but they also present beautifully in vibrant pastel colors, ready to impress at your Easter celebrations. Whether you’re looking to treat your family or share a gift with friends, these truffles are sure to spark smiles all around. Curious about how to create this festive treat? Let’s dive into the recipe!
Why are Banana Pudding Easter Truffles a Must-Try?
Indulgent, creamy flavor: With rich banana pudding mixed into a delightful truffle, each bite is a nostalgic experience.
No-bake convenience: These truffles come together quickly, perfect for those busy days when you need a sweet treat without the oven hassle.
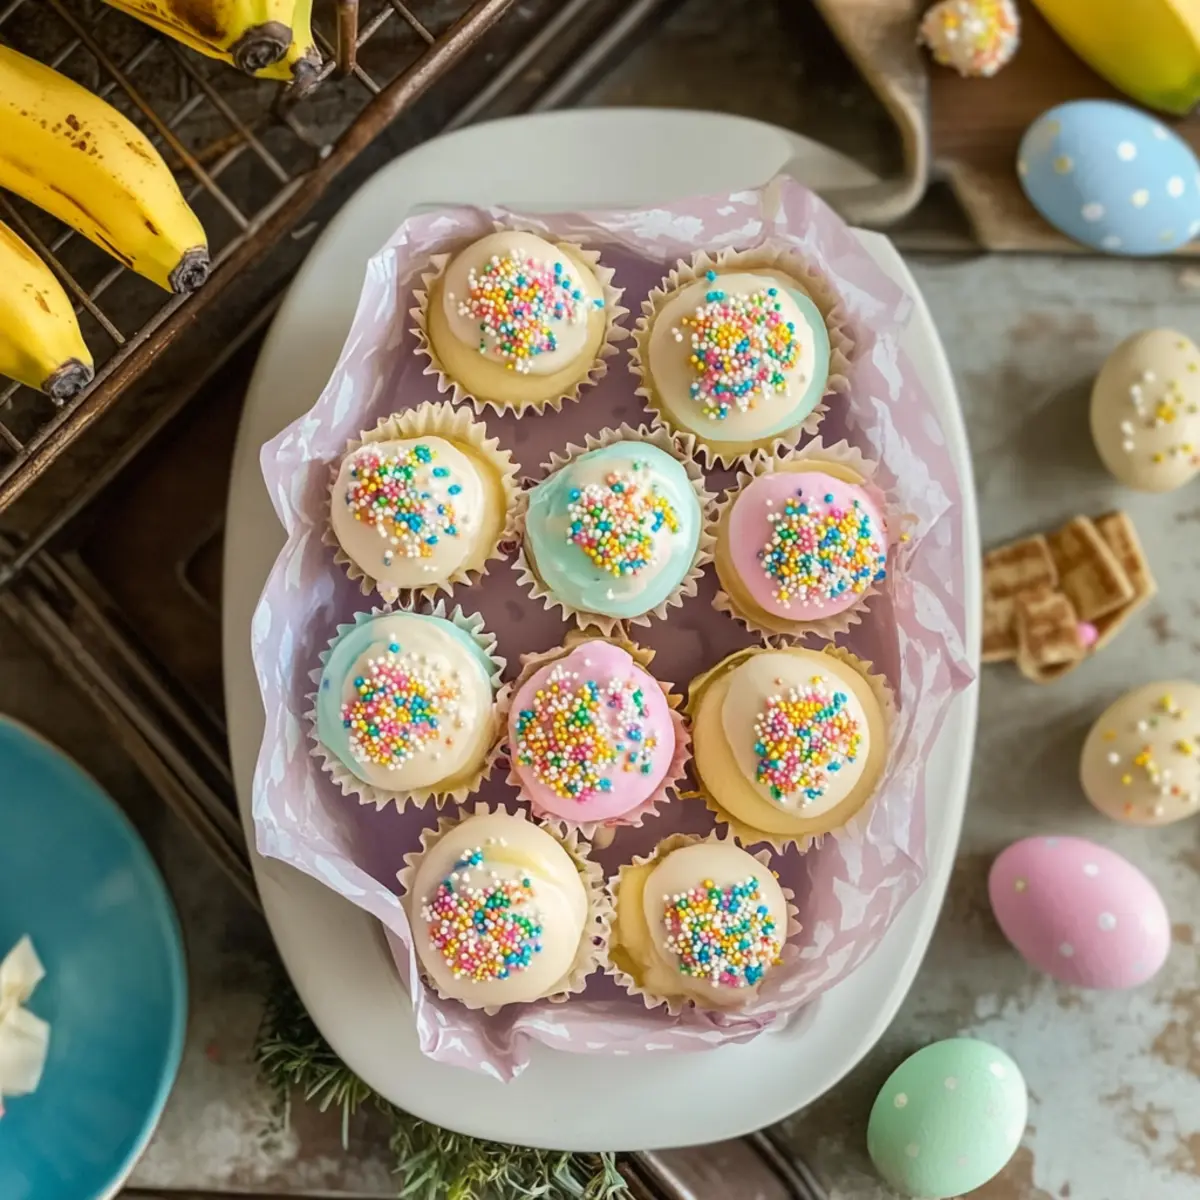
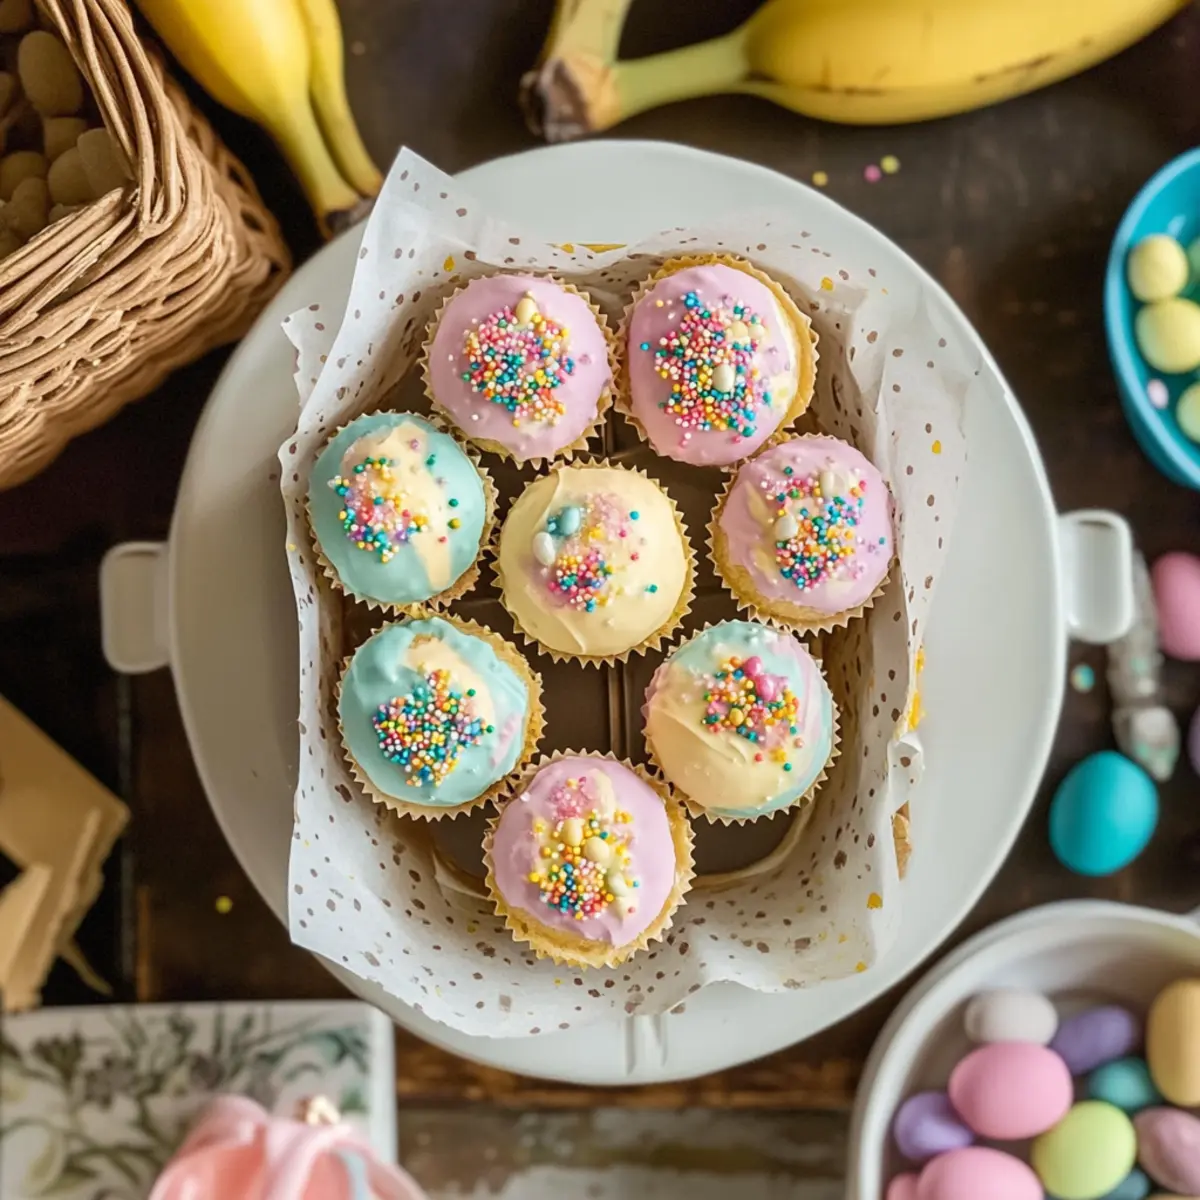
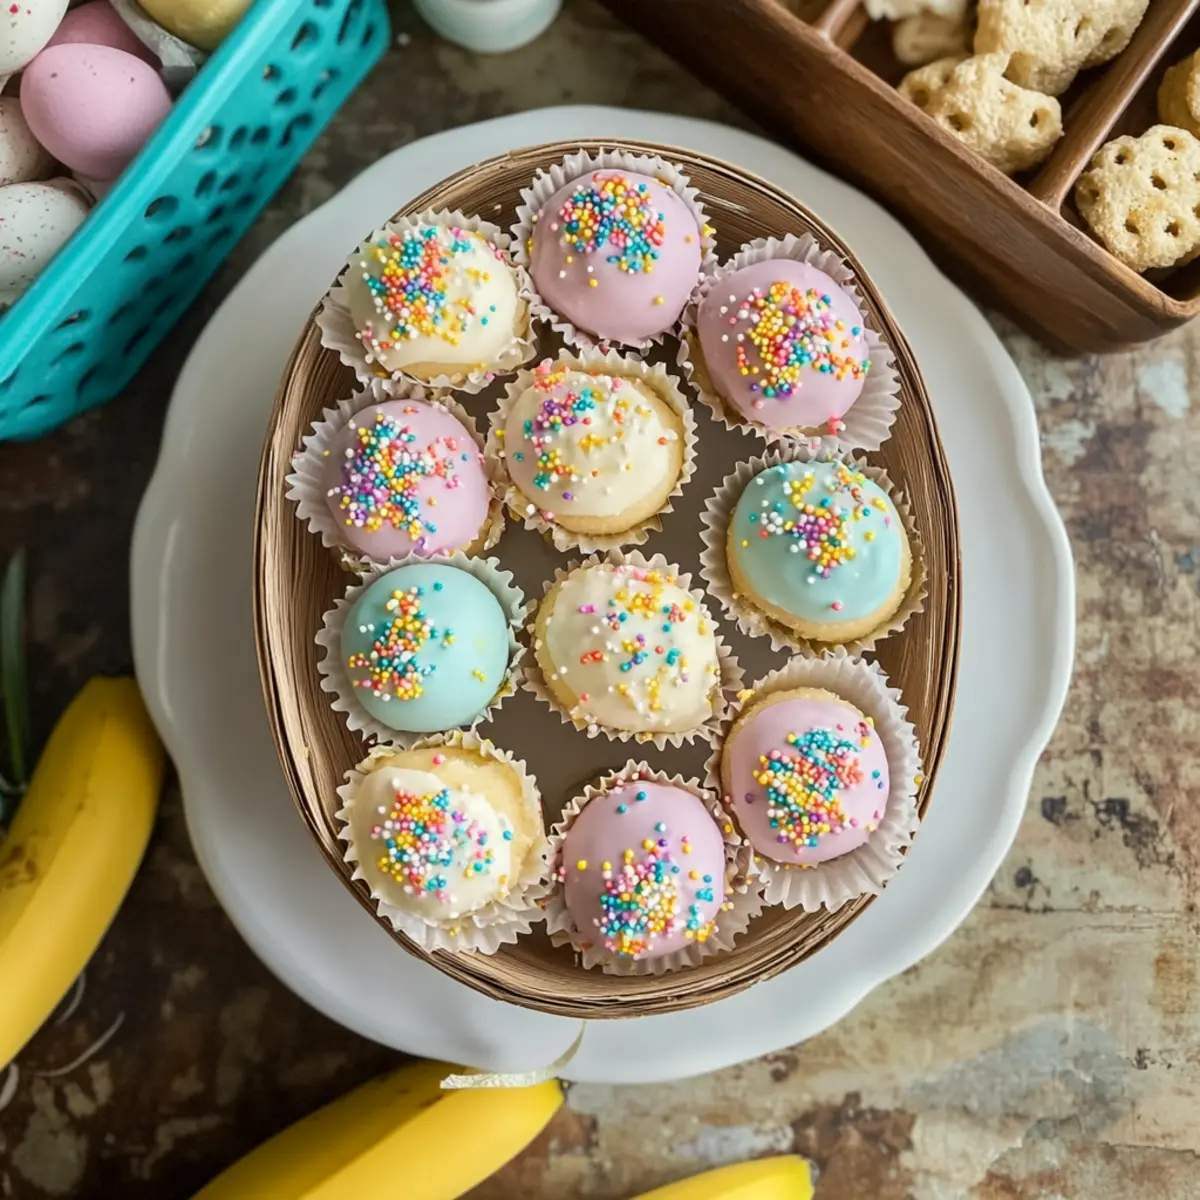
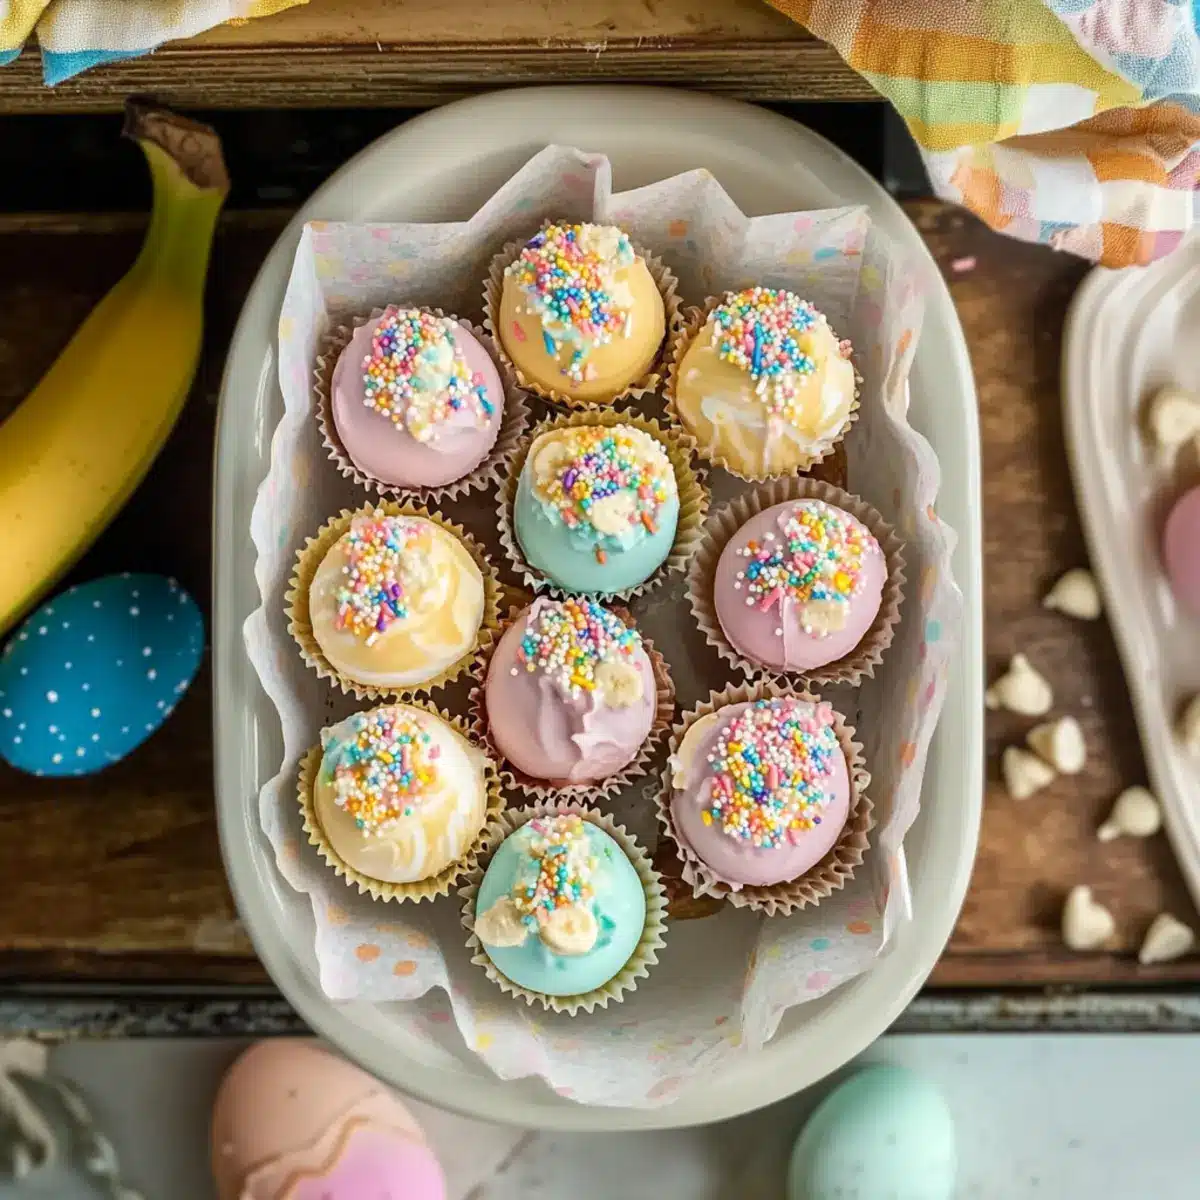
Festive presentation: Dipped in vibrant chocolate and adorned with festive sprinkles, they’re a cheerful addition to any Easter table.
Kid-friendly joy: Suitable for all ages, this recipe is a great way to get children involved in the kitchen, introducing them to fun cooking experiences.
Versatile flavors: Feel free to customize with variations like Coconut Banana Truffles or Peanut Butter Banana Truffles, allowing for creativity in every batch!
Banana Pudding Easter Truffles Ingredients
For the Truffle Mixture
• Crushed Vanilla Wafers – Provides the base flavor and texture; you can substitute with graham crackers if unavailable.
• Cream Cheese – Adds creaminess and richness to the filling; for a lighter touch, consider using mascarpone.
• Banana Pudding Mix – Essential for flavor; choose a high-quality mix for the best taste.
• Milk – Helps combine the ingredients smoothly; any milk variant works (dairy or non-dairy).
• Vanilla Extract – Enhances flavor depth; it’s optional for a simpler taste.
For Coating and Decoration
• White Chocolate Chips or Candy Melts – For coating the truffles, providing sweetness and a beautiful finish; can substitute with dark or milk chocolate.
• Food Coloring (Optional) – Customize the chocolate color; using gel colors offers vibrant shades.
• Crushed Vanilla Wafers and Easter Sprinkles (Optional) – For decoration and added textural contrast, making your truffles pop visually.
Enjoy creating these delicious Banana Pudding Easter Truffles and watch as they become a beloved treat at your festive gatherings!
Step‑by‑Step Instructions for Banana Pudding Easter Truffles
Step 1: Make the Truffle Mixture
In a large mixing bowl, combine the crushed vanilla wafers, softened cream cheese, banana pudding mix, milk, and optional vanilla extract. Mix these ingredients thoroughly with a spatula or electric mixer until a smooth dough forms, with no lumps visible. This should take about 3-4 minutes. The mixture should be slightly tacky but manageable, setting the foundation for your delicious Banana Pudding Easter Truffles.
Step 2: Shape the Truffles
Using a tablespoon, scoop out portions of the truffle mixture and roll them into balls about 1 inch in diameter. Place each ball on a parchment-lined baking sheet or tray. Make sure the truffles don’t touch each other to avoid sticking. Once shaped, chill the tray in the refrigerator for 30 to 45 minutes, allowing the truffles to firm up and hold their shape during coating.
Step 3: Melt the Chocolate
While the truffles chill, prepare the chocolate coating. In a microwave-safe bowl, add white chocolate chips or candy melts. Microwave them in 30-second intervals, stirring in between, until the chocolate is fully melted and smooth—this process takes about 1.5 to 2 minutes in total. If you want vibrant colors for your Banana Pudding Easter Truffles, add a few drops of gel food coloring and mix well until the color is evenly incorporated.
Step 4: Coat the Truffles
Once your truffles are firm and the chocolate is melted, dip each truffle into the chocolate, ensuring they are fully covered. Allow any excess chocolate to drip off before placing them back on the parchment-lined tray. Repeat this process until all truffles are coated in the luscious chocolate, creating a beautiful shell for each Banana Pudding Easter Truffle.
Step 5: Decorate the Truffles
While the chocolate coating is still wet, sprinkle the tops of the truffles with crushed vanilla wafers and Easter-themed sprinkles for an extra festive touch. Use your creativity here—this step is all about making each truffle unique and visually appealing, perfect for your spring celebrations!
Step 6: Let Them Set
Allow the coated truffles to set at room temperature for 15 minutes or place them in the refrigerator for an additional 15-20 minutes until the chocolate hardens completely. They will be ready to enjoy once the chocolate has solidified, ensuring a delightful bite for each Banana Pudding Easter Truffle.
Step 7: Serve and Enjoy
Once set, arrange your delightful Banana Pudding Easter Truffles in decorative bowls or gift boxes to share with family and friends. Whether at a festive gathering or as a sweet gift, these truffles are sure to bring smiles and joy to all who taste them!
Make Ahead Options
These Banana Pudding Easter Truffles are a fantastic option for meal prep enthusiasts! You can prepare the truffle mixture up to 24 hours in advance; simply shape the balls and refrigerate them until you’re ready to coat them in chocolate. To maintain their delicious texture, store them in an airtight container while chilling. When you’re ready to serve, melt the chocolate, coat the truffles, and let them set—either at room temperature for about 15 minutes or in the fridge for an additional 15-20 minutes. This way, you can enjoy your festive treats without the last-minute rush, making entertaining effortless!
Storage Tips for Banana Pudding Easter Truffles
Fridge: Store in an airtight container for up to 5 days to maintain freshness and prevent drying out.
Freezer: For longer storage, freeze Banana Pudding Easter Truffles in a sealed container for up to 2 months; they make the perfect make-ahead treat!
Thawing: To enjoy frozen truffles, simply transfer them to the fridge for a few hours or let them sit at room temperature for about 30 minutes.
Reheating: These truffles are best served chilled or at room temperature; avoid reheating to maintain their delightful texture and flavor.
What to Serve with Banana Pudding Easter Truffles
Delight your guests and elevate your dessert experience with these perfect pairings for your festive treats.
- Fresh Berries: Serve alongside strawberries or blueberries to add a pop of freshness that balances the sweetness of the truffles. The acidity breaks through the creaminess beautifully.
- Whipped Cream: A dollop of fluffy whipped cream enhances the indulgence while offering a light, airy contrast to the dense truffles. It can also be flavored with vanilla or almond extract for an extra touch.
- Chocolate-Covered Pretzels: The salty-sweet profile of chocolate-covered pretzels adds crunch and texture, making for a delightful contrast to the smooth truffles.
- Coconut Macaroons: These chewy, sweet bites complement the banana flavors, inviting a tropical twist that ties well with your truffles’ fun presentation.
- Iced Coffee or Milkshake: Pairing with a cool drink like iced coffee or a banana milkshake brings a nostalgic flavor connection, enhancing the overall banana experience.
- Caramel Sauce: Drizzling warm caramel sauce over the truffles takes them to the next level, playing with textures and flavors that make each bite even more enticing. This sweetness adds an indulgent element and is perfect for sharing.
Tips for the Best Banana Pudding Easter Truffles
• Choose Quality Ingredients: Use high-quality banana pudding mix and cream cheese to enhance the overall flavor of your Banana Pudding Easter Truffles.
• Proper Chilling: Allow the truffle mixture to chill adequately before coating; this helps maintain their shape during dipping and results in a more appealing final product.
• Melt Chocolate Carefully: Melt chocolate in short intervals, stirring frequently to avoid scorching; burnt chocolate will ruin the coating and affect the truffles’ sweetness.
• Creative Toppings: Don’t hesitate to get creative with decorations! Experiment with different sprinkles or drizzles to make each truffle visually unique and festive.
• Avoid Heat Sources: Store finished truffles in a cool place to avoid melting; heat can compromise their texture and appearance, so keep them away from heat sources.
Banana Pudding Easter Truffles: Customize Your Treat!
Feel free to let your creativity shine as you explore these fun and delicious variations for your banana pudding truffles!
- Coconut Banana Truffles: Roll your truffles in shredded coconut for a tropical flair. The coconut adds a delightful chewiness that pairs beautifully with the creamy banana filling.
- Peanut Butter Banana Truffles: Mix in 2 tablespoons of creamy peanut butter into the truffle mixture. This twist introduces a nutty richness that elevates the classic banana flavor.
- Mint Chocolate Banana Truffles: Add a drop of mint extract when melting the chocolate for a refreshing, minty chocolate coating. It’s a surprise flavor that keeps every bite exciting!
- Nutty Banana Truffles: Incorporate chopped nuts like pecans or walnuts into the filling for extra crunch. A delightful contrast of textures makes these truffles even more enjoyable.
- Dairy-Free Option: Use coconut cream in place of cream cheese and almond milk instead of regular milk for a scrumptious dairy-free version that everyone can enjoy!
- Chocolate Drizzle: After coating, drizzle some melted dark or milk chocolate over the truffles for an elegant touch. It’s not just for looks; it adds layers of chocolate goodness.
- Spiced Banana Truffles: Add a pinch of ground cinnamon or nutmeg to the mixture for warm, cozy spices that complement the banana flavor beautifully.
- Easter Cookie Truffles: Crumble some festive Easter cookies into the mixture for a sweet spin! This creates a burst of flavor with every bite while keeping your truffles fun and festive.
For extra help with variations, check out how to make Coconut Banana Truffles or switch it up with Peanut Butter Banana Truffles. Enjoy these delightful creations as you celebrate!
Banana Pudding Easter Truffles Recipe FAQs
How do I choose ripe bananas for Banana Pudding Easter Truffles?
Absolutely! For the best flavor, opt for bananas that are ripe but not overly brown—ideally with some small brown spots on the skin. This indicates they are sweet and flavorful, which enhances the banana pudding taste in your truffles.
What are the best storage methods for Banana Pudding Easter Truffles?
To keep your truffles fresh, store them in an airtight container in the refrigerator for up to 5 days. If you want to enjoy them later, they can be frozen in a sealed container for up to 2 months. Just make sure to separate layers with parchment paper to prevent sticking!
Can I freeze Banana Pudding Easter Truffles?
Yes, you can! To freeze, first allow the truffles to set completely. Then, place them in a single layer on a baking sheet until firm, and transfer them to a sealed container with layers separated by parchment paper. When you’re ready to enjoy, thaw them in the fridge for a few hours or let them sit at room temperature for about 30 minutes.
What should I do if my chocolate coating is too thick?
Very importantly, if your chocolate coating is too thick, gently reheat it in the microwave in 15-second intervals, stirring in between. Alternatively, you can thin it using a touch of vegetable oil or coconut oil—start with a teaspoon and mix until you achieve the desired consistency. This will help create a smoother coating for your truffles!
Are these truffles safe for people with nut allergies?
Yes, the base recipe for these Banana Pudding Easter Truffles is nut-free, making it suitable for most people with nut allergies. However, always check the labels on your ingredients, especially if you are using pre-packaged items, to ensure they don’t contain any traces of nuts.
Can I use a different type of chocolate for the coating?
The more the merrier! While this recipe calls for white chocolate, feel free to switch it up with milk or dark chocolate. Just keep in mind that the flavor will change slightly—dark chocolate will give a richer taste, while milk chocolate remains sweet and creamy. Enjoy customizing your truffles to suit your taste preferences!
Banana Pudding Easter Truffles: Celebrate Spring with Joyful Bites
Ingredients
Equipment
Method
- In a large mixing bowl, combine the crushed vanilla wafers, softened cream cheese, banana pudding mix, milk, and optional vanilla extract. Mix until a smooth dough forms, about 3-4 minutes.
- Scoop out portions of the mixture and roll into 1-inch balls. Place on a parchment-lined tray and chill for 30 to 45 minutes.
- Melt the white chocolate chips or candy melts in a microwave-safe bowl, stirring every 30 seconds until smooth, about 1.5 to 2 minutes.
- Dip each truffle into the melted chocolate, allowing excess to drip off, and place back on the parchment-lined tray.
- While the coating is still wet, sprinkle the tops with crushed vanilla wafers and Easter-themed sprinkles.
- Allow the truffles to set for 15 minutes at room temperature or refrigerate for an additional 15-20 minutes.
- Arrange your truffles in bowls or gift boxes to share and enjoy!
Leave a Reply