
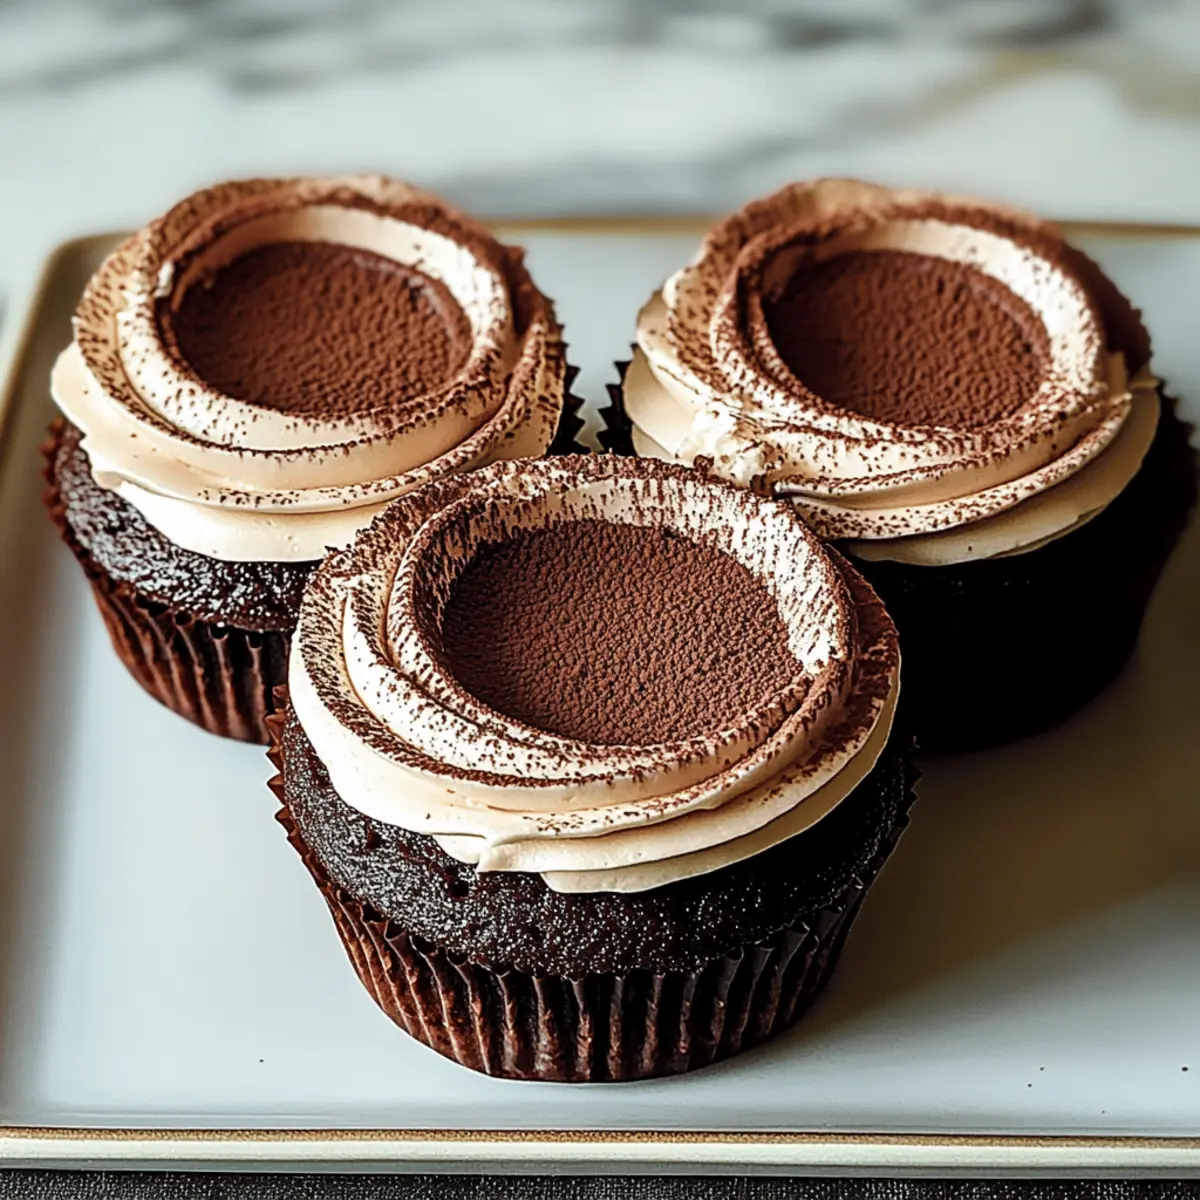
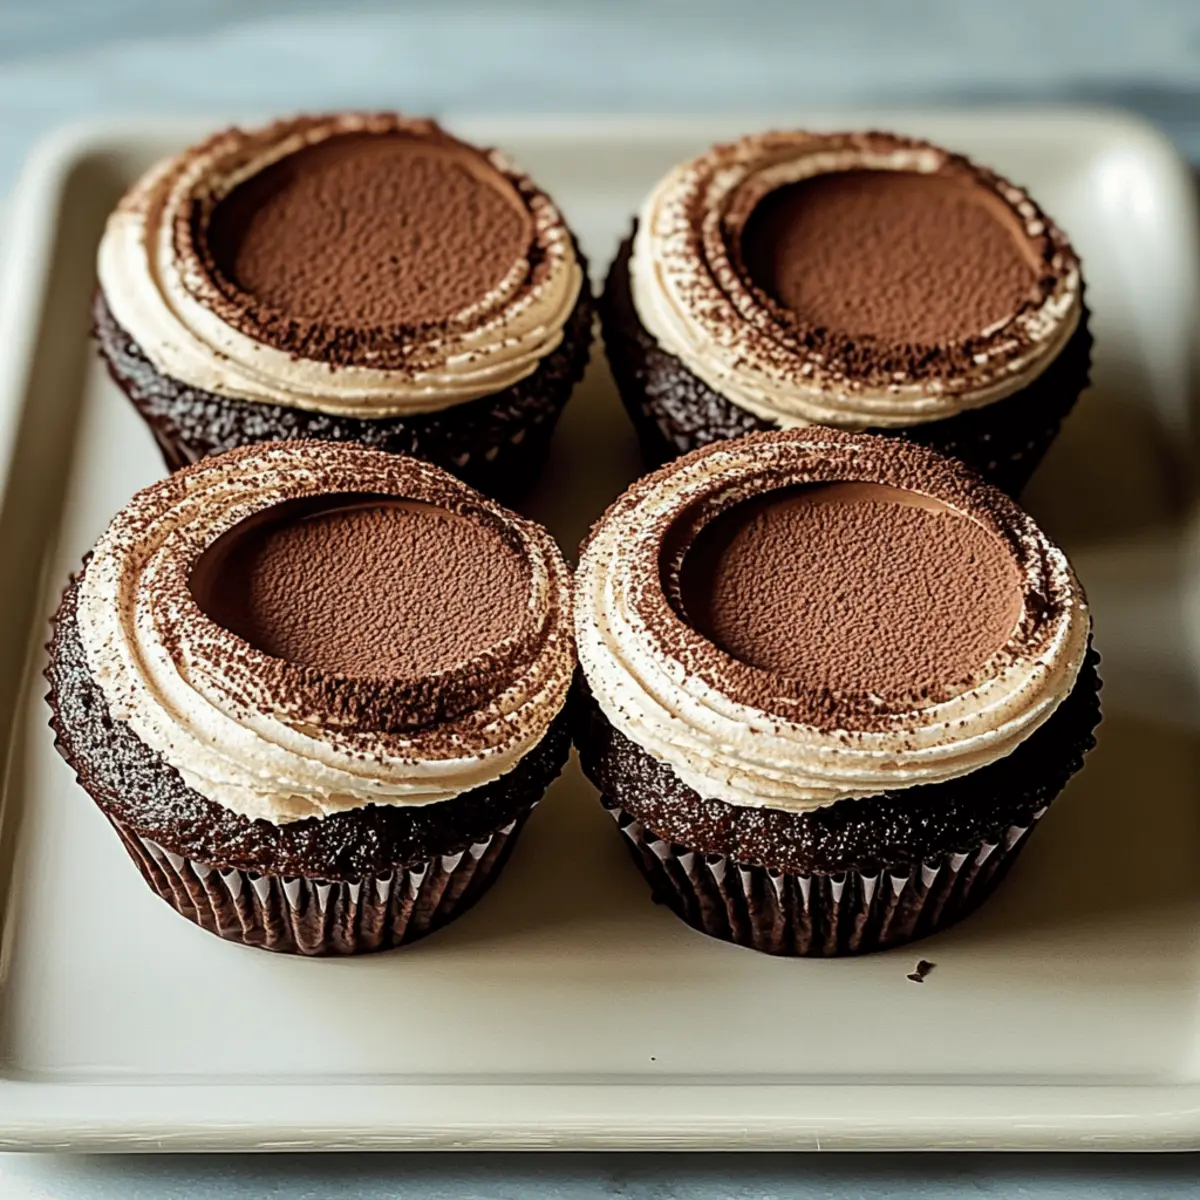
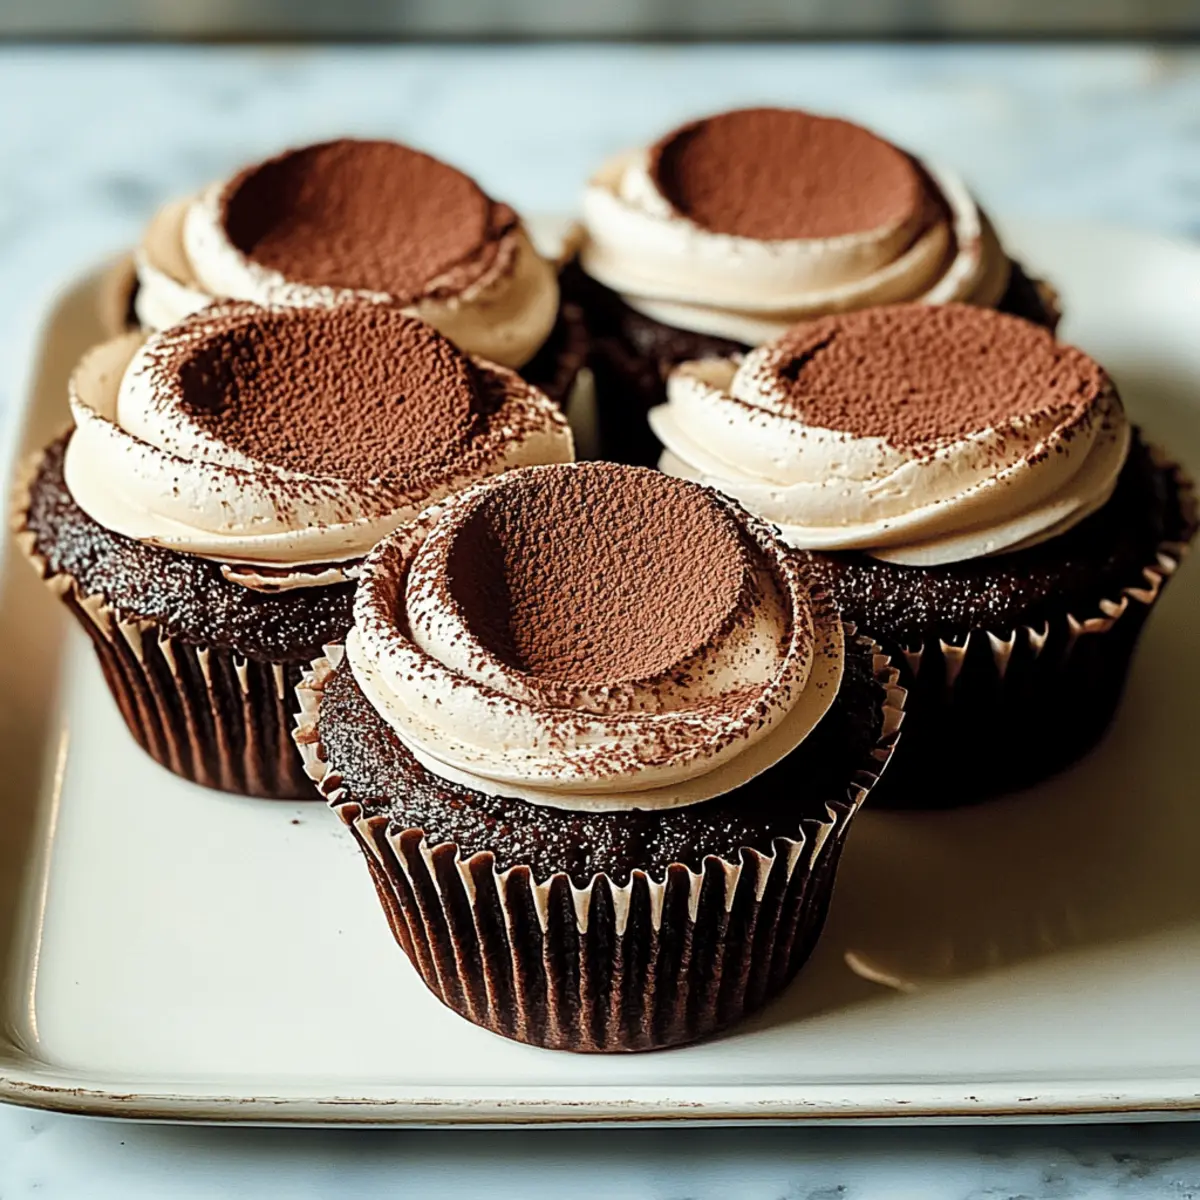
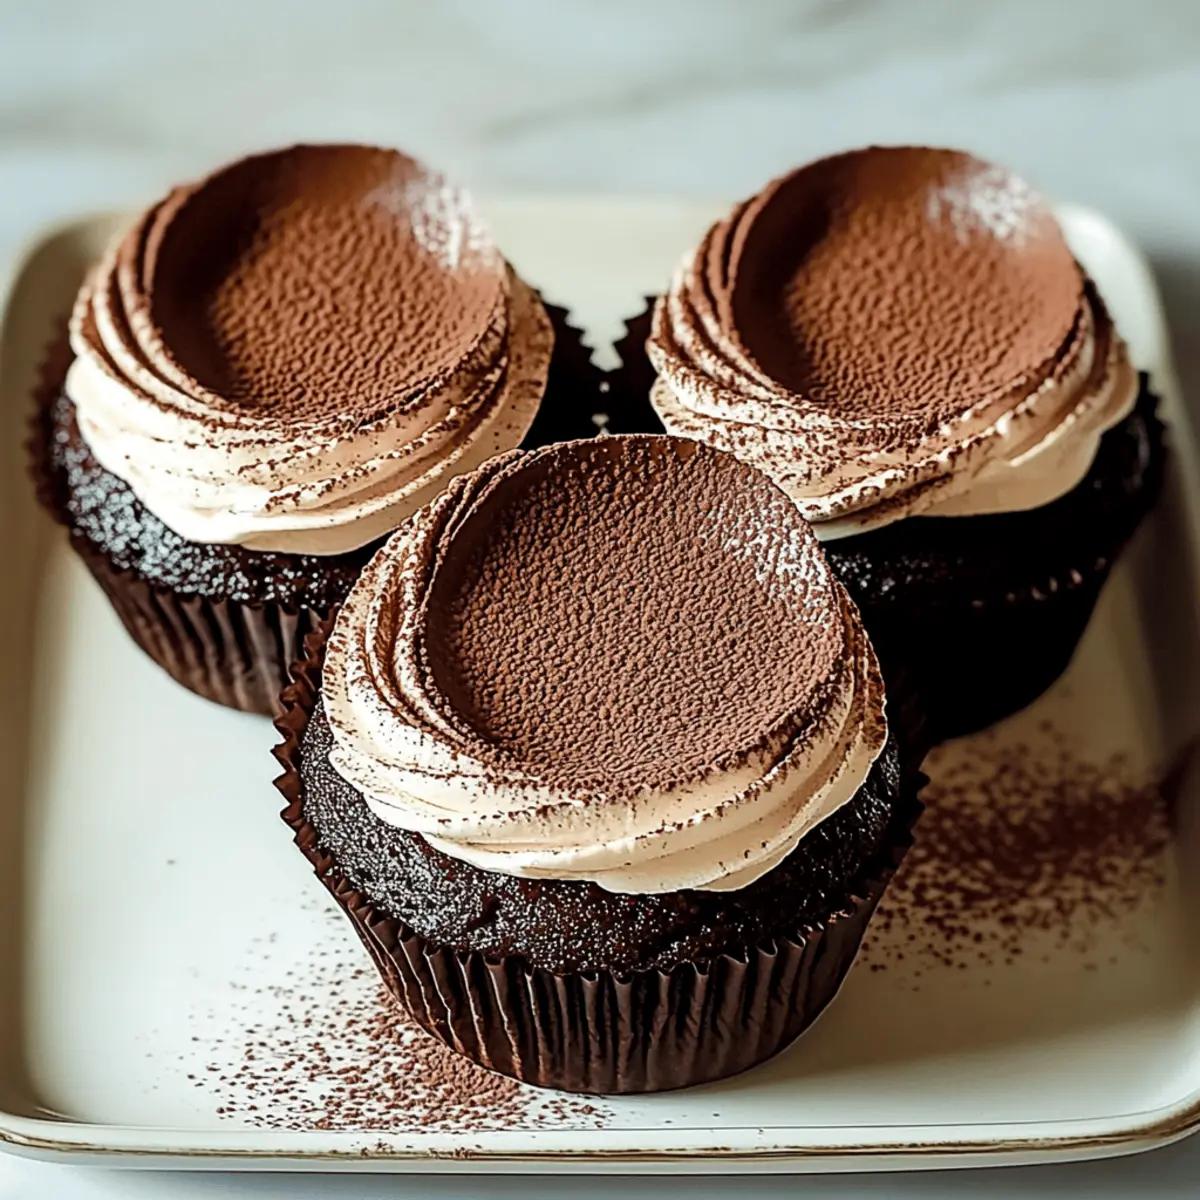
There’s something magical about the moment you lift a chocolate tiramisu cupcake to your lips, ready to dive into its cocoa-infused wonder. These delightful treats perfectly marry the luxurious creaminess of classic tiramisu with the comforting charm of a soft chocolate cake, making them an irresistible indulgence. What’s more, this recipe for Chocolate Tiramisu Cupcakes brings a fun twist to your baking routine, allowing for easy gluten-free substitutions and the possibility to play with flavors like amaretto or vanilla. Whether you’re planning a cozy dinner with friends or just itching to treat yourself to something special, these cupcakes will become your go-to dessert. Are you ready to learn how to whip up this perfect crowd-pleaser?
Why Are Chocolate Tiramisu Cupcakes Irresistible?
Indulgent Flavors: These cupcakes blend rich chocolate and the creamy essence of tiramisu, creating a decadent treat that’s hard to resist.
Easily Adaptable: With options for gluten-free and dairy-free diets, everyone can enjoy this dessert.
Quick and Simple: Whipping these up is a breeze, making them perfect for both experienced bakers and novices alike.
Versatile Options: Feel free to experiment with various liqueurs or swap flavors to keep things exciting each time you bake—try adding amaretto for a delightful twist!
Crowd-Pleasing Appeal: Whether for birthday parties or cozy gatherings, these cupcakes are guaranteed to wow your guests—like my Decadent Chocolate Strawberry overnight oats but with a fun twist!
Chocolate Tiramisu Cupcake Ingredients
• Get ready to create a delectable treat!
For the Cupcake Batter
- All-purpose flour – Provides structure and texture; substitute with gluten-free all-purpose blend for a gluten-free option.
- Cocoa powder – Adds rich chocolate flavor; Dutch-processed cocoa will deepen the taste.
- Granulated sugar – Balances sweetness; using brown sugar yields a moister cupcake.
- Baking powder – Serves as the leavening agent for that delightful fluffiness.
- Eggs – Binds the ingredients together while adding moisture.
- Milk – Contributes to texture and moisture; replace with almond milk for a lactose-free version.
- Vegetable oil – Keeps the cupcakes moist; consider melted butter for a richer flavor.
For the Mascarpone Filling
- Mascarpone cheese – The creamy star of the show; makes each bite divine.
- Espresso/strong coffee – Infuses flavor that enhances the rich chocolate profile.
For Dusting and Presentation
- Cocoa powder (for dusting) – Adds a finishing touch that enhances the visual appeal and flavor.
With these Chocolate Tiramisu Cupcake ingredients at hand, you’re on your way to baking a delightful dessert that will captivate hearts and taste buds alike!
Step‑by‑Step Instructions for Chocolate Tiramisu Cupcakes
Step 1: Preheat the Oven
Begin by preheating your oven to 350°F (175°C). While the oven warms up, prepare a muffin tin by lining it with cupcake liners to ensure easy removal and cleanup later. This initial step sets the stage for perfectly baked Chocolate Tiramisu Cupcakes.
Step 2: Mix the Dry Ingredients
In a large mixing bowl, whisk together the all-purpose flour, cocoa powder, baking powder, and granulated sugar until evenly combined. The mixture should feel light and airy, hinting at the delicious chocolate flavor to come. This blend forms the foundation of the cupcake batter, so ensure there are no lumps.
Step 3: Prepare the Wet Ingredients
In a separate bowl, whisk together the eggs, milk, and vegetable oil until smooth and slightly frothy. The eggs will add richness, while the milk ensures moistness. This mixture will blend with the dry ingredients, creating a wonderful base for your Chocolate Tiramisu Cupcakes.
Step 4: Combine Wet and Dry Mixtures
Gradually pour the wet mixture into the dry ingredients, gently folding them together with a spatula until just combined. Be careful not to overmix, or you risk dense cupcakes. The batter should be thick yet pourable, showcasing a deep chocolate hue that’s both enticing and delicious.
Step 5: Fill the Muffin Tins
Using a spoon or an ice cream scoop, fill each cupcake liner in the muffin tin about two-thirds full with the chocolate batter. This gives room for the cupcakes to rise beautifully while baking. Place the filled tin in the preheated oven and bake for 18-20 minutes, or until a toothpick inserted into the center comes out clean.
Step 6: Cool the Cupcakes
Once baked, remove the muffin tin from the oven and allow the cupcakes to cool in the tin for about 5 minutes. Then, transfer them to a wire rack to cool completely. This cooling step is crucial for the texture and will help them maintain their shape when you add the luscious filling.
Step 7: Prepare the Mascarpone Filling
While the cupcakes are cooling, prepare the mascarpone filling. In a mixing bowl, whip the mascarpone cheese with espresso until fluffy and smooth. The combination of rich mascarpone and aromatic coffee creates the perfect filling that will marry beautifully with the chocolate cupcakes.
Step 8: Assemble the Cupcakes
Once the cupcakes are completely cool, carefully slice off the tops and gently scoop out a little of the center of each cupcake. Fill the hollow with the mascarpone mixture, ensuring generous portions for a decadent bite. Place the cut-off tops back on to complete the Chocolate Tiramisu Cupcakes.
Step 9: Dust and Serve
Finally, dust the tops of the assembled cupcakes with cocoa powder for a classic tiramisu finish. This little touch enhances both flavor and presentation. Serve your delightful Chocolate Tiramisu Cupcakes to friends and family, and watch their faces light up in delight with every delicious bite!
Chocolate Tiramisu Cupcakes Variations & Substitutions
Feel free to get creative and personalize your cupcakes with these tantalizing ideas that will elevate your dessert experience!
- Gluten-Free: Use a gluten-free all-purpose flour blend to make these cupcakes accessible for those with gluten sensitivities.
- Lactose-Free: Substitute regular milk with almond milk or coconut milk for a dairy-free delight without missing out on taste.
- Flavor Boost: Swap the espresso with a flavored coffee, like hazelnut or vanilla bean, to add a delicious twist! It’s an easy way to customize your cupcakes.
- Moisture Magic: Instead of vegetable oil, use melted butter for richer flavor. This little change enhances the overall decadence of the cupcakes.
- Light & Airy: Consider using vanilla cupcake batter instead of chocolate for a lighter, yet equally satisfying taste profile. Chocolate lovers won’t even resist!
- Layered Texture: For added crunch, incorporate crushed espresso-soaked ladyfingers into the filling. This fun twist gives a nod to traditional tiramisu while maintaining cupcake form.
- Boozy Indulgence: Infuse the mascarpone mixture with flavored liqueurs like amaretto or coffee liqueur for an adult twist that intensifies the flavor.
- Chocolate Lovers: Add chocolate chips to the batter for bursts of melted chocolate in every bite—this is especially fantastic for true chocoholics!
These delicious variations will keep your baking adventures exciting, just like how I love to explore fun twists in my Hot Chocolate Poke cake! Don’t shy away from experimenting; each variation is a chance to discover a new favorite!
Make Ahead Options
These Chocolate Tiramisu Cupcakes are a perfect fit for meal prep enthusiasts looking to save time! You can prepare the cupcake batter and refrigerate it for up to 24 hours. Simply mix the dry ingredients in one bowl and combine the wet ingredients in another, then store them separately until you’re ready to bake. Additionally, the mascarpone filling can be made up to 3 days in advance; whip it together and keep it covered in the fridge to preserve its creamy texture. When you’re ready to serve, bake the cupcakes, let them cool, assemble with the filling, and dust with cocoa powder for a delicious treat that still tastes fresh, perfect for busy weeknights or entertaining.
Expert Tips for Chocolate Tiramisu Cupcakes
Avoid Overmixing: Ensure the batter is mixed just until combined to prevent dense cupcakes. Overmixing is a common mistake that can lead to less airy results.
Chill Your Mascarpone: For an easier filling process, chill the mascarpone cheese slightly before whipping. This helps achieve a fluffier consistency.
Coffee Alternatives: Don’t hesitate to switch up the espresso with your favorite coffee or flavored coffee to personalize your Chocolate Tiramisu Cupcakes—experimenting can lead to delightful surprises!
Timing is Key: Assemble the cupcakes shortly before serving to maintain their texture. Allowing them to sit too long can lead to a soggy cupcake.
Flavor Variations: To add depth, consider incorporating flavored liqueurs like amaretto into the mascarpone filling. It’s a fantastic way to elevate your cupcakes!
Dust Generously: For a beautiful presentation, dust the tops with cocoa powder just before serving for a classic tiramisu touch.
How to Store and Freeze Chocolate Tiramisu Cupcakes
Fridge: Store your cupcakes in an airtight container in the refrigerator for up to three days to keep them fresh and moist.
Freezer: For long-term storage, freeze individual cupcakes in airtight freezer bags for up to three months. Allow them to defrost in the fridge before serving.
Reheating: To enjoy a warm cupcake, microwave it for about 10-15 seconds after thawing. This enhances the chocolate flavor and soft texture.
Assembly Tip: To maintain optimal freshness, consider storing the cupcake components separately and assembling with the mascarpone filling just before serving.
What to Serve with Chocolate Tiramisu Cupcakes
Elevate your dessert experience by pairing these decadent delights with complementary flavors and textures that will create a stunning finale to your meal.
-
Fresh Berries: The tartness of strawberries or raspberries cuts through the richness, adding a refreshing contrast that brightens each bite.
-
Rich Espresso: A cup of bold espresso enhances the coffee flavors in the cupcakes and offers a cozy complement to the sweet indulgence.
-
Whipped Cream: Light and airy whipped cream balances the dense texture of the cupcakes and adds a creamy touch that everyone will love.
-
Vanilla Ice Cream: The smooth creaminess of vanilla ice cream pairs beautifully with the chocolate tiramisu cupcakes, delivering a delightful temperature contrast.
-
Chocolate Ganache: Drizzling a warm chocolate ganache over the tops adds an extra layer of indulgence and decadence, making each cupcake even more irresistible.
-
Toasted Almonds: Sprinkling toasted almonds over the cupcakes enhances the texture and adds a nutty flavor that pairs harmoniously with the chocolate.
-
Mint Chocolate Chip Cookies: These cookies offer a delightful crunch and a refreshing mint flavor, creating a fantastic dessert platter for gatherings or celebrations.
-
Moscato Wine: A glass of sweet, bubbly Moscato brings a fruity sweetness that will harmonize with the rich flavors of the cupcakes, making it a delightful pairing choice.
Chocolate Tiramisu Cupcakes Recipe FAQs
What is the best way to select ripe ingredients for this recipe?
For the freshest results, opt for eggs that are just a few weeks shy of their expiration date—this ensures they are at peak freshness. When it comes to dairy, use fresh milk and mascarpone, which should be creamy and free from any off smells. Additionally, choose high-quality cocoa powder without clumps for the finest taste in your Chocolate Tiramisu Cupcakes!
How should I store Chocolate Tiramisu Cupcakes?
Store your cupcakes in an airtight container in the refrigerator for up to three days. This helps maintain their moisture and flavor. If you prefer them at room temperature, allow them to sit out for about 30 minutes before serving. I often surround the cupcakes with a few paper towels to absorb excess moisture and preserve their texture.
Can I freeze Chocolate Tiramisu Cupcakes?
Absolutely! To freeze, place individual cupcakes in airtight freezer bags, ensuring they are sealed tightly to prevent freezer burn. They can last up to three months in the freezer. When you’re ready to enjoy, simply thaw them in the refrigerator overnight. For a touch of warmth, pop them in the microwave for about 10-15 seconds before serving!
What are some common issues when making these cupcakes?
A frequent issue is overmixing the batter, which can lead to dense cupcakes. To avoid this, mix the wet and dry ingredients gently until just combined. If your cupcakes turn out too dry, ensure you measure your flour correctly, as scooping directly from the bag can compact it. Lastly, make sure to check for doneness with a toothpick at the 18-minute mark to prevent overbaking.
Can I enjoy these cupcakes if I have dietary restrictions?
Yes! One of the great things about these Chocolate Tiramisu Cupcakes is that they can be easily adapted. If you’re gluten-sensitive, simply substitute all-purpose flour with a gluten-free blend. For a dairy-free option, use almond milk and coconut cream instead of mascarpone. Always double-check your specific ingredient labels for potential allergens, especially with the liqueurs!
Is it safe for pets to have ingredients from this recipe?
Great question! Most ingredients in Chocolate Tiramisu Cupcakes—like eggs and flour—are safe in small amounts. However, avoid giving your pets chocolate, coffee, and liqueurs, as these can be harmful to them. Always keep their treats separate, as a little indulgence for you might not mean the same for your furry friends.
Indulge in Chocolate Tiramisu Cupcakes That Wow Everyone
Ingredients
Equipment
Method
- Preheat the oven to 350°F (175°C) and prepare muffin tin with cupcake liners.
- Whisk together the flour, cocoa powder, baking powder, and sugar in a large bowl until light and airy.
- In a separate bowl, whisk together the eggs, milk, and vegetable oil until smooth.
- Gradually pour the wet mixture into the dry ingredients, folding gently.
- Fill cupcake liners about two-thirds full with the batter and bake for 18-20 minutes.
- Allow the cupcakes to cool for 5 minutes in the tin, then transfer to a wire rack.
- Whip mascarpone cheese with espresso until fluffy.
- Slice off the tops of the cooled cupcakes and scoop out a little of the center. Fill with mascarpone mixture.
- Dust the tops with cocoa powder before serving.
Leave a Reply