
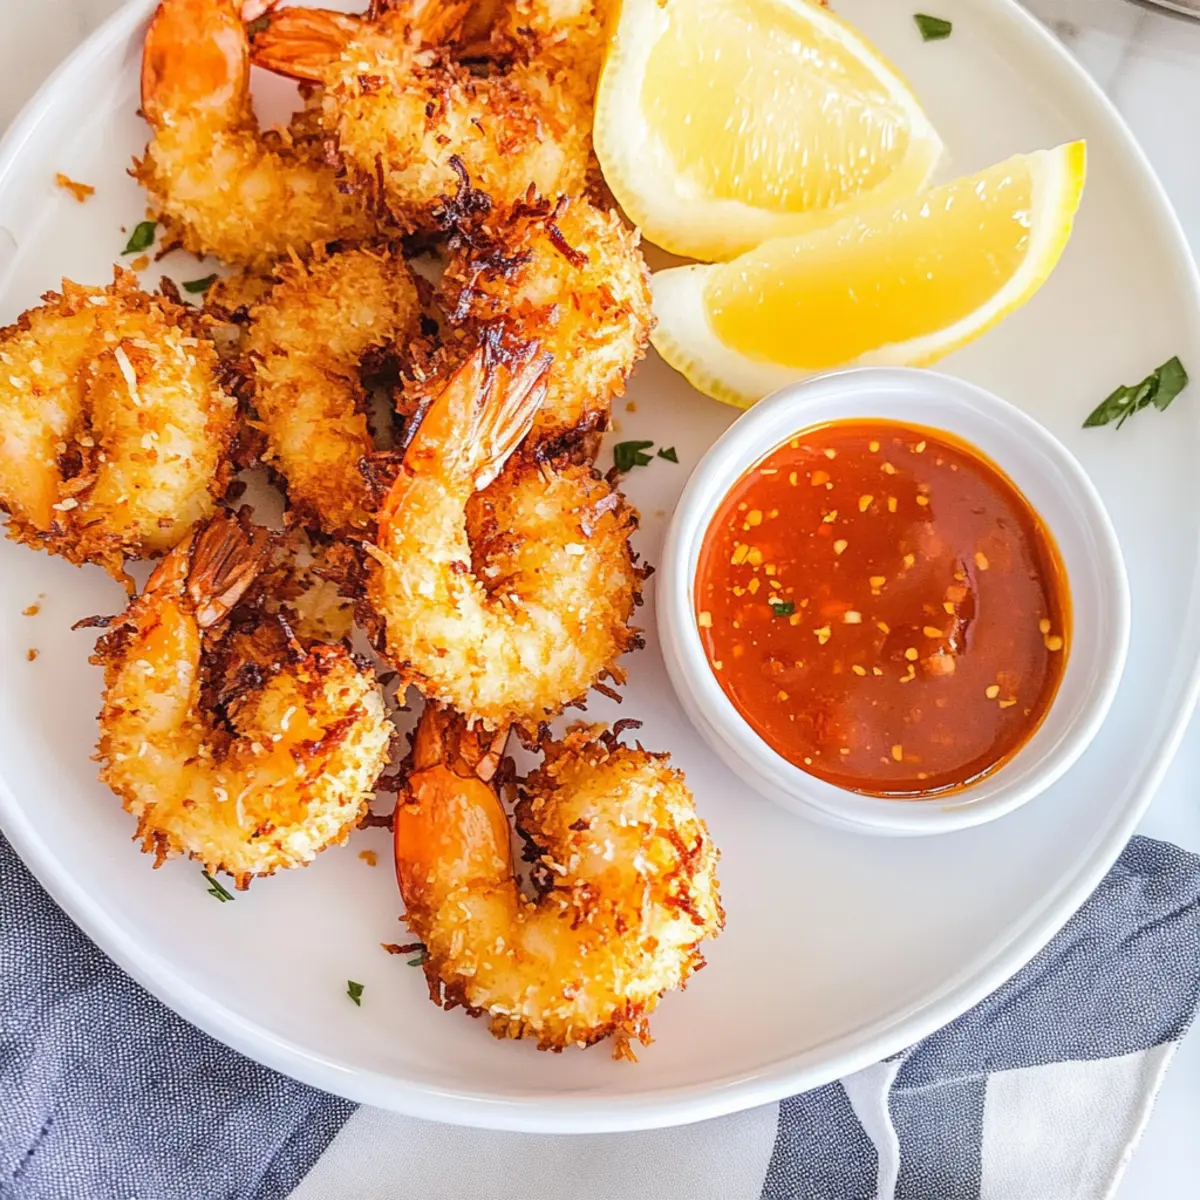
The sizzling sound of shrimp hitting hot oil is music to my ears! When cooking at home, I love creating dishes that rival the very best from my favorite restaurants. That’s why I’m excited to share my Easy Coconut Shrimp recipe with you. This delightful appetizer features tender shrimp enveloped in a crunchy coconut crust that brings a touch of the tropics to your table. With a straightforward prep and quick cooking time, it’s perfect for busy weeknights or impressing guests at festive gatherings. Plus, it’s a tasty way to ditch the fast food habit and savor something homemade and indulgent. Are you ready to whip up some crispy, golden shrimp that will have everyone asking for seconds? Let’s dive in!
Why is this coconut shrimp a must-try?
Crispy Perfection: Each bite promises a golden, crunchy exterior that leads to tender, juicy shrimp inside. Deliciously Versatile: Serve it as a stunning appetizer or elevate your dinner with a tropical touch. Easy to Make: Even novice cooks can whip up this dish with minimal effort and time. Festive Appeal: It’s perfect for gatherings, providing a crowd-pleasing option that outshines takeout. For a complete meal, pair it with some Spring Rolls or your favorite slaw. You’ll love seeing the smiles on your loved ones’ faces as they enjoy this easy coconut shrimp!
Easy Coconut Shrimp Ingredients
• Prepare to create a tropical delight!
For the Coating
- All-purpose flour – Provides a light coating for adherence. Substitution: Can use gluten-free flour for a gluten-free option.
- Salt – Enhances flavor. Adjust based on dietary preference.
- Freshly cracked black pepper – Adds a savory spice. Can substitute with white pepper for a milder flavor.
- Garlic powder – Infuses a subtle garlic taste. Fresh minced garlic can be used for a stronger flavor.
- Large eggs (lightly beaten) – Helps the coconut and panko coating adhere to the shrimp. No direct substitute; however, aquafaba can be used for a vegan version.
- Panko breadcrumbs – Creates an extra crispy texture. Regular breadcrumbs can replace, but results may vary.
- Shredded coconut (sweetened) – Adds flavor and texture. Use unsweetened coconut for less sweetness.
For the Shrimp
- Large raw shrimp (peeled and deveined) – The main protein that absorbs flavor and retains moisture. Avoid using pre-cooked shrimp for optimal texture.
For Frying
- Oil (canola, peanut, avocado, or vegetable) – For frying, ensuring a crispy result. Always opt for neutral oils with high smoke points for frying.
For Serving
- Thai sweet chili sauce (optional) – A dipping sauce that complements the shrimp beautifully. Substitutes can include spicy aioli or homemade teriyaki sauce.
- Lemon or lime wedges (optional) – Brightens the dish with acidity. Fresh herbs like cilantro can also be used for additional flavor.
Step‑by‑Step Instructions for Easy Coconut Shrimp
Step 1: Prepare Dredging Station
Set up your dredging station with three shallow bowls. In the first bowl, mix all-purpose flour with salt, black pepper, and garlic powder. In the second bowl, lightly beat the eggs. In the third bowl, combine panko breadcrumbs and shredded coconut. This organized setup will streamline the breading process for your Easy Coconut Shrimp.
Step 2: Bread the Shrimp
Take a large raw shrimp and dredge it in the flour mixture, ensuring it’s fully coated. Next, dip the shrimp into the beaten eggs, letting any excess drip off, then press it into the panko-coconut mixture until well coated. Repeat for all shrimp and transfer them to a plate, preparing them for frying.
Step 3: Heat Oil
In a large skillet, pour enough oil to reach about ¼-inch deep and heat over medium-high heat. You know it’s ready when the oil shimmers and a small piece of panko dropped in sizzles immediately. This oil is essential for achieving the crispy exterior of your Easy Coconut Shrimp.
Step 4: Fry Shrimp
Carefully add shrimp in batches to the hot oil, ensuring not to overcrowd the pan. Fry for 2 to 3 minutes on one side until golden brown, then flip and cook for an additional 2 to 3 minutes. Watch for a beautiful golden crust on both sides, signaling that your shrimp are cooked to perfection.
Step 5: Drain and Serve
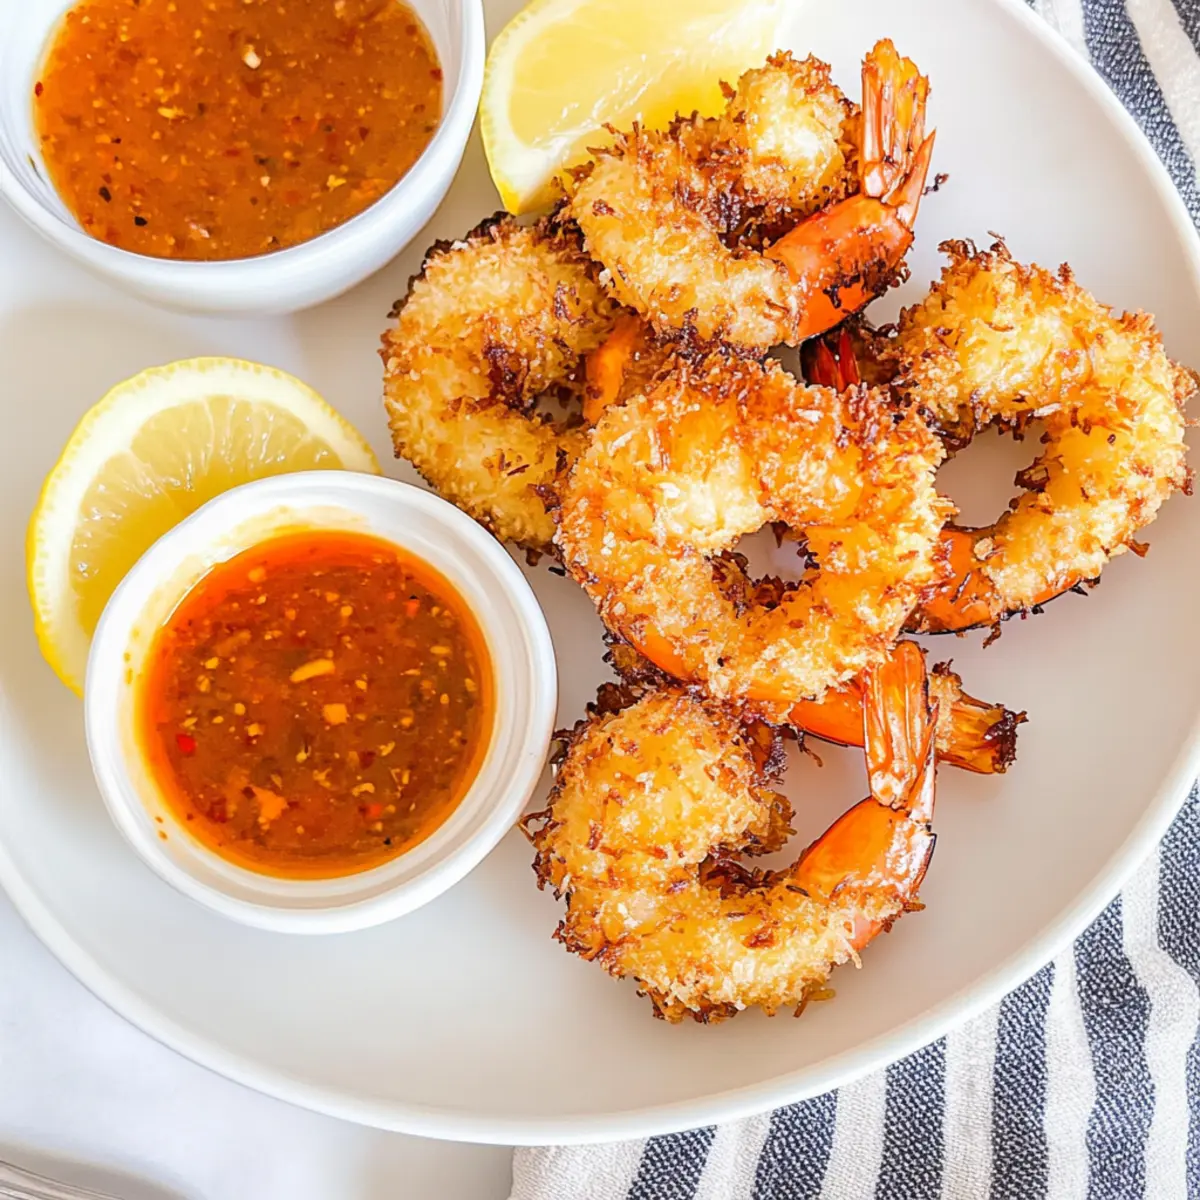
Using a slotted spoon, remove the fried shrimp from the oil and place them on a paper towel-lined plate to drain any excess oil. Serve your crispy Easy Coconut Shrimp immediately alongside a bowl of Thai sweet chili sauce and optional lemon or lime wedges for a refreshing kick.
What to Serve with Easy Coconut Shrimp
Ready to elevate your dining experience with the charming flavors of the tropics? Pair these crispy bites with delightful sides that create a complete meal.
-
Creamy Coleslaw: The crunchiness and tang of coleslaw perfectly balance the rich flavors of coconut shrimp, adding revitalizing freshness.
-
Fragrant Jasmine Rice: Lightly seasoned jasmine rice provides a neutral base for the shrimp, soaking up any extra sauce while keeping the meal light and satisfying.
-
Tropical Fruit Salad: A colorful mix of mango, pineapple, and kiwi adds a refreshing sweetness that harmonizes wonderfully with the savory shrimp.
-
Spicy Asian Slaw: Featuring crunchy vegetables with a zesty dressing, this dish adds a delightful kick that complements the shrimp’s crispy texture and flavors.
-
Vegetable Spring Rolls: Fresh and vibrant, the crispness of spring rolls dipped in a sweet chili sauce is a fantastic pairing and adds a fun, creative touch to your plate.
-
Chilled Gazpacho: This refreshing tomato-based soup offers a cool contrast to the warm shrimp, making it a wonderful, light side perfect for warm evenings.
-
Zesty Lime Wedge: A squeeze of lime over your shrimp brightens the dish with acidity, elevating the tropical flavors and enhancing your dining experience.
-
Coconut Curry Sauce: A rich, creamy dip adds depth and exotic flavor, turning your meal into an indulgent experience that is sure to impress guests.
Easy Coconut Shrimp Variations & Substitutions
Feel free to let your creativity shine and enhance this delightful dish with your personal touch!
- Gluten-Free: Substitute all-purpose flour with gluten-free flour for a safe option without sacrificing crunch.
- Vegan Delight: Swap shrimp for battered and fried cauliflower or mushrooms. You can use aquafaba as an egg replacement too!
- Heat It Up: Add cayenne pepper to the flour mix for a spicy twist that brings some serious heat!
- Tropical Flavors: Incorporate pineapple chunks or mango slices into your dish for a sweet, fruity pairing with the shrimp.
- Dipping Sauce Variations: Instead of teriyaki sauce, try serving with zesty mango chutney or creamy ranch for a different flavor experience.
- Exotic Twist: Replace regular shredded coconut with toasted coconut flakes for an extra layer of nuttiness and crunch.
- Herbal Boost: Toss fresh cilantro or Thai basil into your panko mixture to infuse a burst of fresh flavor.
- Creamy Addition: Serve with a side of avocado crema, which adds a rich creaminess that perfectly balances the crispy shrimp.
For more delightful cooking inspiration, consider trying out my easy Grilled Cheese Burrito or some delicious Thai Style Mussels with Coconut. Happy cooking!
Helpful Tricks for Easy Coconut Shrimp
- Perfect Oil Temperature: Monitor the oil carefully; if it’s too hot, your shrimp will burn, and if it’s too cool, they’ll absorb excess oil. Aim for that sweet spot!
- Double-Breading Tip: For extra crunchiness, repeat the egg and panko-coconut coating steps. This double layer will elevate the texture of your Easy Coconut Shrimp.
- Thawing Shrimp: Make sure your shrimp are fully thawed before frying. Frying from frozen can lead to uneven cooking and a less desirable texture.
- Batch Cooking: Fry shrimp in small batches to maintain the oil temperature and ensure even cooking. Overcrowding the pan can result in soggy shrimp.
- Flavor Customization: Feel free to spice things up by adding cayenne pepper to the flour mixture for a little kick in your Easy Coconut Shrimp!
Make Ahead Options
These Easy Coconut Shrimp are a fantastic choice for meal prep, simplifying your cooking routine. You can bread the shrimp up to 24 hours in advance and refrigerate them in an airtight container, ensuring they maintain their crunch. To prevent the coconut coating from becoming soggy, place a piece of parchment paper between layers if you’re stacking them. When you’re ready to enjoy, simply heat oil in a skillet and fry the shrimp straight from the fridge; they will turn out just as crispy as if cooked fresh. This approach allows for quick assembly on busy weeknights while still delivering that irresistible tropical flavor everyone loves!
How to Store and Freeze Easy Coconut Shrimp
- Fridge: Store leftovers in an airtight container for up to 3 days. This keeps your Easy Coconut Shrimp fresh and ready to enjoy again!
- Freezer: For longer storage, freeze uncooked breaded shrimp in a single layer on a baking sheet, then transfer to a container for up to 3 months.
- Reheating: To reheat, bake at 350°F for 5-10 minutes if thawed, or 10-15 minutes if frozen, ensuring they regain their crispy texture.
- Avoid Sogginess: For best results, avoid microwaving, as this can make the coconut shrimp soggy instead of deliciously crispy.
Easy Coconut Shrimp Recipe FAQs
How do I select the best shrimp for this recipe?
Absolutely! When choosing shrimp, look for large, raw shrimp that are firm and translucent with a slightly salty ocean scent. Avoid any that have a strong fishy odor or display dark spots all over, as these can be signs of spoilage. If possible, buy shrimp that have been peeled and deveined to save on prep time.
What is the best way to store leftover Easy Coconut Shrimp?
Very! To store your leftover Easy Coconut Shrimp, place them in an airtight container and refrigerate for up to 3 days. It’s important to let them cool completely before sealing to preserve their texture. You can also place a paper towel in the container to absorb any excess moisture, keeping them crispier for longer.
Can I freeze Easy Coconut Shrimp?
Absolutely! To freeze uncooked breaded shrimp, first arrange them in a single layer on a baking sheet. Once they’re frozen solid, transfer them to a freezer-safe container or bag. They can be stored like this for up to 3 months. When you’re ready to cook, simply fry them from frozen—just make sure to add a couple of extra minutes to the cooking time.
What should I do if my shrimp are soggy after frying?
If your Easy Coconut Shrimp turn out soggy, it could be due to overcrowding the pan or insufficient oil temperature. Ensure you fry in small batches to maintain an optimal oil temperature, which will help create a crunchy exterior. If they are still soft, try briefly reheating them in a preheated oven at 350°F for 5-10 minutes to crisp them back up!
Are there any allergy considerations for this recipe?
Yes! This Easy Coconut Shrimp is not suitable for those with shellfish allergies. If cooking for anyone with dietary restrictions, I recommend substituting shrimp with a different protein like chicken strips or tofu, ensuring that anyone with allergies can enjoy a safe alternative. Check the panko breadcrumbs as well; some brands may contain gluten, so consider using gluten-free options for those who need it.
How should I serve Easy Coconut Shrimp?
Very! For a delightful presentation, serve your Easy Coconut Shrimp immediately after frying with a small bowl of Thai sweet chili sauce for dipping. Add some lemon or lime wedges on the side to enhance the flavors. Pairing them with sides like coleslaw or veggie spring rolls can transform your dish into a complete meal that will impress your guests!
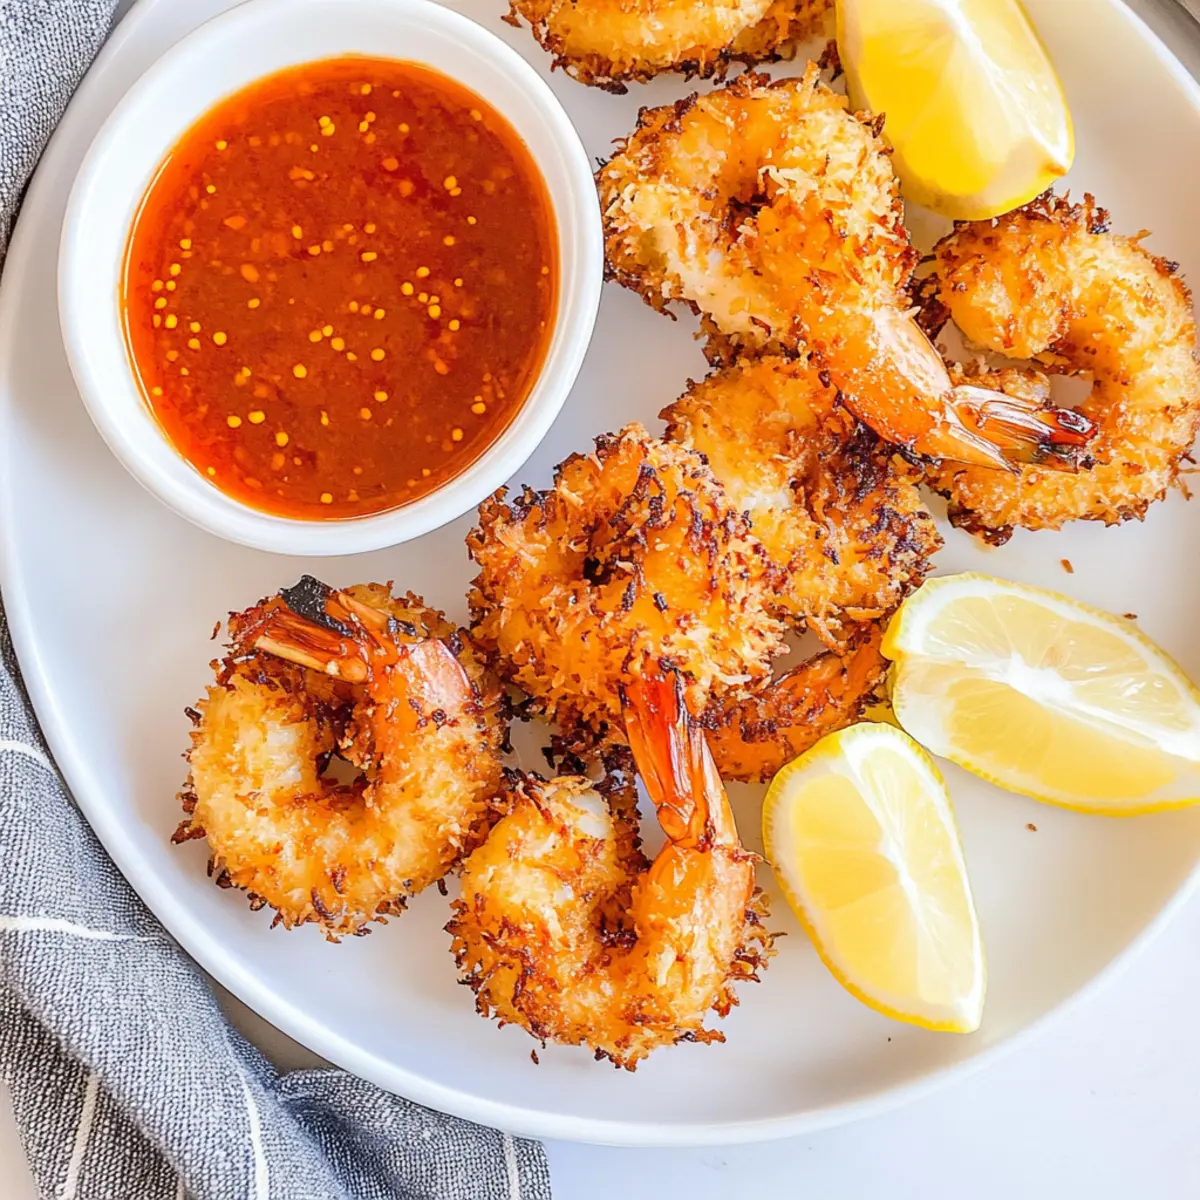
Crispy Easy Coconut Shrimp for a Tropical Treat at Home
Ingredients
Equipment
Method
- Prepare Dredging Station: Set up three shallow bowls. In the first, mix flour, salt, black pepper, and garlic powder. In the second, lightly beat the eggs. In the third, combine panko breadcrumbs and shredded coconut.
- Bread the Shrimp: Take a large raw shrimp and dredge it in the flour mixture. Dip into beaten eggs, let excess drip off, then press into the panko-coconut mixture. Repeat for all shrimp.
- Heat Oil: Pour enough oil into a large skillet to reach ¼-inch deep. Heat over medium-high until shimmering.
- Fry Shrimp: Carefully add shrimp in batches to the hot oil. Fry for 2-3 minutes on one side until golden, then flip and cook for another 2-3 minutes.
- Drain and Serve: Remove fried shrimp using a slotted spoon and place on a paper towel-lined plate. Serve immediately with Thai sweet chili sauce and lemon or lime wedges.
Leave a Reply