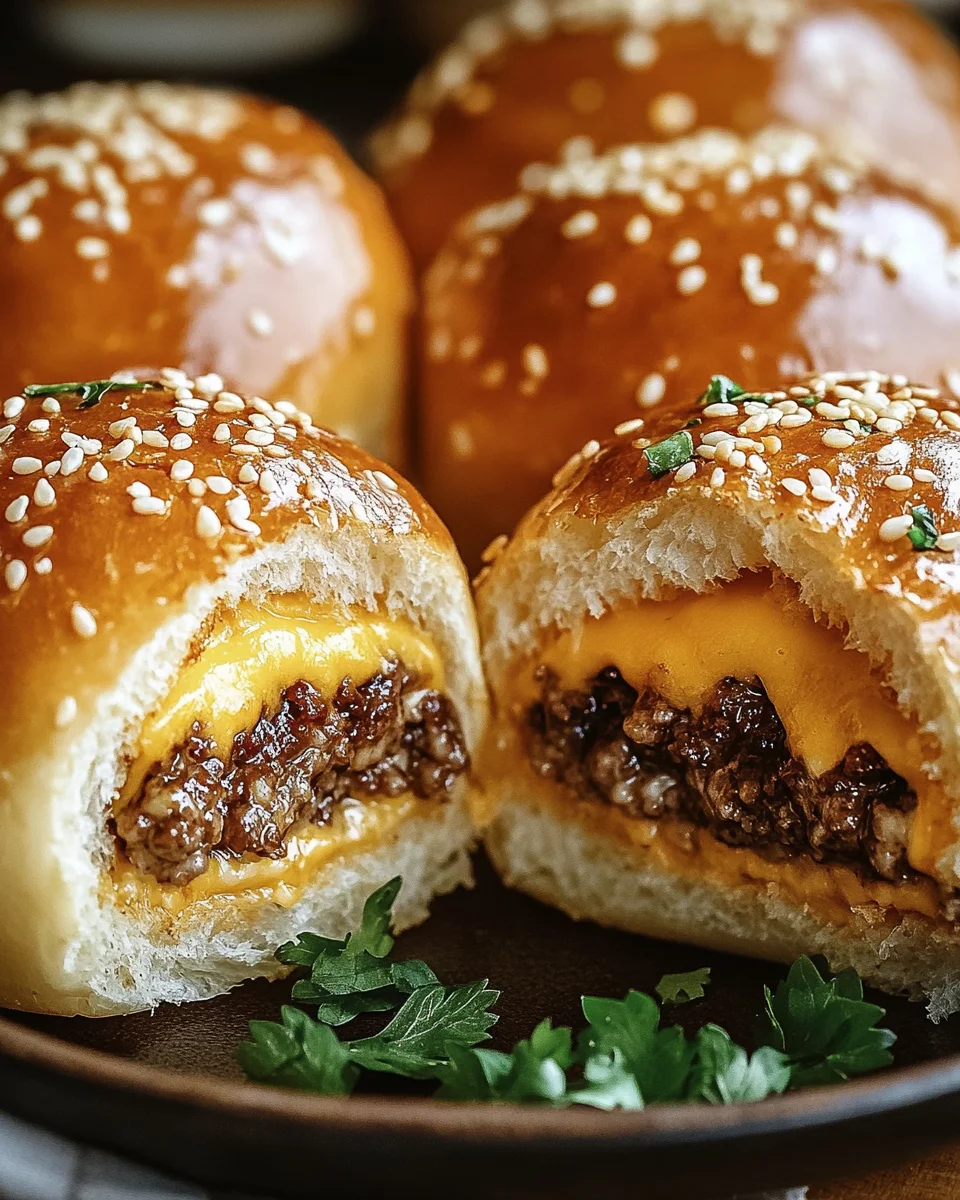
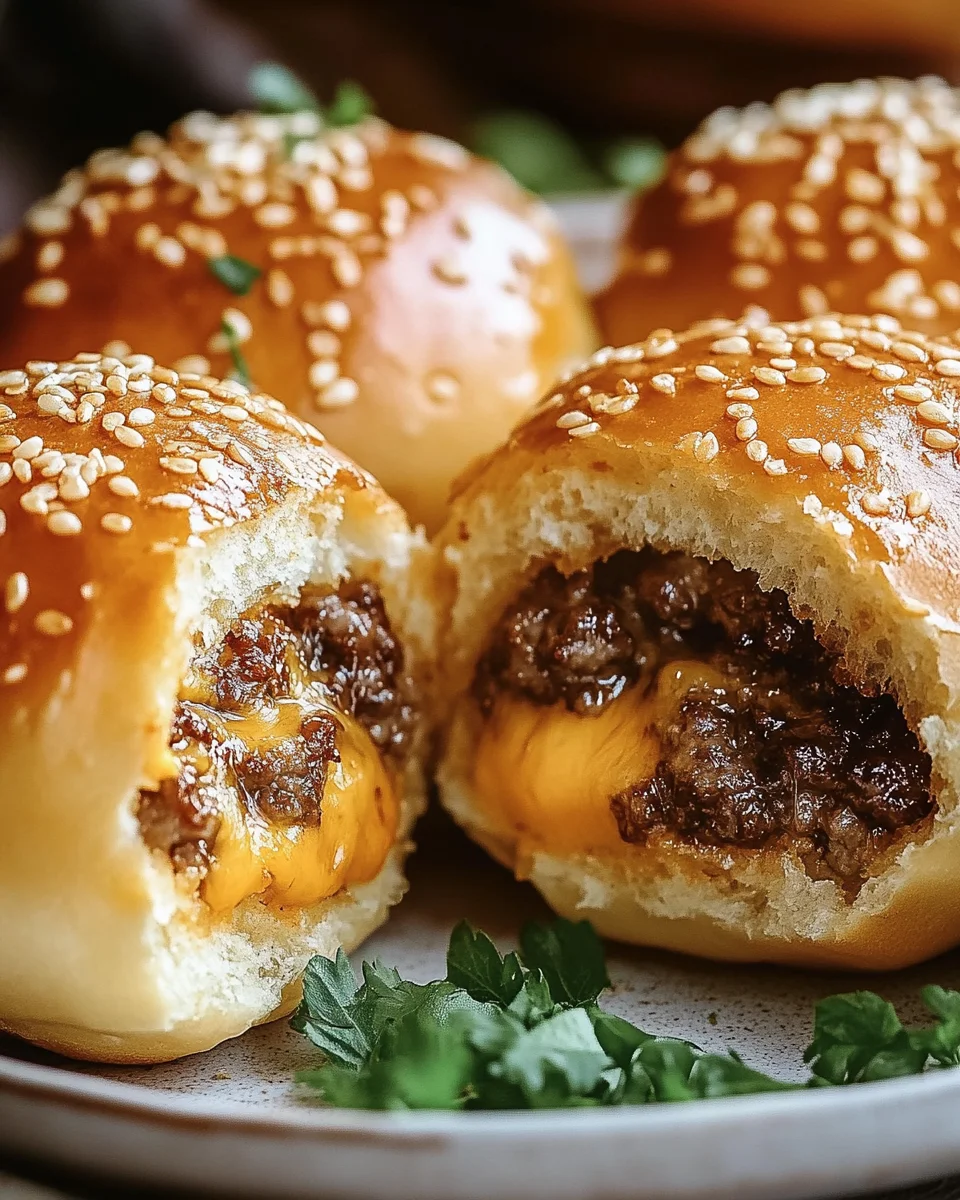
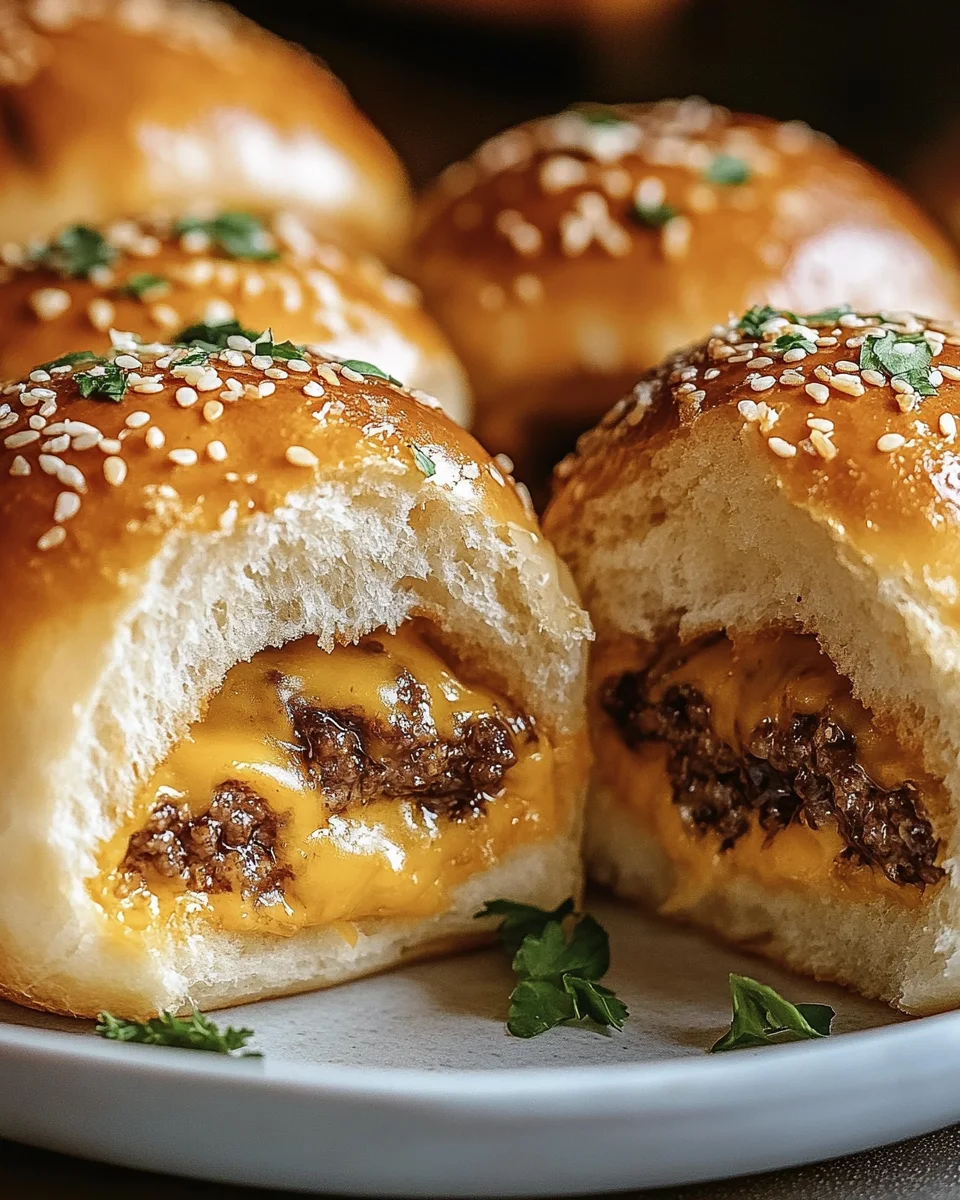
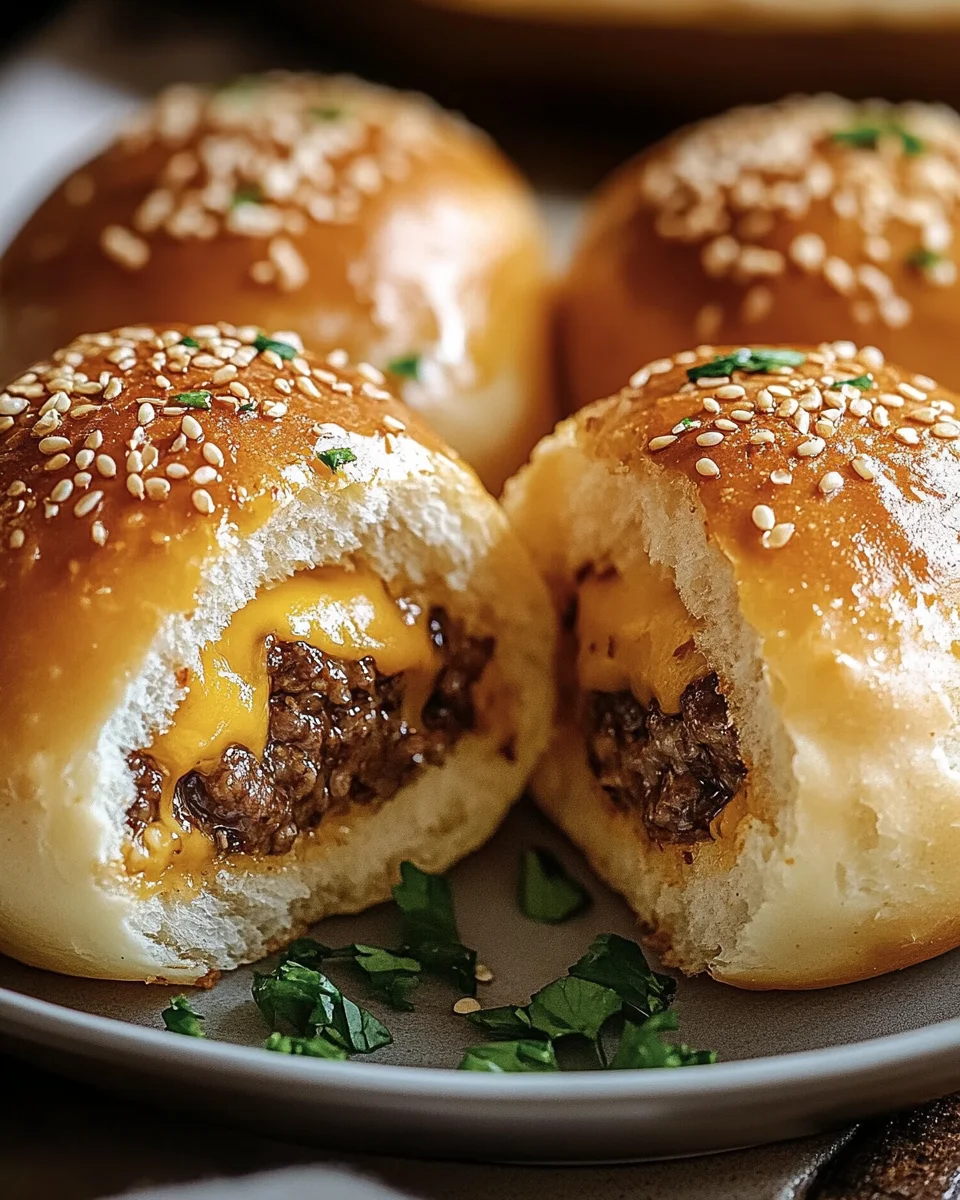
These Garlic Parmesan Cheeseburger Bombs are a delightful treat that combines the classic flavors of a cheeseburger with the fun of bite-sized snacks. Whether you’re hosting a game day party or looking for a quick dinner option, these bombs are sure to impress. With their gooey cheese, seasoned beef filling, and crispy garlic-Parmesan coating, they stand out as a crowd-pleaser in any setting!
Why You’ll Love This Recipe
Quick to Prepare: In just 25 minutes, you can serve up these delicious bombs, making them perfect for busy weeknights.
Flavor Explosion: The combination of garlic and Parmesan with seasoned beef creates an irresistible taste that keeps you coming back for more.
Versatile Dish: Great as a main course, appetizer, or party snack; these bombs fit any occasion!
Kid-Friendly: Kids love the cheesy filling and fun shape, making them an excellent choice for family meals.
Easy Clean-Up: Using one skillet and a baking sheet means less mess in the kitchen!
Tools and Preparation
Gathering the right tools will help streamline your cooking process. Here’s what you need:
Essential Tools and Equipment
Skillet
Baking sheet
Parchment paper
Mixing bowl
Spoon
Importance of Each Tool
Skillet: Ideal for browning the beef evenly, ensuring great flavor development.
Baking sheet: Provides a sturdy surface for baking your cheeseburger bombs perfectly without sticking.
Parchment paper: Prevents sticking and makes clean-up easy after baking.
Ingredients
For the Filling
1 lb ground beef
1 cup shredded cheddar cheese
½ cup cream cheese, softened
1 tsp garlic powder
1 tsp onion powder
Salt & black pepper, to taste
For the Dough
1 can (16 oz) refrigerated biscuit dough
For the Topping
¼ cup grated Parmesan cheese
2 tbsp butter, melted
For Garnish
2 tablespoons fresh parsley, finely chopped
How to Make Garlic Parmesan Cheeseburger Bombs
Step 1: Preheat the Oven
Preheat your oven to 375°F (190°C) and line a baking sheet with parchment paper.
Step 2: Brown the Beef
In a skillet over medium heat:
1. Add the ground beef.
2. Cook until fully browned.
3. Drain any excess grease.
Step 3: Season the Beef
Add to the skillet:
1. Garlic powder,
2. Onion powder,
3. Salt and black pepper to taste.
Continue stirring until melted and fully combined. Remove from heat.
Step 5: Prepare Biscuit Dough
Open the biscuit dough and separate it into 8 individual biscuits. Flatten each biscuit into a circle about 3-4 inches wide.
Step 6: Fill the Biscuits
Spoon a heaping tablespoon of the beef mixture into the center of each flattened biscuit.
Step 7: Seal Each Bomb
Fold the dough over the filling:
1. Pinch edges firmly to seal completely.
2. Ensure there are no openings.
Step 8: Apply Garlic Parmesan Butter
In a small bowl:
1. Mix melted butter with grated Parmesan cheese.
2. Brush this mixture over the tops of each cheeseburger bomb.
Step 9: Bake
Arrange on your prepared baking sheet and bake for:
12-15 minutes or until golden brown.
Step 10: Garnish and Serve
Let cool slightly before garnishing with fresh parsley for color. Serve warm with ketchup, ranch dressing, or garlic aioli for dipping!
How to Serve Garlic Parmesan Cheeseburger Bombs
Garlic Parmesan Cheeseburger Bombs are versatile and can be enjoyed in various ways. Whether you’re hosting a party or enjoying a family dinner, these tasty bites will surely impress your guests. Here are some creative serving suggestions.
Dipping Sauces
Ketchup – A classic pairing that complements the savory flavors of the bombs.
Ranch Dressing – Creamy and tangy, ranch adds a refreshing twist.
Garlic Aioli – This garlic-infused sauce enhances the already rich flavors.
Barbecue Sauce – Sweet and smoky, barbecue sauce is great for those who love bold tastes.
Garnish Ideas
Fresh Parsley – A sprinkle of chopped parsley brightens up the dish visually and adds freshness.
Shredded Lettuce – Adding lettuce provides a nice crunch when served alongside the bombs.
Pickles – Serve with pickle slices for a tangy contrast to the cheeseburger flavors.
Platter Presentation
Cheese Platter – Pair with assorted cheeses to elevate your appetizer spread.
Vegetable Sticks – Include carrot and celery sticks for a healthy crunch on the side.
How to Perfect Garlic Parmesan Cheeseburger Bombs
Perfecting Garlic Parmesan Cheeseburger Bombs is easy with a few simple tips. Follow these suggestions to ensure your bombs turn out delicious every time.
Bold Seasoning – Use ample seasoning for the beef mixture to enhance flavor.
Even Filling – Ensure each biscuit has an even amount of filling for consistent cooking.
Seal Carefully – Pinch the edges tightly to prevent any filling from leaking during baking.
Watch Baking Time – Keep an eye on them while baking; remove them once they are golden brown.
Serve Freshly Baked – These bombs taste best when served warm right out of the oven.
Best Side Dishes for Garlic Parmesan Cheeseburger Bombs
These Garlic Parmesan Cheeseburger Bombs pair well with several side dishes. Here’s a list of some great options to serve alongside them.
French Fries – Crispy and salty, fries make a fantastic companion that everyone loves.
Coleslaw – This crunchy, creamy salad adds a refreshing contrast to the richness of the bombs.
Potato Wedges – Seasoned potato wedges offer another hearty side that’s easy to prepare.
Onion Rings – Crispy onion rings add texture and flavor, making your meal more exciting.
Corn on the Cob – Grilled or boiled corn brings sweetness that balances savory dishes perfectly.
Mixed Green Salad – A light salad with vinaigrette helps cleanse the palate between bites.
Common Mistakes to Avoid
When making Garlic Parmesan Cheeseburger Bombs, certain mistakes can lead to disappointing results. Here are some common pitfalls and how to avoid them.
Overfilling the biscuits: Adding too much filling can cause the dough to burst open while baking. Use a heaping tablespoon of the beef mixture for the perfect balance.
Not sealing properly: If the edges of the biscuit dough aren’t sealed well, the filling may leak out. Pinch the edges firmly to ensure a tight seal.
Skipping preheating: Failing to preheat your oven can result in uneven cooking. Always preheat to 375°F (190°C) before baking.
Using cold ingredients: Cold cream cheese can clump instead of mixing smoothly. Make sure it’s softened so it blends well with the other cheeses.
Ignoring baking time: Baking for too long or too short can affect texture. Keep an eye on them and remove from the oven when they are golden brown.
Storage & Reheating Instructions
Refrigerator Storage
Store in an airtight container for up to 3 days.
Allow them to cool completely before sealing to prevent moisture buildup.
Freezing Garlic Parmesan Cheeseburger Bombs
Freeze individually wrapped in plastic wrap or in a freezer-safe bag for up to 3 months.
Label with the date for easy tracking.
Reheating Garlic Parmesan Cheeseburger Bombs
Oven: Preheat your oven to 350°F (175°C). Bake for about 10-12 minutes until heated through.
Microwave: Heat each bomb on high for 30-45 seconds. Be cautious as they can become soft.
Stovetop: Heat on low in a skillet, turning occasionally until warm.
Frequently Asked Questions
Can I customize the filling for Garlic Parmesan Cheeseburger Bombs?
You can easily customize the filling by adding different cheeses or vegetables. Try using pepper jack cheese for a spicy kick or diced bell peppers for added crunch.
How do I make these Garlic Parmesan Cheeseburger Bombs healthier?
Opt for lean ground beef or turkey and use reduced-fat cheese options. You can also substitute whole wheat biscuit dough for a healthier base.
What dipping sauces pair well with Garlic Parmesan Cheeseburger Bombs?
These bombs are delicious with ketchup, ranch dressing, or garlic aioli. Feel free to experiment with your favorite dipping sauces!
Can I prepare Garlic Parmesan Cheeseburger Bombs ahead of time?
Yes, you can prepare them and store them in the fridge before baking. Just remember to bake them fresh when you’re ready to serve!
Final Thoughts
Garlic Parmesan Cheeseburger Bombs are a delightful twist on traditional burgers that everyone will love. They’re perfect as a quick dinner option or as crowd-pleasing appetizers at parties. Plus, with easy customization options, you can tailor these bombs to suit your taste preferences! Give this recipe a try and enjoy these cheesy bites today!
Garlic Parmesan Cheeseburger Bombs are an irresistible treat that melds the beloved flavors of a classic cheeseburger into delightful bite-sized snacks. Perfect for game day gatherings or quick family dinners, these bombs feature a gooey cheese and seasoned beef filling encased in a soft biscuit dough, topped with a savory garlic-Parmesan butter. In just 25 minutes, you can impress your guests with these flavorful delights that are sure to become a favorite at any table. Whether served as an appetizer or a fun main course, these bombs are versatile enough to suit any occasion while being incredibly easy to prepare and clean up.
Ingredients
Scale
1 lb ground beef
1 cup shredded cheddar cheese
½ cup cream cheese, softened
1 can (16 oz) refrigerated biscuit dough
¼ cup grated Parmesan cheese
2 tbsp butter, melted
Instructions
Preheat your oven to 375°F (190°C) and line a baking sheet with parchment paper.
In a skillet over medium heat, brown the ground beef until fully cooked; drain excess grease.
Season the beef with garlic powder, onion powder, salt, and pepper, then mix in cream cheese and cheddar until melted.
Separate biscuit dough into 8 pieces and flatten each into a circle.
Spoon the beef mixture into the center of each biscuit, fold over, and pinch edges tightly to seal.
Brush tops with melted butter mixed with Parmesan cheese.
Bake for 12-15 minutes until golden brown.
Prep Time:10 minutes
Cook Time:15 minutes
Category:Appetizer/Main
Method:Baking
Cuisine:American
Nutrition
Serving Size:1 serving
Calories:210
Sugar:1g
Sodium:450mg
Fat:12g
Saturated Fat:6g
Unsaturated Fat:4g
Trans Fat:0g
Carbohydrates:17g
Fiber:1g
Protein:9g
Cholesterol:35mg
Keywords: For added flavor variations, consider incorporating diced vegetables or different cheeses into the filling. To keep leftovers fresh, store in an airtight container in the refrigerator for up to three days or freeze them for up to three months.