
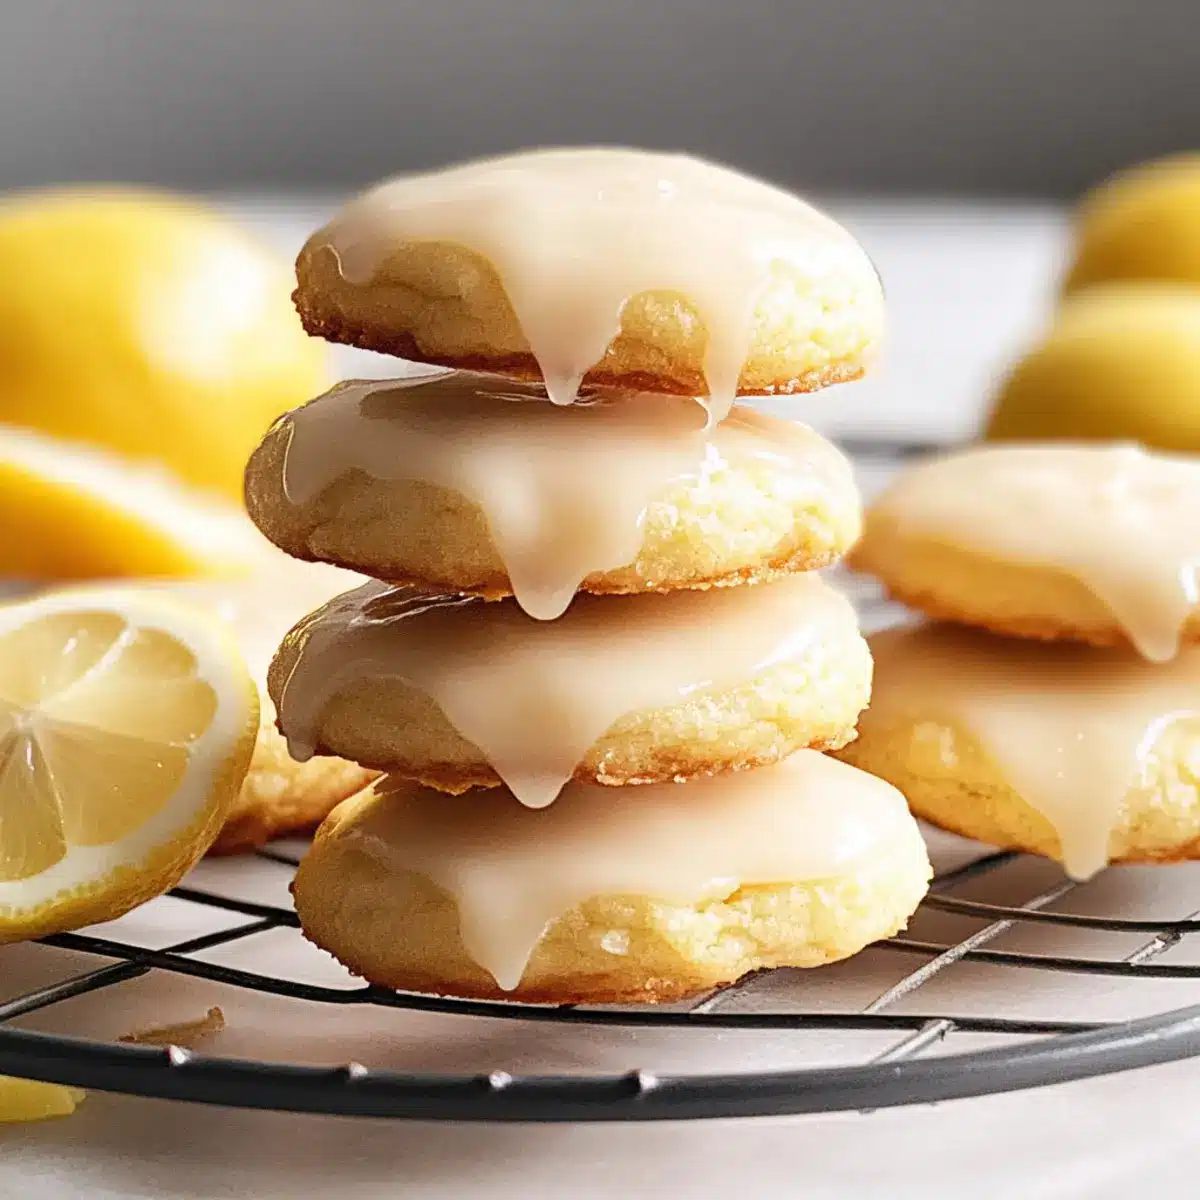
As the sweet aroma of freshly baked goods begins to fill the kitchen, a comforting wave of nostalgia rushes over me. There’s just something magical about cookies, especially when they’re as zesty and delightful as these Easy Glazed Lemon Cookies! In under 30 minutes, you can whip up these soft and chewy delights that are perfectly suited for both casual afternoons and festive gatherings. The best part? Not only do they make a stunning treat that’ll win over friends and family, but they also offer a quick and satisfying way to curb that craving for homemade goodness. Let’s dive into this refreshing recipe that’s destined to become a staple in your dessert repertoire. Are you ready to discover just how simple it is to brighten up your day with a batch of these citrusy cookies?
Why are Glazed Lemon Cookies irresistible?
Bright, Tangy Flavor: The zesty lemon combines perfectly with the sweetness of the glaze, creating a refreshing treat that wakes up your taste buds.
Quick & Easy: Whip these up in under 30 minutes! No complex baking skills required—just simple steps to delicious results.
Perfectly Soft Texture: Expect a tender, chewy cookie with a hint of crispness on the edges—a delightful contrast that keeps you coming back for more.
Versatile Pairing: Enjoy them with your favorite tea or alongside a scoop of ice cream for a delicious twist, just like my Soft Pumpkin Cookies or a refreshing lemonade.
Crowd-Pleaser: These cookies are the star of any gathering. Serve them up, and you’ll have everyone asking for the recipe!
Glazed Lemon Cookies Ingredients
For the Cookie Dough
- All-Purpose Flour – Provides structure to cookies; ensure it’s measured correctly for best results.
- Salt – Enhances flavor balance; use sea salt for a subtle taste.
- Baking Powder – Helps cookies rise and stay fluffy; ensure it’s fresh for optimal results.
- Lemon Zest – Infuses cookies with vibrant lemon flavor; fresh zest is recommended; bottled versions lack intensity.
- Granulated Sugar – Sweetens and aids in browning; can substitute with coconut sugar for a slightly different flavor.
- Unsalted Butter – Adds rich flavor and necessary fat for texture; must be at room temperature for proper mixing.
- Vanilla Extract – Adds depth of flavor; can substitute with almond extract for a different twist.
- Lemon Juice – Contributes acidity and refreshment; preferably fresh for the best taste.
- Egg – Acts as a binder; use a flax egg for a vegan version.
For the Glaze
- Confectioners’ Sugar – Used for the glaze; can combine with a bit of lemon juice for a different sweetness level.
With these flavors and ingredients in hand, you’re on your way to creating delightful Glazed Lemon Cookies that will bring joy to anyone who takes a bite!
Step‑by‑Step Instructions for Glazed Lemon Cookies
Step 1: Preheat the Oven
Begin by preheating your oven to 350°F (175°C) and lining two baking sheets with parchment paper. This preparation ensures that your cookies bake evenly and don’t stick. Take a moment to gather your ingredients to make the process smoother as you create these delightful Glazed Lemon Cookies.
Step 2: Combine Dry Ingredients
In a small bowl, whisk together your all-purpose flour, salt, and baking powder. This step is crucial for ensuring your dry ingredients are well mixed and ready to incorporate. Set this mixture aside while you move on to the next step, allowing the flavors to meld together as you prepare the other components.
Step 3: Prepare Lemon Sugar Mixture
In another bowl, combine the lemon zest and granulated sugar, rubbing the mixture together with your fingers until the sugar becomes fragrant and the oils from the zest are released. This process enhances the flavor of your cookies, and the bright aroma signals that you’re on the right track to creating irresistible Glazed Lemon Cookies.
Step 4: Cream Butter and Lemon Sugar
Using a stand mixer, beat the softened unsalted butter and the lemon sugar mixture until it becomes light and fluffy, about 2-3 minutes. This mixing action incorporates air into the butter, which will help give your cookies that perfect soft texture. Take a moment to scrape down the sides of the bowl for even mixing.
Step 5: Add Wet Ingredients
Mix in the vanilla extract, fresh lemon juice, and the egg until everything is combined and smooth. The wet ingredients will create a luscious batter, ensuring every bite of your Glazed Lemon Cookies is full of citrus delight. Be sure to mix just until combined to keep the cookies tender.
Step 6: Incorporate Dry Ingredients
Gradually add the flour mixture to the wet ingredients, mixing on low speed until the dough comes together without any dry patches. This step is essential to prevent overmixing, which could lead to tough cookies. Once fully incorporated, you’ll have a sticky and slightly thick dough that’s ready to scoop.
Step 7: Scoop Dough onto Baking Sheets
Using a cookie scoop or tablespoon, drop mounds of dough onto your prepared baking sheets, making sure to leave about 2 inches between each cookie for spreading. The dough should have a slightly rounded shape. This spacing is crucial as it allows the cookies to expand and bake evenly into glorious Glazed Lemon Cookies.
Step 8: Bake Until Golden
Place the cookie sheets in the preheated oven and bake for 11-14 minutes, or until the edges are lightly golden brown. Keep an eye on them, as baking times can vary slightly. Once baked, let them cool on the sheets for a few minutes before transferring them to a wire rack to cool completely.
Step 9: Make the Glaze
While the cookies cool, whisk together the confectioners’ sugar with a splash of fresh lemon juice and zest until smooth. Adjust the consistency if necessary by adding more sugar or juice to achieve your desired thickness. This glaze will add a delightful sweetness that perfectly complements your cookies.
Step 10: Glaze the Cookies
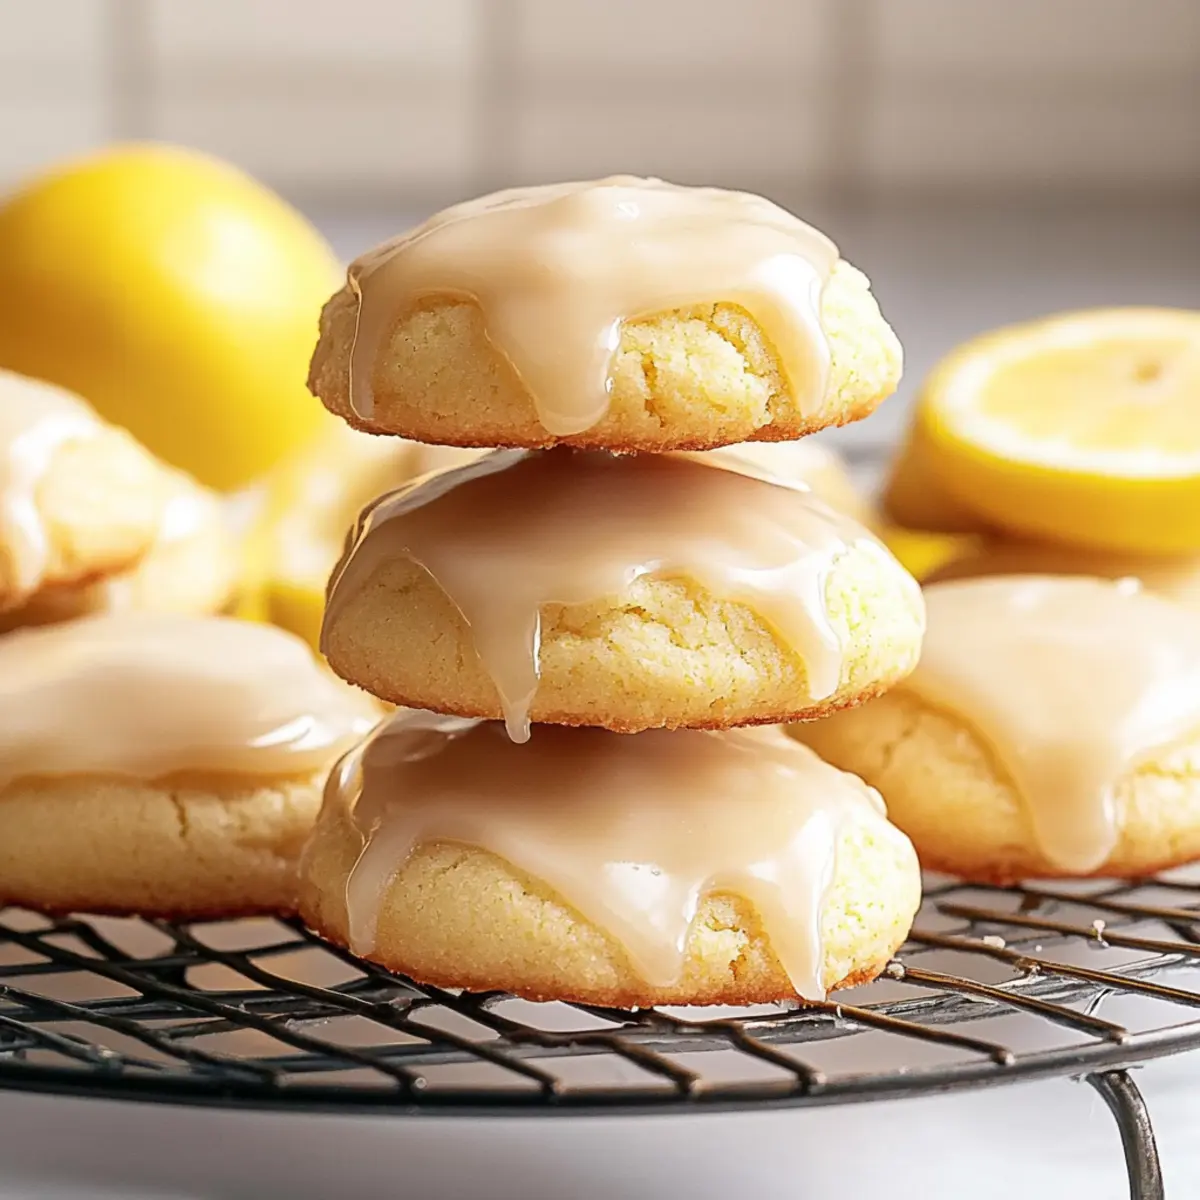
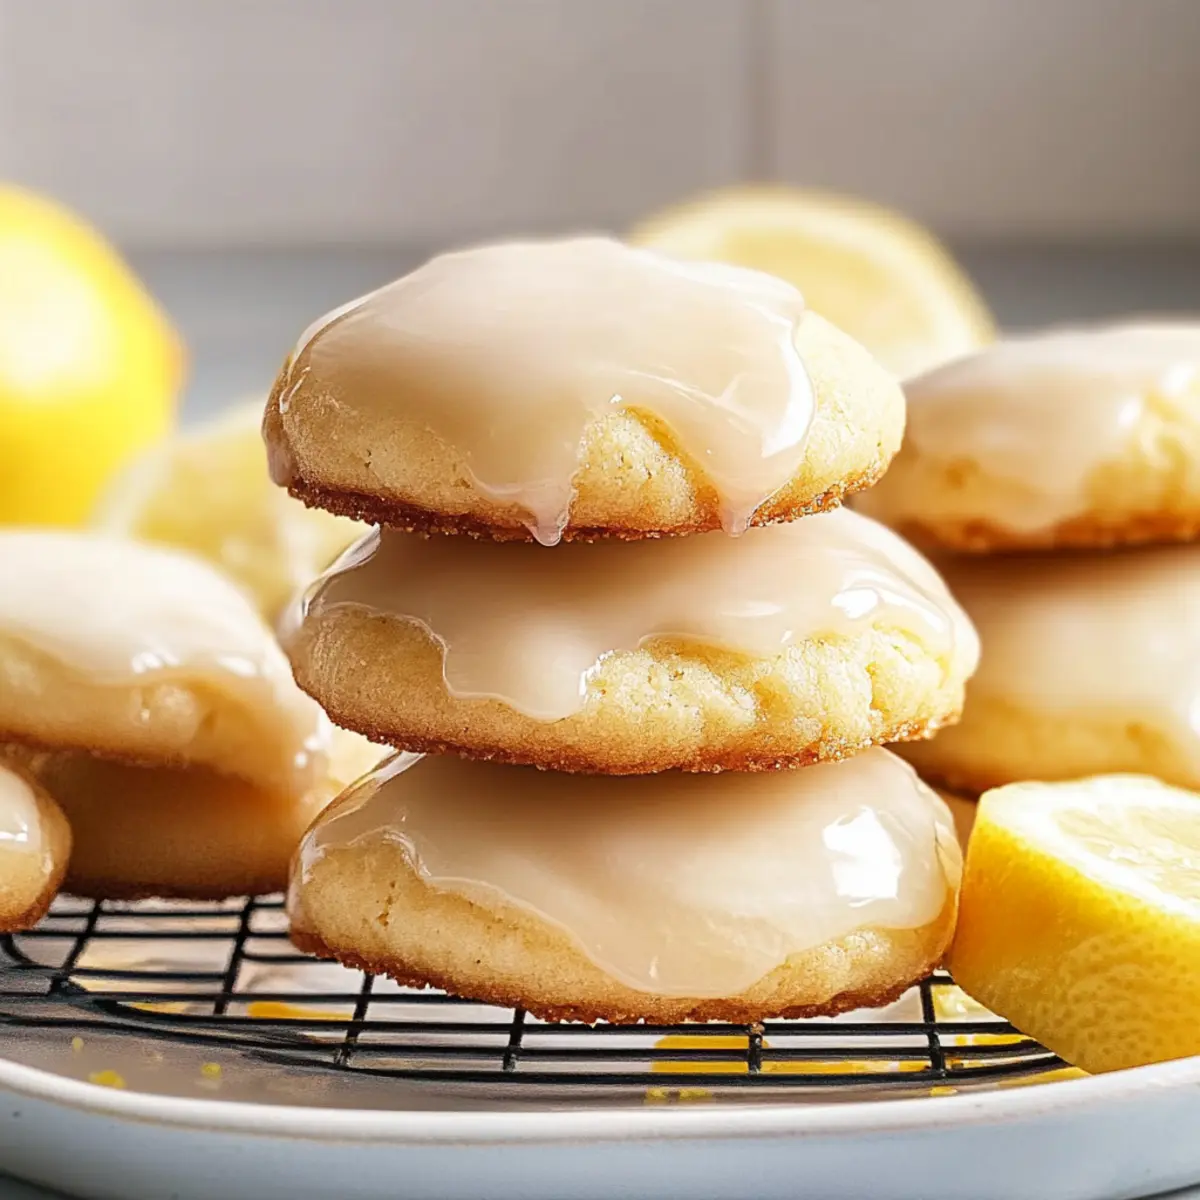
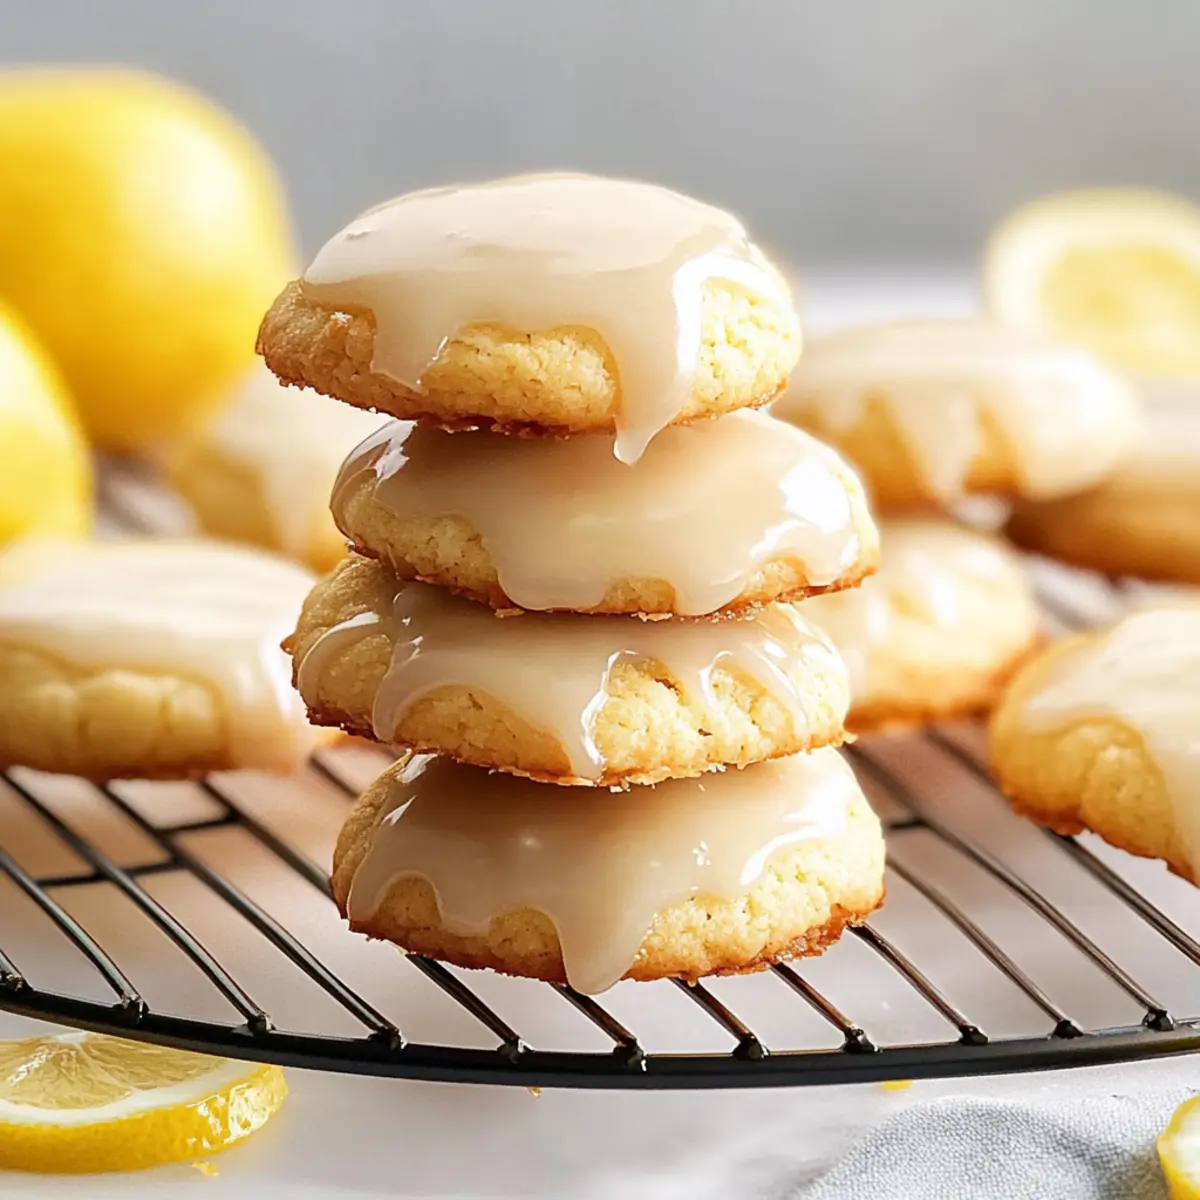
Once the cookies have cooled completely, dip each one into the glaze, ensuring they are coated well but not overly saturated. Place the glazed cookies back on the wire rack and allow the glaze to set before serving. The finished Glazed Lemon Cookies will bring a refreshing burst of citrus to your tastebuds!
How to Store and Freeze Glazed Lemon Cookies
Airtight Container: Store cookies in an airtight container at room temperature for up to 1 week. Ensure the glaze has set completely before stacking.
Fridge: If you prefer, you can refrigerate cookies for up to 2 weeks. Just keep them in an airtight container to maintain their moisture and flavor.
Freezer: For longer storage, freeze cookies in a single layer on a baking sheet. Once frozen, transfer to a freezer-safe container for up to 3 months.
Reheating: To enjoy that fresh-baked taste, reheat cookies in the microwave for about 10-15 seconds or in a warm oven for a few minutes if desired.
Variations & Substitutions for Glazed Lemon Cookies
Feel free to make these cookies uniquely yours by exploring delightful twists and substitutions that will elevate your baking experience!
-
Orange Juice: Swap lemon juice for fresh orange juice for a sweeter, citrusy flavor that’s equally bright and refreshing.
-
Poppy Seeds: Add a tablespoon of poppy seeds to the cookie dough for a hint of crunch and an elegant touch—a classic pairing with lemon!
-
Nutty Delight: Incorporate finely chopped nuts, such as almonds or walnuts, into the dough for a delightful texture and richness. The earthiness of the nuts beautifully complements the lemon’s brightness.
-
Dark Chocolate Chips: Mix in dark chocolate or white chocolate chips for added sweetness and a decadent twist. The richness of the chocolate plays off the lemon’s tang, creating a flavor harmony that’s hard to resist.
-
Herb Infusion: Experiment with fresh herbs like thyme or rosemary for a subtle herbal note that takes these cookies to another dimension. Just a pinch will add an unexpected layer of flavor.
-
Dairy-Free Option: Use coconut oil in place of butter and almond milk instead of regular milk, making the cookies vegan while still preserving that delightful softness.
-
Spicy Kick: Introduce a sprinkle of cayenne or a pinch of cinnamon into the cookie dough for a surprising warmth that creates a unique contrast with the citrus.
-
Serve with Style: Pair your cookies with homemade vanilla ice cream or a scoop of lemon sorbet for an exquisite treat that echoes the flavors of your cookies. Enjoy them alongside my Strawberry Crunch Cookies for a delightful dessert platter!
Baking should be a joyous journey, so feel free to mix and match these variations to create a version of Glazed Lemon Cookies that speaks to your taste buds and inspires your creativity!
What to Serve with Easy Glazed Lemon Cookies
Ready to create the perfect spread to accompany your citrusy treats?
-
Chilled Lemonade: The zesty flavors resonate beautifully, offering a refreshing companion that’ll quench your thirst and enhance the cookie’s bright notes.
-
Earl Grey Tea: With subtle bergamot undertones, this fragrant tea provides a delightful contrast to the sweet and tangy cookies—a cozy pairing for afternoon tea.
-
Vanilla Ice Cream: A scoop of creamy vanilla nicely balances the zingy lemon, creating a delightful texture and taste experience with each bite.
-
Fruit & Cheese Platter: Fresh fruits like strawberries or grapes alongside a mild cheese create a delightful balance of sweetness and savory flavors, perfect for a gathering.
-
Creamy Coffee: Enjoy your cookies with a warm or iced coffee featuring rich creaminess—this combination adds depth to your tea time and brightens your day.
-
Lemon Sorbet: Keep that citrus vibe going with this light and refreshing dessert that serves as a palate cleanser between bites of your Glazed Lemon Cookies.
Make Ahead Options
These Easy Glazed Lemon Cookies are perfect for busy home cooks looking to make meal prep easier! You can prepare the cookie dough up to 24 hours in advance. Simply mix and scoop the dough onto the baking sheets, then cover the sheets with plastic wrap and refrigerate. When you’re ready to bake, allow the dough to sit at room temperature for about 10-15 minutes before placing them in the oven. The glaze can also be made in advance and kept in the fridge for up to 3 days; just stir well before using to ensure a smooth consistency. With these make-ahead tips, you’ll enjoy delicious Glazed Lemon Cookies with minimal time spent on busy days!
Expert Tips for Glazed Lemon Cookies
-
Fresh Ingredients: Use fresh lemon juice and zest to maximize flavor; bottled versions simply don’t compare in taste intensity.
-
Avoid Overbaking: Keep a close eye on your cookies while baking; overbaking can lead to dryness and compromise that soft, chewy texture.
-
Glaze Consistency: Experiment with the glaze’s thickness; adjust with more sugar or lemon juice to achieve the perfect coating for your Glazed Lemon Cookies.
-
Mixing Method: Don’t overmix the dough after adding flour; this keeps your cookies tender and prevents a tough texture.
-
Cool Completely: Make sure your cookies cool fully before glazing; if the glaze is added too soon, it can melt and lose its beautiful finish.
Glazed Lemon Cookies Recipe FAQs
How do I choose the best lemons for this recipe?
Absolutely! When selecting lemons, look for ones that are bright yellow, firm, and slightly heavy for their size. Avoid lemons with dark spots or a dull appearance, as these may indicate overripeness. Fresh lemons will provide the best flavor for your Glazed Lemon Cookies, ensuring a vibrant citrusy taste.
How should I store Glazed Lemon Cookies?
For optimal freshness, store your Glazed Lemon Cookies in an airtight container at room temperature for up to 1 week. If you prefer, you may refrigerate them for up to 2 weeks, just ensure they’re sealed tightly to preserve moisture and flavor. If glazed, allow the glaze to set completely before stacking the cookies to prevent sticking.
Can I freeze Glazed Lemon Cookies?
Yes, indeed! To freeze your cookies, place them in a single layer on a baking sheet and freeze until solid. Once frozen, transfer them to a freezer-safe container, sealing tightly. They can be kept in the freezer for up to 3 months. When you’re ready to enjoy them, let them thaw at room temperature, or reheat them in the microwave for about 10-15 seconds for that fresh-baked taste.
What should I do if my cookies turn out too dry?
Very important! If your cookies turn out too dry, consider a few possible adjustments for next time. First, ensure you’ve measured your flour correctly; too much flour can lead to dryness. Always spoon and level the flour instead of scooping directly from the bag. Secondly, avoid overbaking them, as even a minute or two too long can dry them out. If they do end up dry, try adding a drizzle of milk or a simple syrup over the top for moisture.
Are these cookies pet-friendly or allergen-free?
Great question! These Glazed Lemon Cookies are not pet-friendly due to the use of ingredients like butter and sugar, and they should be kept away from pets. If you have allergies, be cautious with the eggs and adjust according to your dietary needs; a flax egg can be used as a substitute for vegans. Always check labels for potential allergens in store-bought ingredients, like the baking powder or vanilla extract.
Glazed Lemon Cookies – Soft, Chewy, Citrus Bliss Awaits
Ingredients
Equipment
Method
- Preheat your oven to 350°F (175°C) and line two baking sheets with parchment paper.
- In a small bowl, whisk together the all-purpose flour, salt, and baking powder.
- In another bowl, combine the lemon zest and granulated sugar, rubbing the mixture until fragrant.
- Using a stand mixer, beat the softened unsalted butter and lemon sugar mixture until light and fluffy, about 2-3 minutes.
- Mix in the vanilla extract, fresh lemon juice, and the egg until combined and smooth.
- Gradually add the flour mixture to the wet ingredients, mixing on low speed until the dough forms.
- Drop mounds of dough onto prepared baking sheets, leaving about 2 inches between each.
- Bake for 11-14 minutes, or until the edges are lightly golden brown. Let cool on sheets.
- Whisk together the confectioners’ sugar with a splash of lemon juice and zest until smooth to make the glaze.
- Once cooled, dip each cookie into the glaze and place back on the wire rack to set.
Leave a Reply