Physical Address
304 North Cardinal St.
Dorchester Center, MA 02124
Physical Address
304 North Cardinal St.
Dorchester Center, MA 02124

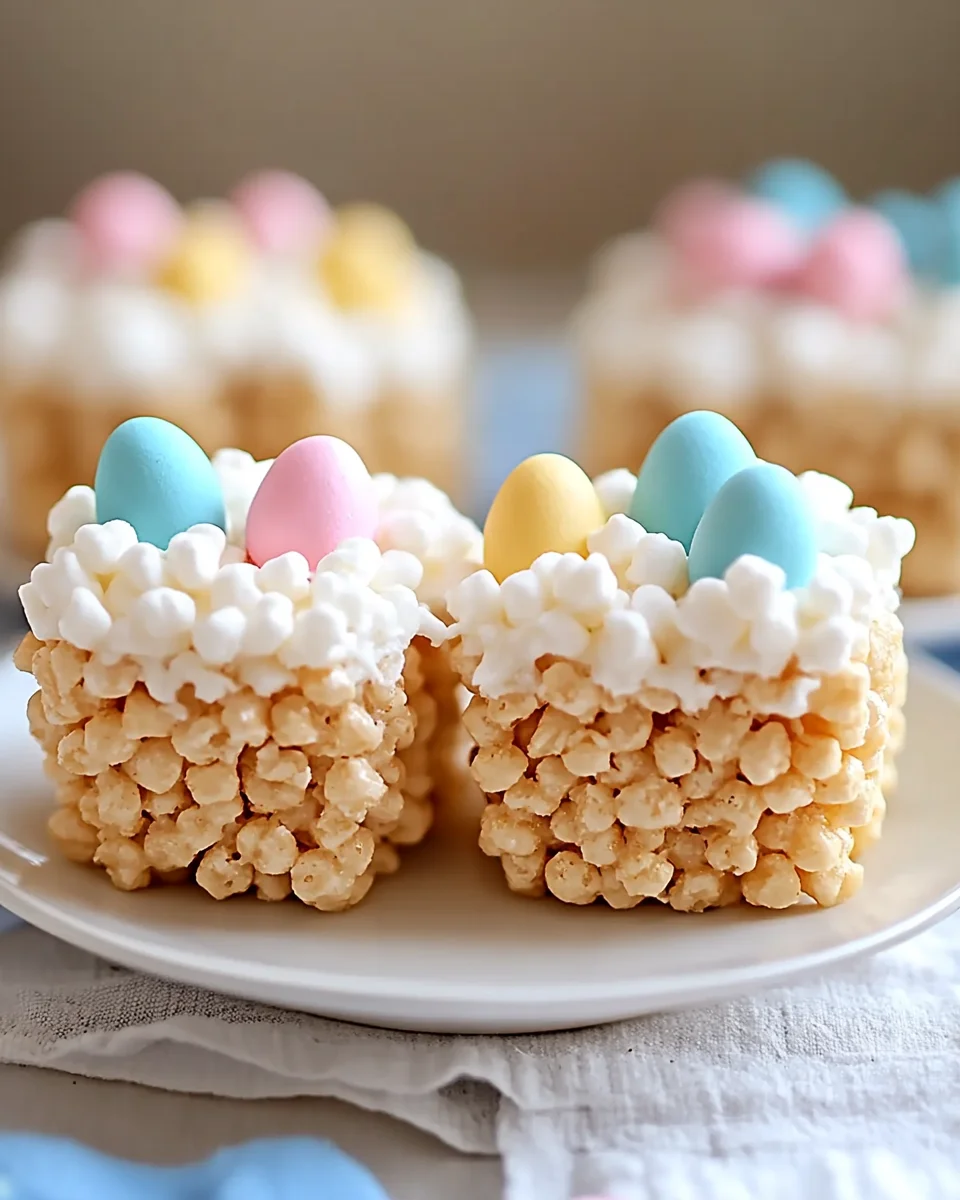
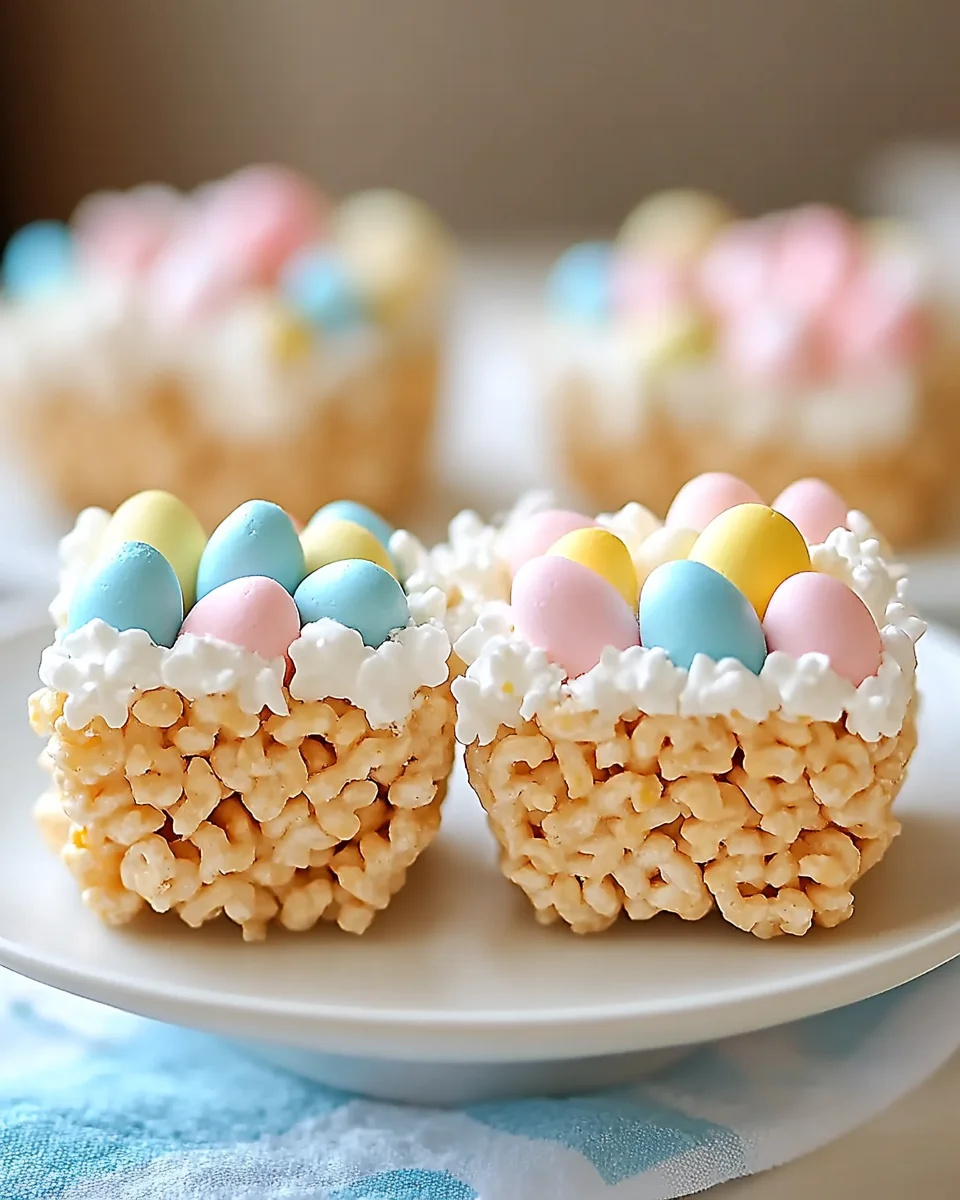
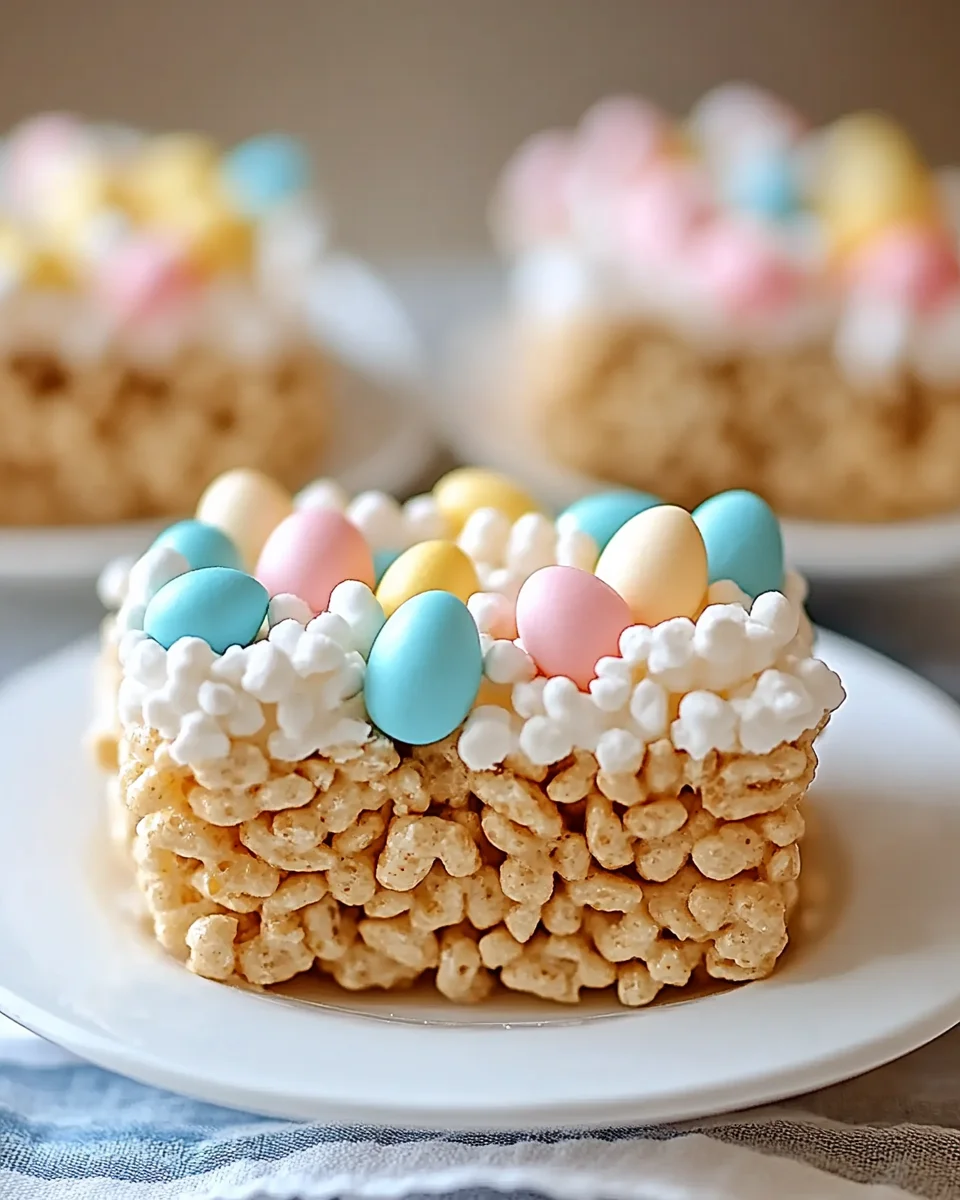
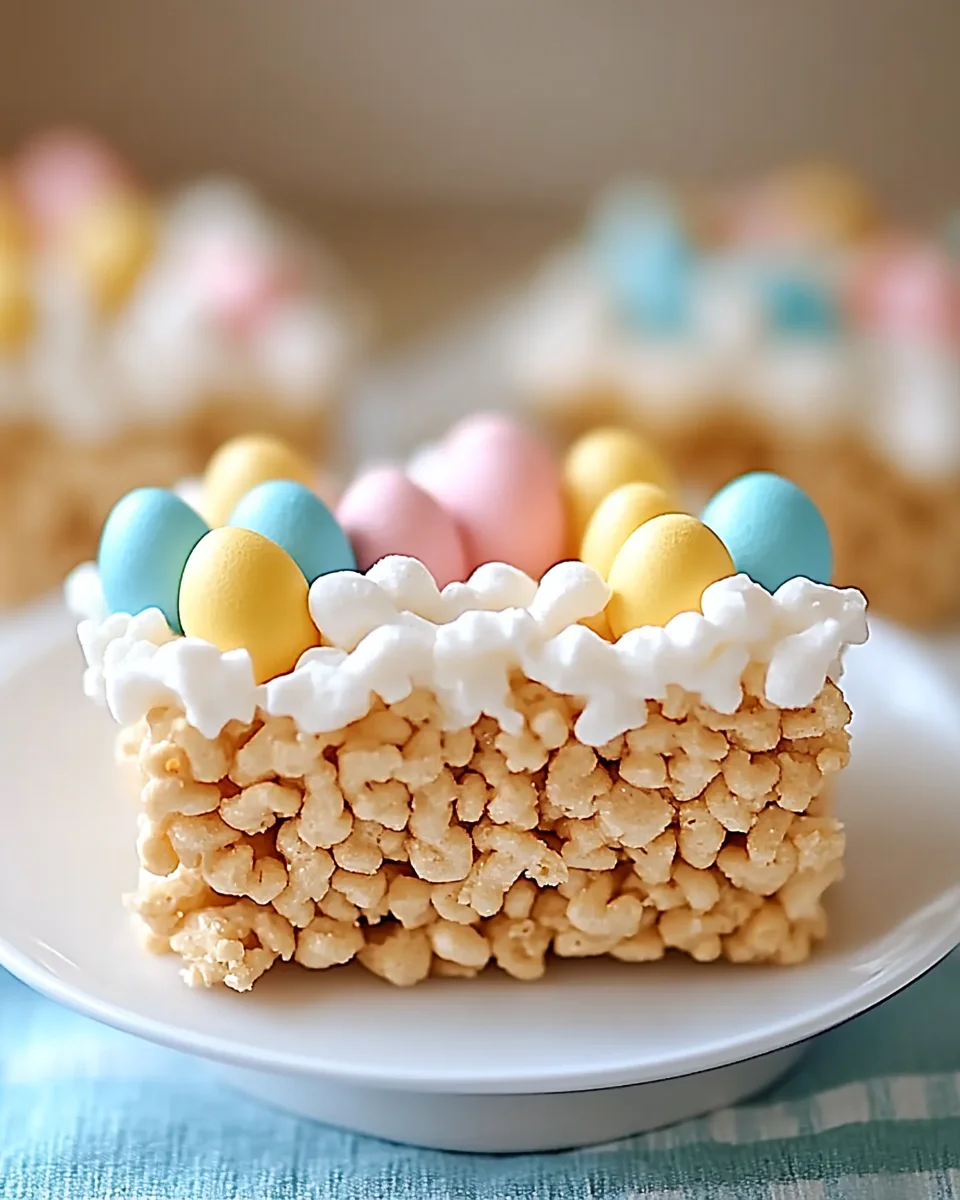
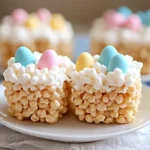
Festive Krispies Easter Egg Nests are a delightful treat perfect for spring gatherings and Easter celebrations. These charming nests feature sweet marshmallows and crispy cereal, topped with colorful candy eggs that add a playful touch. Not only are they visually appealing, but they are also easy to make, making them an ideal dessert for both kids and adults.
Before you dive into making your Krispies Easter Egg Nests, gather your tools and prep your workspace. Having everything ready will streamline the process and ensure success.
Festive Krispies nests with frosting and candy eggs. A charming dessert for spring gatherings.
Ingredients:
– 16 ounces marshmallows, jumbo or mini
– 7 cups Rice Krispies
– 2 tablespoons unsalted butter
– Easter egg candies
– ½ cup unsalted butter
– 3-4 cups powdered sugar
– ¼ cup milk
– 1 teaspoon vanilla extract
– Green food coloring
Thoroughly grease standard cupcake pans using cooking spray or butter. Pay special attention to the corners where the treats tend to stick.
Combine the marshmallows and 2 tablespoons of unsalted butter in a microwave-safe bowl. Microwave in 30-second intervals, stirring in between, until smooth and fully melted.
Quickly stir the melted marshmallow mixture into the Rice Krispies. Use a buttered spatula to ensure even coverage of all cereal.
Spoon the mixture into the greased cupcake pan cavities. Press gently into the center of each to create a hollow nest shape. Use wax paper or greased hands to avoid sticking.
Allow the formed nests to rest at room temperature for about 30 minutes until firm.
In a large mixing bowl, use a mixer to cream ½ cup of unsalted butter until smooth. Gradually add 2 cups of powdered sugar, ¼ cup of milk, and 1 teaspoon of vanilla extract. Beat for 5 minutes until creamy. Add the remaining powdered sugar and green food coloring until you reach your desired shade and thickness.
Transfer frosting to a piping bag fitted with a grass tip. Pipe frosting onto the centers of the cooled nests, starting from the outer edge and moving inward. Top each nest with 2-3 Easter egg candies.
Enjoy these delightful Krispies Easter Egg Nests at your next spring gathering!
Krispies Easter Egg Nests are delightful and versatile desserts perfect for spring celebrations. Here are some creative serving suggestions to enhance your festive gatherings.
Creating the perfect Krispies Easter Egg Nests is easy with these handy tips. Follow these suggestions to elevate your dessert game!
Complementing your Krispies Easter Egg Nests with side dishes can elevate your dessert spread. Here are some delightful options:
Fruit Salad
A vibrant mix of seasonal fruits adds freshness and color. Try using strawberries, blueberries, and pineapple for a bright presentation.
Carrot Sticks with Hummus
Crunchy carrot sticks paired with creamy hummus offer a healthy contrast to the sweet nests while keeping the theme festive.
Mini Quiches
These savory bites are great for balance against the sweetness of the nests. Consider filling them with spinach or cheese for added flavor.
Cheese Platter
A selection of cheeses served with crackers provides a savory option that pairs nicely with sweet treats, pleasing various palates.
Spring Pea Salad
A light salad featuring fresh peas, mint, and feta cheese can be refreshing alongside the rich flavors of the desserts.
Deviled Eggs
Classic deviled eggs add a touch of elegance while being easy to eat. You can even dye them in pastel colors to match your theme!
Making Krispies Easter Egg Nests can be a delightful experience, but avoiding common mistakes will ensure your treats turn out perfectly every time.
Not Greasing the Pans Properly: Failing to grease the cupcake pans can lead to sticky nests that are difficult to remove. Always use cooking spray or butter generously in all corners.
Overheating the Marshmallows: Overheating can cause the marshmallows to become too hard. Microwave them in short intervals and stir frequently until smooth.
Not Pressing Firmly Enough: If you don’t press the mixture firmly into the pan, the nests may fall apart. Make sure to gently but firmly create a hollow shape in each cavity.
Ignoring Frosting Consistency: If your frosting is too runny, it won’t hold its shape when piped. Gradually add powdered sugar until you reach a thick, creamy consistency.
Skipping the Cooling Step: Trying to frost warm nests can lead to melting and mess. Allow them to cool completely before decorating with frosting and candies.
You can customize your nests by using different types of candies or adding sprinkles for extra fun. Feel free to experiment with colors and flavors!
Yes! You can prepare these nests a day in advance. Just store them properly in an airtight container as mentioned above.
If your nests are overly sticky, ensure you used enough butter or cooking spray when greasing your pans. You can also try lightly dusting them with powdered sugar after they cool.
When stored properly, Krispies Easter Egg Nests will last about one week in the refrigerator or up to three months in the freezer.
Krispies Easter Egg Nests are not only charming but also versatile desserts perfect for spring gatherings. Their customizable nature allows for endless creativity with toppings and decorations. Give this fun recipe a try and enjoy making sweet memories!
Delight in the charm of Krispies Easter Egg Nests, a whimsical dessert perfect for spring festivities and Easter celebrations. These delightful nests combine sweet marshmallows and crispy rice cereal, topped with vibrant candy eggs that bring a playful touch to any gathering. Not only are they visually stunning, but they are also incredibly easy to whip up, making them an ideal treat for both kids and adults alike. Whether you’re hosting a festive brunch or looking for a fun kitchen activity with the little ones, these nests offer endless customization options and a delicious flavor that everyone will love.
Keywords: Ensure ingredients like marshmallows and butter are fresh for optimal taste. Work swiftly when mixing the Rice Krispies to prevent the marshmallow mixture from setting too quickly. Customize by using different candies or colors to match your celebration theme.