
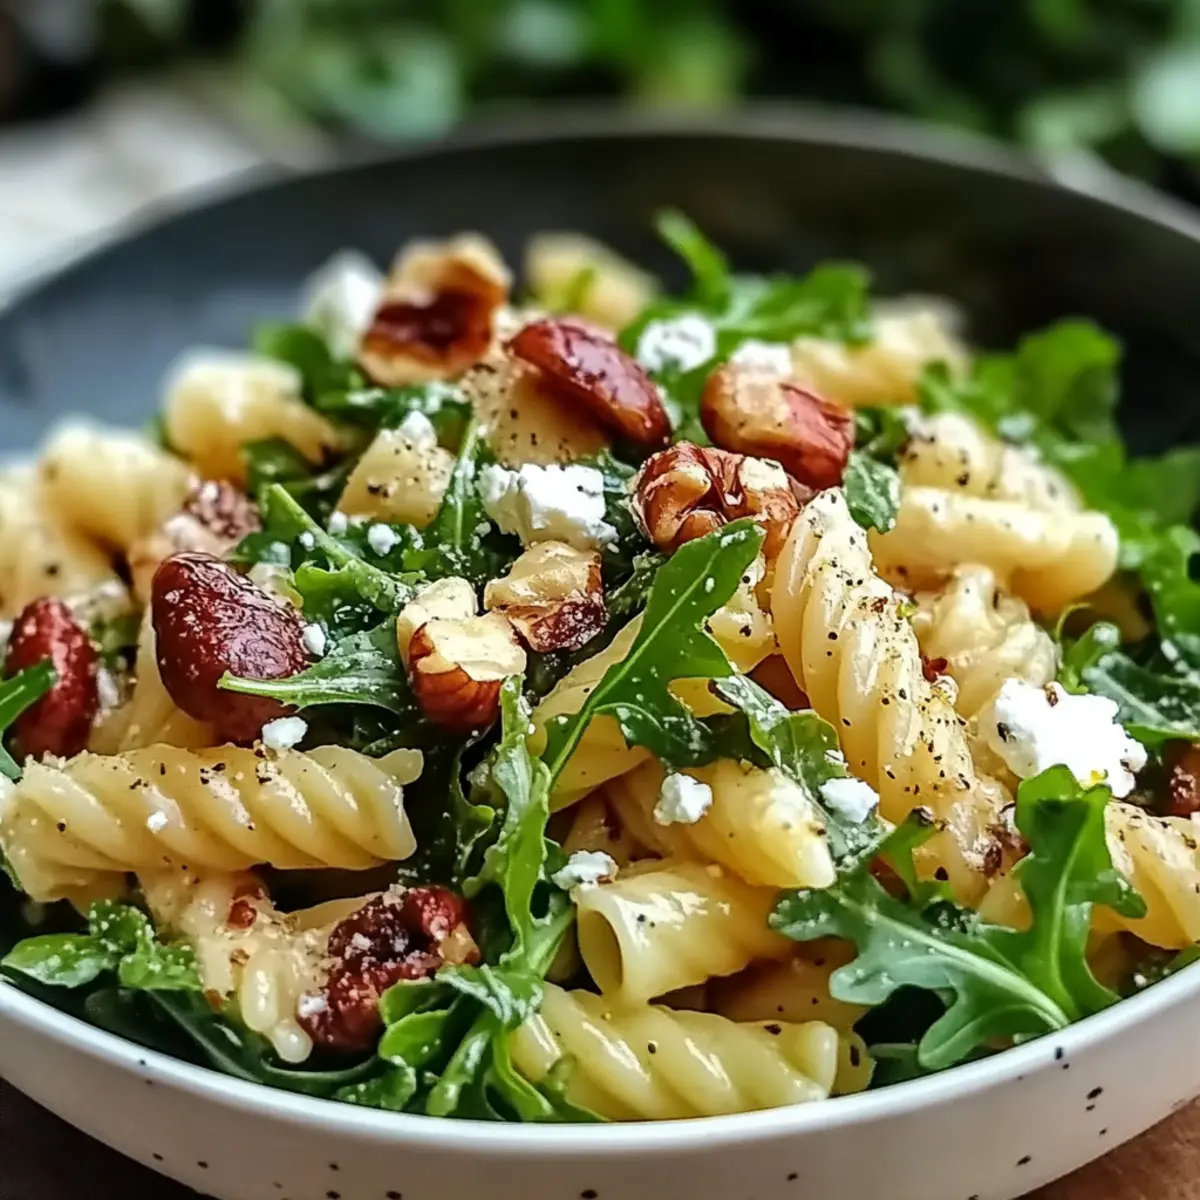
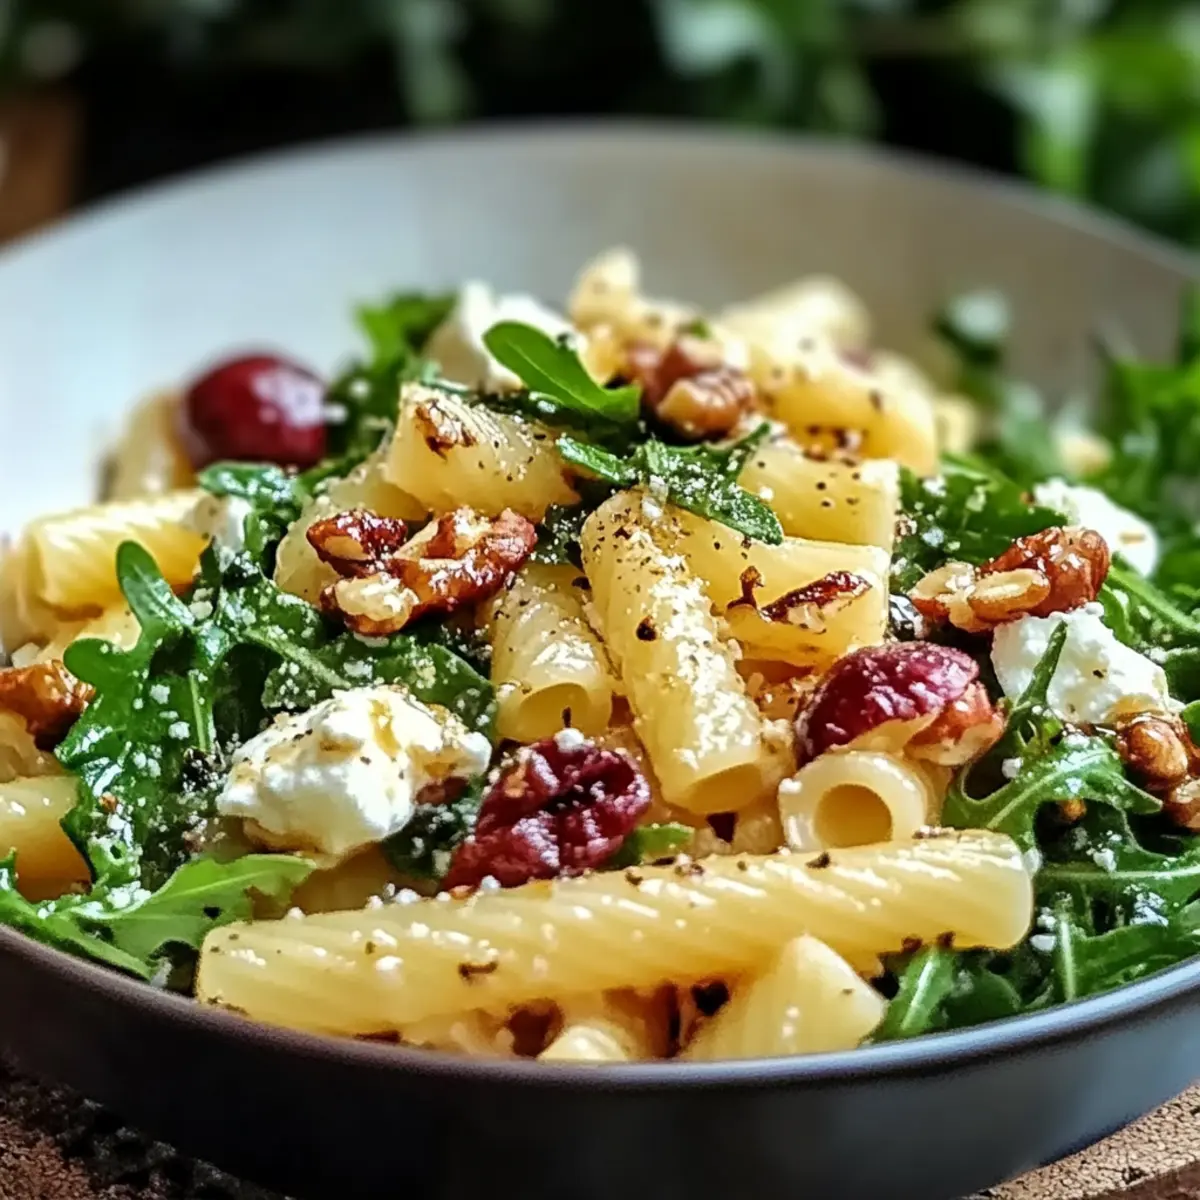
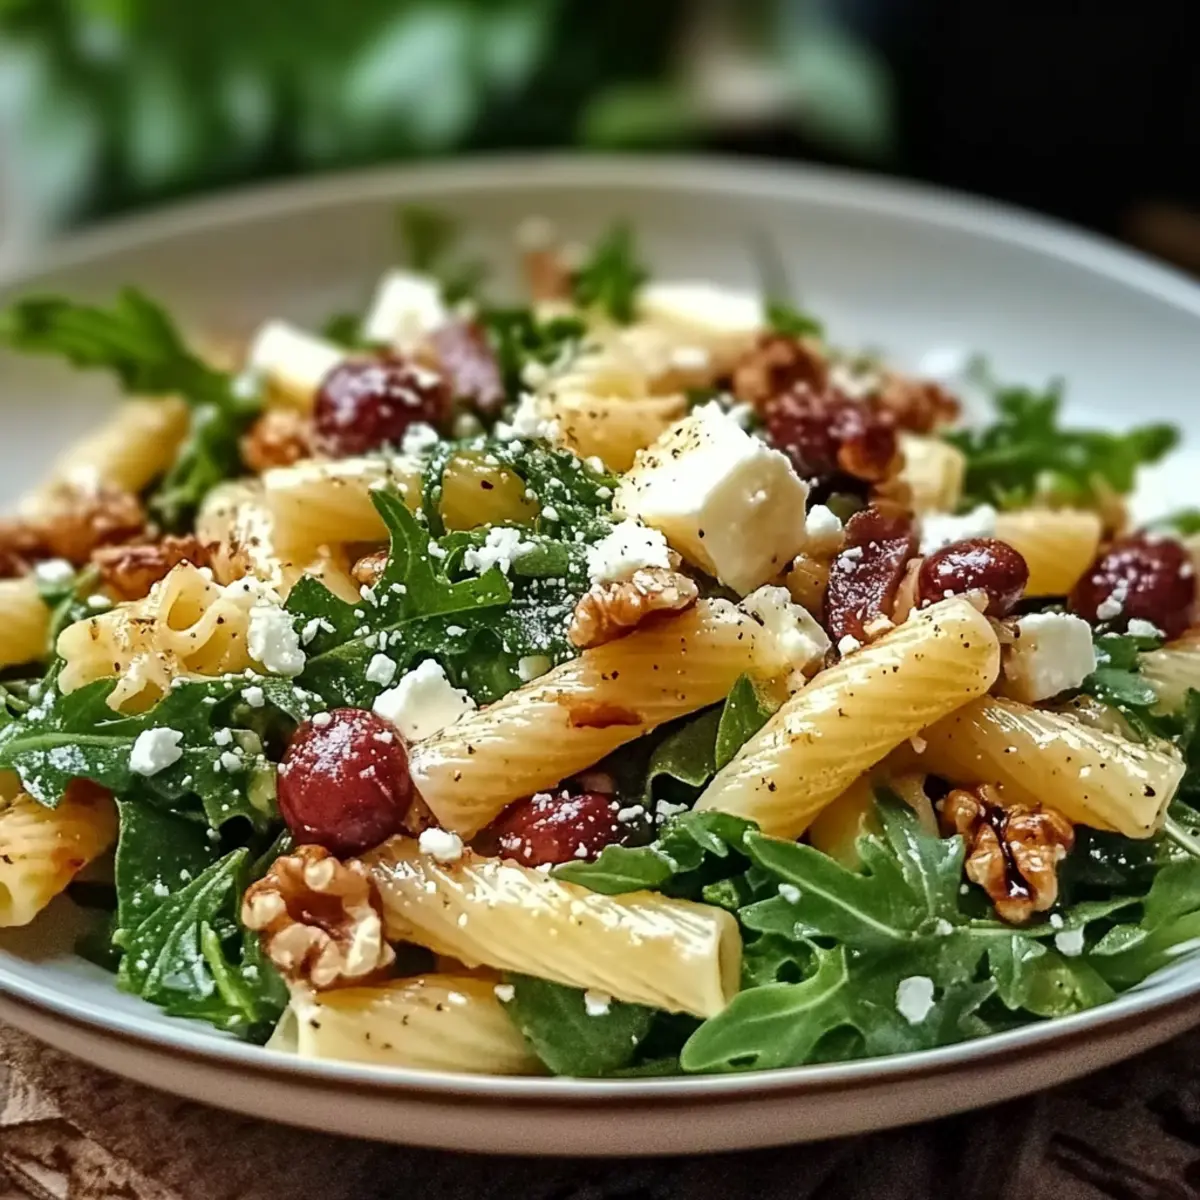
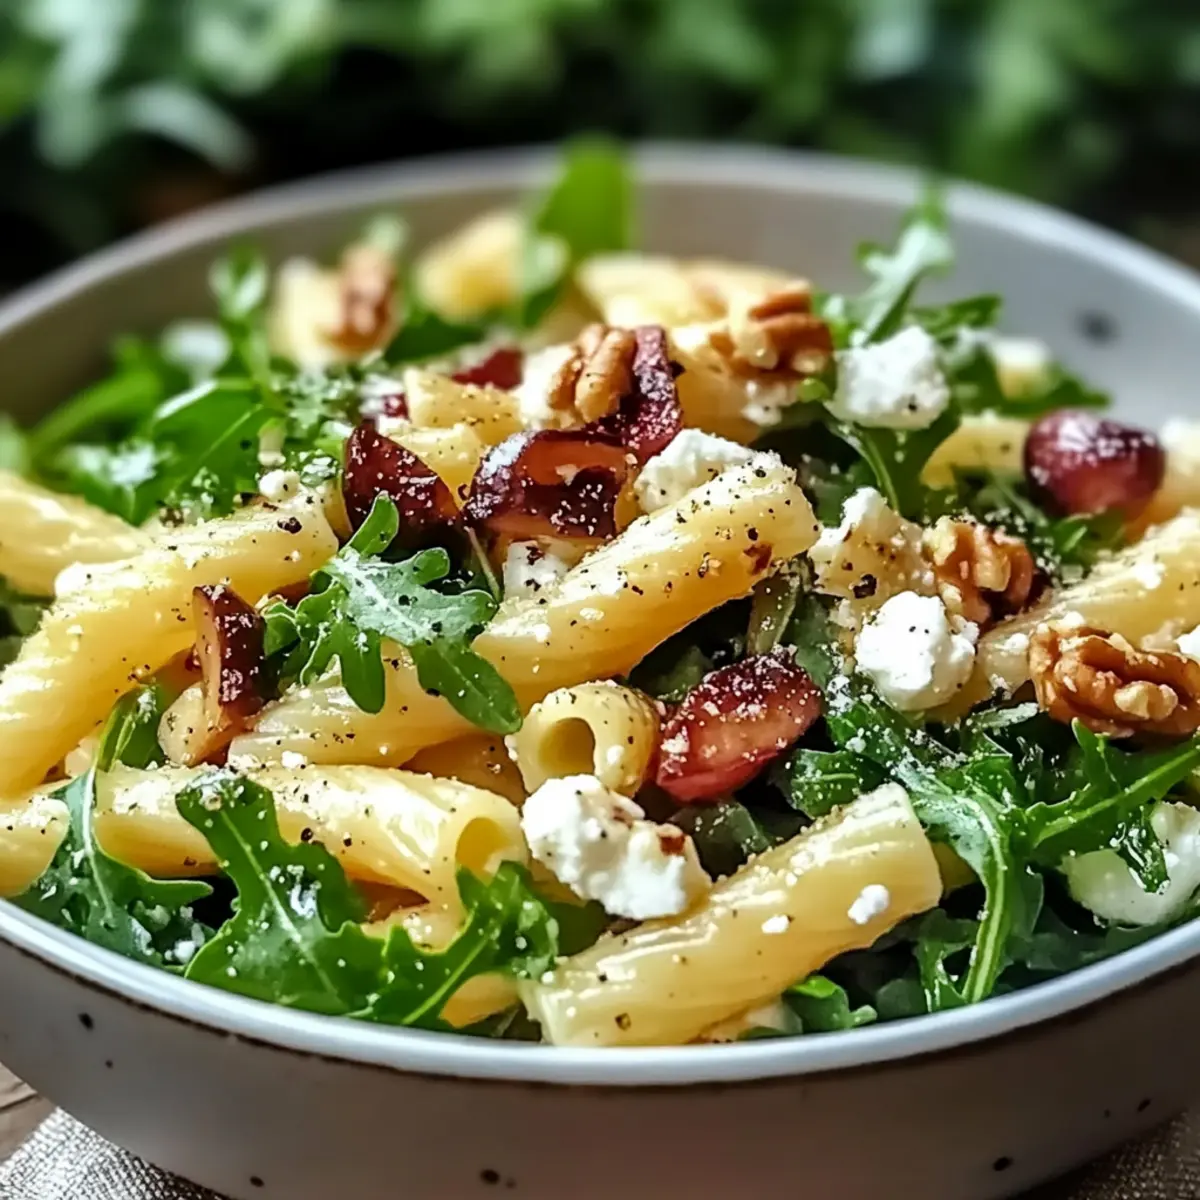
As I was walking through the bustling farmer’s market, the fragrant air was filled with the sweet scent of ripe pears. That’s when the idea struck me: why not combine these juicy gems with something hearty and fulfilling? Enter the Ultimate Pear Pasta Salad—a delightful dish that captures the essence of fresh ingredients. This quick, vegetarian recipe marries tender pasta with the crunch of walnuts and the creaminess of feta, creating a refreshing choice for lunch or a light dinner. It not only makes an impressive crowd-pleaser for gatherings but also is a breeze to prepare, leaving you more time to enjoy the company of loved ones. Curious about how to create this perfect harmony of flavors? Let’s dive into this delicious journey!
Why Is This Pear Pasta Salad Unique?
Bursting with Flavor: The sweet, juicy pears paired with tangy feta create a taste sensation that’s refreshing and utterly delightful.
Quick and Easy: This dish comes together in a flash, making it ideal for busy weekdays or spontaneous gatherings with friends.
Healthy and Satisfying: Packed with nutrients from fresh ingredients, it’s a healthy option that doesn’t skimp on taste—perfect to serve alongside options like Hot Chicken Salad or Quinoa Crunch Salad.
Versatile Ingredients: Feel free to mix it up with your favorite nuts or greens. Whether you choose spinach to tone it down or add vibrant herbs like basil, it’s bound to please any palate.
Perfect for Any Occasion: From summer picnics to cozy dinners, this salad stands out as a beautiful and crowd-pleasing option that everyone will want to dive into.
Pear Pasta Salad Ingredients
• It’s all you need for a deliciously refreshing dish!
For the Pasta
• Fusilli or Rotini – These pasta shapes are perfect for holding onto the dressing and all those yummy ingredients.
For the Salad
• Ripe Pears – They bring natural sweetness and juicy texture, making the salad pop.
• Arugula or Spinach – Arugula offers a peppery kick, while spinach is milder; both add a vibrant touch.
• Feta Cheese – Its creamy and tangy flavor complements the pears beautifully; goat cheese is a great alternative!
• Walnuts – They lend a crunchy, nutty richness; feel free to swap in pecans or almonds if you prefer.
• Dried Cranberries – They introduce a sweet-tart element that pairs deliciously with the other ingredients.
For the Dressing
• Olive Oil – This is the base of your dressing, enhancing flavors and moisture; avocado oil can be a healthy alternative.
• Balsamic Vinegar – It adds depth and acidity; red wine or cherry vinegar can work just as well.
• Honey – A splash of natural sweetness to balance the dressing—maple syrup is perfect for a vegan option.
• Salt and Pepper – Always adjust to taste; these will elevate the flavors of your Pear Pasta Salad!
Step‑by‑Step Instructions for Pear Pasta Salad
Step 1: Cook the Pasta
Bring a large pot of salted water to a rolling boil over high heat. Add your preferred fusilli or rotini pasta, and cook according to package instructions until al dente, typically about 8-10 minutes. Once done, drain the pasta in a colander and rinse under cold water to stop the cooking process and cool it swiftly.
Step 2: Prepare the Dressing
In a small bowl, whisk together ¼ cup of olive oil, 2 tablespoons of balsamic vinegar, 1 tablespoon of honey, and a pinch of salt and pepper. Continue whisking until you achieve a well-emulsified dressing with a smooth consistency. Set this dressing aside to allow the flavors to meld while you prepare the salad.
Step 3: Combine Ingredients
In a large mixing bowl, combine the cooled pasta with diced ripe pears, a generous handful of fresh arugula, crumbled feta cheese, roughly chopped walnuts, and dried cranberries. Mix these ingredients gently using a spatula, ensuring that everything is evenly distributed and the pears remain intact.
Step 4: Dress the Salad
Drizzle the prepared dressing over the pasta salad mixture. Using two large spoons or salad tongs, toss gently until all the ingredients are coated in the flavorful dressing. Aim for an even distribution of the dressing, without crushing the delicate pears or feta, to maintain the delightful textures in your Pear Pasta Salad.
Step 5: Taste and Adjust
Once thoroughly tossed, taste the salad and adjust the seasoning as needed. You can add more salt, pepper, or a touch more honey if you prefer a sweeter twist. This step ensures the flavors are perfectly balanced and tailored to your liking, making for an irresistible Pear Pasta Salad.
Step 6: Serve or Chill
You can serve your delightful Pear Pasta Salad immediately for a fresh, vibrant dish. Alternatively, for enhanced flavor blending, cover and refrigerate the salad for about 30 minutes. This chilling step allows the ingredients to marry beautifully, giving you a refreshing salad that’s perfect for picnics or casual gatherings!
What to Serve with Ultimate Pear Pasta Salad?
Set the stage for a delightful meal by pairing this refreshing dish with complementary sides and drinks to enhance its vibrant flavors.
-
Grilled Chicken Skewers: The charred, smoky flavors of grilled chicken add a satisfying protein element that balances the sweetness of the pears.
-
Caprese Salad: Combining fresh tomatoes, basil, and mozzarella provides a light and flavorful accent that reflects the seasonal essence of the main dish.
-
Garlic Bread: Crispy, buttery garlic bread offers a comforting crunch and is perfect for soaking up any leftover dressing from the salad.
-
Sparkling Water with Lemon: The refreshing bubbles and zesty lemon elevate the meal, cleansing the palate between bites of the Pear Pasta Salad.
-
Roasted Vegetable Medley: A colorful assortment of roasted seasonal vegetables adds a hearty touch and complements the salad’s fresh ingredients beautifully.
-
Berry Tart: A sweet yet tangy berry tart serves as a delightful finish, enhancing your dining experience with its contrasting flavors.
Each of these pairings brings a unique element to the table, making for a memorable meal that your loved ones will enjoy!
How to Store and Freeze Pear Pasta Salad
Fridge: Keep leftovers in an airtight container for up to 2 days. This helps maintain the salad’s freshness and texture while preventing any unwanted odors from affecting the dish.
Freezer: For best results, avoid freezing this Pear Pasta Salad, as the texture of the pasta and fresh ingredients may suffer. If necessary, consider freezing the components separately, but know that the quality may change.
Reheating: If you choose to enjoy refrigerated salad, you can serve it cold or leave it at room temperature for about 15 minutes. If you prefer it warm, gently sautéing on low heat can help, but be cautious not to overcook.
Pear Pasta Salad Variations & Substitutions
Feel free to explore these exciting twists and substitutions to make this Pear Pasta Salad your own!
-
Greens Galore: Swap arugula for kale or mixed baby greens for a different taste and texture. Kale provides a robust flavor while maintaining a delightful crunch.
-
Protein Boost: Add grilled chicken, chickpeas, or even bacon bits to elevate heartiness. This will not only perk up the salad but satisfy those mid-day hunger pangs.
-
Nuts to Love: If walnuts aren’t your thing, try pecans or sliced almonds for a nutty crunch. Toasting them brings out their full flavor and adds an aromatic touch.
-
Cheese Twist: Change the feta for goat cheese or even sharp cheddar for a different flavor profile. Each cheese offers a unique character that complements the pears.
-
Sweet Swap: Substitute honey with maple syrup for a vegan-friendly dressing. The maple adds a deep, rich sweetness that pairs beautifully.
-
Fruity Flair: Add sliced strawberries or blueberries to boost the fruit complexity. They provide a delightful burst of flavor that marries well with the pears and feta.
-
Herbal Infusion: Incorporate fresh herbs like basil or mint for a refreshing aromatic lift. These herbs can elevate the dish, making it perfect for summer gatherings.
For more delightful salads, try pairing this with a refreshing Chicken Pasta Salad, or indulge in a heartwarming Harvest Brie Salad that offers its own unique spin!
Expert Tips for the Best Pear Pasta Salad
-
Cook Pasta Al Dente: Make sure to follow the package instructions closely. Overcooking the pasta can lead to a mushy texture, ruining your Pear Pasta Salad.
-
Chill for Flavor: Consider refrigerating the salad for about 30 minutes before serving. This enhances flavor melding, making it even more delightful!
-
Rinse Cooled Pasta: Always rinse your cooked pasta with cold water to stop the cooking process. This prevents it from becoming overly soft and sticky in your Pear Pasta Salad.
-
Wash Greens Thoroughly: Ensure that arugula or spinach is washed and dried properly to avoid a soggy salad. Nobody wants a watery dish!
-
Toast Walnuts for Extra Flavor: Briefly toasting the walnuts elevates their nutty flavor and adds a wonderful crunch. Just don’t walk away—keep an eye on them!
-
Balance with Seasoning: Taste and adjust your salad before serving. A pinch more salt or honey can make all the difference and elevate your Pear Pasta Salad to perfection.
Make Ahead Options
These Ultimate Pear Pasta Salad preparations are ideal for busy home cooks looking to save time during the week! You can cook the pasta, cool it, and store it in an airtight container in the refrigerator up to 3 days ahead of time. Additionally, diced pears, arugula, and walnuts can be prepped and stored separately in the fridge for up to 24 hours to maintain freshness and prevent the pears from browning. When you’re ready to serve, simply toss the salad ingredients with the dressing and enjoy a refreshingly delicious meal without the last-minute rush. Trust me, this Pear Pasta Salad will be just as delightful, even with a little advanced prep!
Pear Pasta Salad Recipe FAQs
What type of pears should I use for the salad?
Choose ripe, firm pears for the best results. Look for pears that yield slightly to pressure but are not overly soft. Varieties like Bartlett or Anjou work wonderfully; their sweetness complements the dish beautifully.
How should I store leftover Pear Pasta Salad?
Store leftovers in an airtight container in the refrigerator for up to 2 days. This will help keep the ingredients fresh and crisp, ready for you to enjoy again!
Can I freeze Pear Pasta Salad?
Freezing is not recommended for this salad due to the pasta and fresh ingredients potentially becoming mushy after thawing. If you must freeze, consider separating the components, like storing the dressing and salad ingredients individually, but know it may alter the original texture and taste.
What if my pasta is overcooked?
If your pasta ends up overcooked, don’t worry! Just rinse it under cold water to stop the cooking, which will help maintain some of its structure. However, this can affect the salad’s overall texture, so aim for al dente next time for the perfect bite.
Are there any dietary considerations for the Pear Pasta Salad?
Absolutely! This salad is vegetarian and can be made vegan by substituting honey with maple syrup. If you have nut allergies, feel free to omit the walnuts or replace them with sunflower seeds for a similar crunch. Always double-check labels for products like feta cheese if you’re concerned about dairy ingredients.
How can I enhance the flavors of my Pear Pasta Salad?
For an aromatic twist, consider adding fresh herbs like basil or mint, which can elevate the salad’s flavor profile. Additionally, toasting the walnuts before adding them enhances their nuttiness and adds extra depth that beautifully complements the pears.
Irresistible Pear Pasta Salad for a Refreshing Twist
Ingredients
Equipment
Method
- Bring a large pot of salted water to a rolling boil. Add the fusilli or rotini and cook according to package instructions until al dente, about 8-10 minutes. Drain and rinse under cold water.
- In a small bowl, whisk together the olive oil, balsamic vinegar, honey, and a pinch of salt and pepper until emulsified. Set aside.
- In a large mixing bowl, combine the cooled pasta with diced pears, arugula, crumbled feta, chopped walnuts, and cranberries. Gently mix to ensure even distribution.
- Drizzle the dressing over the salad and toss gently to coat the ingredients without crushing the pears.
- Taste and adjust seasoning with more salt, pepper, or honey if desired. Serve immediately or chill for 30 minutes for enhanced flavor.
- Consider chilling the salad for about 30 minutes before serving to allow flavors to meld.
Leave a Reply