
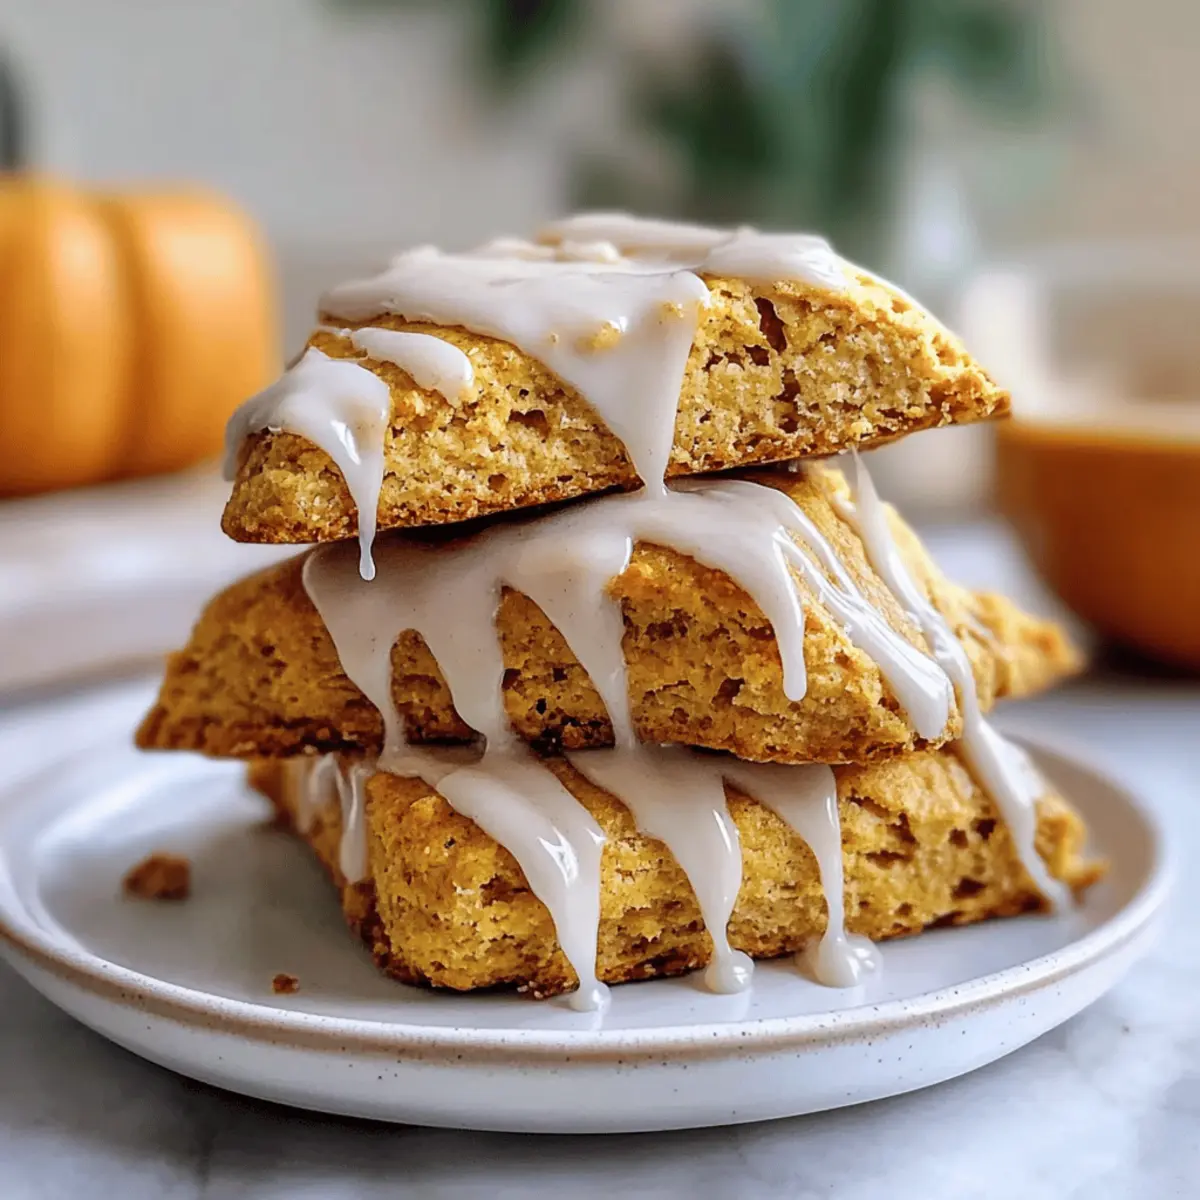
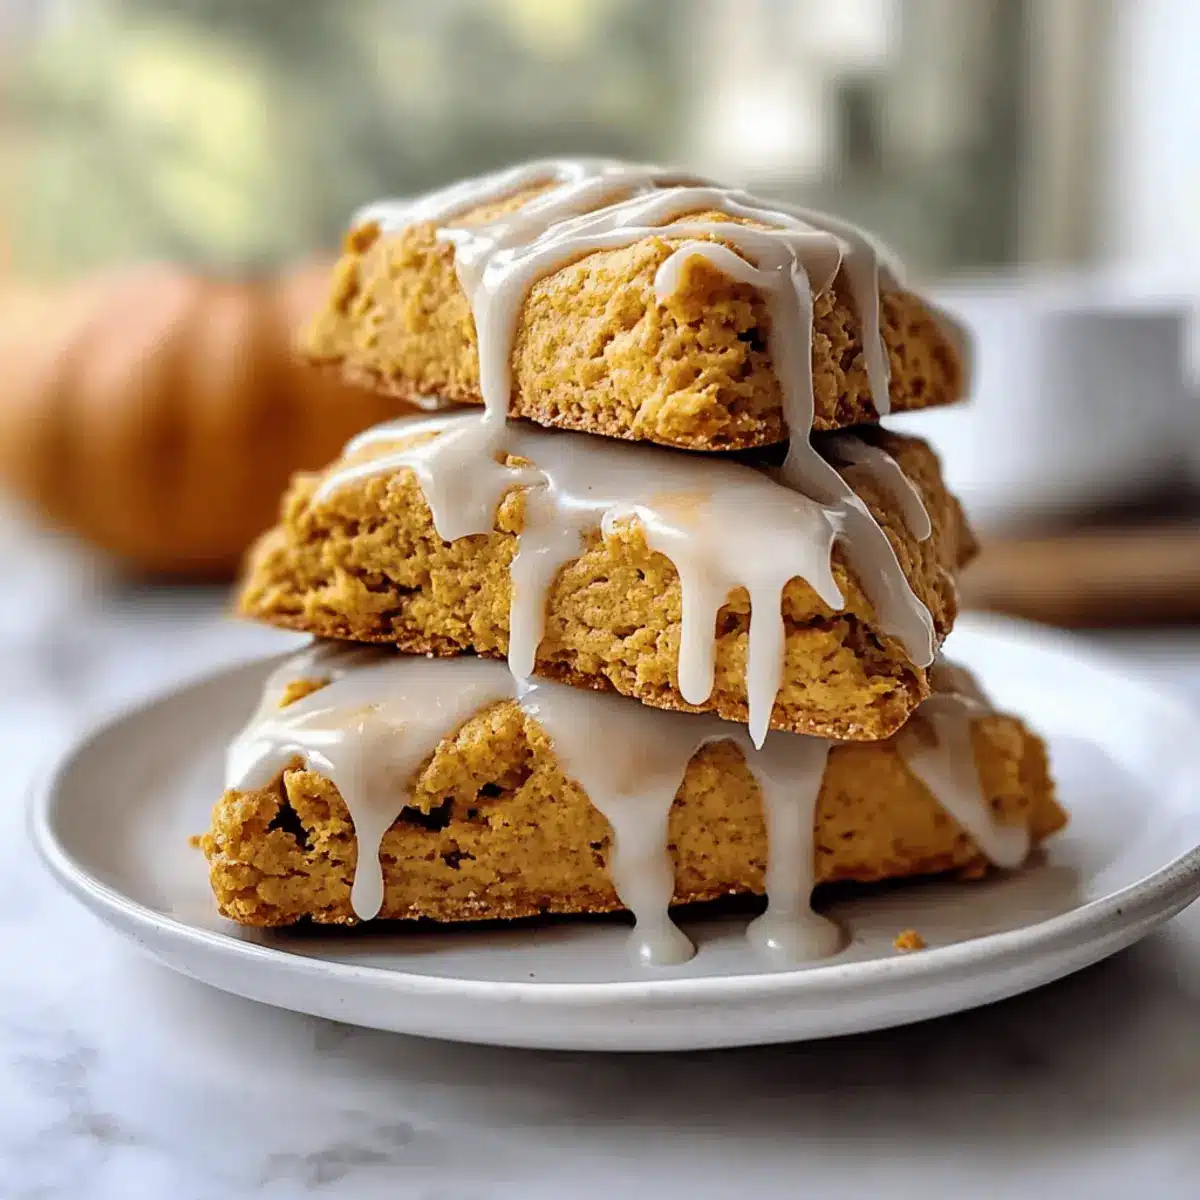
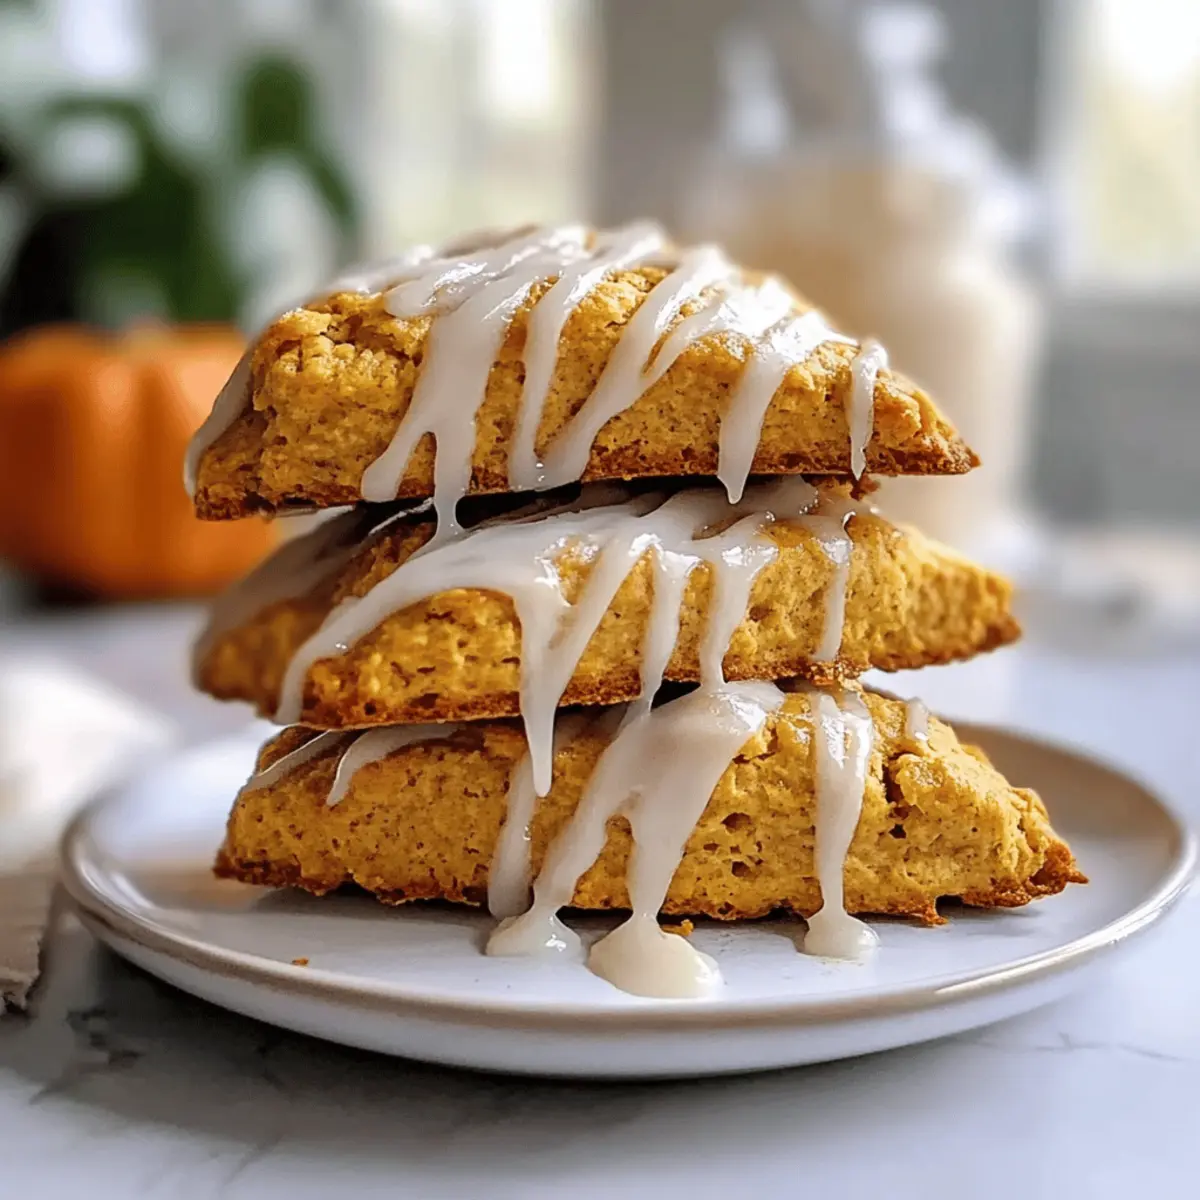
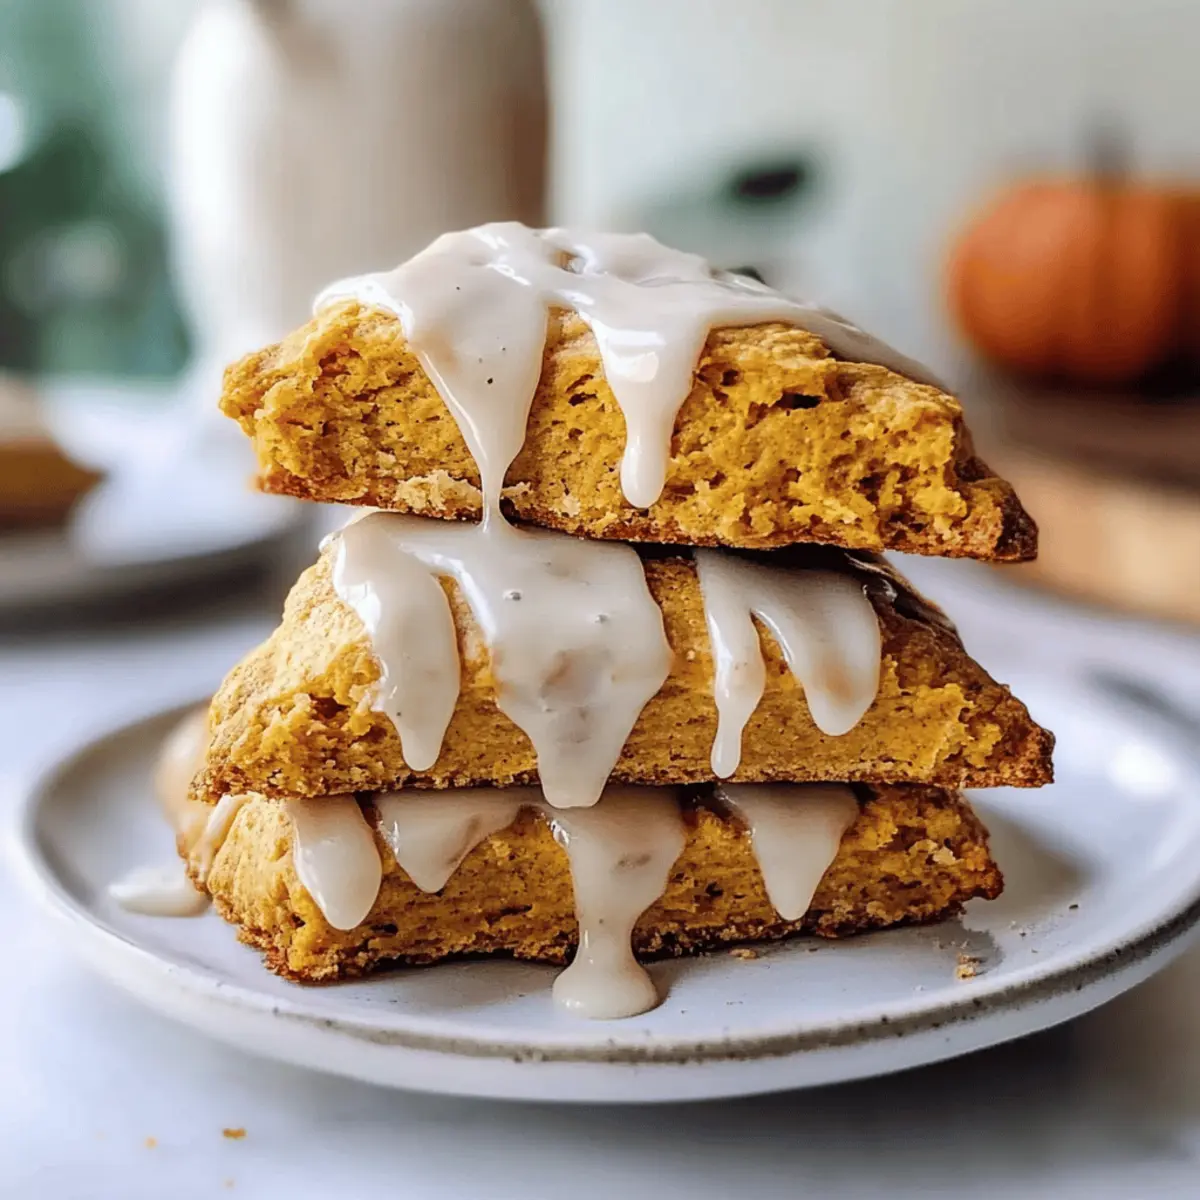
The golden hues of autumn are calling, and what better way to embrace the season than with a batch of Simple Starbucks Pumpkin Scones? As the warm, spicy aroma fills your kitchen, you’ll feel warmth and comfort swirl around you, transporting you straight to your favorite café. These delectably soft scones are not just a treat for your taste buds; they come together quickly and can be made ahead, making them perfect for a cozy weekend breakfast or a mid-afternoon snack. With a sweet glaze that perfectly complements the rich pumpkin flavors, these scones pair beautifully with a steaming cup of coffee or tea. Ready to dive into this delightful fall recipe? Let’s get baking and make your home smell as inviting as a local bakery!
Why Make These Pumpkin Scones?
Simplicity: The process is quick and easy, making these scones accessible for bakers of all levels.
Make-Ahead Magic: Perfect for busy mornings, you can whip these up in advance and enjoy them fresh or after freezing!
Home-Baked Goodness: Create the aroma of a bakery in your kitchen; your family will be thrilled!
Flavor Explosion: Pumpkin and warm spices dance together harmoniously, delivering the cozy essence of fall in every bite.
Versatile Pairing: Enjoy them with your favorite coffee or tea, or even alongside savory breakfast items for a delightful spread.
If you’re a fan of pumpkin flavors, you might also love my Soft Pumpkin Cookies and the delicious Pumpkin Spice Latte for a complete autumn experience!
Simple Starbucks Pumpkin Scones Ingredients
• For the Scones:
- All-purpose flour – Provides structure and is the base for these delicious scones; consider using gluten-free flour if needed.
- Packed brown sugar – Adds moisture and sweetness; for a richer flavor, coconut sugar is a great substitute.
- White sugar – Enhances the sweetness; adjust based on your preference.
- Ground cinnamon – Infuses warmth and flavor; you can swap it for allspice for an interesting twist.
- Ground cloves – Provides a warm, aromatic flavor; omit if unavailable or use a pinch of nutmeg instead.
- Ground ginger – Contributes a zesty note; fresh ginger can be used, but reduce the quantity slightly.
- Ground nutmeg – Enhances the fall essence; fresh nutmeg can be grated for an even bolder taste.
- Baking soda & baking powder – These agents create a fluffy rise; ensure they are fresh for optimal results.
- Salt – Balances the sweetness; it’s essential and has no substitutes.
- Unsalted butter (cold and diced) – Creates flakiness in scones; keep it chilled to maintain the right texture.
- Chilled pumpkin puree – Acts as the main moisture and flavor component; remember to use puree, not pie filling!
- Cold milk – Adds moisture to the dough; almond milk can serve as a dairy-free alternative.
- Cold egg – Binds the ingredients while adding richness; if you’re vegan, a flax egg can work well.
- Vanilla extract – Elevates the flavor profile; no substitutes needed for this recipe.
• For the Glaze:
- Powdered sugar – Sweetens the glaze; feel free to reduce for a less sweet finish.
- Heavy cream – Adds richness to the glaze; milk can be a lighter substitute.
- Pumpkin puree & pumpkin pie spice – Adds that seasonal flair to the glaze; adjust amounts based on your taste preference.
These Simple Starbucks Pumpkin Scones will truly capture the cozy essence of autumn!
Step‑by‑Step Instructions for Simple Starbucks Pumpkin Scones
Step 1: Preheat the Oven
Begin by preheating your oven to 400°F (200°C). While it warms up, line a baking sheet with parchment paper to prepare for your delightful scones. This step ensures that your Simple Starbucks Pumpkin Scones will bake evenly and get that perfect, golden-brown coloring.
Step 2: Prepare the Wet Ingredients
In a medium bowl, whisk together the chilled pumpkin puree, cold milk, egg, and vanilla extract until you achieve a smooth and creamy mixture. It should be well combined and free of lumps. This will create the moist base for your scone dough, adding that iconic pumpkin flavor.
Step 3: Mix the Dry Ingredients
In a large bowl, combine the all-purpose flour, packed brown sugar, white sugar, ground cinnamon, ground cloves, ground ginger, ground nutmeg, baking soda, baking powder, and salt. Stir the ingredients together until they are well distributed. This dry blend sets the stage for your Simple Starbucks Pumpkin Scones, providing structure and flavor.
Step 4: Cut in the Butter
Add the cold and diced unsalted butter to the dry ingredients. Use a pastry cutter or your fingertips to work the butter into the mixture until it resembles coarse crumbs. This step is crucial for creating the flaky texture of the scones, so ensure the butter remains cold as you work it in.
Step 5: Combine Wet and Dry Mixtures
Create a well in the center of the dry ingredients and pour in the pumpkin mixture. Gently mix with a spatula until a soft dough forms, being careful not to overmix. The dough should be slightly sticky but cohesive, ensuring your Simple Starbucks Pumpkin Scones will have that fluffy quality.
Step 6: Shape the Dough
Turn the dough onto a floured surface and gently fold it a few times to bring everything together. Shape the dough into an 8×5 inch rectangle, then cut it into 6 equal squares or wedges. This shaping step will help achieve those beautiful scone shapes that are perfect for baking.
Step 7: Bake the Scones
Place the shaped scones onto the prepared baking sheet, ensuring they have some space between them. Bake in the preheated oven for 17-18 minutes, or until they have risen slightly and are lightly golden on the tops. When baked, they should feel firm yet still tender, creating that perfectly balanced bite.
Step 8: Cool Before Glazing
Once baked, remove your scones from the oven and allow them to cool on a wire rack for about 10 minutes. Cooling them slightly before glazing will help the sweet topping adhere better while allowing the flavors to settle into your Simple Starbucks Pumpkin Scones.
Step 9: Make the Glaze
While the scones cool, prepare the glaze by whisking together powdered sugar and heavy cream until you achieve a smooth consistency. If you prefer a thicker glaze, adjust the amount of cream gradually. This topping will add a delectable sweetness that complements the rich pumpkin flavor beautifully.
Step 10: Glaze the Scones
After the scones have cooled for a bit, drizzle the glaze over each one. For added flavor, you can also mix in pumpkin puree and pumpkin pie spice to the glaze. Don’t be shy—this finish will elevate your Simple Starbucks Pumpkin Scones into a delightful treat that’s perfect for sharing!
Storage Tips for Simple Starbucks Pumpkin Scones
-
Room Temperature: Store scones in an airtight container at room temperature for up to 3 days. This keeps them fresh and enjoyable without losing their delightful texture.
-
Freezer: For longer storage, freeze unglazed scones individually wrapped in plastic wrap for up to 3 months. Thaw at room temperature before glazing to enjoy that bakery-fresh taste.
-
Reheating: To reheat, place scones in a 350°F (175°C) oven for 5-7 minutes until warm. This will refresh their soft interior and slightly crisp exterior, just like when they were freshly baked.
-
Glazing: It’s best to glaze the scones just before serving, ensuring a perfect, sweet finish that complements the rich flavors of your Simple Starbucks Pumpkin Scones.
Expert Tips for Simple Starbucks Pumpkin Scones
-
Keep Ingredients Cold: Ensure your butter, pumpkin puree, milk, and egg are all cold to maintain a light and flaky texture in your scones.
-
Don’t Overmix: Mix the dough just until it comes together; overworking can lead to dense scones instead of light and airy Simple Starbucks Pumpkin Scones.
-
Chill Before Baking: Refrigerate the shaped scones for 15-20 minutes before baking. This helps them maintain their shape during the baking process.
-
Bake on Parchment: Line your baking sheet with parchment paper to prevent sticking and ensure even browning, enhancing your scone’s overall appearance.
-
Adjust Glaze Thickness: Gradually add cream to your glaze for the desired consistency. A slightly thicker glaze holds better on the scones, enhancing presentation.
What to Serve with Simple Starbucks Pumpkin Scones
Embrace the essence of fall with an inviting spread that perfectly complements your pumpkin scones and warms the heart.
-
Creamy Chai Latte: The spiced flavors of chai enhance the warmth of the pumpkin, making each bite a cozy experience.
-
Maple Pecan Coffee: A rich cup of coffee drizzled with maple syrup and sprinkled with pecans offers a perfect nutty counterbalance.
-
Fresh Fruit Salad: Bright, refreshing fruits like apples and pears lend a crisp contrast, elevating the sweetness of the scones.
-
Savory Bacon or Sausage: Adding a side of crispy bacon or savory sausage rounds out the meal, providing a satisfying share of protein.
-
Spiced Apple Cider: Serve warm for an aromatic pairing that brings the fall flavors to life, resonating beautifully with the pumpkin spices.
-
Whipped Cream Topping: Consider using lightly sweetened whipped cream alongside the scones for a decadent treat. It adds creaminess that makes each bite unforgettable.
A hot beverage alongside these scones will transform your kitchen into a warm, inviting café and make every moment truly special.
Simple Starbucks Pumpkin Scones Variations & Substitutions
Embrace your creativity in the kitchen with these easy ideas to customize your pumpkin scones to suit your taste.
-
Gluten-Free: Substitute all-purpose flour with a gluten-free blend for a delicious alternative that all can enjoy. Just ensure the baking powder and soda are gluten-free too!
-
Vegan Delight: Swap out the egg for a flax egg (1 tablespoon ground flaxseed mixed with 2.5 tablespoons water) and use plant-based butter and almond milk for a vegan version that doesn’t skimp on flavor.
-
Spiced Up: Want some heat? Add 1/4 teaspoon of cayenne pepper for a surprising kick that perfectly complements the pumpkin’s sweetness.
-
Nutty Crunch: Fold in 1/2 cup of chopped walnuts or pecans into the dough for added crunch and a delightful nutty flavor.
-
Choco-Licious: Incorporate 1/2 cup of mini chocolate chips to make your scones extra indulgent. The melted chocolate brings a richness that pairs perfectly with pumpkin spice.
-
Mini Scones: Cut the dough into smaller portions to create bite-sized scones. They’re perfect for sharing or just for you to enjoy a lighter treat!
-
Dried Fruits: Add 1/2 cup of dried cranberries or raisins for a chewy addition that complements the flavors beautifully.
-
Flavor Enhancer: Mix in a teaspoon of orange zest to brighten the flavor profile, bringing a fresh twist to your scones.
If you love pumpkin treats, don’t miss my Pumpkin Spice Gooey Cake or for an warm beverage to enjoy, my Pumpkin Spice Latte is the ideal pairing for your fall mornings!
Make Ahead Options
These Simple Starbucks Pumpkin Scones are perfect for meal prep and busy mornings! You can prepare the scone dough up to 24 hours in advance. Just follow the recipe until shaping the dough, then wrap it tightly in plastic wrap and refrigerate. For even longer storage, shaped, unglazed scones can be frozen for up to 3 months; simply place them on a baking sheet in the freezer until firm, then transfer to a freezer bag. When you’re ready to bake, no need to thaw—just place them in a preheated oven for a few extra minutes. Maintaining the cold temperature of the ingredients is key to achieving that flaky texture, ensuring your scones remain just as delicious as when freshly baked!
Simple Starbucks Pumpkin Scones Recipe FAQs
How do I select the best pumpkin puree for my scones?
Absolutely! When choosing pumpkin puree, make sure to pick 100% pure pumpkin puree, not pumpkin pie filling, which contains added sugars and spices. Look for a can that is labeled simply “pumpkin” or “pure pumpkin.” The texture should be smooth and thick without lumps, and the color should be bright, deep orange.
What is the best way to store my pumpkin scones?
Store your Simple Starbucks Pumpkin Scones in an airtight container at room temperature for up to 3 days. If you want to keep them longer, place unglazed scones individually wrapped in plastic wrap in the freezer for up to 3 months. Thaw them at room temperature when you’re ready to enjoy, and glaze just before serving for that fresh-baked taste.
Can I freeze these pumpkin scones?
Yes! To freeze your scones, wrap each one tightly in plastic wrap and then place them in a freezer bag or airtight container. They can stay frozen for up to 3 months. When you’re ready to enjoy, simply thaw them at room temperature. For best results, warm them in the oven at 350°F (175°C) for about 5-7 minutes to regain their soft texture.
What can I do if my scone dough is too sticky?
Very common! If your Simple Starbucks Pumpkin Scones dough is too sticky, you can lightly flour your work surface and hands while shaping the dough. However, be cautious not to add too much flour, as it can lead to dense scones. If the dough feels impossibly wet, it may help to chill it in the refrigerator for 10-15 minutes to make it easier to handle.
Are these scones safe for anyone with gluten allergies?
If you’re looking to make your scones gluten-free, my recommendation is to use a designated gluten-free all-purpose flour blend, ensuring it contains the right leavening agents. You can substitute the all-purpose flour in the recipe without compromising taste, but be sure to check that your other ingredients are gluten-free as well!
How can I prevent my scones from spreading while baking?
To prevent spreading, always chill your shaped scones for 15-20 minutes before baking. This helps them hold their shape and maintain that nice lift. Additionally, ensure that your butter is very cold and that you don’t overmix the dough. Keeping everything chilled, including your wet ingredients, will contribute to the final fluffiness of your Simple Starbucks Pumpkin Scones!
Simple Starbucks Pumpkin Scones: Cozy Fall Treats Made Easy
Ingredients
Equipment
Method
- Preheat your oven to 400°F (200°C) and line a baking sheet with parchment paper.
- In a medium bowl, whisk together the chilled pumpkin puree, cold milk, egg, and vanilla extract until smooth.
- In a large bowl, combine all-purpose flour, packed brown sugar, white sugar, ground cinnamon, ground cloves, ground ginger, ground nutmeg, baking soda, baking powder, and salt. Stir until well distributed.
- Cut in the cold diced butter using a pastry cutter or your fingertips until the mixture resembles coarse crumbs.
- Make a well in the center of the dry ingredients and pour in the pumpkin mixture. Gently mix to form a soft dough.
- Turn the dough onto a floured surface, gently fold it, and shape it into an 8x5 inch rectangle. Cut it into 6 equal squares or wedges.
- Bake in the preheated oven for 17-18 minutes or until lightly golden. They should feel firm yet tender.
- Cool the scones on a wire rack for about 10 minutes before glazing.
- Whisk together powdered sugar and heavy cream until smooth for the glaze. Adjust the thickness as desired.
- Drizzle the glaze over the cooled scones. Enjoy!
Leave a Reply