
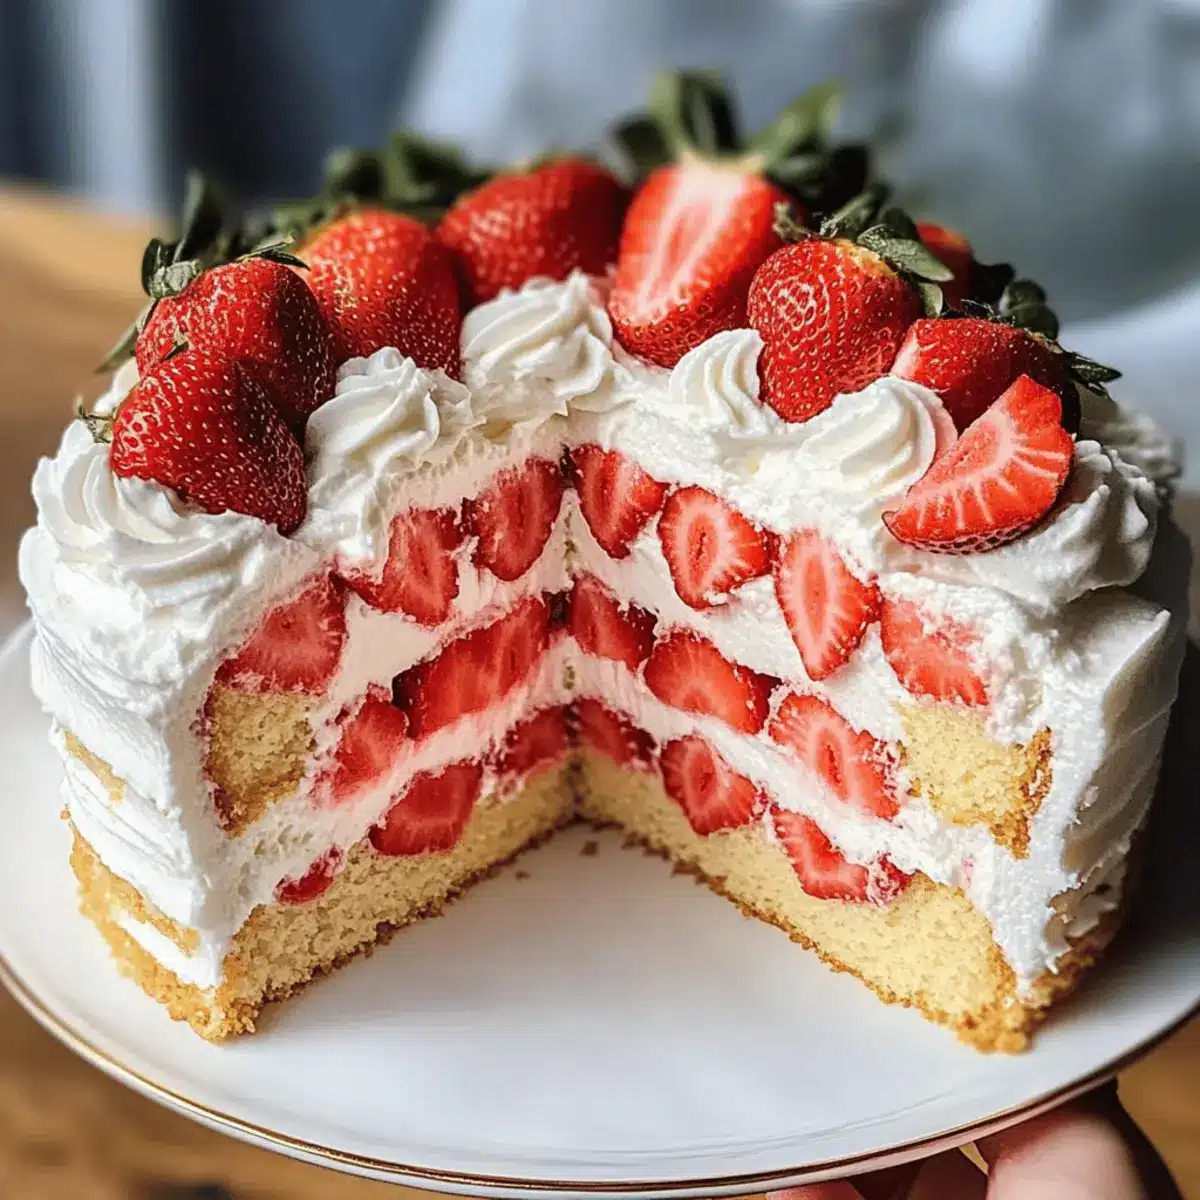
As I walked through the farmers’ market, the vibrant, sun-kissed strawberries caught my eye, their sweetness promising a delightful treat. That’s when I decided it was the perfect day to whip up a Strawberry Shortcake Layer Sponge Cake—a dessert that encapsulates the essence of summer! This recipe is not only light and fluffy, making it an ideal centerpiece for celebrations, but it’s also wonderfully versatile; you can easily swap in different fruits or keep it dairy-free. Each slice reveals soft sponge layers cradling juicy strawberries and airy whipped cream, bringing joy to every gathering. Whether you’re hosting a backyard barbecue or simply treating yourself, this cake is sure to impress. Are you ready to indulge in a sweet slice of summer bliss?
Why is this cake a summer favorite?
Light and Fluffy: This Strawberry Shortcake Layer Sponge Cake features an airy sponge that practically melts in your mouth, perfect for warm weather gatherings.
Versatile Options: Substitute with gluten-free flour or swap in seasonal fruits like peaches or raspberries for a delightful twist.
Fresh Ingredients: Using ripe strawberries ensures a burst of natural sweetness and vibrant flavor in each bite.
Crowd-Pleasing Dessert: Whether it’s a family reunion or a picnic, this cake is sure to impress everyone. Pair it with a scoop of ice cream for a truly indulgent treat!
Make-Ahead Joy: Prepare it in advance and assemble it just before serving to maintain its fluffy texture, allowing you to enjoy the party instead of slaving away in the kitchen.
Don’t miss our other recipes such as Decadent Chocolate Strawberry and Jack Lantern Pancakes to celebrate the season!
Strawberry Shortcake Layer Sponge Cake Ingredients
For the Sponge Cake
• All-purpose flour – Base for the sponge cake; substitute with cake flour for a lighter texture or gluten-free all-purpose flour for a gluten-free option.
• Granulated sugar – The main sweetener; consider using brown sugar for a deeper flavor, though it may change the texture slightly.
• Unsalted butter – Adds richness and allows control over saltiness; use coconut oil or dairy-free butter for a dairy-free alternative.
• Eggs – Essential for binding the cake together and adding moisture; no substitute for traditional recipes.
For the Whipped Cream
• Heavy whipping cream – Creates a rich frosting; swap for whipped coconut cream to make it a lighter, dairy-free option.
• Powdered sugar – Sweetens the whipped cream; adjust to taste to suit personal sweetness preferences.
For the Strawberries
• Fresh strawberries – Provide sweetness and fresh flavor; feel free to experiment with other berries like blueberries or raspberries for a colorful twist.
• Sugar – Helps macerate the strawberries, enhancing their natural sweetness before layering.
Enjoy creating your delicious Strawberry Shortcake Layer Sponge Cake with these fresh, vibrant ingredients!
Step‑by‑Step Instructions for Strawberry Shortcake Layer Sponge Cake
Step 1: Preheat and Prepare
Begin by preheating your oven to 350°F (175°C). While waiting, grease and flour two 9-inch round cake pans to prevent sticking. Make sure to cover the pans thoroughly to ensure smooth cake removal later. This foundational step is crucial for a perfect Strawberry Shortcake Layer Sponge Cake that will rise nicely and brown evenly.
Step 2: Cream the Butter and Sugar
In a large mixing bowl, combine softened unsalted butter and granulated sugar. Using an electric mixer, beat on medium speed until the mixture becomes light and fluffy, typically around 3–5 minutes. The mixture should appear pale and creamy, signaling that enough air has been incorporated, which is essential for the cake’s light texture.
Step 3: Add Eggs and Vanilla
Next, add in the eggs one at a time, mixing well after each addition until fully incorporated. Then, stir in the vanilla extract. This step not only enriches the flavor but also helps bind the ingredients together, creating a cohesive batter for your Strawberry Shortcake Layer Sponge Cake.
Step 4: Combine Dry Ingredients
In a separate bowl, sift together the all-purpose flour, baking powder, and salt. This aeration of the flour is vital for a fluffy cake. Gradually add this dry mixture to the butter-sugar-egg mixture, alternating with milk—start and end with the flour mixture. Mix gently until just combined to avoid overworking the batter and risking a dense cake.
Step 5: Divide and Bake
Once your batter is ready, divide it evenly between the two prepared pans. Smooth the tops for an even finish and place them in the preheated oven. Bake for 25–30 minutes or until a toothpick inserted into the center comes out clean. The cakes should rise and have a golden-brown color, indicating they are perfectly baked.
Step 6: Cool the Cakes
After baking, remove the cakes from the oven and let them cool in the pans for about 10 minutes. Carefully run a knife around the edge to loosen the cakes, then transfer them to a wire rack to cool completely. This cooling process is essential for preventing sogginess when assembling your Strawberry Shortcake Layer Sponge Cake.
Step 7: Prepare the Strawberries
While the cakes are cooling, slice fresh strawberries and toss them with sugar in a bowl. Let them sit for 10–15 minutes; this will draw out their juices, enhancing their sweetness and creating a lovely syrup. This juicy layer is a key component of your cake’s flavor profile.
Step 8: Whip the Cream
In a medium bowl, use an electric mixer to whip the heavy cream with powdered sugar and vanilla extract until stiff peaks form. This cream will serve as a rich frosting between layers and around the sides of your Strawberry Shortcake Layer Sponge Cake, providing a light and luscious texture.
Step 9: Assemble the Cake
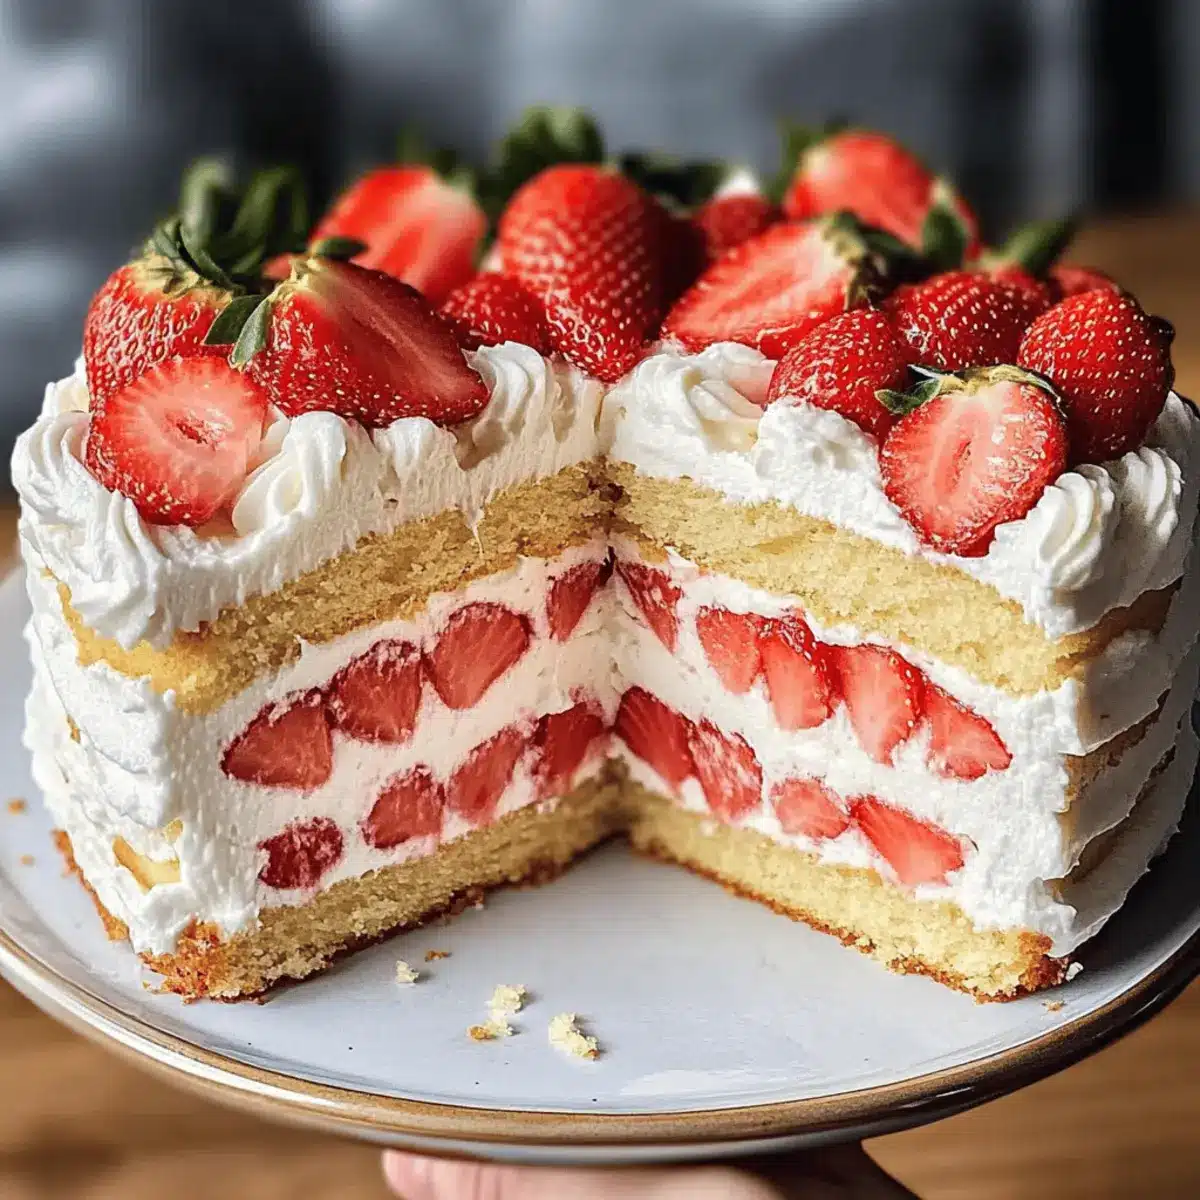
Once the cakes are completely cooled, use a serrated knife to level them if necessary. Place one layer on a serving platter and spread a layer of whipped cream followed by a generous amount of the sugared strawberries. Repeat with the second layer, topping it off with more whipped cream and berries. This beautiful assembly adds height and visual appeal.
Step 10: Final Touches and Chill
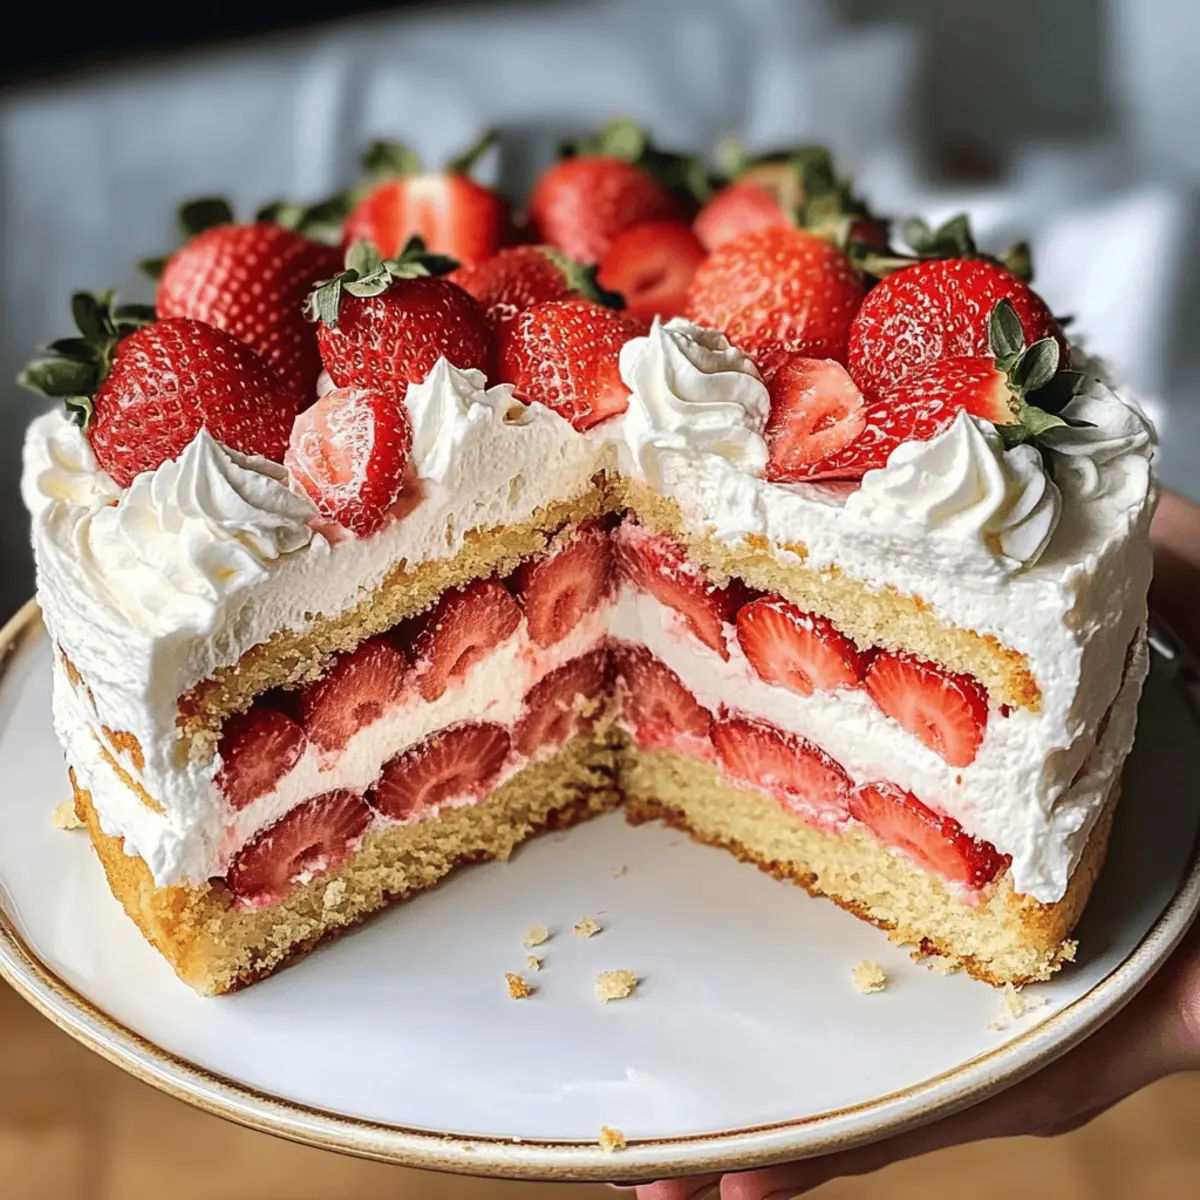
Frost the sides of the cake with any remaining whipped cream and decorate with fresh strawberry halves on top. For a polished finish, you may also drizzle berry sauce if desired. Cover the cake and chill in the refrigerator for at least 1 hour before serving, allowing the flavors to meld together beautifully.
Step 11: Serve and Delight
When ready to serve, slice into the delightful Strawberry Shortcake Layer Sponge Cake and present it to your guests. The light, fluffy texture combined with the sweetness of strawberries and whipped cream will surely make this dessert a hit at any gathering!
Strawberry Shortcake Layer Sponge Cake Variations
Feel free to tailor this recipe to your taste and dietary needs with these delightful variations!
- Dairy-Free: Swap heavy cream with whipped coconut cream for a lighter, dairy-free alternative. Your cake will still maintain that rich texture without dairy.
- Gluten-Free: Use a gluten-free all-purpose flour blend instead of regular flour, ensuring everyone can enjoy this treat without worry. It’s just as delicious and fluffy!
- Berry Medley: Mix in fresh raspberries or blueberries along with strawberries for a colorful, fruity explosion in every bite. This twist will brighten up your dessert beautifully.
- Brown Sugar: For a deeper flavor experience, try using brown sugar in place of granulated sugar; it adds a touch of caramel richness. This subtle change can elevate your cake to new heights!
- Jam Layer: For an extra burst of strawberry flavor, spread a thin layer of strawberry jam between the sponge layers. This addition can make each slice even more indulgent.
- Zesty Twist: Incorporate a hint of lemon or orange zest to the sponge cake batter for a refreshing citrus flavor that complements the sweetness of the strawberries. It’s a delightful surprise!
- Crispy Topping: On top of the whipped cream, add crushed graham crackers or cookies for added texture and crunch, creating a delightful contrast to the soft cake.
- Spiced Variation: Add a pinch of cinnamon or nutmeg to the batter for a warm, comforting flavor especially wonderful for late summer or fall gatherings. Your guests will love this unique twist!
Don’t forget to check out our other seasonal favorites like the Strawberry Crunch Cookies for a fun twist on berries!
What to Serve with Strawberry Shortcake Layer Sponge Cake
As the sweet aroma of the Strawberry Shortcake Layer Sponge Cake fills your kitchen, let’s complement its light, fluffy texture with delightful pairings that will elevate your dessert experience.
- Fresh Mint Leaves: Their cool, refreshing flavor adds a touch of brightness and elegance to each slice of cake.
- Lightly Sweetened Iced Tea: A chilled glass of iced tea with a hint of lemon provides a refreshing contrast to the rich cake.
- Vanilla Ice Cream: Creamy, cold ice cream melts beautifully over the warm cake, creating a heavenly combination that you can’t resist.
- Berry Sauce Drizzle: A homemade berry sauce made from seasonal fruits enhances the fruity flavors while adding a beautiful touch.
- Whipped Coconut Cream: For a dairy-free option, this airy cream mimics whipped cream’s luscious texture while adding a tropical twist.
- Sparkling Lemonade: This bubbly, citrus drink cleanses the palate, making each bite of the sweet cake even more enjoyable.
- Chocolate-Dipped Strawberries: These indulgent treats bring an elegant flair and richness that beautifully complement the soft sponge cake.
- Fruit Salad: A mixed fruit salad provides a fresh, juicy contrast, allowing the sweet cake flavors to shine in every bite.
Make Ahead Options
These Strawberry Shortcake Layer Sponge Cakes are perfect for meal prep, allowing you to spend more time enjoying the gathering rather than in the kitchen! You can bake the sponge cakes up to 24 hours in advance; just make sure to let them cool completely before wrapping them tightly in plastic wrap and refrigerating. The whipped cream can also be prepared and stored in an airtight container for up to 3 days. Keep the sugared strawberries refrigerated until just before assembly to prevent excess moisture. When you’re ready to serve, simply layer the components, topping with fresh strawberries, and enjoy the same delightful taste as if made fresh!
How to Store and Freeze Strawberry Shortcake Layer Sponge Cake
Fridge: Store your assembled cake in an airtight container in the refrigerator for up to 3 days to keep it fresh. This helps maintain the cake’s luscious texture and flavor.
Freezer: For longer storage, wrap each layer of the sponge cake tightly in plastic wrap and then place it in a freezer-safe bag. It will keep well for up to 2 months.
Assembly Tip: If you plan to freeze the cake, consider keeping the layers unassembled until you’re ready to serve. This ensures the best texture and flavor of your Strawberry Shortcake Layer Sponge Cake.
Reheating: When ready to enjoy, allow the layers to thaw in the fridge overnight. Assemble with whipped cream and strawberries before serving for a fresh taste!
Expert Tips for Strawberry Shortcake Layer Sponge Cake
Perfect Butter: Ensure the butter is completely softened for the best creaming with sugar, which is essential for achieving a light and fluffy sponge.
Fruit Choices: Use fresh, ripe strawberries for the sweetest flavor. If they’re not in season, feel free to substitute with blueberries or raspberries to mix things up.
Gentle Mixing: Avoid overmixing the batter once the flour is added. This will help you maintain the airy texture needed for a successful Strawberry Shortcake Layer Sponge Cake.
Cooling Time: Allow the cakes to cool completely before assembly to prevent the whipped cream from melting and the layers from becoming soggy.
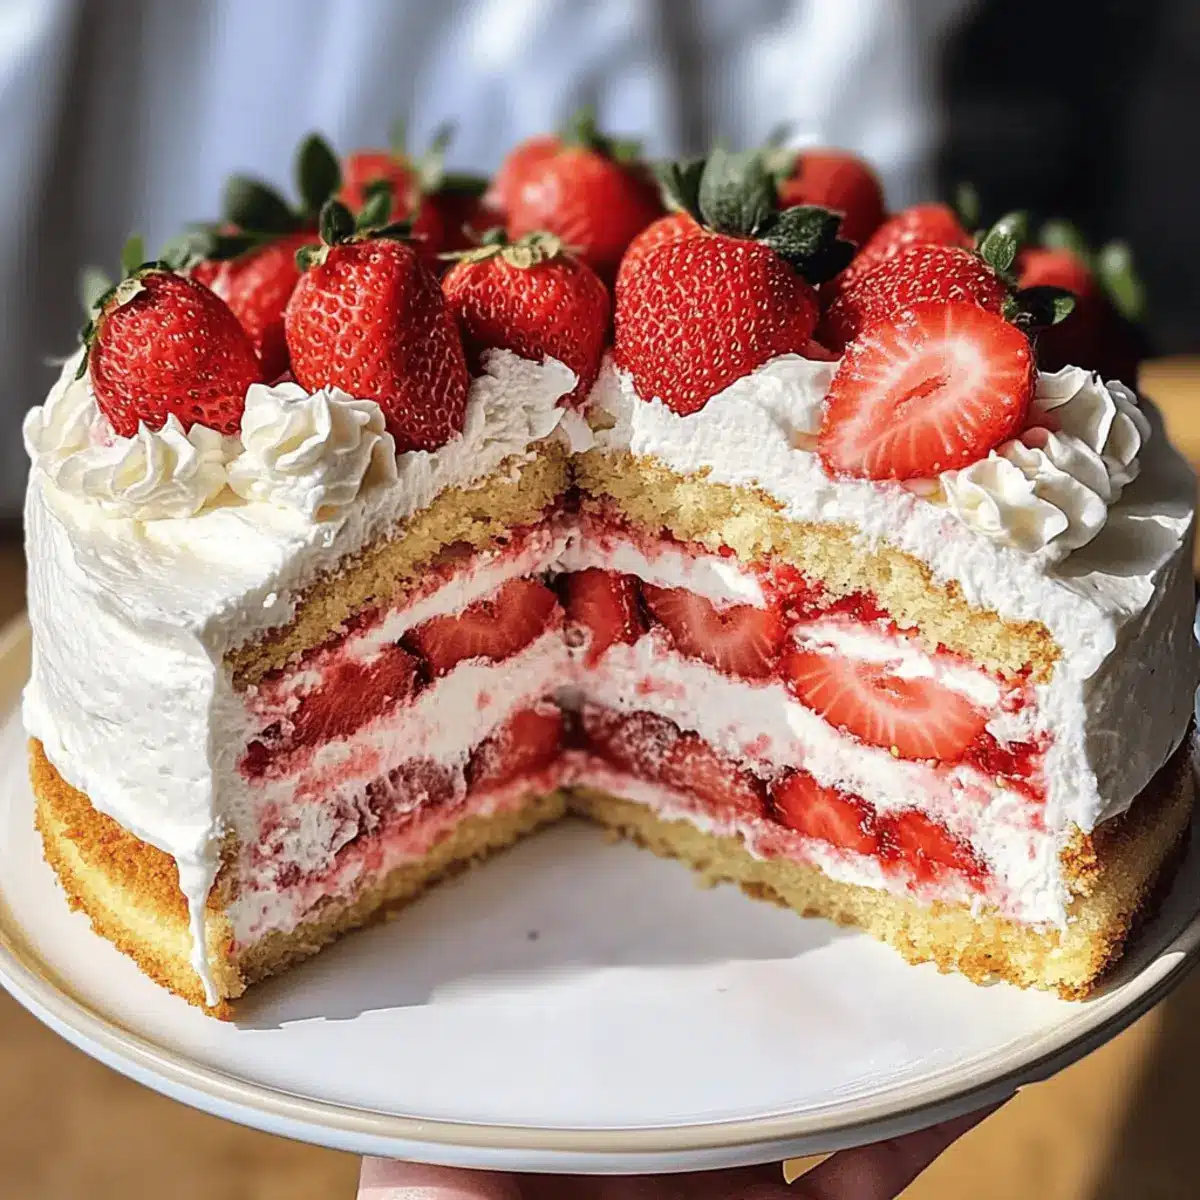
Layer Generously: Don’t skimp on the whipped cream and strawberries between layers; generous amounts create a beautiful, deliciously satisfying cake!
Strawberry Shortcake Layer Sponge Cake Recipe FAQs
How do I choose ripe strawberries for the cake?
Absolutely! For the best flavor, look for strawberries that are bright red, plump, and fragrant with a slight gloss. Avoid any with bruises or dark spots, as they could be overripe or starting to deteriorate. Fresh, ripe strawberries will enhance the sweetness of your Strawberry Shortcake Layer Sponge Cake.
What’s the best way to store leftover cake?
Very simple! If you have any pieces left, store your assembled cake in an airtight container in the refrigerator for up to 3 days. This helps maintain its delicious texture and the freshness of the strawberries. Alternatively, for longer storage, I recommend keeping the layers unassembled until just before serving to preserve their delightful fluffiness.
Can I freeze the Strawberry Shortcake Layer Sponge Cake?
Yes, you can! To freeze, wrap each layer of the sponge cake tightly in plastic wrap and then place them in a freezer-safe bag or container. The cake can be frozen for up to 2 months. When you’re ready to enjoy, let the layers thaw in the refrigerator overnight, then assemble with whipped cream and strawberries to relive that fresh taste!
What should I do if my sponge cake turns out dense?
Oh no! A dense sponge usually results from overmixing the batter after adding the flour. Be sure to mix just until combined. Additionally, ensure that you’ve properly creamed the butter and sugar, as this aeration is key to achieving that light and fluffy texture. If your eggs are too cold, you might also run the risk of a denser cake—let them sit out for about 30 minutes to reach room temperature before using.
Are there any allergy considerations for this recipe?
Yes, definitely! The main allergens in this recipe include gluten (from the flour), dairy (from the butter and cream), and eggs. To make it dairy-free, substitute unsalted butter with coconut oil or a dairy-free butter alternative and use whipped coconut cream. For a gluten-free version, opt for gluten-free all-purpose flour instead of regular flour. Always check labels to ensure safety for yourself and your guests!
How do I keep my whipped cream from wilting?
To maintain the stability of your whipped cream, I often suggest adding a tablespoon of cornstarch or instant pudding mix while whipping. This helps it hold its shape longer and prevents wilting, especially if your Strawberry Shortcake Layer Sponge Cake will be sitting out for a while. Chill your mixing bowl and beaters in advance for extra stability as well!
Summer-Ready Strawberry Shortcake Layer Sponge Cake Delight
Ingredients
Equipment
Method
- Preheat your oven to 350°F (175°C). Grease and flour two 9-inch round cake pans.
- In a large mixing bowl, combine softened unsalted butter and granulated sugar. Beat until light and fluffy.
- Add the eggs one at a time, mixing well after each addition. Stir in the vanilla extract.
- In a separate bowl, sift together the all-purpose flour, baking powder, and salt. Gradually add it to the butter-sugar-egg mixture, alternating with milk, starting and ending with flour.
- Divide the batter evenly between the two prepared pans. Smooth tops and bake for 25–30 minutes or until a toothpick comes out clean.
- Remove the cakes from the oven and let them cool in the pans for 10 minutes. Then transfer to a wire rack to cool completely.
- Slice the fresh strawberries and toss them with sugar in a bowl. Let sit for 10–15 minutes to enhance their sweetness.
- Whip the heavy cream with powdered sugar until stiff peaks form.
- Once cooled, level the cakes if necessary. Layer one cake with whipped cream and strawberries, then repeat with the second cake.
- Frost the sides with remaining whipped cream and decorate with fresh strawberry halves. Chill for at least 1 hour before serving.
- Serve and enjoy your Strawberry Shortcake Layer Sponge Cake!
Leave a Reply