
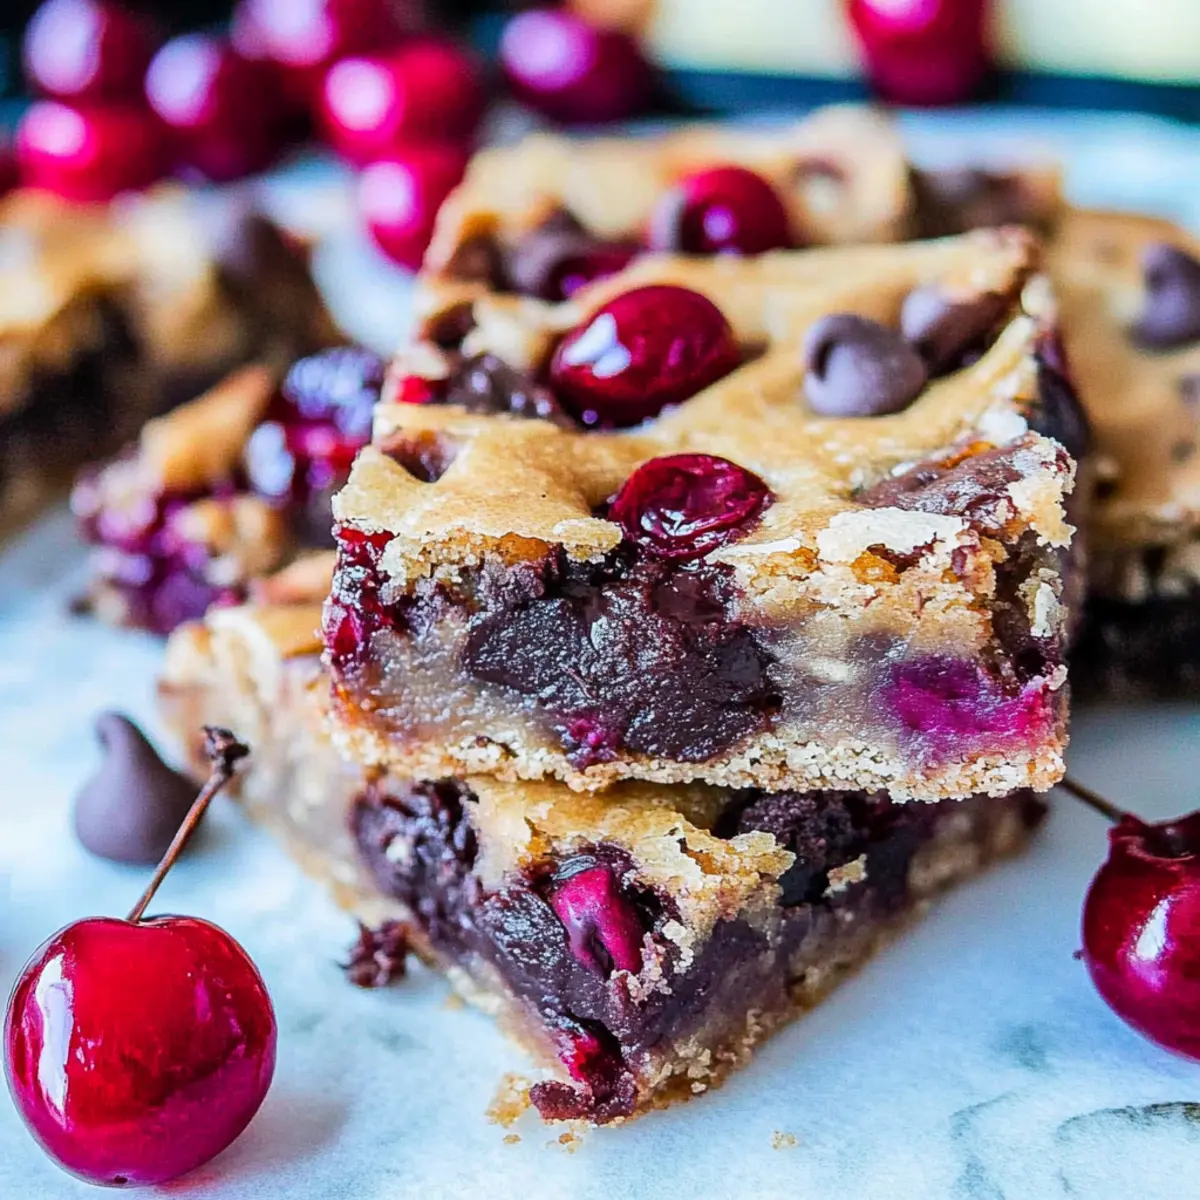
As I pulled a tray of vibrant Chocolate Chip Cherry Bars from the oven, the sweet aroma danced through the air, tempting everyone around me. These bars are the ultimate easy dessert for summer, showcasing the delightful combination of juicy cherries and rich chocolate in every chewy bite. What I love most about this recipe is its simplicity—no mixer is required, making cleanup a breeze after a long day. Plus, they’re incredibly versatile! Swap in your favorite fruits or mix-ins to create your own twist on this delicious classic. Ready to turn your kitchen into a summer haven? Let’s dive into how to whip up these mouthwatering treats!
Why You’ll Crave These Bars
Simplicity: With no mixer required, these bars come together effortlessly in just one bowl, making them perfect for any kitchen novice or seasoned chef alike.
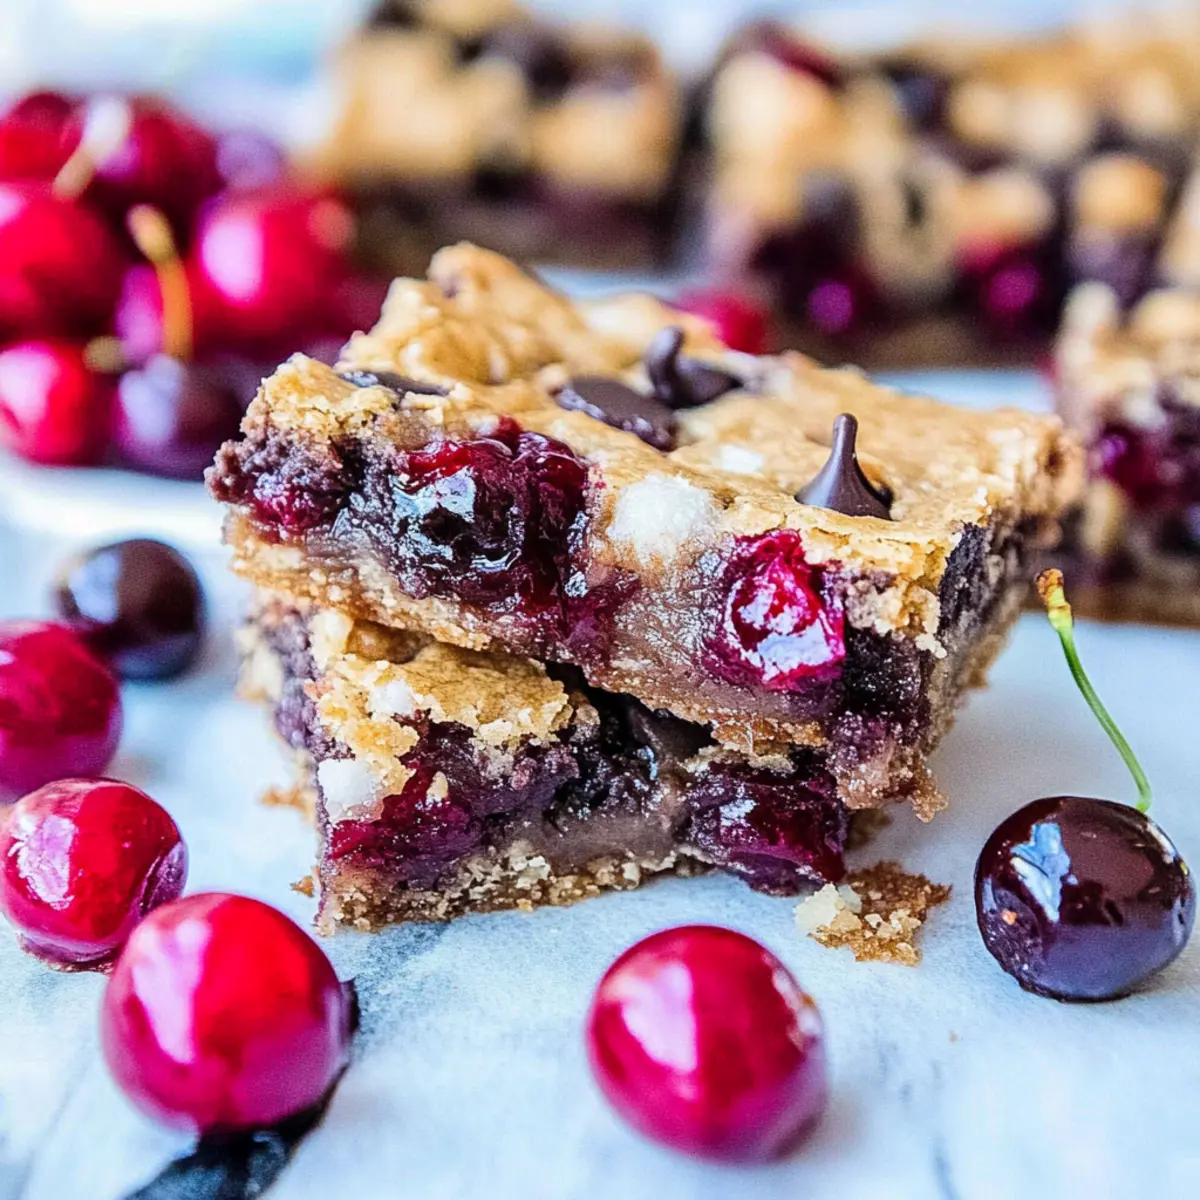
Juicy Flavor: The combination of fresh cherries and semi-sweet chocolate creates a mouthwatering contrast that is irresistibly satisfying.
Versatility: Feel free to get creative! Substitute cherries with your choice of seasonal fruits like peaches or blueberries, or add a crunch with nuts—endless variations await!
Crowd-Pleaser: Whether it’s a summer barbecue or a cozy night in, these bars are sure to impress friends and family, just like my popular Hot Chocolate Poke cake.
Perfect Texture: Expect soft, chewy bars with crispy edges that will have everyone reaching for seconds. You won’t believe how quickly they disappear!
Once you try these Chocolate Chip Cherry Bars, you’re bound to have them as a go-to dessert for every summer occasion!
Chocolate Chip Cherry Bars Ingredients
For the Batter
- Unsalted Butter – Provides richness and moisture; ensure it’s melted for easy mixing.
- Light Brown Sugar – Adds sweetness and a hint of caramel flavor; do not substitute with granulated sugar for best results.
- Large Egg – Binds the ingredients together, contributing to the dessert’s structure.
- Vanilla Extract – Enhances overall flavor, making it more delightful.
- All-Purpose Flour – Gives structure to the bars; ensure not to overmix to maintain a tender texture.
- Salt – Optional but enhances the sweetness of the chocolate and cherries.
For the F delicious Add-ins
- Semi-Sweet Chocolate Chips – Provides richness and chocolate flavor; you can mix in chocolate and butterscotch chips for a fun twist.
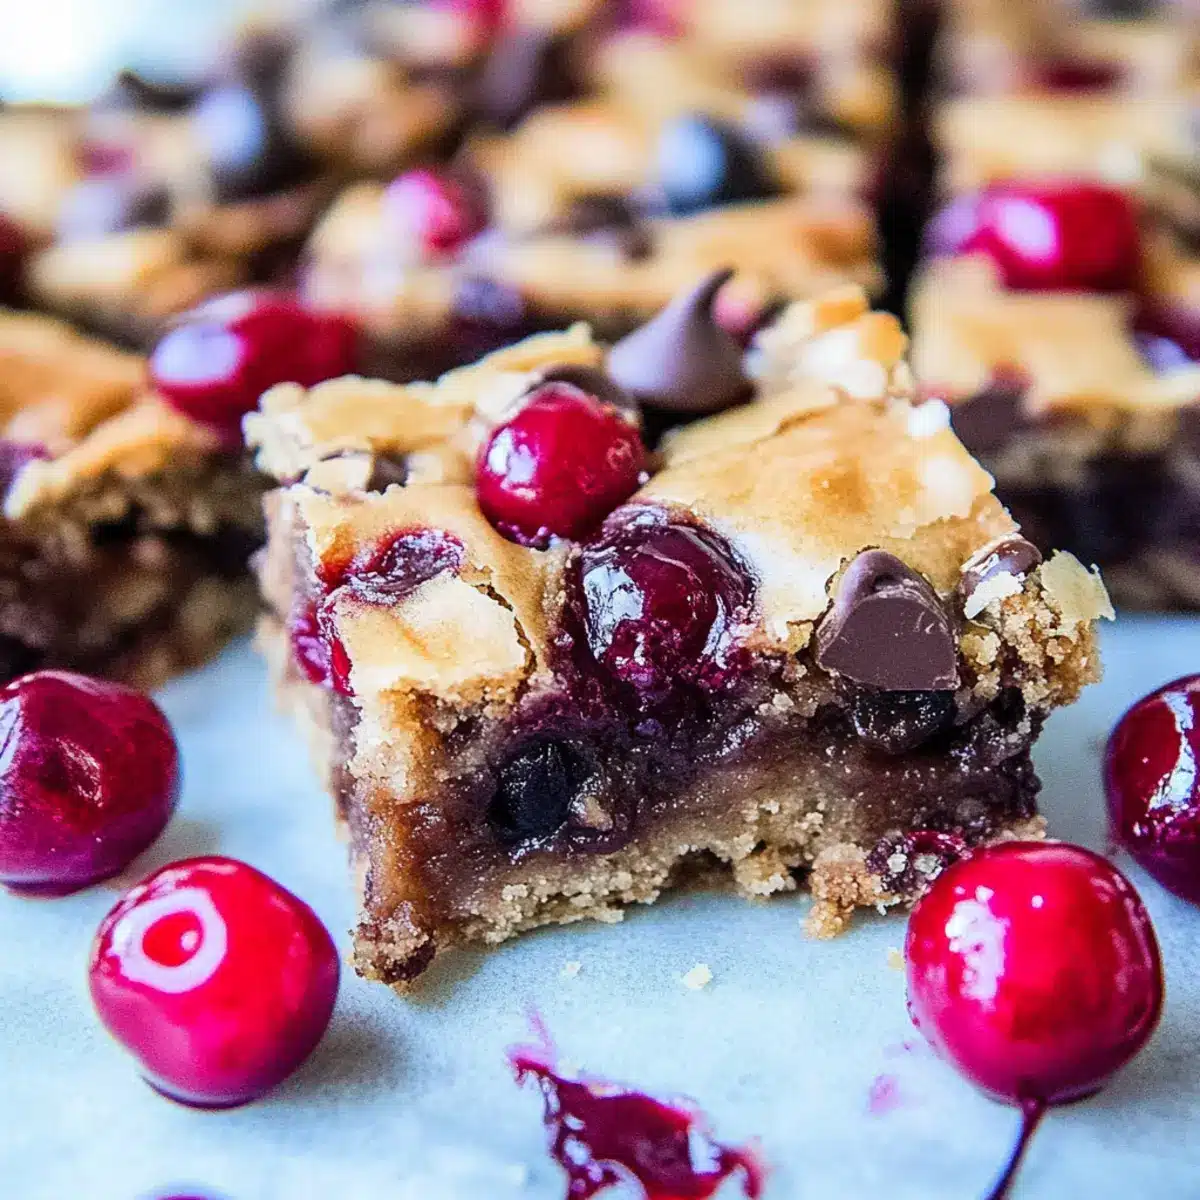
- Cherries – Fresh is recommended for the best texture, but frozen can work if pitted and drained properly.
Enjoy making these Chocolate Chip Cherry Bars as the perfect summer treat!
Step‑by‑Step Instructions for Chocolate Chip Cherry Bars
Step 1: Preheat the Oven
Begin by preheating your oven to 350°F (175°C). While the oven warms up, take an 8×8-inch baking pan and line it with foil, leaving some overhang for easy removal later. Lightly grease the foil with cooking spray or butter to prevent sticking, setting the stage for your delicious Chocolate Chip Cherry Bars.
Step 2: Melt the Butter
In a medium microwave-safe bowl, add your unsalted butter and heat it in the microwave in 20-30 second intervals, stirring in between until it’s fully melted. This should take about 1 minute total. The butter should be warm and liquid, ready to blend seamlessly with the brown sugar, creating a rich base for your bars.
Step 3: Mix in the Sugars and Egg
Once the butter is melted, add in the light brown sugar, stirring vigorously until the mixture is smooth and well combined. Next, crack in one large egg and pour in the vanilla extract. Whisk everything together until the batter is smooth, allowing those warm flavors to meld beautifully before adding the dry ingredients.
Step 4: Incorporate the Flour
Now, sift in the all-purpose flour along with a pinch of salt, if desired. Gently mix with a spatula or wooden spoon, taking care not to overmix. Your goal is to combine the ingredients just until you see no dry flour left—this will ensure your Chocolate Chip Cherry Bars are soft and chewy, not tough.
Step 5: Fold in the Chocolate and Cherries
Carefully fold in the semi-sweet chocolate chips and pitted cherries, ensuring an even distribution throughout the batter. The vibrant cherries and rich chocolate will add both flavor and texture to your bars, making every bite a delicious experience. Set your batter aside once everything is well incorporated.
Step 6: Transfer to the Baking Pan
Pour the delicious batter into your prepared baking pan, using a spatula to spread it evenly. Smooth the top gently to create a uniform surface, which will help your Chocolate Chip Cherry Bars bake evenly. Make sure to spread to the edges to ensure every corner is filled with those delightful flavors.
Step 7: Bake the Bars
Place the pan in your preheated oven and bake for 27-32 minutes. Keep an eye on them—when the edges appear set and golden and the center looks firm, they are ready. You can also check for a toothpick inserted in the center; it should come out with a few moist crumbs, indicating the perfect doneness.
Step 8: Cool and Slice the Bars
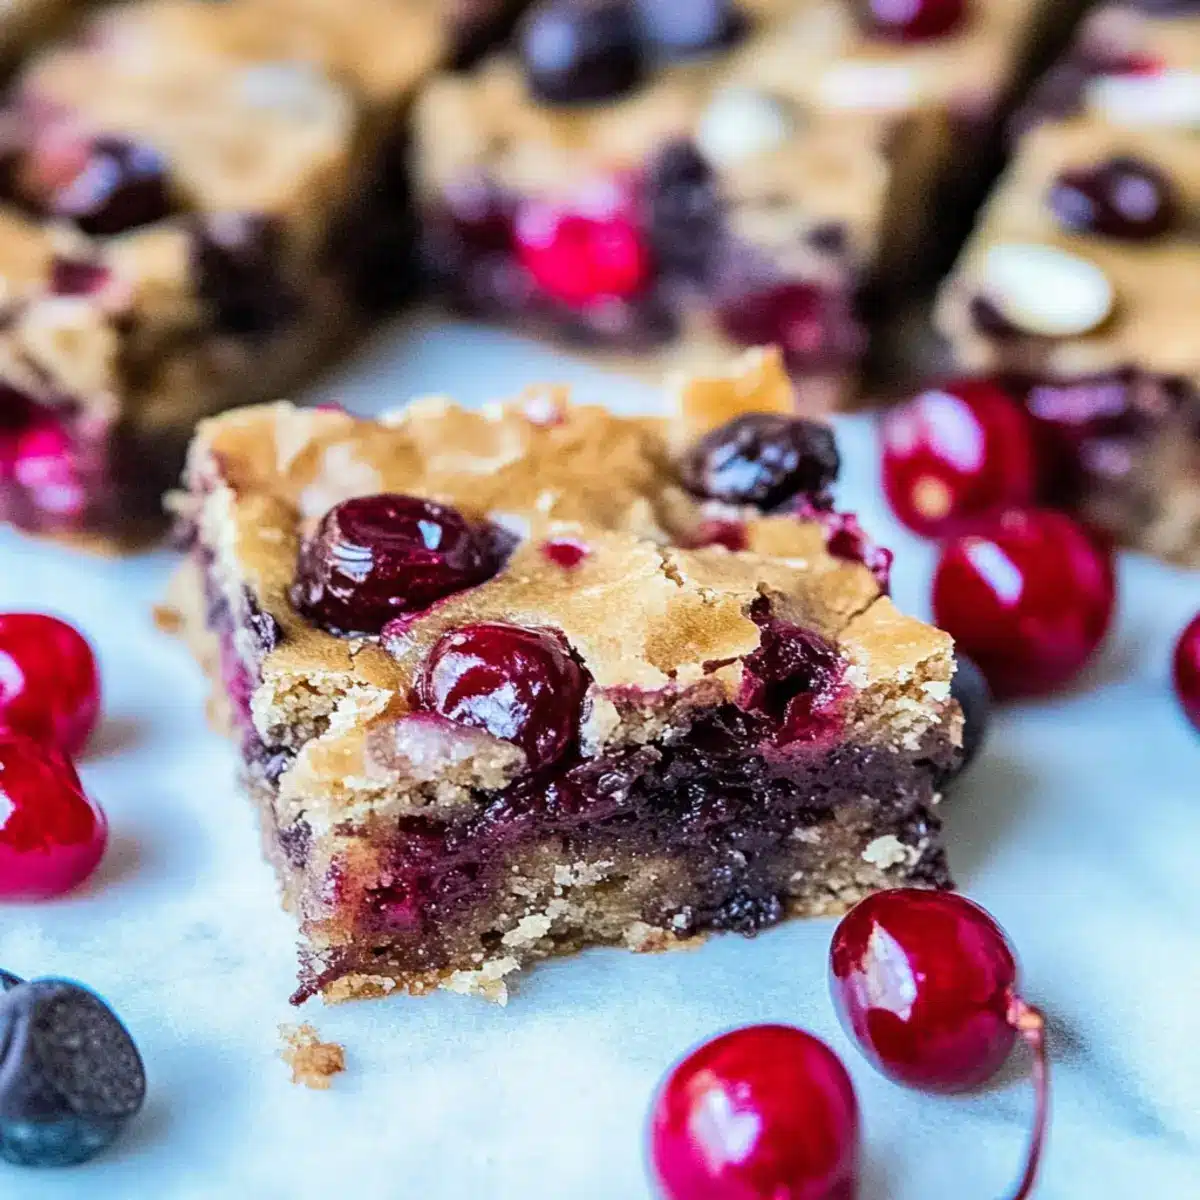
Once baked, remove the pan from the oven and let it cool at room temperature for at least one hour. This cooling period allows the bars to firm up, making them easier to slice. After cooling, lift them out using the foil overhang and cut into squares. Your Chocolate Chip Cherry Bars are now ready to be enjoyed!
Expert Tips for Chocolate Chip Cherry Bars
-
Pitted Cherries: Always ensure your cherries are pitted before mixing; this avoids unpleasant surprises in texture while enjoying your Chocolate Chip Cherry Bars.
-
Don’t Overmix: Once you add flour, mix just until combined. Overmixing will make your bars tough instead of soft and chewy.
-
Baking Time: Check your bars a few minutes early. They should be golden at the edges and firm in the center—too long in the oven can dry them out.
-
Storage Matters: To keep your bars fresh, store them in an airtight container at room temperature for up to a week. Refrigeration can extend freshness.
-
Try Variations: Experiment with different fruits or mix-ins! Swap cherries for blueberries or add nuts for a delightful texture change in your next batch.
What to Serve with Chocolate Chip Cherry Bars
These luscious treats are perfect for summer gatherings, with their sweet and tangy flavors pairing beautifully with a variety of accompaniments.
-
Vanilla Ice Cream: A scoop of creamy vanilla ice cream melts into the warm bars, offering a delightful contrast to the chewy texture.
-
Fresh Whipped Cream: Light and airy, whipped cream adds a fluffy touch that enhances the sweetness of the cherries and chocolate.
-
Berry Compote: A homemade berry compote drizzled on top brings brightness and a tart punch, enhancing the flavor of the bars.
-
Chocolate Sauce: For chocolate lovers, a drizzle of chocolate sauce takes indulgence to the next level—unapologetically rich and delicious.
-
Coffee: A steaming cup of coffee balances the sweetness of the bars, providing a rich depth that heightens the dessert experience.
-
Minty Iced Tea: The refreshing notes of mint iced tea can cleanse your palate, making each bite of the rich Chocolate Chip Cherry Bars even more enjoyable.
Imagine a warm, sunny day, your friends gathered around, and everyone reaching for these delectable morsels while sipping on their drinks. Perfect together, they create lasting memories with every bite!
Chocolate Chip Cherry Bars Variations
Feel free to play around with this recipe to make it your own, customizing the flavors to match your cravings!
-
Fruit Swap: Replace cherries with plums, peaches, or berries like raspberries or blueberries for a refreshing twist. Each fruit brings its unique sweetness and tartness, creating delightful flavor combinations.
-
Nutty Delight: Add chopped walnuts or pecans for an extra crunch. The nuttiness perfectly complements the chocolate and fruit, giving an additional layer of texture in every bite.
-
Coconut Bliss: Toss in some shredded coconut for a tropical touch. This addition can bring a little island flair to your bars, making them extra special for summer gatherings.
-
Flavored Chocolate: Use dark chocolate or white chocolate chips instead of semi-sweet for a different taste. Each type of chocolate gives a unique depth of flavor that transforms your bars into something extraordinary.
-
Dried Fruit Mix: Consider a blend of fresh and dried fruits—apricots, raisins, or cranberries add chewiness without overpowering the bars. This mixture not only enhances texture but also adds complexity to the overall flavor.
-
Spicy Kick: For a little heat, sprinkle in some cayenne pepper or a dash of cinnamon. This unexpected twist can elevate the dessert experience and surprise your taste buds.
-
Go for the Crumble: Create a crumbly topping with oats and butter for an added layer. This will give your bars a delightful crunchy contrast, reminiscent of a cobbler.
As you explore these variations, think about pairing your Chocolate Chip Cherry Bars with a creamy scoop of vanilla ice cream, reminiscent of the summer desserts enjoyed at family picnics. Plus, if you’re seeking more delightful dessert ideas, don’t miss out on making my delicious Decadent Chocolate Strawberry for a charming twist on your sweet treats!
Make Ahead Options
These Chocolate Chip Cherry Bars are perfect for meal prep, allowing you to enjoy this delightful dessert even on the busiest days! You can prepare the batter up to 24 hours in advance; simply mix everything together and refrigerate it in an airtight container—this keeps the flavors fresh while saving you time. If you’d like to prepare the bars further ahead, you can bake them, allow them to cool completely, and store the sliced bars in an airtight container for up to 3 days at room temperature. For the best quality, make sure to layer parchment paper between the bars to prevent sticking. When ready to enjoy, simply serve them at room temperature or warm them briefly in the microwave for that fresh-out-of-the-oven experience!
How to Store and Freeze Chocolate Chip Cherry Bars
Room Temperature: Store your Chocolate Chip Cherry Bars in an airtight container at room temperature for up to 1 week to keep them fresh and chewy.
Refrigerator: For extended freshness, you can refrigerate the bars in an airtight container for up to 2 weeks. They may become slightly firmer due to the chill.
Freezer: To enjoy these bars later, freeze them for up to 3 months. Wrap individual bars in plastic wrap and place them in a freezer-safe bag for easy access.
Reheating: When ready to enjoy, simply thaw at room temperature or warm in the microwave for 10-15 seconds to bring back that delightful chewy texture.
Chocolate Chip Cherry Bars Recipe FAQs
What kind of cherries should I use?
Fresh cherries are highly recommended for the best texture and flavor in your Chocolate Chip Cherry Bars. Look for firm cherries without dark spots or blemishes. If using frozen cherries, make sure to thaw and drain them well to avoid excess moisture that can affect the texture of your bars.
How should I store these bars, and how long do they last?
To keep your Chocolate Chip Cherry Bars fresh, store them in an airtight container at room temperature for up to 1 week. If you want to extend their shelf life, you can refrigerate them for up to 2 weeks. Just be aware that refrigeration may cause them to become slightly firmer.
Can I freeze Chocolate Chip Cherry Bars? How do I do it?
Absolutely! To freeze your Chocolate Chip Cherry Bars, wrap each bar individually in plastic wrap and then place them in a freezer-safe bag. They can be frozen for up to 3 months. When you’re ready to enjoy, simply thaw them at room temperature or pop them in the microwave for 10-15 seconds to restore their delightful chewy texture.
What should I do if my bars turn out too dry?
If your Chocolate Chip Cherry Bars come out too dry, it could be due to overbaking. Always check your bars a few minutes before the recommended baking time. If you’d like to salvage the batch, try serving them warm with a scoop of ice cream or whipped cream to add moisture and enhance flavor!
Can I make these bars gluten-free?
Yes! For a gluten-free version of Chocolate Chip Cherry Bars, substitute all-purpose flour with a 1:1 gluten-free flour blend. Be sure to check that your chocolate chips and any other mix-ins are gluten-free as well. Just like the original recipe, ensure not to overmix your batter for that perfect chewy texture.
Are these bars suitable for pets?
No, Chocolate Chip Cherry Bars are not suitable for pets, especially doggos. Chocolate is toxic to dogs, and cherries can pose a choking hazard or cause gastrointestinal distress. Keep these delicious treats out of their reach and opt for pet-safe snacks instead!
Chocolate Chip Cherry Bars That Will Delight Your Summer
Ingredients
Equipment
Method
- Preheat your oven to 350°F (175°C) and line an 8x8-inch baking pan with foil, greased to prevent sticking.
- Melt the unsalted butter in a medium bowl in the microwave until fully liquid.
- Mix in the light brown sugar until smooth, add the egg and vanilla extract, and whisk until combined.
- Sift in the all-purpose flour and salt, mixing gently until no dry flour remains.
- Fold in the semi-sweet chocolate chips and pitted cherries until evenly incorporated.
- Pour the batter into the prepared baking pan and smooth the top.
- Bake for 27-32 minutes until the edges are set and golden; check with a toothpick for moist crumbs.
- Let the bars cool in the pan for at least one hour before slicing into squares.
Leave a Reply