
As I stood in my kitchen, the aroma of melting cocoa swept me back to countless evenings spent baking with my grandmother. Those moments inspired me to create these delightful 4-Ingredient Crispy Chocolate Oat Cookies—a simple yet rewarding treat perfect for any occasion. With just four wholesome ingredients, you can whip these up in under 30 minutes, making them a fantastic choice for both busy weeknights and unexpected guests. Not only are they gluten-free, but the customizable aspects mean you can add your favorite mix-ins like nuts or dried fruit for a fun twist. Are you ready to try making these irresistibly delicious cookies that blend nostalgia with a healthy upgrade?
Why are these cookies a must-try?
Simplicity, with just four ingredients, these cookies are a breeze to prepare! Customization is key, allowing you to experiment with nuts or dried fruit based on your taste preferences. Deliciously Rich cocoa flavor ensures that your sweet tooth is satisfied without guilt. Quick baking time means you can indulge in fresh cookies in under 30 minutes. Perfect for sharing, these treats are sure to impress your friends and family. Pair them with a scoop of ice cream or enjoy alongside a steaming cup of coffee for the ultimate treat anytime!
Chocolate Oat Cookies Ingredients
These delicious Chocolate Oat Cookies come together with just a few simple ingredients!
For the Cookies
• Oats – The backbone of the cookie, providing structure and a chewy texture; quick oats can create a finer bite.
• Cocoa Powder – This rich ingredient adds that beloved chocolate flavor; unsweetened cocoa helps manage sweetness levels.
• Maple Syrup – Acts as a natural binder and sweetener, but honey makes a great substitute if you’re not vegan.
• Nut Butter (e.g., Peanut or Almond) – Adds moisture and richness; for those with nut allergies, sunflower seed butter is a perfect alternative.
Optional Mix-Ins
• Dark Chocolate Chips – For added indulgence, these can be mixed in for extra chocolatey goodness.
• Dried Fruits (like cranberries or raisins) – Adds a touch of sweetness and chewiness to your cookies.
• Spices (like cinnamon or vanilla extract) – A simple way to enhance flavor and give your cookies a unique twist.
These Chocolate Oat Cookies are not just delightful; they also make a great picnic idea, pairing perfectly with fresh fruit or a scoop of your favorite ice cream!
Step‑by‑Step Instructions for 4-Ingredient Crispy Chocolate Oat Cookies
Step 1: Preheat the Oven
Begin by preheating your oven to 350°F (175°C). While the oven heats up, line a baking sheet with parchment paper to ensure the cookies don’t stick during baking. This first step is crucial for creating that perfectly crisp texture you desire in these 4-Ingredient Crispy Chocolate Oat Cookies.
Step 2: Mix Dry Ingredients
In a large mixing bowl, combine the oats and cocoa powder, stirring until they are evenly blended. This mixture forms the base of your cookies, providing that delightful chocolatey flavor and chewy texture. Take a moment to enjoy the rich cocoa aroma as you mix, knowing that you’re just a few steps away from a delicious treat.
Step 3: Combine Wet Ingredients
In a separate bowl, whisk together the maple syrup and nut butter until the mixture is smooth and creamy. This step is vital as it binds the dry ingredients and adds moisture. Make sure there are no lumps in the mixture for an even texture in your cookies, enhancing the exceptional taste of your Chocolate Oat Cookies.
Step 4: Combine Mixtures
Pour the dry mixture into the wet ingredients bowl, stirring together until fully incorporated. This will create a thick cookie dough. The blend of ingredients will yield a lovely chocolatey aroma that fills your kitchen, tempting everyone in the house. Take care to ensure everything is well mixed for a consistent flavor throughout your cookies.
Step 5: Scoop and Shape
Using a tablespoon, scoop out portions of cookie dough and drop them onto the prepared baking sheet. Flatten each scoop slightly to help them bake evenly. Arrange the cookies about two inches apart, giving them room to spread while baking, ensuring gorgeous, crispy edges for every single one of your 4-Ingredient Crispy Chocolate Oat Cookies.
Step 6: Bake
Place the baking sheet in your preheated oven and bake the cookies for 10-12 minutes. Watch for the edges to turn a deep, golden brown while the centers look set but soft. This timing is critical to achieve that ideal balance of crispy on the outside and chewy inside that makes these cookies truly irresistible.
Step 7: Cool
Once done, remove the baking sheet from the oven and allow the cookies to cool for a few minutes. This helps them firm up before transferring them to a wire rack to cool completely. Be patient and let them sit; this is essential for the perfect texture that complements the rich flavors of your Chocolate Oat Cookies!
Make Ahead Options
These 4-Ingredient Crispy Chocolate Oat Cookies are perfect for meal prep enthusiasts! You can prepare the cookie dough up to 24 hours in advance, storing it in an airtight container in the refrigerator to maintain freshness and prevent browning. If you’re planning to bake them later, simply scoop the dough onto the baking sheet, cover it, and refrigerate until you’re ready to bake. When you’re ready to enjoy these delightful treats, preheat your oven and bake for the usual 10-12 minutes; they’ll come out just as delicious and perfect for any busy weeknight cravings! This makes enjoying homemade cookies incredibly convenient for any occasion.
What to Serve with 4-Ingredient Crispy Chocolate Oat Cookies
These delightful cookies invite a world of flavors to your dining table, transforming any snack into a complete feast.
- Creamy Vanilla Ice Cream: A luscious scoop of ice cream perfectly complements the rich cocoa, adding a cool, creamy texture to every bite.
- Fresh Berries Salad: Tossed with a hint of mint, this vibrant mix enhances the cookies’ sweetness, offering a refreshing contrast that tantalizes the palate.
- Coconut Milk Smoothie: This smooth and creamy drink pairs beautifully, creating a delightful balance with the cookies’ rich chocolate flavor.
- Chocolate Dipped Strawberries: For an extra indulgent treat, serve strawberries dipped in chocolate, echoing the cookies’ cocoa goodness while adding a fruity note.
- Nutty Granola: A crunchy granola on the side adds texture and a wholesome touch, making your snack experience varied and satisfying.
- Coffee or Espresso: The deep notes of coffee bring out the cookie’s rich flavors, creating a delightful pairing that coffee lovers will adore.
- Chia Seed Pudding: This creamy, nutrient-packed pudding complements the cookies well, offering a healthy twist while adding a unique textural element to your table.
- Homemade Trail Mix: A colorful blend of nuts and dried fruits showcases delightful flavors and textures, perfectly rounding out your cookie indulgence with a fresh crunch.
Each pairing enhances the deliciousness of these cookies, making them a star attraction for any occasion!
How to Store and Freeze Chocolate Oat Cookies
Room Temperature: Store cookies in an airtight container at room temperature for up to 7 days to maintain their chewy texture and rich flavor.
Fridge: For longer freshness, you can refrigerate the cookies for up to 2 weeks. Just ensure they’re in a sealed container to prevent them from absorbing odors.
Freezer: Freeze cookies in a single layer in a freezer-safe bag or container for up to 3 months. When ready to enjoy, thaw at room temperature or heat briefly in the oven.
Reheating: To reheat, place cookies in a preheated oven at 350°F (175°C) for 5-8 minutes. They’ll regain their delightful texture, making them perfect for a quick snack or picnic idea!
Chocolate Oat Cookies: Variations & Substitutions
Feel free to let your creativity shine! These cookies are a blank canvas waiting for your favorite flavors and ingredients.
-
Gluten-Free: Substitute oats with certified gluten-free oats to ensure everyone can indulge. Ensuring the oats are Gluten-Free certified allows all guests to enjoy without worry.
-
Nut-Free: Use sunflower seed butter instead of nut butter for a delicious, nut-free version. This keeps the cookies safe for those with allergies but packs the same delightful creaminess.
-
Sweetener Swap: Substitute maple syrup with agave nectar for a slightly different sweetness. Agave nectar offers a different texture and flavor, enhancing the overall experience.
-
Flavor Boost: Add a teaspoon of espresso powder to the dry ingredients for a mocha twist. The richness of espresso deepens the chocolate flavor, creating an even more decadent cookie.
-
Fruit Addition: Mix in a handful of dried cranberries or apricots for a burst of fruitiness. This adds chewiness and a pleasant tang that balances the richness of the cocoa.
-
Spicy Kick: Add a pinch of cayenne pepper or chili powder for a surprising heat. The warmth from the spice adds a unique depth to the cookies, making them an intriguing treat.
-
Chocolate Lover’s Dream: Fold in dark chocolate or white chocolate chips for a more indulgent treat. Extra chocolate elevates these cookies to pure bliss, perfect for any sweet craving!
-
Coconut Flavor: Incorporate unsweetened shredded coconut into the dough for a tropical touch. The coconut adds extra texture and a hint of sweetness that complements the chocolate beautifully.
For a delightful pairing, try these cookies alongside a scoop of vanilla ice cream or make a delicious Grilled Cheese Burrito for a perfect picnic spread!
Expert Tips for Chocolate Oat Cookies
-
Mixing Matters: Ensure all dry and wet ingredients are thoroughly combined for even texture and flavor in your delightful cookies.
-
Watch the Bake: Don’t overbake! Remove the cookies when they’re soft in the center; they will continue to firm up as they cool.
-
Cooling Time: Allow your cookies to cool completely before serving. This is key to achieving that perfect chewy yet crispy texture.
-
Experiment with Add-Ins: Feel free to customize these cookies with your favorite nuts or dried fruits. This not only enhances flavor but also makes them a unique picnic idea!
-
Use Quality Ingredients: Opt for good-quality cocoa powder and pure maple syrup to elevate the taste of your Chocolate Oat Cookies.
Chocolate Oat Cookies Recipe FAQs
What type of oats should I use for the best texture?
For optimal texture, I recommend using quick oats, as they provide a finer bite and help to create that delightful chewiness. However, traditional rolled oats work just as well if you prefer a bit more bite in your cookies.
How should I store my Chocolate Oat Cookies?
To keep your cookies fresh, place them in an airtight container at room temperature for up to 7 days. For even longer shelf life, you can refrigerate them for up to 2 weeks. Just ensure they’re sealed properly to avoid absorbing any odors from your fridge.
Can I freeze these cookies for later use?
Absolutely! To freeze your cookies, first place them in a single layer on a baking sheet and freeze until solid. Once frozen, transfer them to a freezer-safe bag or container, where they can stay good for up to 3 months. When you’re ready to indulge, simply thaw at room temperature or heat them briefly in a preheated oven at 350°F (175°C) for about 5-8 minutes.
What do I do if my cookie dough is too dry?
If you find that your dough is too dry and crumbly, don’t worry! You can fix it by adding a splash of maple syrup or a little water—just a teaspoon at a time—until you achieve a cohesive dough. Mixing it thoroughly after each addition helps ensure even hydration and consistency.
Are there any allergen considerations for this recipe?
Yes, if you’re preparing these for someone with nut allergies, feel free to substitute the nut butter with sunflower seed butter, which offers the same creaminess without the allergens. Also, always check that your oats are certified gluten-free if you’re catering to someone with gluten sensitivity.
What mix-ins can I add for extra flavor or texture?
Get creative! You can mix in dark chocolate chips for additional sweetness or consider adding dried fruits like cranberries or raisins to give a chewy contrast. Also, spices such as cinnamon or even a teaspoon of vanilla extract can elevate the flavor profile of your cookies, making them the perfect picnic idea!
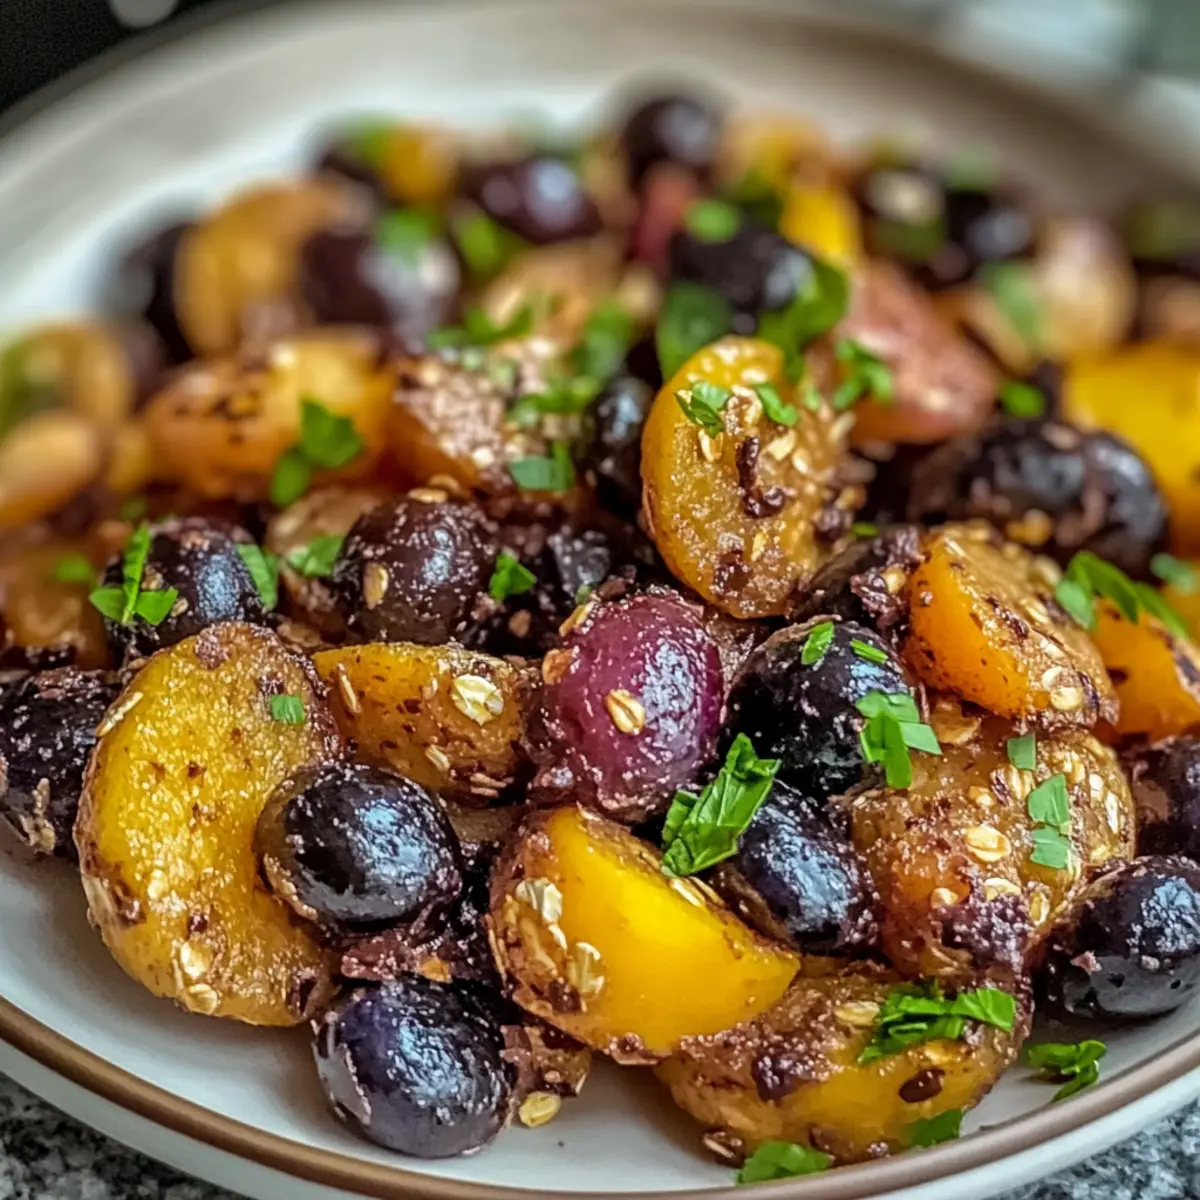
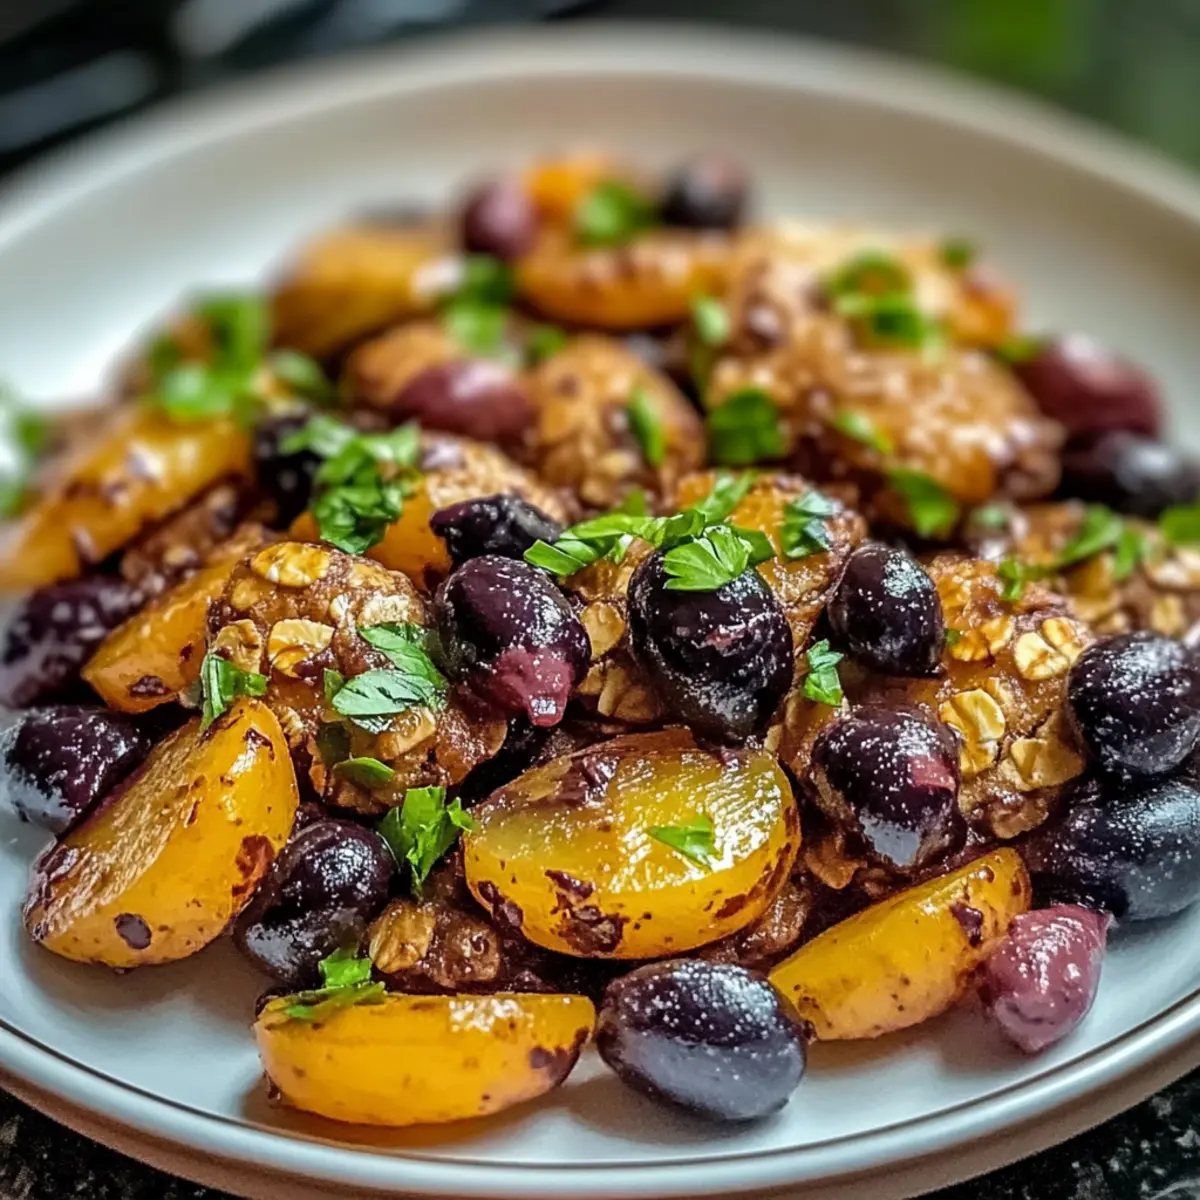
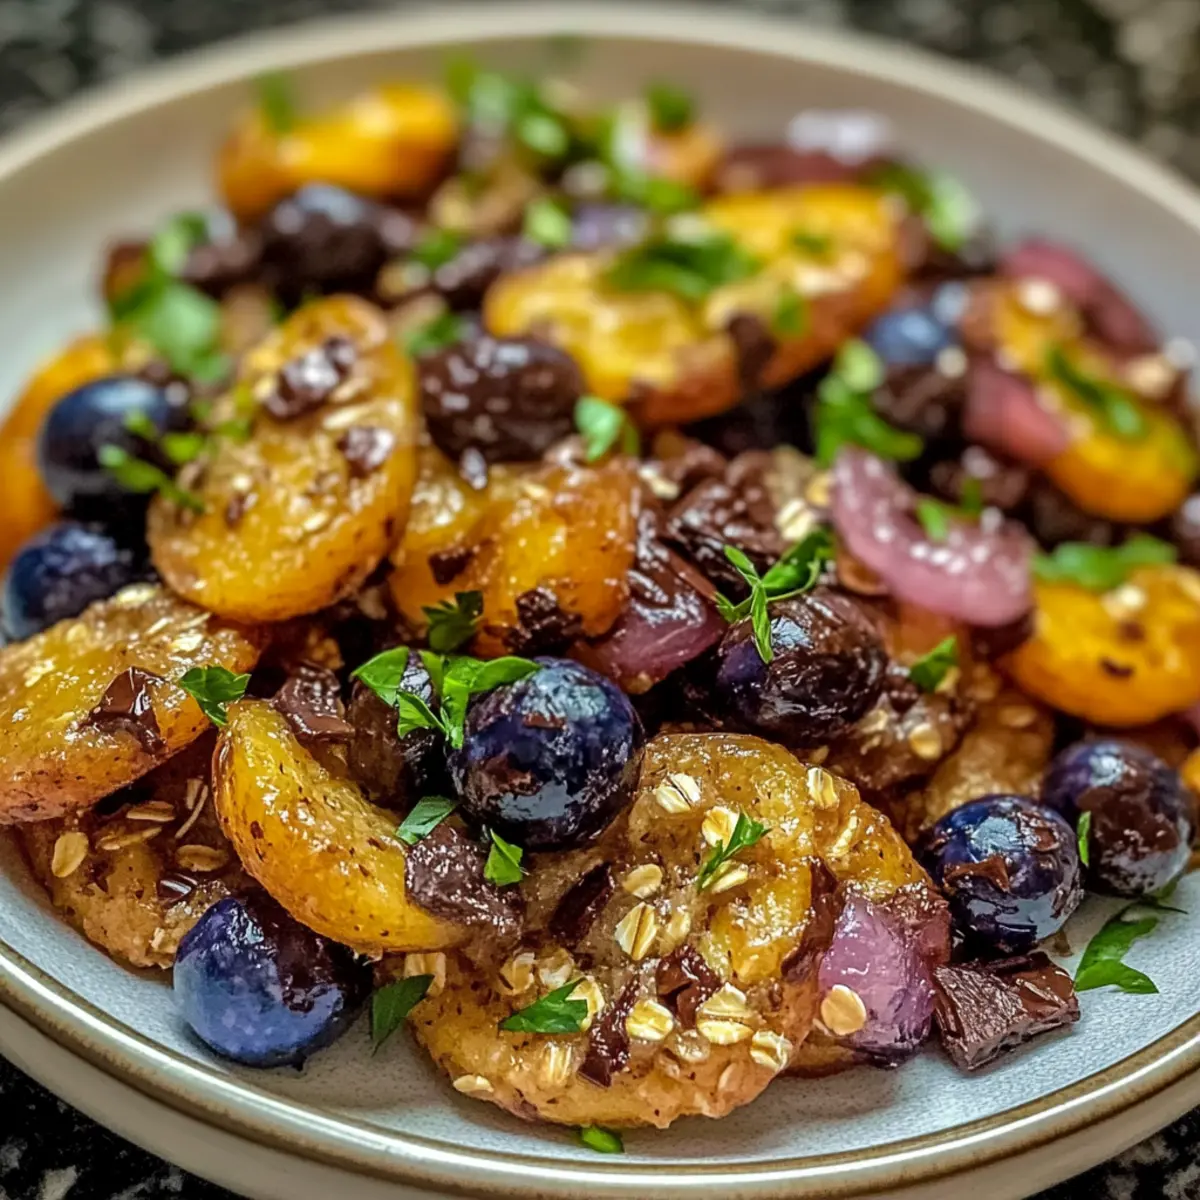
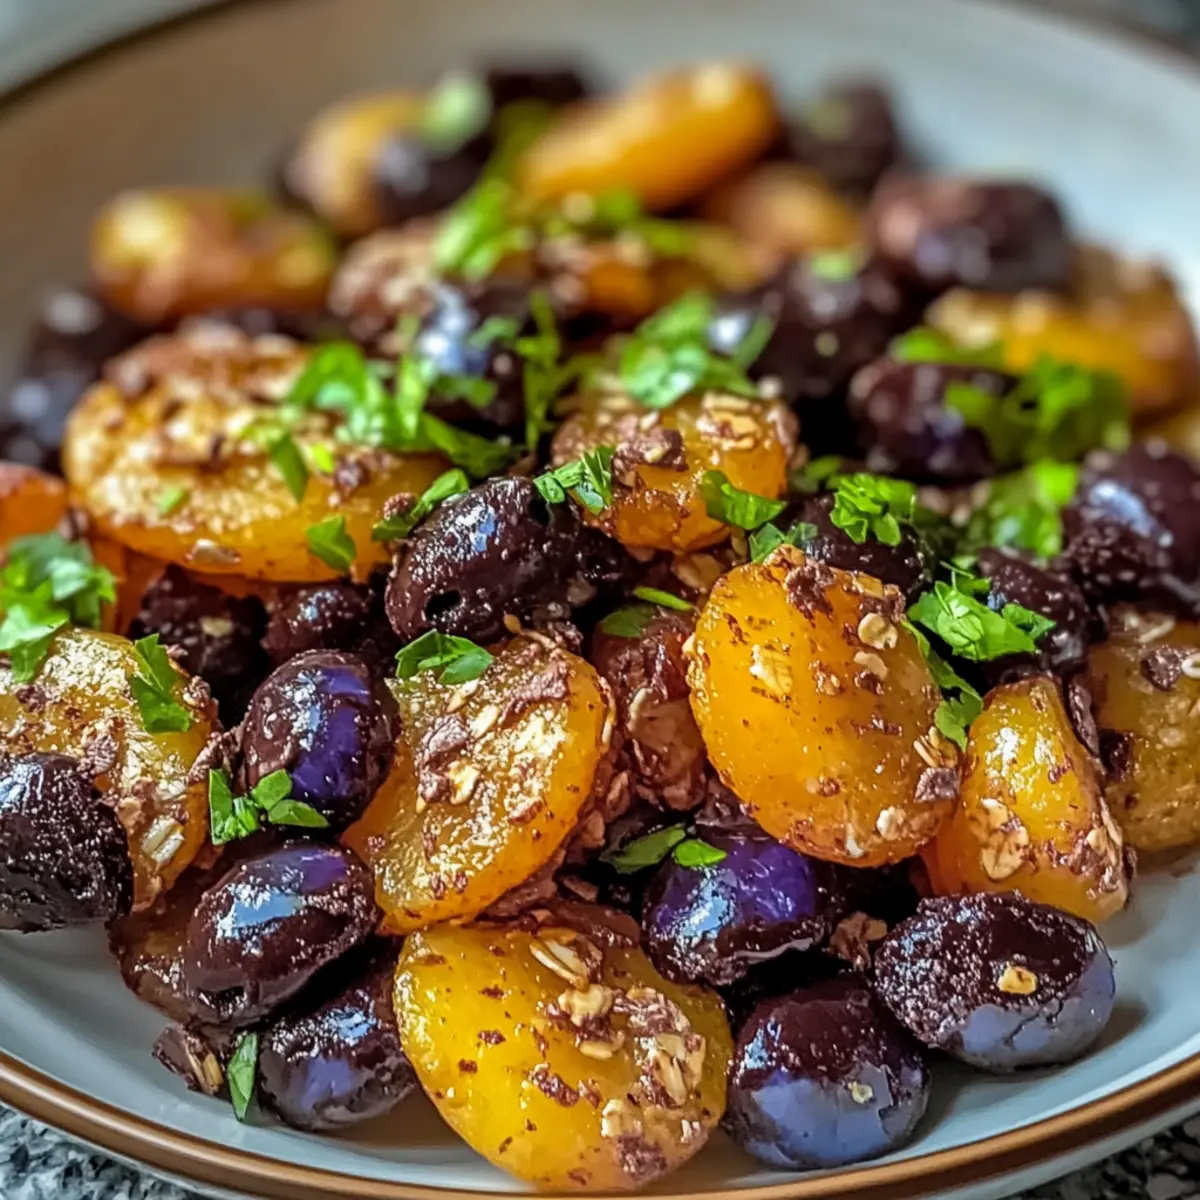
Grilled Peach Blueberry Salad: The Perfect Picnic Idea
Ingredients
Equipment
Method
- Preheat the grill to medium heat.
- Halve and pit the peaches, then brush them with honey.
- Grill the peach halves for about 5 minutes on each side until grill marks appear.
- In a mixing bowl, combine the grilled peaches and fresh blueberries.
- Drizzle lemon juice over the mixture and toss gently.
- Transfer the salad to a serving dish and garnish with mint leaves.
- Serve immediately and enjoy your picnic!
Leave a Reply