
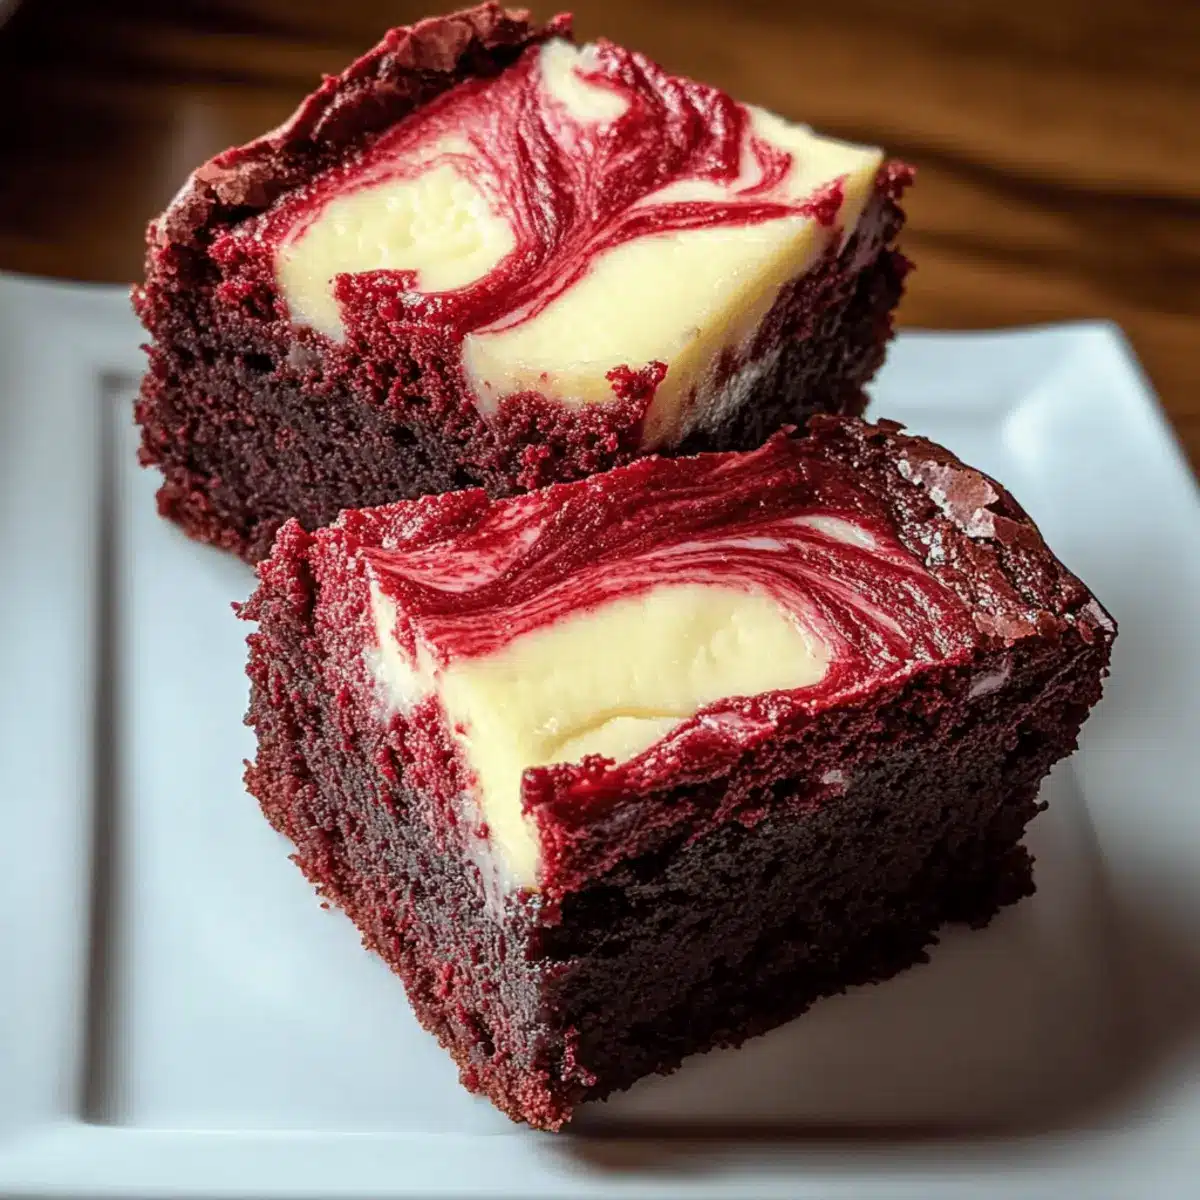
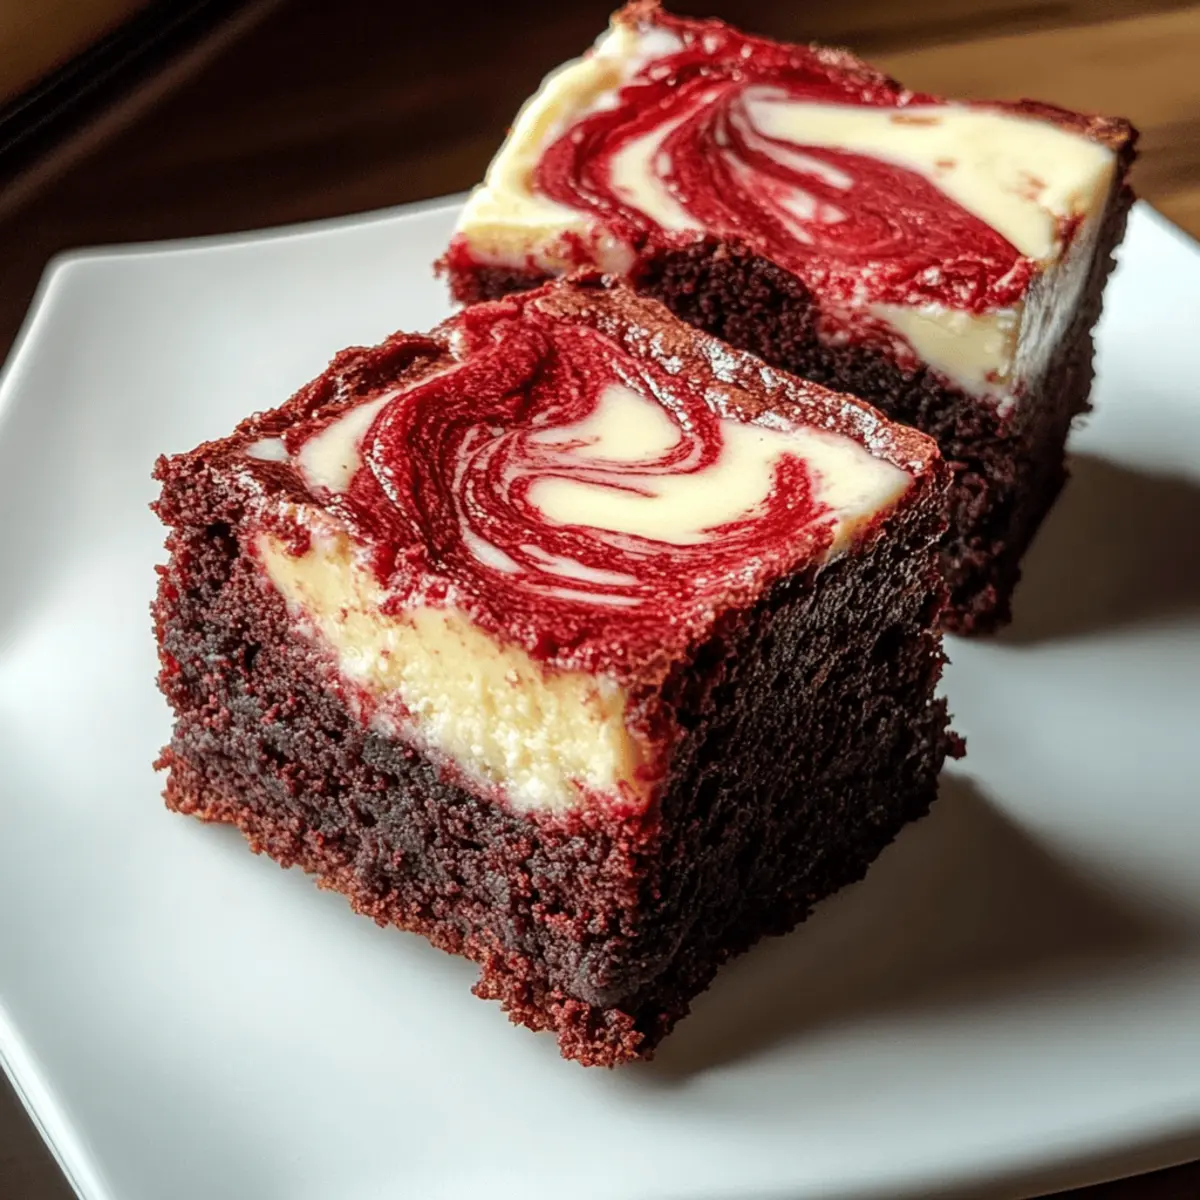
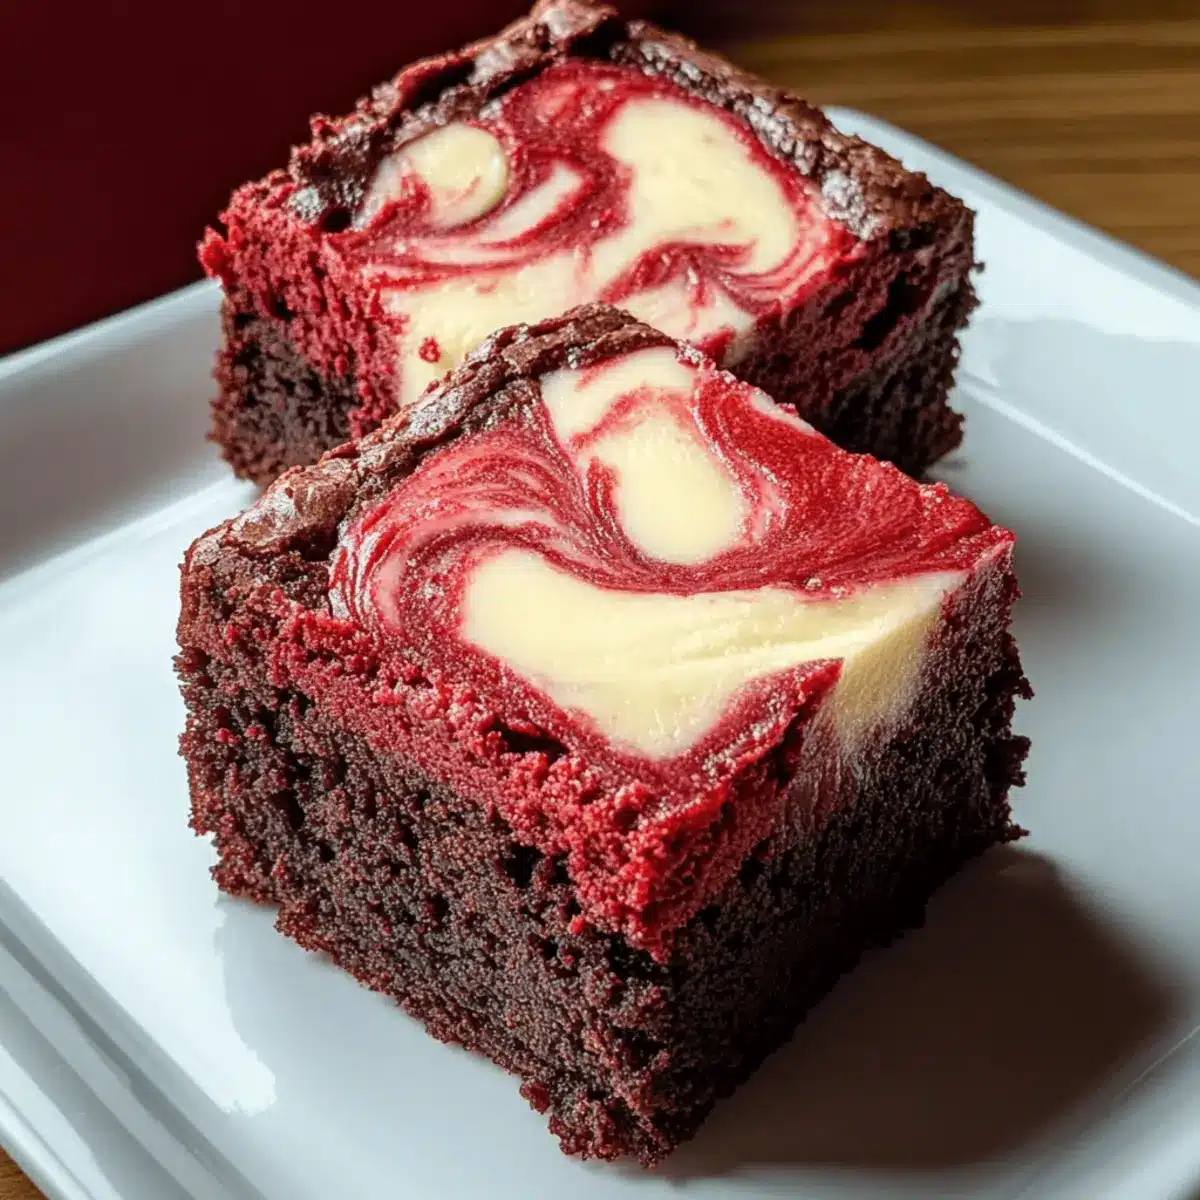
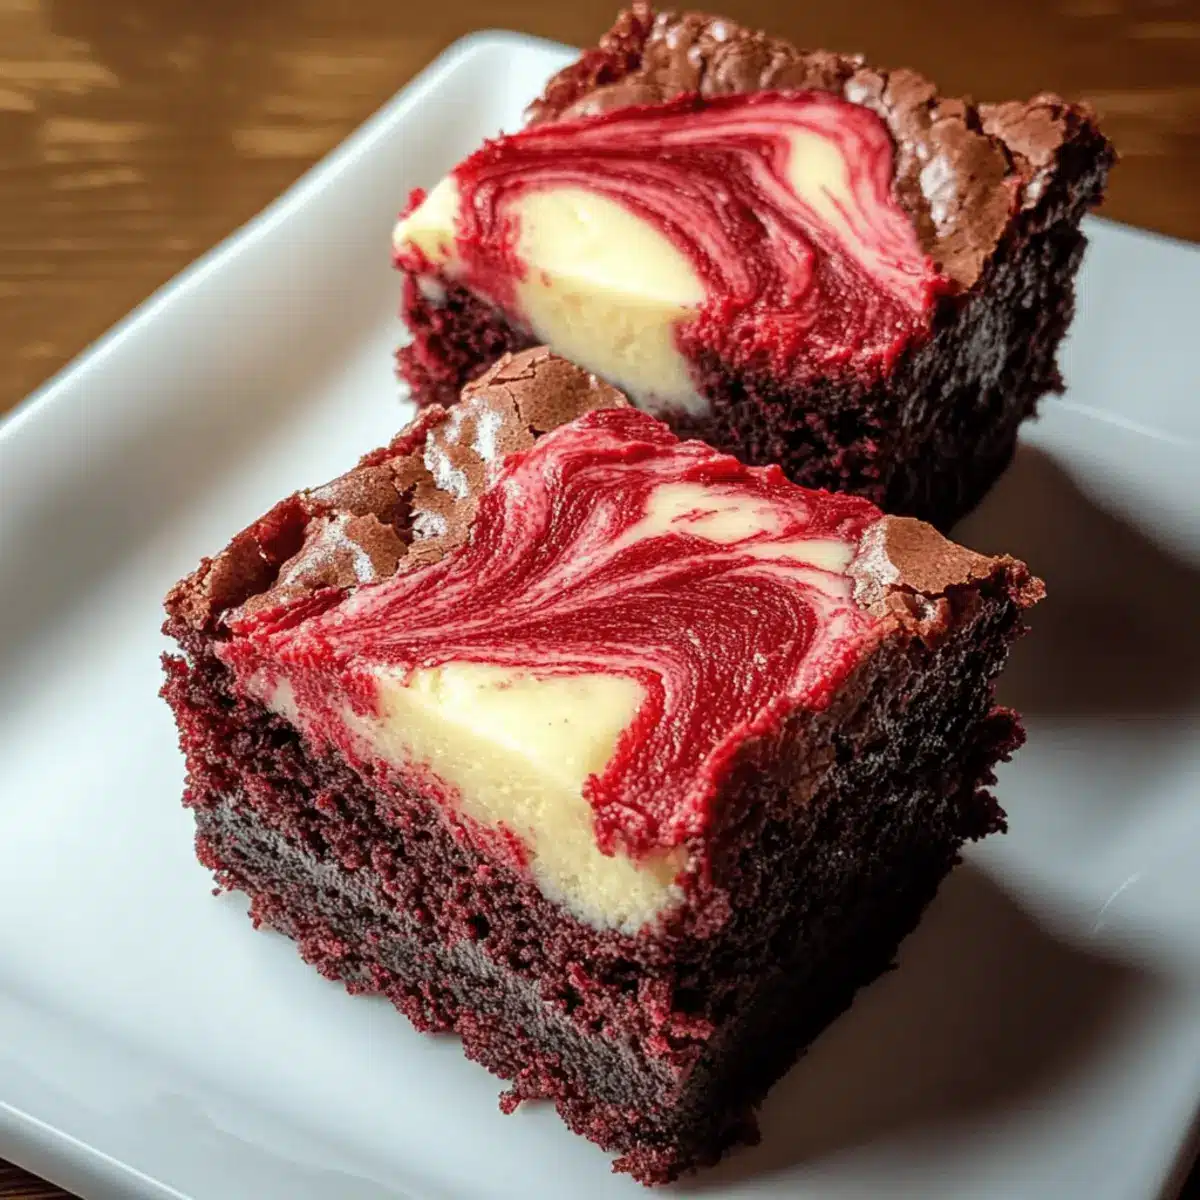
As I stood over my mixing bowl, the delightful scent of melted butter and sugar drifting up, I couldn’t help but smile at the thought of the surprise that lay ahead—Red Velvet Cheesecake Brownies. These delectable treats beautifully combine the rich comfort of brownies with the creamy indulgence of cheesecake, making them perfect for birthdays, cozy gatherings, or just satisfying a sweet craving. Not only are they visually stunning with their eye-catching crimson hue, but they also promise a lush texture that’s sure to impress family and friends alike. Plus, they’re surprisingly simple to make, taking the stress out of dessert preparation. Wouldn’t you love to bring a slice of this sweet celebration to your next gathering?
Why Choose Red Velvet Cheesecake Brownies?
Overwhelmingly Delicious: These brownies blend the luxurious taste of rich red velvet with creamy cheesecake, creating a treat that’s utterly irresistible at any gathering.
Visual Showstopper: The stunning crimson hue makes these brownies not just a dessert but a centerpiece for parties and special occasions.
Easy Prep: With simple steps and minimal fuss, you’ll find that making these decadent brownies is a breeze, making them ideal for both novice bakers and experienced chefs alike.
Versatile Enjoyment: Whether served warm with ice cream or chilled straight from the fridge, these brownies deliver a delightful experience you can customize to suit your taste.
Perfect for Celebrations: From birthdays to holiday festivities, these Red Velvet Cheesecake Brownies bring a touch of festivity to any occasion, ensuring everyone leaves with a smile.
Red Velvet Cheesecake Brownies Ingredients
For the Brownie Base
- Butter – Melting this ingredient provides rich, silky moisture essential for a smooth brownie batter.
- Granulated Sugar – Sweetens the layers and contributes to that perfect chewy texture we all love.
- Vanilla Extract – Adds warmth and complexity, enhancing the chocolate notes beautifully in your red velvet cheesecake brownies.
- Unsweetened Cocoa Powder – The classic chocolate backbone balances the vibrant red color while maintaining a light cocoa flavor.
- Salt – Just a pinch elevates the flavors and balances the sweetness, enhancing each bite.
- Red Food Coloring – Transforms your brownie batter into a stunning crimson hue that makes your dessert pop.
- White Vinegar – Reacts with baking soda, intensifying the color and adding a subtle tang to the batter which is a signature of red velvet treats.
- Eggs – Essential for binding the ingredients, they give the brownies a fudgy yet slightly cakey texture.
- All-Purpose Flour – Forms the structure of the brownie, keeping the center moist and dense.
For the Cheesecake Layer
- Cream Cheese – The star ingredient for your cheesecake layer that offers a creamy, rich contrast to the brownie base.
- Granulated Sugar – Sweetens the cheesecake filling, ensuring a smooth creamy consistency.
- Egg – Binds the cheesecake filling, adding to its structure and creaminess.
- Vanilla Extract – Brings extra depth, enhancing the flavor of the cheesecake layer.
Step‑by‑Step Instructions for Red Velvet Cheesecake Brownies
Step 1: Preheat and Prepare
Begin by preheating your oven to 350°F (175°C). Line an 8×8-inch baking pan with aluminum foil for easy removal later, ensuring to leave some overhang. Lightly grease the foil with cooking spray or butter to prevent sticking. This step sets the stage for your luscious Red Velvet Cheesecake Brownies.
Step 2: Mix the Brownie Batter
In a medium bowl, mix together the melted butter, granulated sugar, vanilla extract, unsweetened cocoa powder, red food coloring, and white vinegar. Stir well until the mixture is smooth and fully combined. The vibrant color will start to brighten as you mix, and you’ll achieve a beautiful brownie base that’s rich and chocolatey.
Step 3: Incorporate the Eggs
Next, add the eggs one at a time into your brownie mixture, beating well after each addition. This process will lighten your batter, creating a fluffy consistency essential for your brownies. You’ll notice the mixture becoming thicker and shinier, which means you’re on the right track for making those delectable Red Velvet Cheesecake Brownies.
Step 4: Add Dry Ingredients
Gently fold in the all-purpose flour and a pinch of salt to the brownie batter until just combined. Be careful not to overmix; this can lead to dense brownies. After mixing, your batter should be thick and smooth, ready to be poured into the prepared baking pan, creating a sturdy foundation for the cheesecake layer.
Step 5: Layer the Brownie Base
Pour most of the brownie batter into the lined pan, ensuring it covers the bottom evenly. Reserve about 1/4 cup of the batter for later swirling. Use a spatula to spread the batter smoothly and create an even surface. This will provide a deliciously fudgy base for your Red Velvet Cheesecake Brownies.
Step 6: Prepare the Cheesecake Layer
In a separate bowl, use a hand mixer to beat the cream cheese, granulated sugar, egg, and a splash of vanilla extract until smooth and creamy. Make sure there are no lumps for a velvety cheesecake layer. This mixture will beautifully contrast the rich brownie base, enhancing the indulgence of your dessert.
Step 7: Assemble the Cheesecake Topping
Spread the cream cheese mixture evenly over the brownie layer, ensuring it covers the batter entirely. The contrasting colors will be striking! Next, drop spoonfuls of the reserved brownie batter on top of the cream cheese layer, creating a mosaic effect to highlight the stunning presentation of your Red Velvet Cheesecake Brownies.
Step 8: Create the Swirl
Using a knife or skewer, gently swirl the brownie batter with the cheesecake layer to create a marbled effect. Be careful not to over-swirl; you want the layers to remain distinct. This step adds a touch of artistry to your brownies and ensures that each slice will reveal beautiful patterns when cut.
Step 9: Bake to Perfection
Bake your Red Velvet Cheesecake Brownies in the preheated oven for 30–35 minutes. To check for doneness, insert a toothpick into the center; it should come out with a few moist crumbs but not wet batter. Once done, the brownies should appear set in the middle, with a soft outer layer.
Step 10: Cool and Cut
Allow the brownies to cool completely in the pan on a wire rack before removing. Use the foil overhang to lift them out, then cut into squares. The cheesecake swirls should be beautifully exposed, showcasing the decadence of your creation. Enjoy the delightful blend of flavors and textures in every bite!
What to Serve with Red Velvet Cheesecake Brownies
Indulge in a delightful array of flavors and textures that elevate your dessert experience beyond just the brownies.
-
Vanilla Ice Cream: The creamy, cool sweetness of vanilla ice cream perfectly offsets the rich, fudgy brownies, creating a luscious balance of flavors.
-
Fresh Berries: Juicy strawberries or tart raspberries add a refreshing burst and a pop of color, enhancing both the visual and taste appeal of the dessert.
-
Chocolate Sauce: Drizzling chocolate sauce over your brownies intensifies the chocolate flavor, making each bite even more decadent and indulgent.
-
Coffee or Espresso: A warm cup of coffee complements the sweetness and richness of the brownies, creating a cozy and satisfying dessert experience.
-
Whipped Cream: Light and airy, a generous dollop of whipped cream provides a delightful contrast to the dense cheesecake brownie base, enhancing the overall texture.
-
Mint Leaves: Fresh mint garnishes not only add a touch of elegance but also introduce a refreshing flavor that elevates the indulgent chocolate and cheesecake notes.
-
Cheesecake-Swirled Ice Cream: Imagine finishing your decadent treat with a scoop of cheesecake-swirl ice cream! It harmonizes beautifully with the flavors of the brownies, making for an unforgettable dessert experience.
How to Store and Freeze Red Velvet Cheesecake Brownies
Room Temperature: Store cooled brownies in an airtight container at room temperature for up to 3 days to maintain their moist texture.
Fridge: For longer storage, keep the brownies in the fridge for up to a week. Wrap them tightly in plastic wrap or place them in an airtight container to prevent drying out.
Freezer: You can freeze these Red Velvet Cheesecake Brownies for up to 3 months. Cut them into squares, wrap each piece in plastic wrap, and then transfer to a freezer-safe bag.
Reheating: To enjoy later, thaw the brownies in the fridge overnight, then warm them gently in the microwave or at room temperature before serving for a delightful treat!
Red Velvet Cheesecake Brownies Ideas
How exciting is it to think about all the delightful twists you can add to your Red Velvet Cheesecake Brownies? Let’s get creative!
- Dairy-Free: Substitute cream cheese with a dairy-free alternative, such as cashew cream, for a rich, creamy layer that everyone can enjoy.
- Gluten-Free: Swap out all-purpose flour for a gluten-free blend, ensuring it measures the same for a deliciously adaptable treat.
- Nutty Crunch: Incorporate chopped walnuts or pecans into the brownie batter for a satisfying crunch that complements the creamy texture beautifully.
- Chocolate Chip Boost: For an extra indulgent experience, fold in chocolate chips to the brownie layer, enhancing the gooeyness and richness of each bite.
- Spiced Wonder: Add a dash of cinnamon or nutmeg to the brownie mix for a warm, comforting flavor that will surprise and delight your palate.
- Fruit Fusion: Top the cheesecake layer with fresh raspberries or strawberries before baking for a refreshing fruity twist that contrasts beautifully with the rich chocolate.
- Vegan Version: Replace eggs with unsweetened applesauce and use a vegan cream cheese alternative to craft a decadent vegan dessert everyone will love.
- Extra Swirl: For a vibrant marbling effect, consider swirling in some raspberry or strawberry puree into the cheesecake layer before baking—it adds an exciting flavor dimension!
These variations are not only a fun way to personalize your brownies, but they also open up a world of delicious combinations that can make every occasion special. Whether you’re indulging on your own or sharing at a gathering, don’t hesitate to tailor this recipe to your taste. Happy baking!
Expert Tips for Red Velvet Cheesecake Brownies
-
Butter Perfection: Always melt the butter for a smooth batter. This ensures that it blends thoroughly for that luxurious texture in your Red Velvet Cheesecake Brownies.
-
Gentle Mixing: Avoid overmixing after adding flour; this helps maintain the tender, fudgy texture of the brownies.
-
Cream Cheese Temperature: Use room temperature cream cheese to eliminate lumps and achieve a smooth cheesecake layer, enhancing the overall presentation.
-
Swirling Technique: When swirling, be mindful not to overdo it! A few gentle strokes will create beautiful marbling without blending the layers completely.
-
Check for Doneness: Use a toothpick to test for doneness—look for moist crumbs but not wet batter. This ensures your brownies are perfectly baked!
Make Ahead Options
These Red Velvet Cheesecake Brownies are a fantastic choice for busy home cooks looking to streamline dessert preparation! You can prepare the brownie layer and cheesecake filling up to 24 hours in advance. Simply follow steps 1 through 6, then cover the prepared brownie with cream cheese filling and refrigerate overnight. When you’re ready to serve, bake them as instructed, adding just a bit of extra time if they are coming straight from the fridge. To maintain quality, ensure they’re well-covered to prevent drying out. With these make-ahead tips, your decadent brownies can be ready with minimal last-minute effort—just slice and enjoy!
Red Velvet Cheesecake Brownies Recipe FAQs
How do I know if my ingredients are ripe or suitable?
Absolutely! When choosing cream cheese, make sure it’s at room temperature for a smooth cheesecake layer. For the eggs, fresh ones work best. If your red food coloring has settled or separated, give it a good shake before using to avoid uneven coloring in your brownies.
What’s the best way to store leftovers?
To keep your Red Velvet Cheesecake Brownies fresh, store them in an airtight container at room temperature for up to 3 days. If you want them to last longer, refrigerate for up to a week, ensuring they are tightly wrapped to retain moisture.
Can I freeze these brownies?
Very! To freeze, cut the cooled brownies into squares, wrap each piece in plastic wrap, and place them in a freezer-safe bag. They can be frozen for up to 3 months. When you’re ready to enjoy them, thaw in the fridge overnight and warm slightly before serving.
What if my brownies come out too dry or dense?
If your brownies turn out dry, it might be due to overmixing the batter after adding the flour. Be sure to fold in the flour gently until just combined to maintain that tender texture. Also, check your oven temperature with a thermometer to ensure it’s accurate, as baking too hot can lead to overbaking.
Are these brownies safe for people with allergies?
Keep in mind that these brownies contain common allergens like eggs and dairy. If you or a guest has a dairy allergy, consider using a dairy-free cream cheese alternative and egg replacer for the cheesecake layer. Always double-check ingredient labels to ensure they accommodate all dietary needs.
Irresistible Red Velvet Cheesecake Brownies for Sweet Delights
Ingredients
Equipment
Method
- Preheat your oven to 350°F (175°C) and prepare your baking pan.
- Mix together the melted butter, granulated sugar, vanilla extract, unsweetened cocoa powder, red food coloring, and white vinegar.
- Incorporate the eggs one at a time, beating well after each addition.
- Fold in the all-purpose flour and a pinch of salt until just combined.
- Pour most of the brownie batter into the lined pan, reserving about 1/4 cup for later.
- Beat the cream cheese, granulated sugar, egg, and vanilla extract until smooth and creamy for the cheesecake layer.
- Spread the cream cheese mixture over the brownie layer evenly.
- Drop spoonfuls of the reserved brownie batter on top of the cream cheese layer.
- Gently swirl the brownie batter with the cheesecake layer using a knife or skewer.
- Bake for 30–35 minutes or until a toothpick comes out with a few moist crumbs.
- Allow to cool completely before removing and cutting into squares.
Leave a Reply