
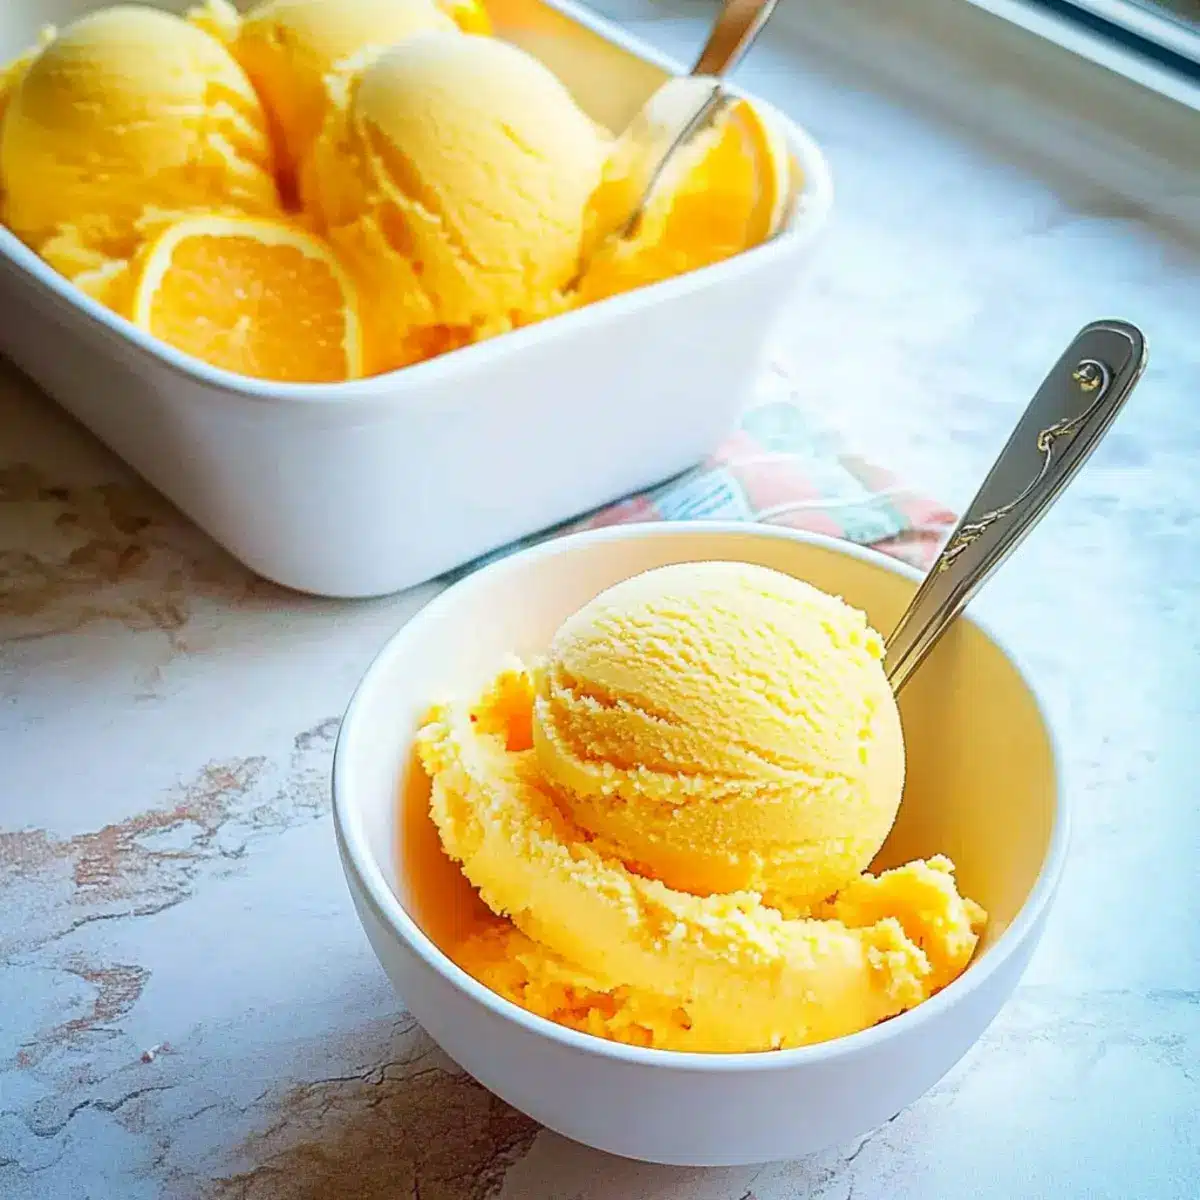
As I stood in my kitchen, the sun streaming through the window, I couldn’t help but smile at the vibrant oranges before me. The allure of transforming these juicy fruits into a refreshing homemade Orange Sherbet filled the air with anticipation. This delightful dessert is not only an ideal way to cool off on a hot summer day, but it’s also a breeze to whip up in just 30 minutes with simple, wholesome ingredients. The creamy texture paired with the bright, zesty flavor makes it a perfect treat for both kids and adults alike. Plus, with its lighter profile, you can indulge without the guilt! Are you ready to bring a bit of summer joy into your home with this easy recipe? Let’s dive in!
Why is Homemade Orange Sherbet a Winner?
Simplicity: With just a few common ingredients, this Orange Sherbet can be made in around 30 minutes, making it perfect for busy summer days.
Vibrant Flavor: Freshly squeezed oranges bring a burst of citrus goodness that’s both refreshing and delightful.
Creamy Texture: The combination of milk and heavy cream results in a smooth, rich texture that melts beautifully in your mouth.
Guilt-Free Indulgence: At just 196 calories per serving, this is a light yet satisfying dessert that won’t weigh you down.
Versatile Options: Feel free to swap oranges for lemons or limes for a new twist on this classic—experimentation is encouraged!
Enjoy serving this delightful treat to your family as a refreshing end to any meal; it’s sure to become a cherished favorite. Don’t forget to check out my other homemade dessert ideas for more summer fun!
Orange Sherbet Ingredients
A delightful mix for your homemade treat!
For the Sherbet Base
• Freshly Squeezed Orange Juice – Provides the primary flavor for the sherbet; opt for fresh to enhance taste.
• Granulated Sugar – Adds sweetness to balance the tartness of the orange juice.
• Orange Zest – Intensifies the orange flavor; make sure to use fresh zest for the best results.
• Kosher Salt – Enhances all the flavors in the sherbet; use sparingly to avoid overpowering.
• Vanilla Extract – Adds depth and richness; consider using pure vanilla for the boldest flavor.
• Milk – Contributes creaminess to the texture; can be substituted with any milk variant per your preference.
• Heavy Whipping Cream – Adds richness and a smooth texture; for a lighter version, swap with half-and-half.
Get ready to savor your homemade Orange Sherbet that’s sure to bring joy to your kitchen!
Step‑by‑Step Instructions for Orange Sherbet
Step 1: Whisk Together Ingredients
In a large mixing bowl, combine freshly squeezed orange juice, granulated sugar, orange zest, kosher salt, and vanilla extract. Use a whisk to blend these ingredients thoroughly until the sugar dissolves completely, which should take about 2-3 minutes. You’ll know it’s ready when the mixture flows smoothly without granules of sugar.
Step 2: Add Dairy Components
Next, stir in both the milk and heavy whipping cream into the orange mixture. Mix well using a spatula or wooden spoon until there are no visible streaks and everything is well combined, about 1-2 minutes. The color will brighten, reflecting the vibrant citrus essence of the Orange Sherbet you’re about to create.
Step 3: Prepare Ice Cream Maker
Pour the well-mixed orange base into your ice cream maker’s bowl. Ensure that your machine is assembled and chilled according to the manufacturer’s instructions for optimal results. Prepare to churn the mixture until it thickens, which will take approximately 20-30 minutes. Keep an eye out for that soft-serve consistency!
Step 4: Transfer to Freezer Container
Once the Orange Sherbet has reached a satisfying consistency, pause the ice cream maker and transfer the sherbet into a freezer-safe container. Use a spatula to pack it down gently, smoothing the top for an even freeze. Cover the container tightly with plastic wrap, ensuring no air can enter, which helps prevent pesky ice crystals.
Step 5: Freeze Until Firm
Place the covered container in the freezer for at least 4 hours or overnight for the best results. This step allows the flavors to meld beautifully and achieves the perfect solid consistency for scooping. When ready to serve, the sherbet should be firm yet scoopable, just like your favorite store-bought treats!
Step 6: Serve and Enjoy
When you’re set to enjoy your homemade Orange Sherbet, scoop it into chilled bowls for an extra refreshing touch. Consider garnishing with a slice of fresh orange or a sprig of mint for a beautiful presentation. Feel free to indulge with friends and family, sharing the bright, cheerful flavor that only homemade Orange Sherbet can offer!
What to Serve with Homemade Orange Sherbet
Brighten up your summer meals with delightful pairings that complement the refreshing zing of this creamy dessert.
- Fresh Fruit Salad: A medley of seasonal fruits offers a burst of color and natural sweetness, enhancing the citrusy notes of the sherbet. Serve it as a refreshing side or even a light breakfast.
- Crisp Mint Chips: Thin chocolate mint wafers introduce a delightful crunch that beautifully contrasts the creamy texture of the sherbet. They make for an elegant garnish, perfect for impressing guests.
- Lemon Pound Cake: The dense, buttery texture of a classic lemon pound cake balances the lightness of the sherbet while harmonizing its citrus flavors. A slice alongside is a perfect duo for afternoon tea.
- Coconut Macaroons: The chewy sweetness of coconut macaroons pairs brilliantly with the sherbet, creating a tropical vibe that transports you to sunny beaches with every bite.
- Iced Green Tea: A refreshing glass of lightly sweetened iced green tea provides a subtle herbal note that refreshes your palate without overpowering the dessert.
- Sparkling Water with Lime: For a jazzy non-alcoholic option, serve fizzy sparkling water with a hint of lime. It’s lively and refreshing without competing for attention with the sherbet.
- Chocolate-Covered Strawberries: The rich chocolate contrasts with the zesty sherbet, making for a delightful experience that’s indulgent yet refreshing. A lovely option for summer celebrations.
- Almond Biscotti: Crunchy almond biscotti are perfect for dipping into the creamy sherbet, adding a satisfying texture that complements the dessert’s smoothness.
- Rum Punch: If you’re looking for an adult pairing, a refreshing rum punch enhances the tropical vibes of the sherbet with its fruity undertones, making it a festive choice.
- Vanilla Wafer Crust: Transform the sherbet into a pie with a vanilla wafer crust—it’s an unexpected yet delicious way to enjoy your favorite flavors together!
Make Ahead Options
These homemade Orange Sherbet treats are fantastic for meal prep, saving you time during busy summer days! You can prepare the orange base mixture—combining the freshly squeezed orange juice, sugar, zest, salt, and vanilla—up to 24 hours in advance. Simply store it in an airtight container in the refrigerator. Additionally, you can churn the sherbet and freeze it for up to 3 days; just make sure to cover it tightly with plastic wrap to prevent ice crystals from forming. When you’re ready to enjoy, simply scoop the sherbet into bowls and garnish with a slice of fresh orange or a mint sprig for a delightful presentation. This way, you’ll have a refreshing dessert at hand with minimal effort!
How to Store and Freeze Orange Sherbet
Fridge: Store any leftover Orange Sherbet in an airtight container in the fridge for up to 3 days for a refreshingly cold treat.
Freezer: For long-term storage, keep your Orange Sherbet in a freezer-safe container for up to 2 weeks. Make sure it’s tightly sealed to avoid ice crystals.
Reheating: If your sherbet is too hard to scoop, let it sit at room temperature for about 5-10 minutes to soften before serving.
Serving Tip: Always serve your Orange Sherbet in chilled bowls for that extra refreshing experience!
Expert Tips for Perfect Orange Sherbet
-
Use Fresh Ingredients: Always opt for freshly squeezed orange juice and zest to ensure the brightest, most vibrant flavor in your Orange Sherbet.
-
Avoid Sugar Granules: Whisk the mixture thoroughly until the sugar dissolves completely. This prevents any gritty texture when you enjoy your creamy sherbet.
-
Check Ice Cream Maker Instructions: Each ice cream maker functions differently; be attentive to your specific machine’s timing and churning recommendations for the best texture.
-
Prevent Ice Crystals: Cover your freezer container tightly with plastic wrap after filling to avoid ice crystal formation, ensuring a smooth, creamy Orange Sherbet.
-
Experiment with Flavors: Don’t be afraid to swap out the orange juice for lemon, lime, or grapefruit juice for a delightful twist on your homemade treat!
Orange Sherbet Variations & Substitutions
Feel free to explore creative twists on your delightful Orange Sherbet to suit your taste preferences and dietary needs!
- Citrus Swap: Replace orange juice and zest with lime juice for a refreshing lime sherbet that packs a tangy punch.
- Berry Bliss: Add pureed strawberries or raspberries to the base for a fruity fusion that complements the citrus beautifully.
- Dairy-Free Delight: Substitute milk and cream with coconut milk for a creamy and exotic tropical flavor that everyone can enjoy.
- Zesty Lemon: Switch the orange for freshly squeezed lemon juice and zest for a bright, tangy treat that sings of summer.
- Grapefruit Goodness: Marvel at the unique taste by using grapefruit juice instead of orange; it’s a refreshing twist with a hint of bitterness.
- Creamy Twist: For an ultra-rich experience, increase the heavy cream by 1/4 cup for an even silkier texture.
- Minty Fresh: Stir in some finely chopped fresh mint leaves into the mixture before churning for an aromatic lift that complements the citrus.
- Heat It Up: If you crave some spice, a pinch of cayenne pepper can add a surprising warmth that contrasts delightfully with the cool sherbet.
The options are endless, so let your creativity shine! And if you’re looking for more chilled treats, don’t forget to check out my other homemade dessert ideas like Lemon Sorbet or Berry Ice Cream for more refreshing fun!

Orange Sherbet Recipe FAQs
What type of oranges should I use for the best flavor?
Absolutely! For the best results, I recommend using freshly squeezed navel oranges, as they are sweet and juicy. Avoid using oranges with dark spots all over, as this may indicate they are past their prime.
How should I store leftover Orange Sherbet?
You can keep your leftover Orange Sherbet in an airtight container in the fridge for up to 3 days. However, for long-term storage, transfer it to a freezer-safe container where it will stay fresh for up to 2 weeks. Just make sure the container is sealed tightly to prevent ice crystals from forming!
Can I freeze this Orange Sherbet? How?
Yes, you can! To freeze your Orange Sherbet, simply transfer it to a freezer-safe container after churning. Cover it tightly with plastic wrap before sealing with a lid. It’s essential to minimize air exposure, which helps prevent ice crystals from forming. Freeze for at least 4 hours or overnight until it is fully set.
What should I do if my Orange Sherbet has ice crystals?
If you find your sherbet has ice crystals, it’s likely due to air exposure during the freezing process. To minimize this in the future, ensure the container is tightly sealed. If you still encounter ice crystals, consider re-churning it in the ice cream maker for a few minutes to smooth it out before serving, or enjoy it as is for a unique texture!
Is this recipe safe for people with dairy allergies?
While this Orange Sherbet is dairy-based, there are alternatives. You can substitute the milk and heavy cream with non-dairy milk (like almond or coconut) and coconut cream for a delicious dairy-free version. Just be sure to check for any cross-contamination on the products you choose if allergies are a concern.
Creamy Orange Sherbet: Your Ultimate Summer Delight
Ingredients
Equipment
Method
- Whisk together freshly squeezed orange juice, granulated sugar, orange zest, kosher salt, and vanilla extract in a bowl until the sugar dissolves completely.
- Stir in milk and heavy whipping cream until well combined.
- Pour the mixture into your ice cream maker's bowl and churn until thickened, about 20-30 minutes.
- Transfer the sherbet into a freezer-safe container and smooth the top.
- Cover tightly and freeze for at least 4 hours or overnight.
- Scoop into chilled bowls and serve.
Leave a Reply