
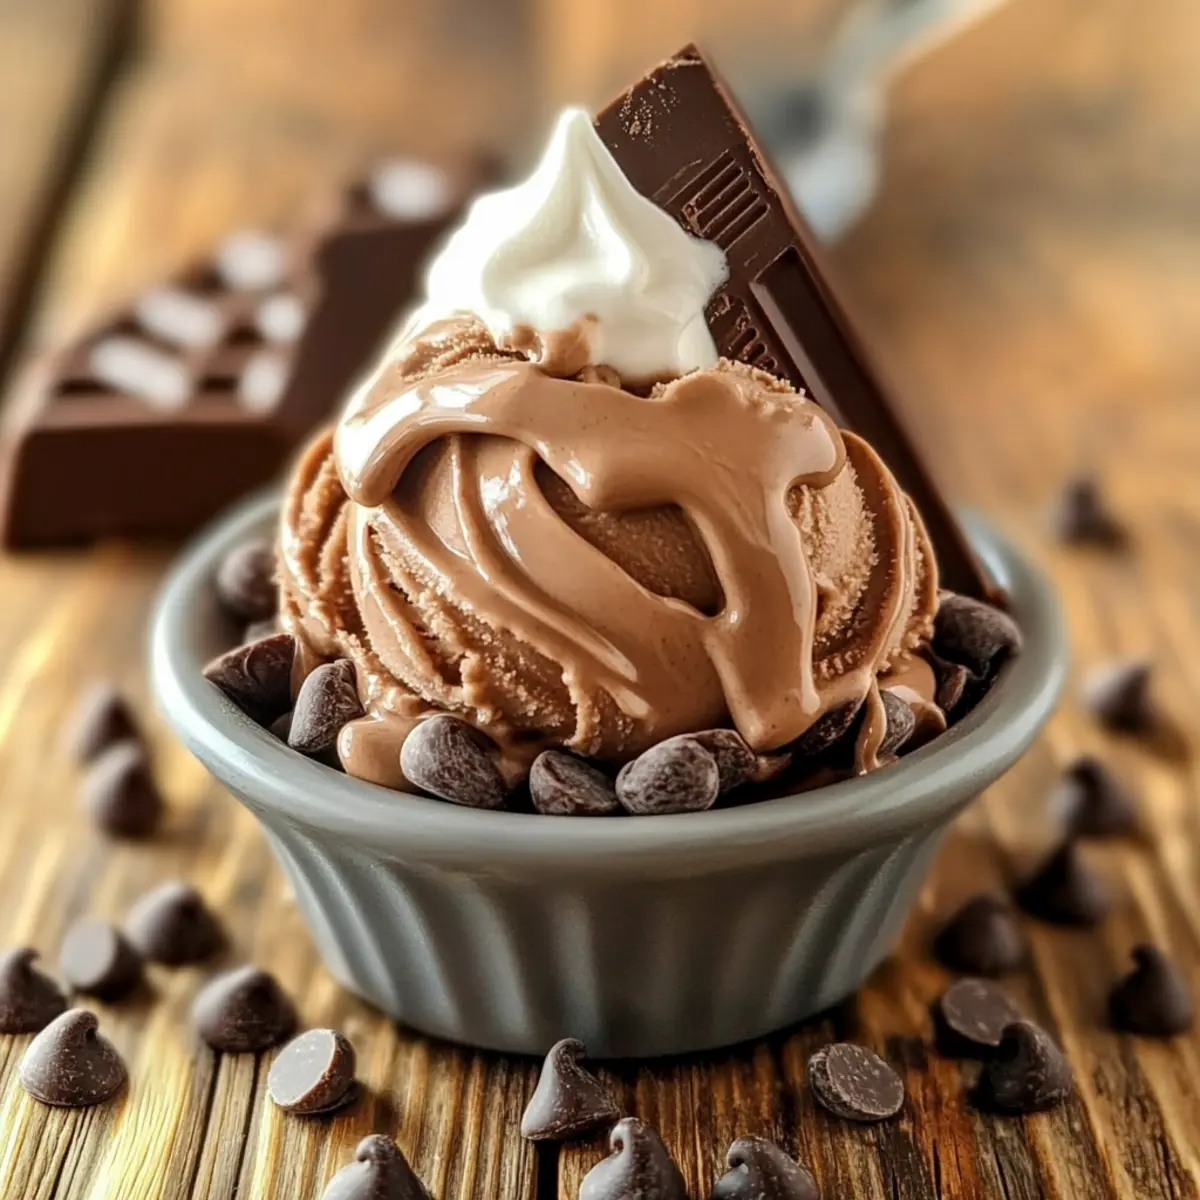
As the sun sets on another summer evening, I find myself craving a sweet escape—a cool treat that embodies nostalgia with every creamy bite. That’s where this Indulgent Homemade Chocolate Ice Cream comes in, perfect for satisfying those chocolate cravings without the fuss of an ice cream maker. It’s astonishing how easy it is to whip up this gluten-free dessert, requiring just a handful of simple ingredients you likely already have on hand. Quick to prepare and utterly delightful, it brings joy on hot days and gives your loved ones a reason to gather around the table. Ready to dive into a bowl of pure bliss this season? Let’s get started!
Why is this chocolate ice cream special?
Homemade Delight: There’s nothing quite like the smooth richness of homemade chocolate ice cream made with real ingredients, offering a taste that store-bought varieties can’t match.
No Maker Needed: Enjoy the freedom of creating this gluten-free dessert without any fancy equipment! Just some mixing and patience lead to a deliciously creamy treat.
Versatile Flavors: Add a twist with optional ingredients like mashed banana for a chocolate banana variation or elevating it with peanut butter swirls for a uniquely delectable experience.
Crowd Pleaser: Perfect for gatherings, this ice cream is sure to impress friends and family alike. Spoon up the joy and make summer memories!
Quick and Easy: In just a few steps, you can whip up this indulgent treat. Excited to explore more desserts? Check out our Hot Chocolate Poke cake for another comforting chocolate option!
Chocolate Ice Cream Ingredients
• Dive into the creamy world of Chocolate Ice Cream with these straightforward ingredients.
For the Base
- Milk – Adds creaminess; whole milk gives a richer flavor, while low-fat lightens it up.
- Sugar – Sweetens the mix; you can use honey or agave for a natural alternative.
- Cocoa Powder – The key to chocolate flavor; ensure it’s gluten-free and try Dutch-processed for depth.
- Salt – Balances sweetness; a pinch goes a long way!
- Heavy Cream – Provides a luscious texture; coconut cream works well for a dairy-free treat.
- Vanilla Extract – Enhances flavor; consider vanilla bean paste for an extra kick!
For the Mix-Ins
- Chocolate Chips – Infuses additional chocolate flavor and texture; swap for dark or white chocolate for fun variations.
- Mashed Banana (optional) – Adds natural sweetness and smoothness for a chocolate banana sensation.
Indulge in this delightful homemade chocolate ice cream that is not only easy to make but also a guaranteed hit at any gathering!
Step‑by‑Step Instructions for Indulgent Homemade Chocolate Ice Cream
Step 1: Whisk the Base
In a large mixing bowl, combine 2 cups of milk, 3/4 cup sugar, 1 cup cocoa powder, and a pinch of salt. Using a whisk, stir vigorously for about 2-3 minutes until the mixture is completely smooth and free of lumps. You want a rich, chocolatey base with a glossy finish, setting the stage for that indulgent homemade chocolate ice cream.
Step 2: Add Cream and Vanilla
Next, incorporate 1 cup of heavy cream and 1 teaspoon of vanilla extract into your chocolate mixture. Stir gently for another 2 minutes, ensuring everything is well-blended. Take a moment to taste the mix; if you desire more sweetness, adjust it to your liking. The blend should be creamy and fragrant, perfect for your chocolate ice cream adventure.
Step 3: Chill the Mixture
Cover the bowl with plastic wrap and place it in the refrigerator for at least 30 minutes. This allows the flavors to meld beautifully and the mixture to chill thoroughly. After chilling, it should feel cool to the touch and ready for the next step, ensuring a smoother texture in your final chocolate ice cream.
Step 4: Prepare for Freezing
If you have an ice cream maker, pour the chilled mixture into the ice cream maker and churn according to the manufacturer’s instructions for about 20-25 minutes. The ice cream should thicken to a soft-serve consistency, looking fluffy and inviting. If you don’t have an ice cream maker, proceed to the next step.
Step 5: Freeze Without an Ice Cream Maker
If you’re making this indulgent homemade chocolate ice cream without an ice cream maker, pour the mixture into a shallow baking dish. Place it in the freezer and stir vigorously with a fork every 30 minutes for up to 4 hours. This constant stirring will help break up ice crystals, creating a smoother texture.
Step 6: Add Mix-Ins
Once your ice cream is nearly set after the stirring phase, fold in 1/2 cup of chocolate chips or 1 mashed banana for a delightful twist. Mixing these in will add texture and additional chocolate flavor, elevating your already delicious chocolate ice cream to a whole new level of indulgence.
Step 7: Final Freeze
Transfer your mixture back into the freezer for an additional 4 hours (or until firm). When ready, it should be firm and scoopable, perfect for serving. The color will deepen, and the texture will feel incredibly creamy, making it the ultimate dessert to enjoy during those warm summer nights.
Step 8: Serve Your Creation
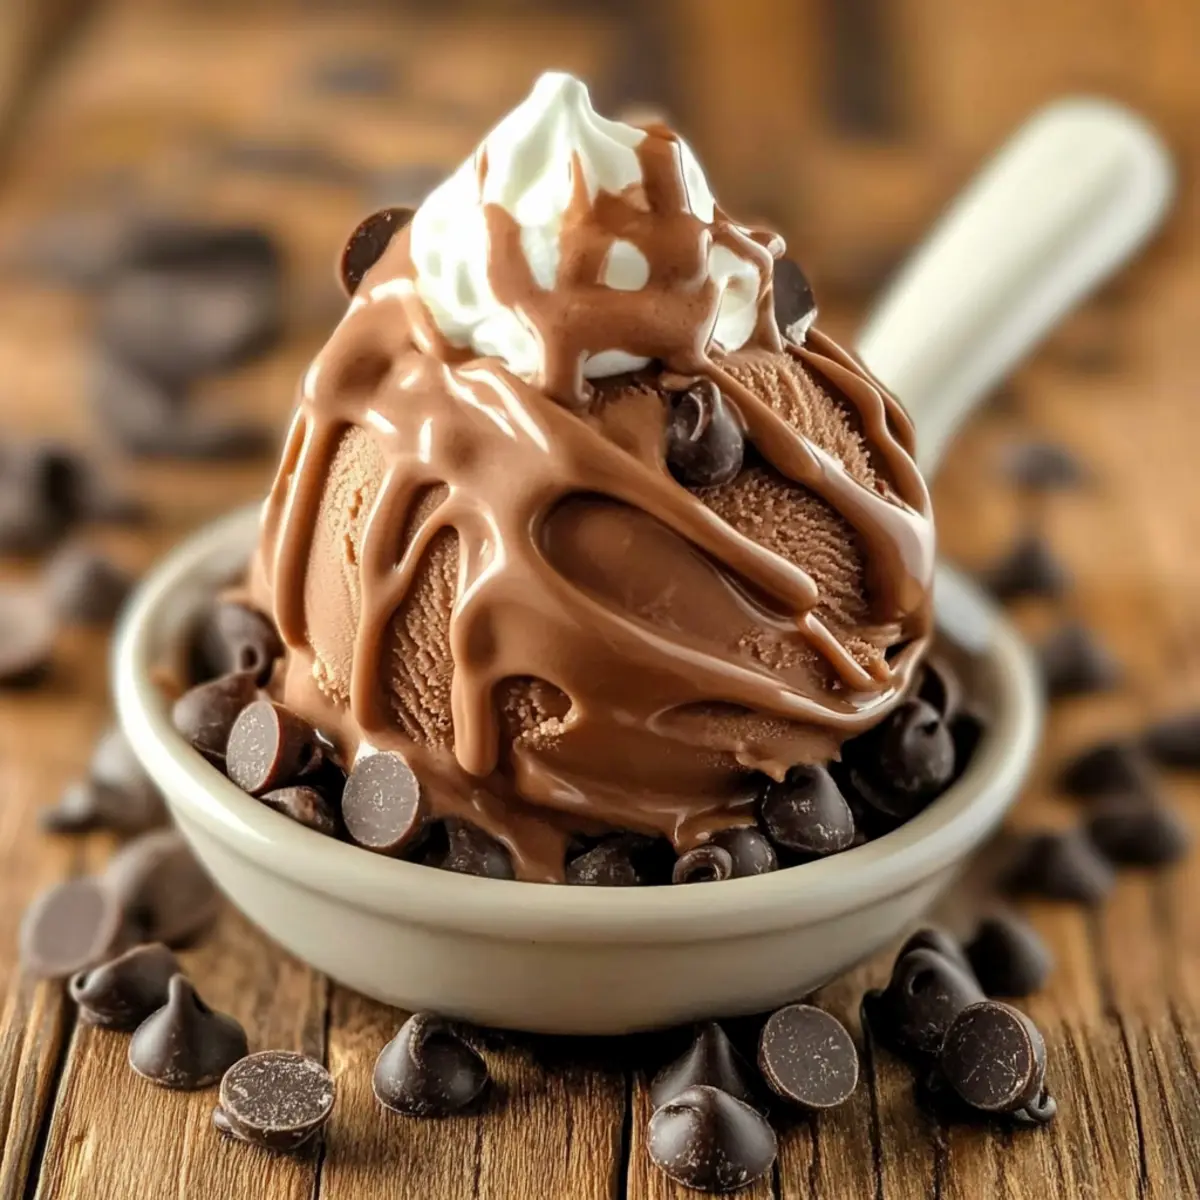
To serve your indulgent homemade chocolate ice cream, scoop it into chilled bowls. Consider garnishing with a sprinkle of cocoa powder or chocolate shavings for an extra touch. Each bite will be a nostalgic reminder of summer, sure to thrill family and friends alike.
What to Serve with Indulgent Homemade Chocolate Ice Cream?
Treat your loved ones to a meal that perfectly complements this chocolatey delight for an unforgettable summer evening.
- Fresh Berries: Their natural sweetness and acidity create a beautiful contrast with the rich chocolate, refreshing your palate with each bite.
- Warm Chocolate Cake: A decadent cake served warm enhances the chocolate experience, creating a blissful, melting harmony of flavors in your mouth.
- Crushed Graham Crackers: These add a delightful crunch, mimicking a traditional crust and introducing a comforting textures and flavors that are reminiscent of s’mores.
- Chocolate Sauce Drizzle: An extra layer of velvety chocolate makes every scoop even more indulgent; consider using white chocolate for a marvelous visual pop.
- Mint Tea: This soothing herbal tea offers a gentle, refreshing counterpoint to the richness of the ice cream, perfect for winding down.
- Whipped Cream: Light and fluffy, whipped cream adds an airy texture that balances the dense chocolate ice cream beautifully, making each spoonful delightful.
- Peanut Butter Cookies: Sweet and nutty, these cookies give a satisfying crunch and complement the chocolate flavor in an unexpected yet delicious way.
- Coconut Macaroons: Chewy and sweet, these cookies introduce a tropical twist that pairs wonderfully with the deep cocoa notes of the ice cream.
Make Ahead Options
These indulgent homemade chocolate ice cream treats are perfect for meal prep enthusiasts! You can prepare the base by whisking together the milk, sugar, cocoa powder, and salt up to 24 hours in advance; simply refrigerate it in an airtight container. Also, the mixture can be chilling while you organize your busy week ahead. When ready to indulge, churn the mixture in your ice cream maker or follow the no-machine method, stirring every 30 minutes. For optimal quality, gently fold in your mix-ins like chocolate chips or mashed banana just before serving, ensuring that each scoop remains as delicious as if you made it fresh that day!
Chocolate Ice Cream Variations
Feel free to unleash your creativity with this delightful chocolate ice cream! Each variation offers a chance for new flavors and experiences.
- Banana Bliss: Add 1 mashed banana to make a creamy chocolate-banana delight. The natural sweetness enhances the chocolate flavor beautifully.
- Nutty Twist: Swirl in peanut butter or almond butter before freezing for a rich, nutty flavor. Each spoonful will have a delightful crunch and a creamy texture that lingers.
- Fruit Fusion: Incorporate finely chopped strawberries or raspberries for a fruity burst that contrasts perfectly with the rich chocolate. It adds a refreshing sweetness that beckons for more!
- Spicy Surprise: A dash of cayenne pepper can elevate your chocolate experience with a subtle warmth that dances on the palate. Experiment with just a pinch to find your perfect heat level.
- Seasonal Sensation: Swap cocoa powder for seasonal flavored powders like matcha or pumpkin spice. Imagine savoring a pumpkin spice chocolate ice cream in the autumn!
- Decadent Chocolate Chunk: Replace chocolate chips with dark chocolate chunks for an intensified chocolate experience. Each bite turns into a treasure hunt for rich, delicious surprises.
- Cookie Crunch: Fold in crushed gluten-free cookies like Oreos for a delightful textural twist. It adds a sweet crunch that will have everyone reaching for seconds.
The possibilities are endless, and with flexible variations, you’re sure to discover a combination that becomes your new favorite. If you’re looking for another comforting chocolate treat, don’t forget to check out our Decadent Chocolate Strawberry Overnight Oats for a delectable breakfast option!
Expert Tips for Chocolate Ice Cream
• Smooth Base: Ensure there are no lumps in the mixture by whisking well. This guarantees a silky-smooth chocolate ice cream that’s delightful to enjoy!
• Mixing Patience: When churning without an ice cream maker, stir every 30 minutes to prevent ice crystals. This step is key for a creamy texture!
• Storage Solution: To maintain freshness and prevent ice crystals from forming in your chocolate ice cream during storage, lay parchment paper directly on the surface before sealing.
• Taste Test: Before freezing, taste your mixture! Adjust sweetness as needed; a touch of extra sugar can enhance the richness.
• Flavor Upgrades: Use high-quality cocoa powder or experiment with flavored powders like matcha for a unique twist on your chocolate ice cream.
How to Store and Freeze Chocolate Ice Cream
Fridge: Store leftover chocolate ice cream in an airtight container for up to 3 days if you prefer it slightly softer.
Freezer: For long-term storage, place it in a well-sealed container in the freezer for up to 2 weeks. Ensure the surface is covered with parchment paper to prevent ice crystals.
Reheating: To return the chocolate ice cream to a scoopable consistency, let it sit at room temperature for 5-10 minutes before serving. This allows the textures to revive for a creamy experience.
Serving Suggestions: When ready to enjoy, spoon your frozen treats into chilled bowls and consider garnishing with whipped cream for an extra touch of indulgence.
Chocolate Ice Cream Recipe FAQs
How do I select the perfect cocoa powder for my chocolate ice cream?
Absolutely! For the richest flavor, I recommend using Dutch-processed cocoa powder, which has a smooth and mellow taste. When selecting, look for brands that specify “gluten-free” to ensure suitability for all dietary needs. If you want a more intense chocolate experience, opt for high-quality, unsweetened cocoa powder for the best results.
How long can I store the chocolate ice cream in the freezer?
Your homemade chocolate ice cream can be stored in an airtight container in the freezer for up to 2 weeks. To ensure optimal freshness and prevent ice crystals, always cover the surface with parchment paper before sealing the container. This little trick goes a long way in preserving the creamy texture you’ve worked hard to achieve!
Can I freeze chocolate ice cream if I don’t have an ice cream maker?
Very! If you’re making this without an ice cream maker, pour the mixture into a shallow baking dish and freeze it. Stir it vigorously with a fork every 30 minutes for up to 4 hours to break up any ice crystals that form. This method will help you get that soft, creamy texture we all love in homemade treats!
What can I do if my chocolate ice cream turns out too icy?
Don’t worry! If your chocolate ice cream has developed some ice crystals, you can try a couple of things to salvage it. First, blend the mixture in a food processor or blender until smooth; this incorporates air and can help with texture. You can also let it sit at room temperature for about 10 minutes before serving, which will soften it and make it easier to scoop.
Is this chocolate ice cream safe for people with dairy allergies?
While this recipe contains dairy, you can easily adapt it to be dairy-free! Substitute the heavy cream with coconut cream and use lactose-free milk to create a delicious alternative that retains creaminess without the dairy. Always check labels on cocoa powder and any mix-ins to ensure they align with your dietary needs.
How can I enhance the flavor of my chocolate ice cream?
I often elevate my chocolate ice cream by incorporating flavor twists! Adding a teaspoon of espresso powder into your mixture enhances the chocolate flavor beautifully. You can also swirl in some nut butter or caramel right before the final freeze for a delicious surprise. The more, the merrier—explore and enjoy!
Creamy Homemade Chocolate Ice Cream You'll Want Every Day
Ingredients
Equipment
Method
- In a large mixing bowl, combine 2 cups of milk, 3/4 cup sugar, 1 cup cocoa powder, and a pinch of salt. Whisk vigorously for 2-3 minutes until smooth.
- Incorporate 1 cup of heavy cream and 1 teaspoon of vanilla extract into your chocolate mixture. Stir gently for another 2 minutes.
- Cover the bowl with plastic wrap and place it in the refrigerator for at least 30 minutes.
- If you have an ice cream maker, pour the chilled mixture into it and churn for 20-25 minutes.
- If not using an ice cream maker, pour the mixture into a shallow baking dish. Freeze and stir vigorously every 30 minutes for up to 4 hours.
- Once the ice cream is nearly set, fold in 1/2 cup of chocolate chips or 1 mashed banana.
- Transfer back into the freezer for an additional 4 hours or until firm.
- To serve, scoop into chilled bowls and garnish as desired.
Leave a Reply