
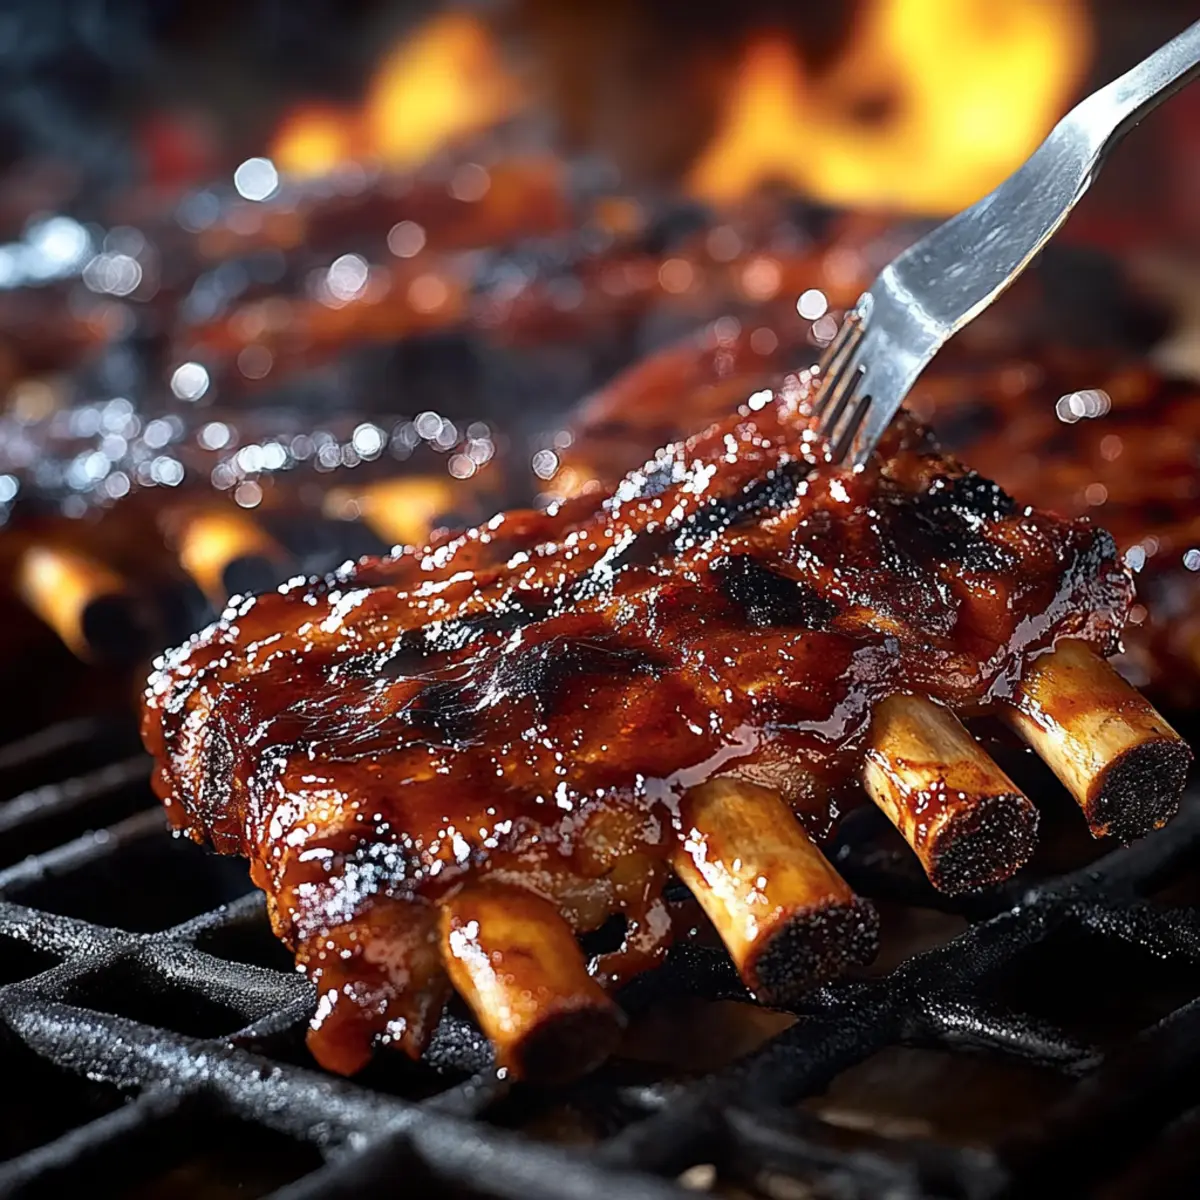
The aroma of grilled meat wafting through the air always sparks a sense of nostalgia for me—reminding me of summer barbecues filled with laughter and delicious food. Today, I’m excited to share my recipe for Grilled Ribs, a dish that embodies that sweet and smoky summer delight we all adore. This recipe not only makes the perfect centerpiece for your next outdoor gathering but also simplifies the process, allowing you to savor the joy of cooking while impressing your guests. With a sticky glaze that clings beautifully to tender meat, these grilled ribs are guaranteed to be a hit at any dinner table. Plus, they can be easily adapted whether you prefer baby back or spare ribs, offering flexibility and flavor. Curious about how to achieve that mouthwatering finish? Let’s dive into the details!
Why Are These Grilled Ribs a Must-Try?
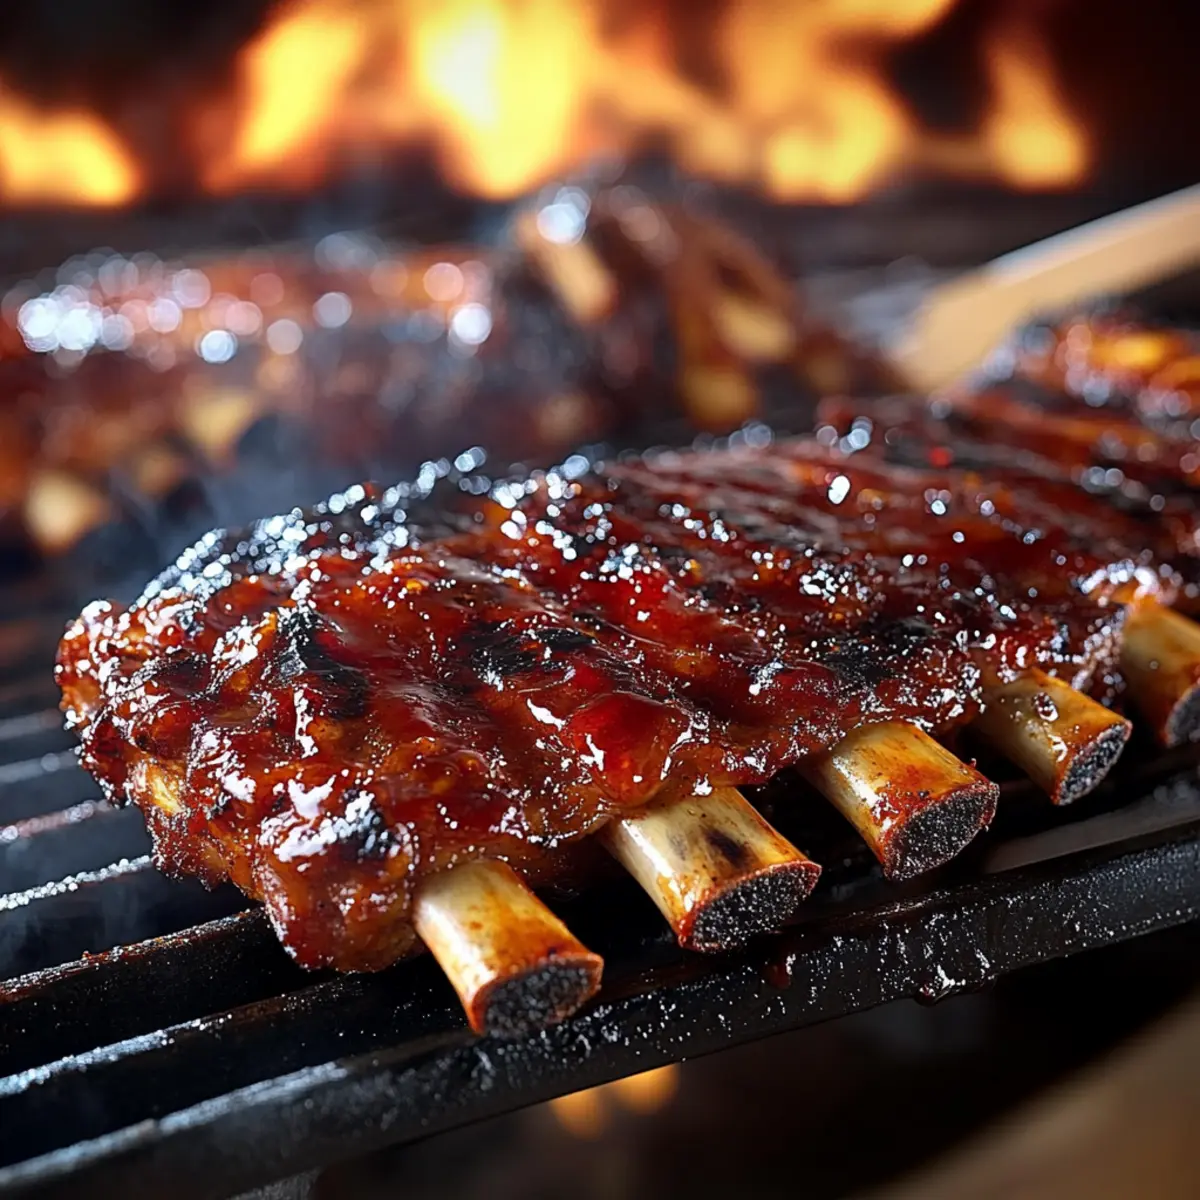
Mouthwatering Flavor: These ribs are infused with a sweet and smoky profile that’s simply irresistible. Each bite boasts a rich caramelized crust, complementing the juicy meat inside.
Easy Preparation: This recipe keeps it simple; you’ll master the art of grilling with just a few steps.
Versatile Cooking Options: Whether you choose baby back or spare ribs, you’ll have a dish tailored to your taste.
Crowd Pleaser: Perfect for gatherings, these ribs are sure to impress and satisfy any barbecue lover.
Perfect for Leftovers: They store beautifully, allowing you to enjoy that smoky goodness even after the grill party ends. Don’t forget to pair your meal with refreshing sides like a green salad or slaw for a balanced feast!
Grilled Ribs Ingredients
For the Ribs
• Baby Back or Spare Ribs – Choose baby back for tenderness or spare ribs for a richer flavor.
For the Marinade
• Brown Sugar – Adds sweetness; substitute with coconut sugar for a lower glycemic option.
• Soy Sauce – Provides umami flavor; use tamari for a gluten-free alternative.
• Apple Cider Vinegar – Balances sweetness with acidity; lemon juice can work in a pinch.
• Garlic Powder – Brings depth to the marinade; fresh minced garlic can enhance the flavor.
For the Dry Rub
• Paprika – Adds color and smokiness; smoked paprika intensifies the flavor.
• Onion Powder – Contributes to the complexity of flavor.
• Black Pepper, Salt – Essential for seasoning; adjust to taste.
• Chili Powder – Offers a touch of heat; adjust based on your spice preference.
For the Sauce
• Barbecue Sauce – Use your favorite store-bought or homemade sauce for a sticky finish that perfectly complements the grilled ribs.
Step‑by‑Step Instructions for Perfectly Grilled Ribs
Step 1: Prepare the Marinade
In a mixing bowl, combine brown sugar, soy sauce, apple cider vinegar, and garlic powder to create a flavorful marinade for your grilled ribs. Stir until the sugar dissolves, then coat the ribs generously. Cover with plastic wrap and let them marinate in the refrigerator for 30 to 60 minutes, allowing the flavors to soak into the meat.
Step 2: Apply Dry Rub
Once the ribs have marinated, remove them from the fridge and pat them dry with paper towels. In a separate bowl, mix paprika, onion powder, black pepper, salt, and chili powder. Generously apply this dry rub all over the ribs, ensuring even coverage. This step enhances flavor and helps form a delicious crust during grilling.
Step 3: Preheat Grill
Prepare your grill by setting it to a low heat, around 250°F (121°C), for ideal grilling conditions. This steady, low temperature will ensure that the grilled ribs cook evenly and become tender. Allow the grill to preheat for about 10-15 minutes, ensuring the grates are clean and ready for the meat.
Step 4: Grill Ribs
Place the ribs on the grill, bone side down. Sear them on high heat for 5–7 minutes to develop a nice crust. After searing, reduce the heat to medium-low and cover the grill. Cook the ribs for about 1.5 hours, occasionally flipping them for even cooking while monitoring the internal temperature.
Step 5: Check for Doneness
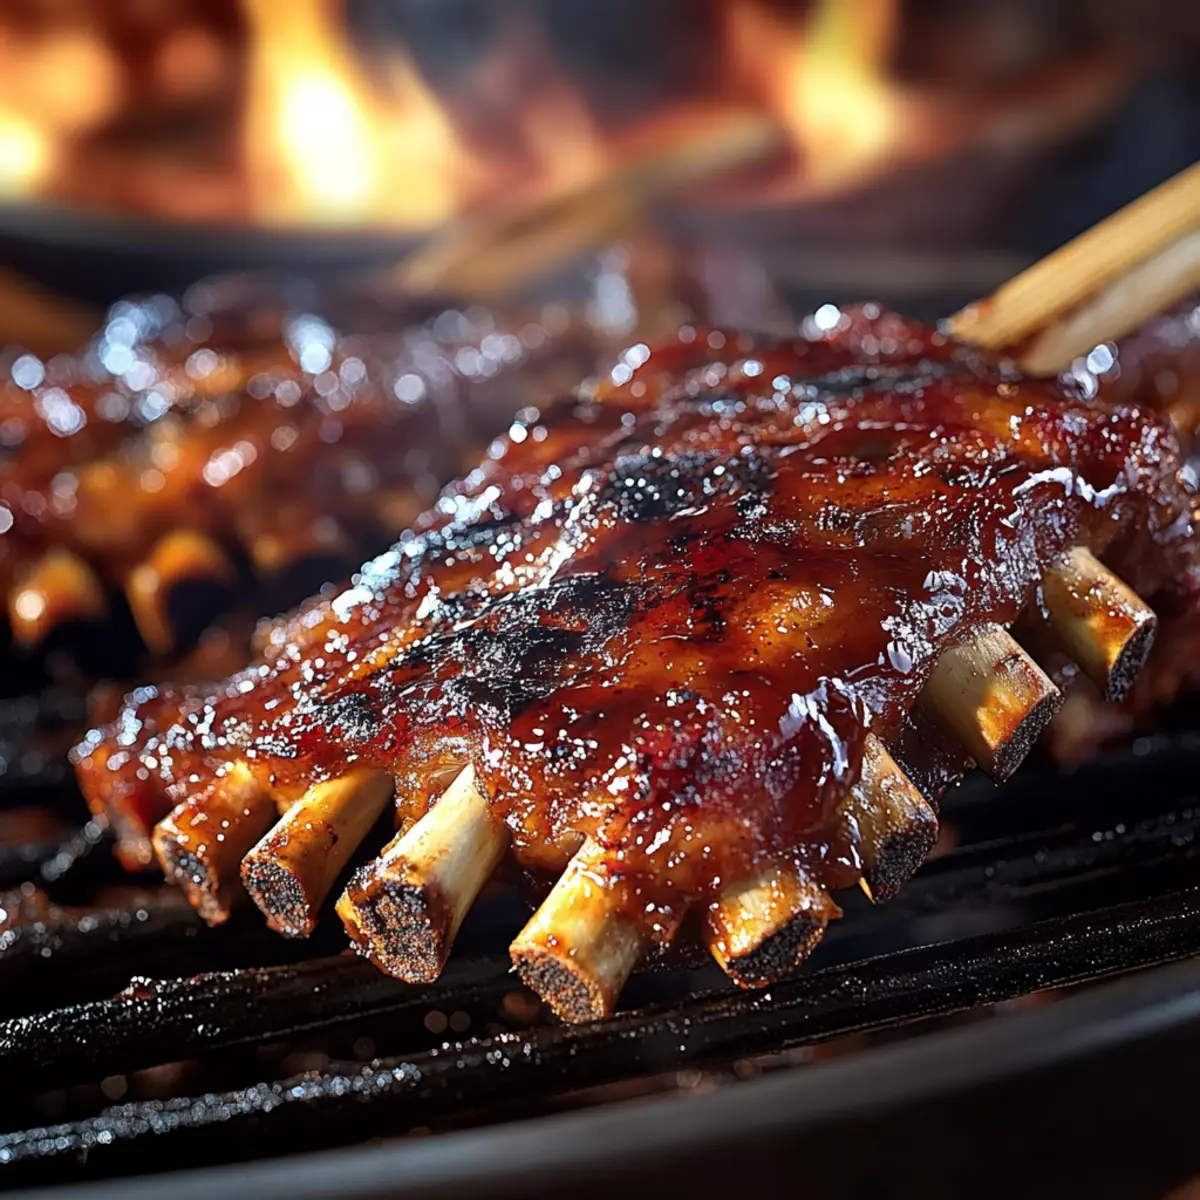
Around the 1.5-hour mark, check the ribs for doneness using a probe thermometer inserted near the bone. For perfectly grilled ribs, you want the temperature to reach about 190°F (88°C) for firm slices or 203°F (95°C) for fall-off-the-bone tenderness. Cooking times may vary based on the thickness of your ribs.
Step 6: Rest Ribs
Once the ribs have reached your desired temperature, carefully remove them from the grill and place them on a cutting board. Let the grilled ribs rest for at least 10-15 minutes before slicing. This resting period allows the juices to redistribute throughout the meat, keeping your ribs tender and juicy when sliced and served.
Expert Tips for Grilled Ribs
• Salt the Ribs Early: Salting the ribs ahead of time enhances flavor absorption, ensuring every bite is deliciously seasoned.
• Use a Meat Thermometer: To achieve perfect grilled ribs, insert a probe thermometer near the bone for accurate cooking temperature readings.
• Avoid Flare-Ups: Keep an eye on the grill heat to prevent flare-ups, which can char the meat and affect the overall flavor of your grilled ribs.
• Remove the Membrane: Don’t forget to take off the membrane on the back of the ribs; this step allows for better seasoning penetration and a more tender bite.
• Experiment with Marinades: Feel free to mix and match marinades to find your perfect flavor profile for these grilled ribs, adding your favorite herbs and spices.
Grilled Ribs Variations & Substitutions
Feel free to let your creativity shine as you customize these grilled ribs with delightful twists that cater to your taste buds!
-
Baby Back vs. Spare Ribs: Choose baby back ribs for a tender bite or spare ribs for a richer, fattier flavor. Each type brings its own charm to the table.
-
Lighter Sweetener: Substitute brown sugar with coconut sugar for a lower glycemic index option while still retaining that sweet touch in your marinade.
-
Gluten-Free Option: Use tamari instead of soy sauce to make these grilled ribs gluten-free while maintaining deep umami flavor.
-
Fruity Marinade: Swap out apple cider vinegar for orange juice or pineapple juice to introduce a refreshing sweetness that elevates your ribs.
-
Fresh Aromatics: Replace garlic powder with fresh minced garlic or shallots for a more vibrant, fresh flavor that enhances the marinade’s profile.
-
Heat Levels: Adjust the chili powder in the dry rub based on your spice tolerance; for an extra kick, try adding cayenne pepper or chipotle powder.
-
Smoky Twist: Incorporate smoked paprika in your dry rub for an even deeper smoky flavor that embraces the essence of grilling.
-
Sauce Variations: Experiment with different barbecue sauces or add a splash of bourbon to your sauce for a unique, sophisticated flavor. For instance, a homemade whiskey-infused sauce could take your ribs to the next level.
By transforming the components of this dish, you can craft a unique experience that your family and friends will adore. And don’t forget to pair your grilled ribs with a refreshing side, like a crisp green salad or colorful slaw, for a well-rounded feast! If you’re looking for additional pairing ideas, check out this Grilled Chicken Pasta or serve them alongside these delightful Grilled Cheese Burritos. Enjoy your cooking adventure!
What to Serve with Perfectly Grilled Ribs
The perfect feast is just a few pairings away, enhancing the mouthwatering experience of your grilled ribs.
- Crispy Coleslaw: A crunchy, tangy slaw provides a refreshing contrast to the smoky flavors, balancing richness with its vibrant crunch.
- Corn on the Cob: Sweet, buttery corn brings a delightful sweetness that pairs beautifully with the savory ribs, perfect for summer get-togethers.
- Garlic Bread: This warm, toasty side pairs wonderfully, soaking up the delicious sauce while adding a comforting, buttery element to your meal.
- Baked Beans: Hearty baked beans offer a sweet and savory flavor that just sings with grilled ribs; the creaminess complements each bite, enhancing the entire meal.
- Grilled Vegetable Skewers: Fresh vegetables charred on the grill add a smoky flavor, providing a touch of healthiness to balance the richness of the ribs.
- Peach BBQ Sauce: For a unique twist, serve with a homemade peach barbecue sauce for an extra layer of flavor that pairs perfectly with the ribs.
- Sweet Tea: Refreshing southern sweet tea or a cool lemonade creates an inviting drink option that perfectly complements the entire barbecue experience.
How to Store and Freeze Grilled Ribs
Fridge: Cool your grilled ribs to room temperature, then wrap them tightly in foil or place them in an airtight container. They can be stored in the fridge for up to 4 days.
Freezer: For longer storage, freeze the ribs in individual portions, ensuring they are well-wrapped. Grilled ribs can be frozen for up to 3 months while retaining their delicious flavor.
Reheating: To enjoy leftovers, gently reheat the grilled ribs in a low oven (about 250°F) until warmed through, ensuring they stay juicy and tender.
Make Ahead Options
These Grilled Ribs are ideal for busy home cooks looking to save time without sacrificing flavor! You can marinate the ribs up to 24 hours in advance, allowing the flavors to marry beautifully. To do this, prepare the marinade, coat the ribs, and refrigerate them in an airtight container or covered with plastic wrap. Additionally, you can apply the dry rub up to 3 days prior; this will enhance the flavor even further. When you’re ready to cook, simply preheat your grill and proceed with grilling the marinated ribs until they reach your desired doneness. This way, you’ll have delicious, tender grilled ribs ready to wow your guests with minimal effort!
Grilled Ribs Recipe FAQs
What kind of ribs should I choose for grilling?
I recommend using either baby back or spare ribs, depending on your preference. Baby back ribs are tender and cook quickly, while spare ribs are meatier and richer in flavor but require a longer cooking time. Experiment with both to find your favorite!
How should I store leftover grilled ribs?
After cooling your grilled ribs to room temperature, wrap them tightly in foil or place them in an airtight container. They can be kept in the refrigerator for up to 4 days. If you want to save them for longer, freeze them in individual portions—just be sure they’re well-wrapped to prevent freezer burn.
Can I freeze grilled ribs?
Absolutely! To freeze grilled ribs, first cool them completely. Then, wrap each portion in plastic wrap and aluminum foil or use airtight containers. They can be stored in the freezer for up to 3 months. When you’re ready to enjoy them, defrost in the fridge overnight before reheating.
How can I tell if my ribs are done cooking?
For perfectly grilled ribs, use a probe thermometer to check the internal temperature. You’re aiming for about 190°F (88°C) for firm slices or up to 203°F (95°C) for tender, fall-off-the-bone results. Don’t be afraid to check them frequently to ensure they don’t overcook!
Are there any dietary considerations I should be aware of with this recipe?
If you or your guests have dietary restrictions, consider using gluten-free soy sauce (like tamari) if needed. For those watching their sugar intake, swapping brown sugar for coconut sugar is a great alternative. Always check for allergies when preparing the dry rub ingredients as well, particularly with spices.
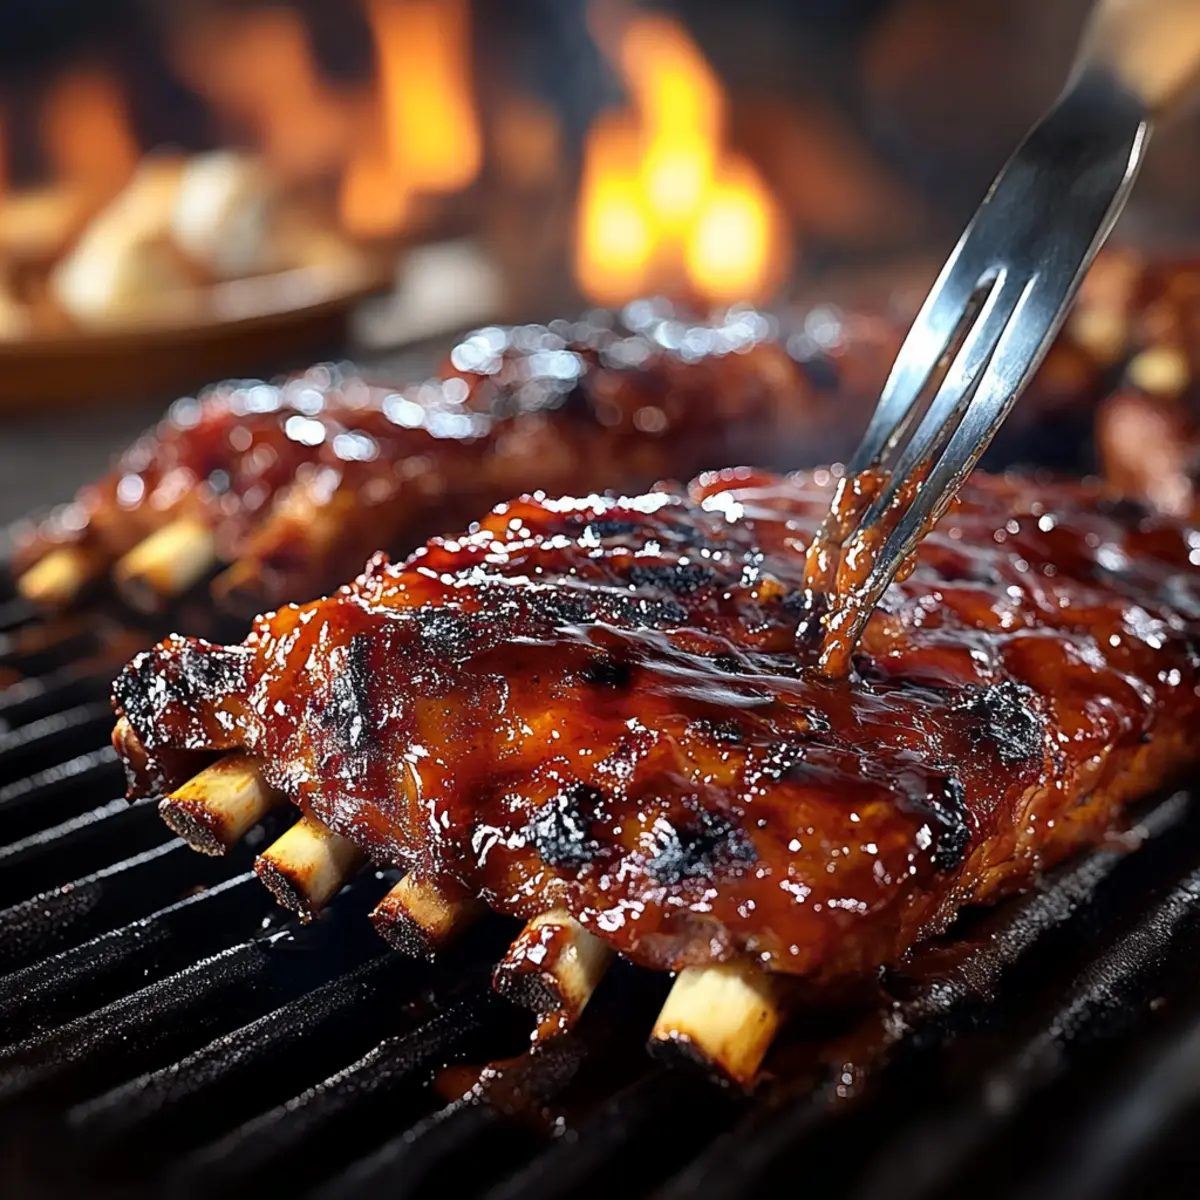
Sweet & Smoky Grilled Ribs That Melt in Your Mouth
Ingredients
Equipment
Method
- In a mixing bowl, combine brown sugar, soy sauce, apple cider vinegar, and garlic powder to create a flavorful marinade. Stir until sugar dissolves, then coat the ribs generously. Cover and let marinate for 30 to 60 minutes.
- Remove the ribs from the fridge and pat dry. In a separate bowl, mix paprika, onion powder, black pepper, salt, and chili powder. Generously apply the dry rub all over the ribs.
- Preheat your grill to a low heat, around 250°F (121°C), and let it preheat for 10-15 minutes.
- Place the ribs on the grill, bone side down. Sear on high heat for 5-7 minutes.
- Reduce heat to medium-low, cover, and cook the ribs for about 1.5 hours, flipping occasionally.
- Check doneness with a probe thermometer; aim for 190°F (88°C) for firm slices or 203°F (95°C) for fall-off-the-bone tenderness.
- Remove ribs from the grill and let rest for at least 10-15 minutes before slicing.
Leave a Reply