
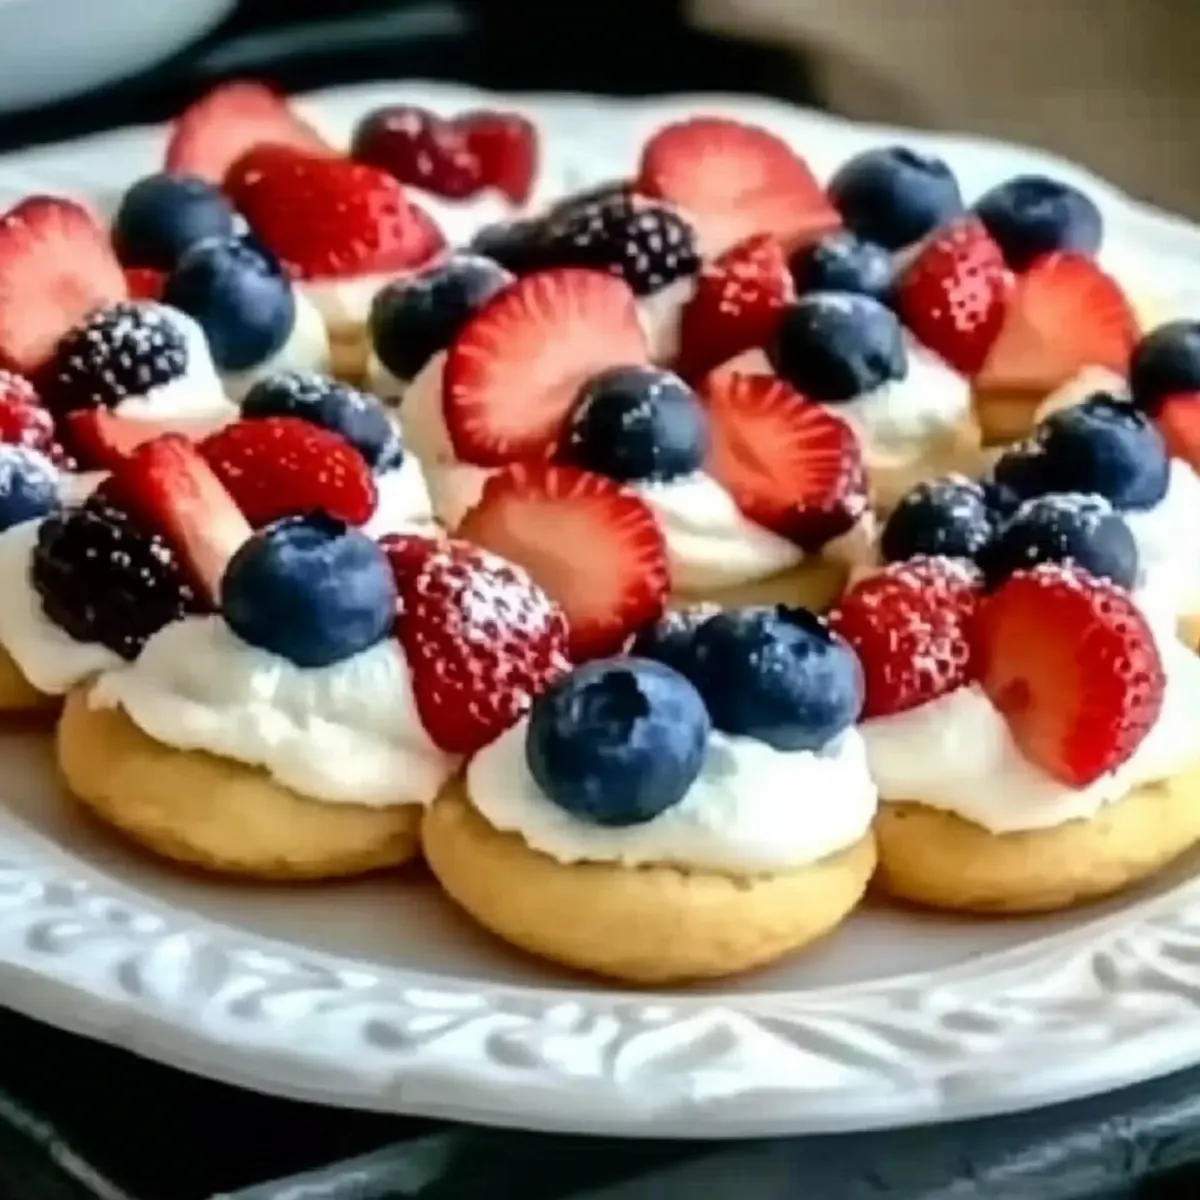
As I watched the vibrant colors of summer unfold at a recent BBQ, I couldn’t help but feel inspired by the playful spirit of the season. That’s when I decided to whip up a batch of Mini Red, White, and Blue Fruit Pizzas, a delightful twist on the classic dessert. These beauties combine a soft, buttery cookie base with creamy frosting, topped with fresh strawberries and blueberries that scream celebration. Not only are they a breeze to prepare—taking just 35 minutes from start to finish—but they also cater to everyone, with possibilities for gluten-free versions. As they emerged from the oven, I could already envision the joy they’d bring to family and friends alike. Who can resist a dessert that’s both delicious and a feast for the eyes? Curious about how to make your own? Let’s dive into this fun recipe that’s perfect for any gathering!
Why try Mini Red, White, and Blue Fruit Pizzas?
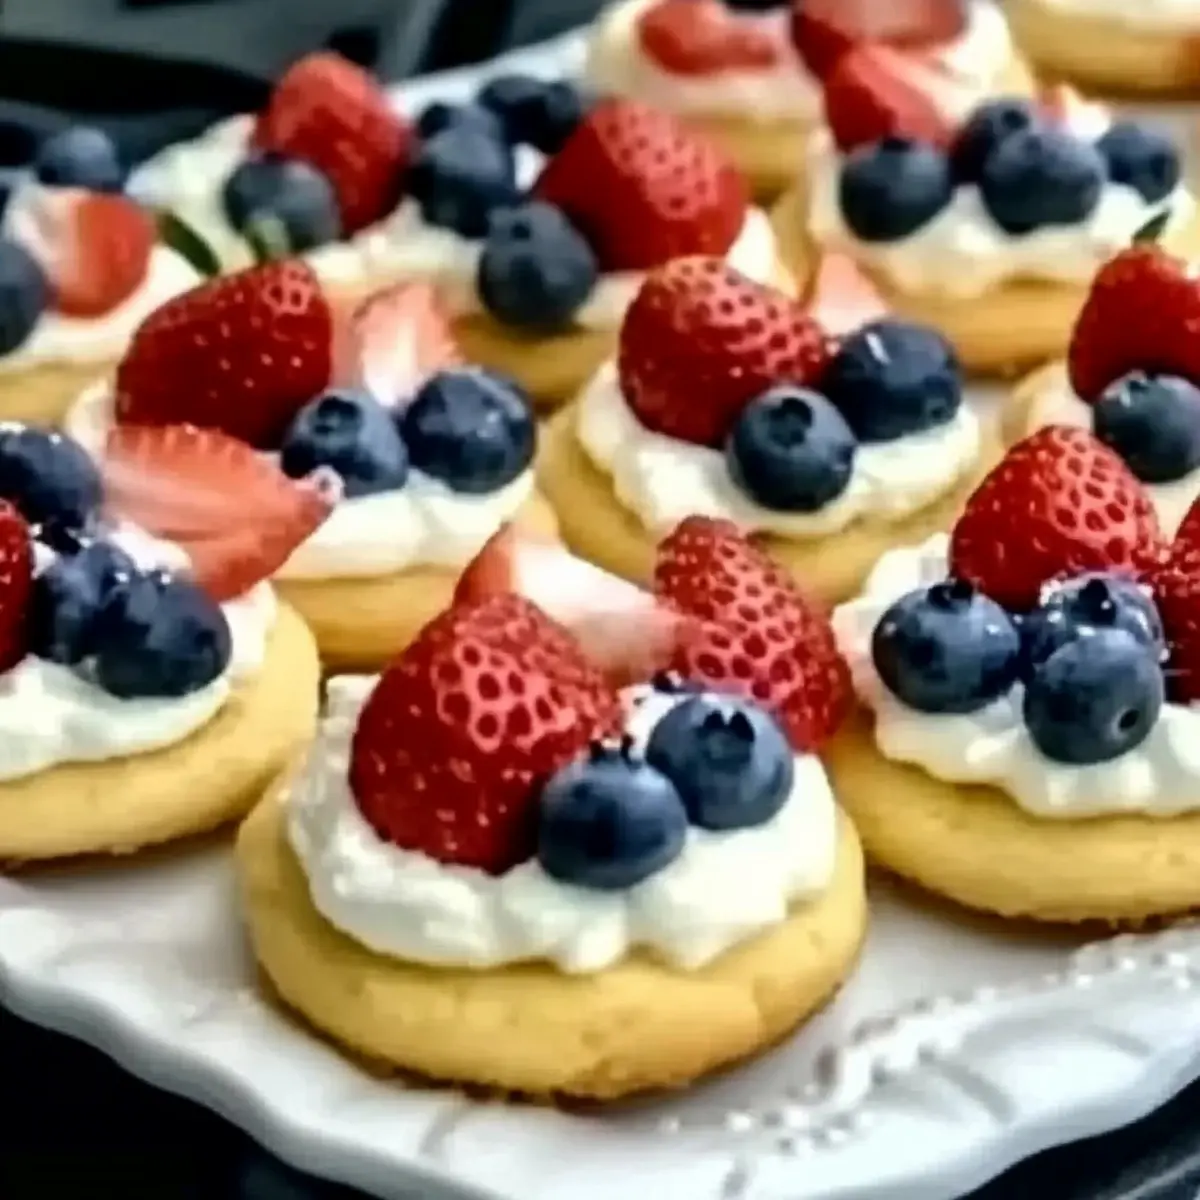
Easy to Make: You’ll love how simple the process is—just mix, bake, and decorate! These fruity treats can be ready in no time.
Visually Stunning: The vibrant colors of strawberries and blueberries make these fruit pizzas a showstopper at any gathering.
Customizable: Feel free to swap out fruits based on what’s in season or your personal favorites; raspberries or peaches work beautifully too!
Guilt-Free Indulgence: At around 150 calories each, they offer a satisfying sweet bite without the guilt, perfect for summer snacking.
Perfect for Sharing: Bring them to BBQs or picnics, and watch as they disappear in moments—everyone will want to try one!
Pair these delightful desserts with a refreshing Brie Cheddar Apple salad for a complete summer feast!
Mini Red, White, and Blue Fruit Pizzas Ingredients
• These vibrant bites need just a handful of simple ingredients!
For the Cookie Base
• All-Purpose Flour – Provides the structure of the cookie base; substitute with a gluten-free flour blend for a gluten-free option.
• Baking Powder – Helps the cookies rise and become fluffy; ensure it’s fresh for the best results.
• Salt – Enhances the sweetness of the cookies; use sea salt or table salt interchangeably.
• Unsalted Butter – Adds richness and moisture to the cookies; if not available, unsalted margarine can be used as a substitute.
• Granulated Sugar – Sweetens and helps achieve a golden color; brown sugar can be used for a deeper flavor.
• Large Egg – Binds the ingredients together for a cohesive dough; a flax egg can act as a vegan substitute.
• Vanilla Extract – Provides a warm vanilla flavor; use pure vanilla for a more robust experience.
For the Frosting
• Cream Cheese – The base for the frosting, giving it a creamy texture; Greek yogurt can be a lower-fat alternative.
• Powdered Sugar – Sweetens and thickens the frosting; adjust according to your preferred sweetness.
For the Toppings
• Whole Strawberries – Adds tart freshness to the pizzas; substitute with raspberries for a different flavor.
• Blueberries – Offers color and sweetness; any type of berry can be used to top these delightful fruit pizzas.
• Bananas (optional) – Provides extra sweetness and creaminess; feel free to omit if unwanted flavors clash.
Step‑by‑Step Instructions for Mini Red, White, and Blue Fruit Pizzas
Step 1: Preheat the Oven
Begin by preheating your oven to 350°F (175°C). While it warms up, line a baking sheet with parchment paper to prevent sticking and ensure easy cleanup. This preparation step sets the stage for baking delicious Mini Red, White, and Blue Fruit Pizzas that everyone will adore.
Step 2: Prepare Cookie Dough
In a medium bowl, whisk together the all-purpose flour, baking powder, and salt. In a separate large bowl, cream together the unsalted butter and granulated sugar until the mixture is light and fluffy, about 2-3 minutes. Then, add in the large egg and vanilla extract, blending well to create a smooth and rich cookie dough.
Step 3: Combine Mixtures
Gradually add the dry ingredients to the butter mixture, mixing just until combined. Be careful not to overmix; you want the dough to be soft and cohesive without any visible flour. This step is crucial for achieving the perfect texture in your Mini Red, White, and Blue Fruit Pizzas.
Step 4: Shape Cookies
Using a cookie scoop or tablespoon, portion out small amounts of dough and flatten them slightly onto the prepared baking sheet. Leave enough space between each mini pizza to allow for spreading during baking, typically about two inches apart. This will ensure even baking and a lovely shape.
Step 5: Bake
Place the baking sheet in the preheated oven and bake for 10-12 minutes, or until the edges are lightly golden and the centers are set. Keep an eye on them towards the end of baking; you want a soft, chewy cookie base for your delicious Mini Red, White, and Blue Fruit Pizzas.
Step 6: Cool Cookies
Once baked, remove the cookies from the oven and let them cool on the baking sheet for 5 minutes. After they’ve cooled slightly, transfer them to a wire rack to cool completely. This is essential to ensure they hold their shape and don’t melt the frosting.
Step 7: Make Frosting
In a mixing bowl, combine the cream cheese, powdered sugar, and a splash of vanilla extract. Beat the ingredients together with an electric mixer until the frosting is smooth and creamy. This delectable frosting will perfectly complement your Mini Red, White, and Blue Fruit Pizzas!
Step 8: Frost Cookies
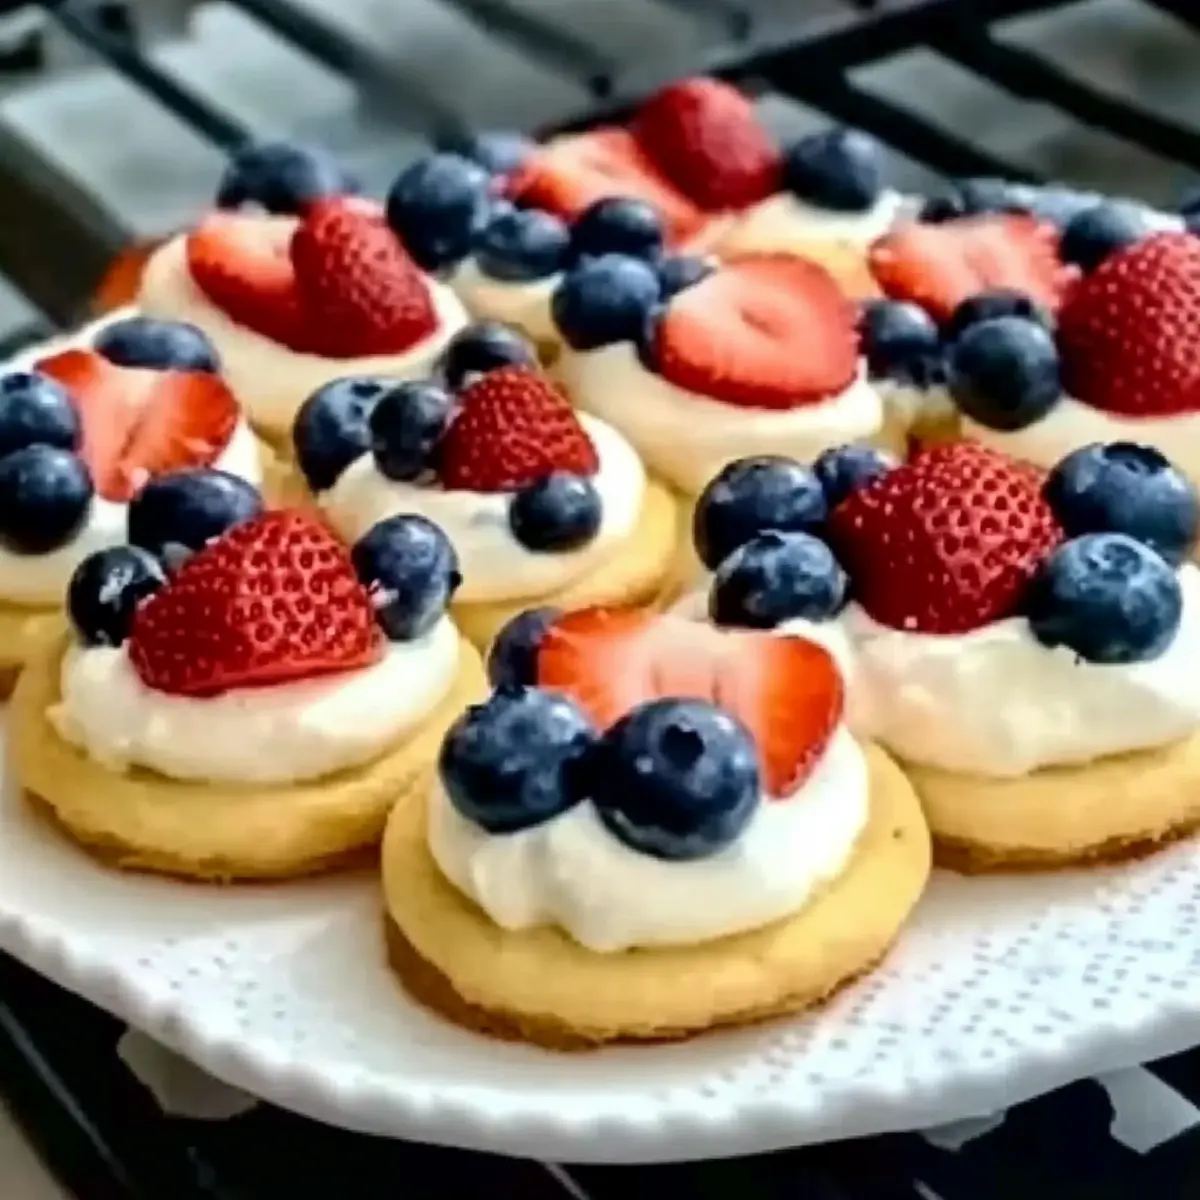
Once the cookies are completely cool, use a spatula or butter knife to spread a generous layer of frosting over the top of each cookie base. Make sure to cover the surface well, as this creamy layer will enhance the flavor and provide a base for your colorful toppings.
Step 9: Add Toppings
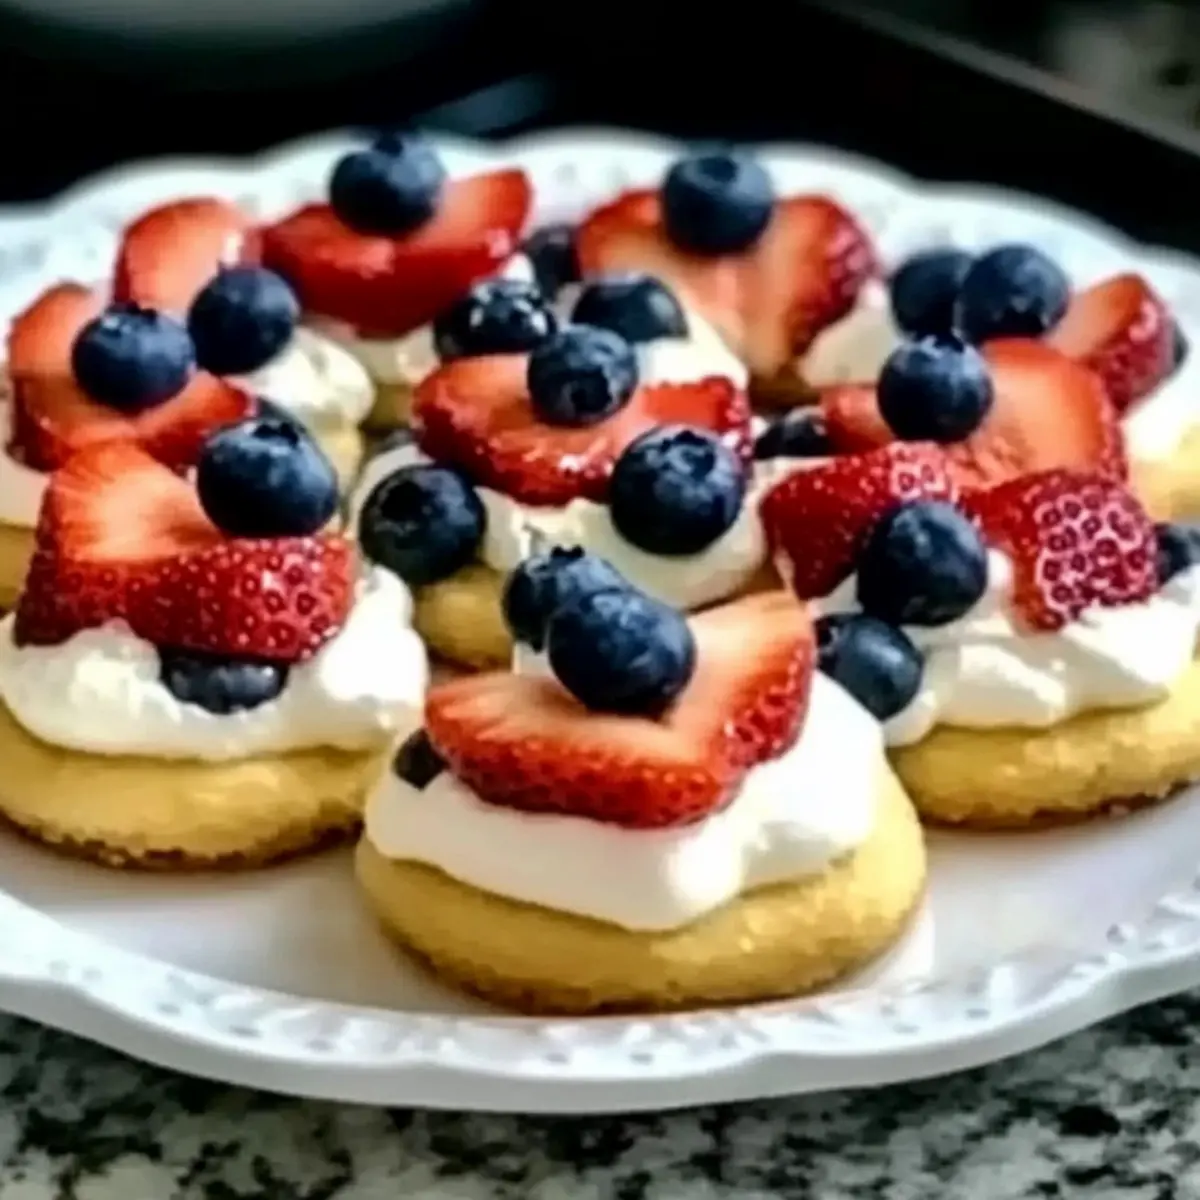
Decorate your frosted cookies with sliced strawberries and blueberries, arranging them in a festive pattern. If desired, slice and add banana pieces for extra sweetness and creaminess. These vibrant toppings will transform your Mini Red, White, and Blue Fruit Pizzas into an eye-catching treat.
Step 10: Chill
Refrigerate the assembled Mini Red, White, and Blue Fruit Pizzas for about 15 minutes to allow the frosting to firm up and enhance the flavors. This brief chilling period will also refresh the cookies, making them even more enjoyable to eat.
Step 11: Serve
After chilling, your festive Mini Red, White, and Blue Fruit Pizzas are ready to serve! Arrange them on a large platter for sharing at BBQs, picnics, or any summer gathering. These delightful treats are sure to be a hit, bringing smiles to everyone’s faces!
Storage Tips for Mini Red, White, and Blue Fruit Pizzas
-
Room Temperature: If you’re serving Mini Red, White, and Blue Fruit Pizzas immediately, they can be left out for up to 2 hours before they need refrigeration.
-
Fridge: Store uneaten fruit pizzas in an airtight container in the refrigerator. They are best enjoyed fresh within 1-2 days for optimal taste and texture.
-
Freezer: For longer storage, freeze the cookies without frosting in a single layer on a baking sheet before transferring them to an airtight container. They can be frozen for up to 2 months.
-
Reheating: To refresh frozen cookies, simply thaw in the fridge overnight, and frost right before serving for a delightful treat!
Expert Tips for Mini Red, White, and Blue Fruit Pizzas
-
Cool Cookies First: Make sure your cookies are completely cool before frosting; otherwise, the frosting will melt off, ruining the delightful presentation.
-
Use Fresh Fruits: Opt for fresh strawberries and blueberries for the best taste and texture; frozen fruits may become mushy and detract from your Mini Red, White, and Blue Fruit Pizzas.
-
Adjust Sweetness: Taste your frosting and adjust powdered sugar according to your sweetness preference; this personal touch can elevate your dessert even more.
-
Experiment with Flavors: Don’t hesitate to swap out fruits; try raspberries or peaches to keep things exciting and tailored to your guests’ tastes.
-
Chill Before Serving: Refrigerate the finished pizzas for about 15 minutes before serving; this step helps the flavors meld while providing a refreshing treat for a summer day.
What to Serve with Mini Red, White, and Blue Fruit Pizzas
Indulging in Mini Red, White, and Blue Fruit Pizzas is just the beginning of a delightful summer meal experience.
- Refreshing Fruit Salad: A colorful mix of seasonal fruits complements the sweetness of the pizzas, offering a refreshing crunch with every bite.
- Creamy Coleslaw: The creamy tanginess balances the fruity dessert, creating a perfect contrast for your taste buds.
- Grilled Chicken Skewers: Add protein with these smoky skewers; they’re robust and satisfying, setting a delightful backdrop for the sweet fruit pizzas.
- Sparkling Lemonade: A bubbly, citrusy drink is the ideal pairing, adding a zingy freshness that enhances the flavors of your dessert.
- Vanilla Ice Cream: An extra scoop of creamy ice cream turns these delightful fruit pizzas into a decadent dessert experience you won’t forget.
- Cheesy Garlic Bread: The savory garlic bread provides an unexpected yet perfect contrast to the sweet flavors of the cookies, making your meal well-rounded.
- Chocolate Dipped Strawberries: Elevate the sweetness with these decadent treats for a fun twist—combine the strawberries from your pizzas with a chocolatey touch for added richness.
Mini Red, White, and Blue Fruit Pizzas Variations
Feel free to personalize your Mini Red, White, and Blue Fruit Pizzas with these creative twists and substitutions that add even more flavor and fun!
-
Gluten-Free: Substitute all-purpose flour with a gluten-free flour blend for a gluten-conscious treat without sacrificing taste.
-
Dairy-Free: Use coconut cream instead of cream cheese for a delicious dairy-free frosting option—its tropical notes add a new twist!
-
Fruit Mix: Try a vibrant mix of fruits; include raspberries, peaches, or even kiwi for a beautiful rainbow effect that beckons every palate.
-
Chocolate Base: Swap the cookie base for a chocolate cookie dough for a rich, decadent bite that pairs stunningly with fresh berries.
-
Nutty Crunch: Add chopped nuts like almonds or walnuts on top of the frosting for a delightful crunch that contrasts beautifully with the creamy texture.
-
Spicy Kick: Sprinkle a dash of cinnamon or cayenne pepper in the frosting for a surprising flavor boost that adds a touch of warmth.
-
Miniature Versions: For smaller portions, make them bite-sized by using a mini cookie cutter; they become perfect little morsels for gatherings!
-
Banana Bliss: For a smoothie-inspired flavor, layer banana slices atop whipped frosting for a creamy and sweet addition that enhances every bite.
These variations are not only exciting but also create options for everyone at the table. If you’re looking for more festive ideas to celebrate summer, consider pairing your pizzas with a refreshing Sweet Spicy Korean dish for a complete menu that delivers delightful surprises!
Make Ahead Options
These Mini Red, White, and Blue Fruit Pizzas are ideal for busy home cooks looking to save time during summer gatherings! You can prepare the cookie base up to 24 hours ahead; just bake and cool them before storing in an airtight container. The frosting can also be made 2-3 days in advance—simply store it in the refrigerator in a sealed container. When you’re ready to serve, spread the frosting on the cooled cookies and add the fresh fruit toppings just before enjoying; this keeps the cookies fresh and prevents sogginess. With these make-ahead options, you’ll have delicious, ready-to-serve MINI RED, WHITE, AND BLUE FRUIT PIZZAS in no time!
Mini Red, White, and Blue Fruit Pizzas Recipe FAQs
How do I choose ripe strawberries and blueberries for the Mini Red, White, and Blue Fruit Pizzas?
Absolutely! When selecting strawberries, look for bright red color with a healthy green stem without dark spots or bruises. Blueberries should be plump, firm, and have a deep blue hue. Avoid berries with wrinkled skins or any signs of mold for the best flavor and presentation.
What is the best way to store leftover Mini Red, White, and Blue Fruit Pizzas?
Very! Once assembled, keep uneaten fruit pizzas in an airtight container in the refrigerator. Enjoy them within 1-2 days to savor their freshness. If you need to store them longer, know that the cookie base can remain out for up to 2 hours at room temperature but should be refrigerated afterward.
Can I freeze Mini Red, White, and Blue Fruit Pizzas?
Absolutely! Freeze the cookies without frosting in a single layer on a baking sheet for about 30 minutes, then transfer them to an airtight container. They can be frozen for up to 2 months. When ready to enjoy, thaw in the fridge overnight, and frost just before serving for that delightful fresh taste!
What should I do if my cookie dough is too sticky?
No worries! If your dough seems sticky, lightly flour your hands and the work surface to make it easier to handle. Additionally, if it feels very soft, you can chill the dough in the refrigerator for about 15-30 minutes. This will allow for better shaping and help prevent overly flat cookies.
Are Mini Red, White, and Blue Fruit Pizzas suitable for those with allergies?
Very! These Mini Red, White, and Blue Fruit Pizzas can easily be made allergy-friendly. For a gluten-free version, substitute the all-purpose flour with a gluten-free blend. You can also make them dairy-free by using a dairy-free cream cheese alternative and vegan butter. Be sure to double-check each ingredient label to ensure they align with your dietary requirements!
How can I make the frosting less sweet?
I recommend it! To balance sweetness, simply reduce the amount of powdered sugar in the frosting. You can start by using half the amount, then taste and adjust it according to your preference. Additionally, using Greek yogurt instead of cream cheese can also cut down the sweetness while adding a tangy flavor profile.
Delicious Mini Red, White, and Blue Fruit Pizzas for Summer Fun
Ingredients
Equipment
Method
- Preheat your oven to 350°F (175°C) and line a baking sheet with parchment paper.
- In a medium bowl, whisk together flour, baking powder, and salt. In a large bowl, cream the butter and sugar together until light and fluffy.
- Add the egg and vanilla extract to the butter mixture and blend well to create a cookie dough.
- Gradually mix in the dry ingredients until just combined; avoid overmixing.
- Scoop portions of dough onto the baking sheet, flatten them slightly, and leave space between each cookie.
- Bake for 10-12 minutes until golden around the edges and set in the center.
- Cool the cookies on the baking sheet for 5 minutes, then transfer to a wire rack.
- Combine cream cheese, powdered sugar, and vanilla in a bowl and beat until smooth.
- Frost each cooled cookie with a layer of frosting using a spatula or knife.
- Top each frosted cookie with sliced strawberries and blueberries, arranging them in a festive way.
- Chill the cookies in the refrigerator for about 15 minutes before serving.
- Serve the Mini Red, White, and Blue Fruit Pizzas on a large platter at your gatherings!
Leave a Reply