
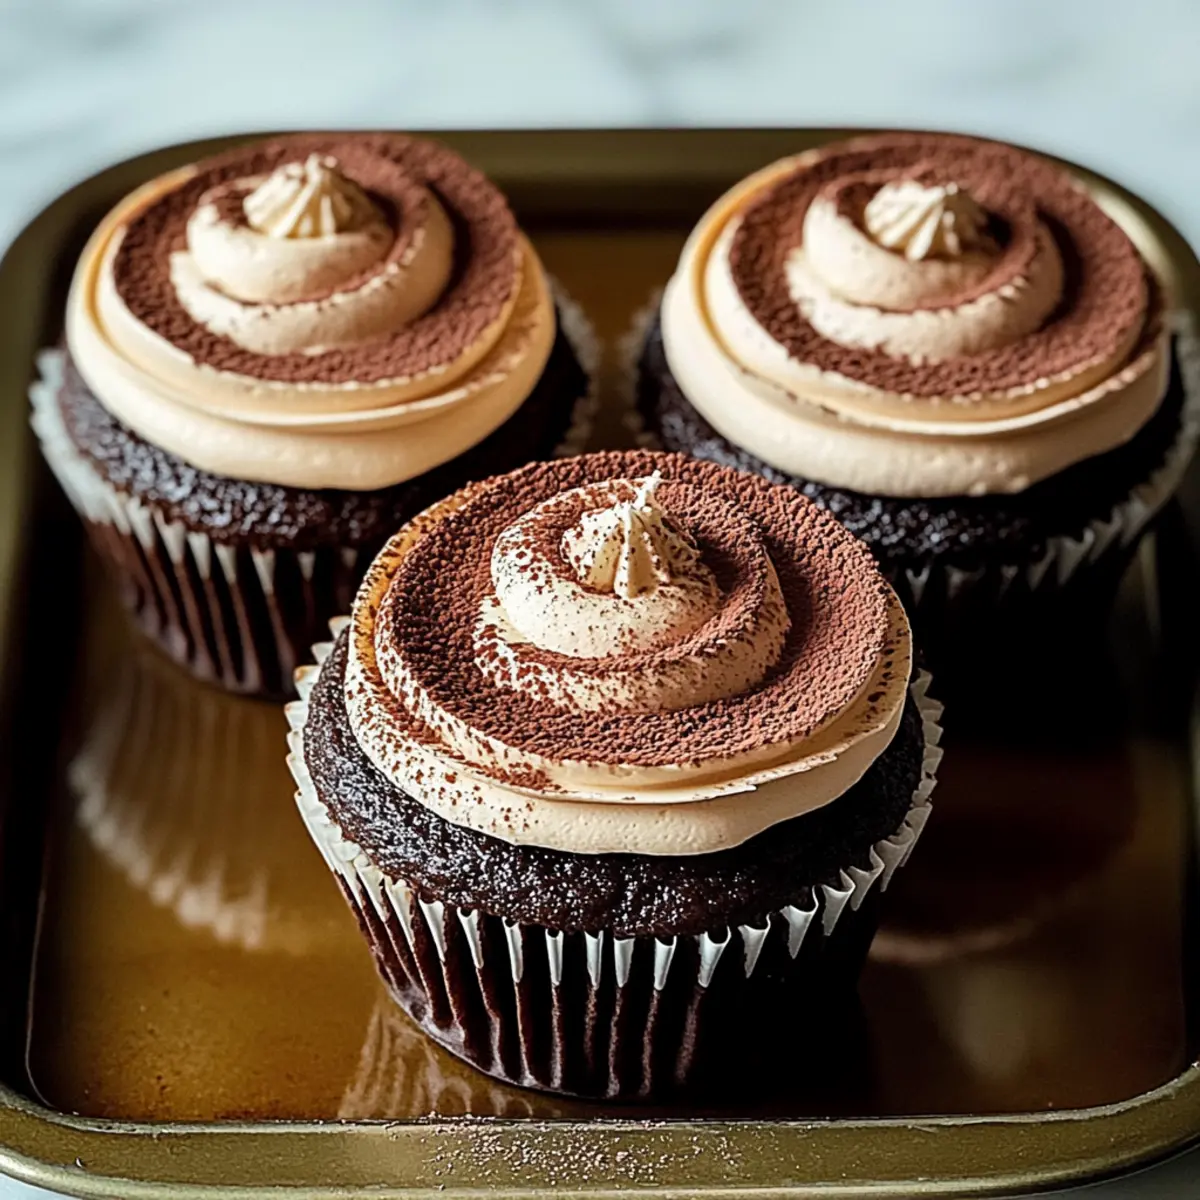
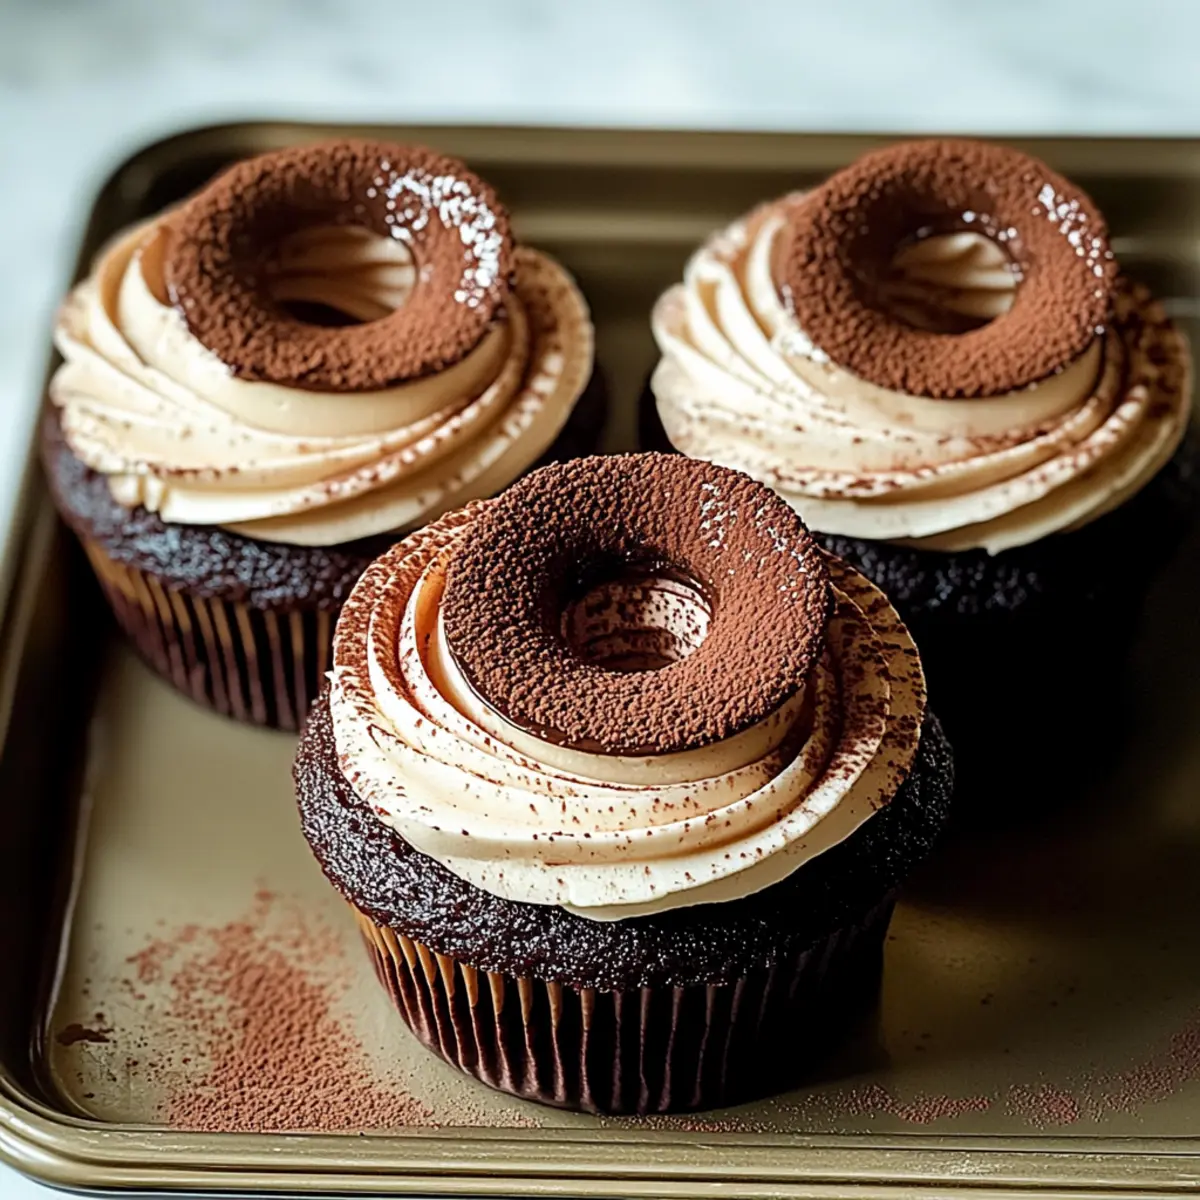
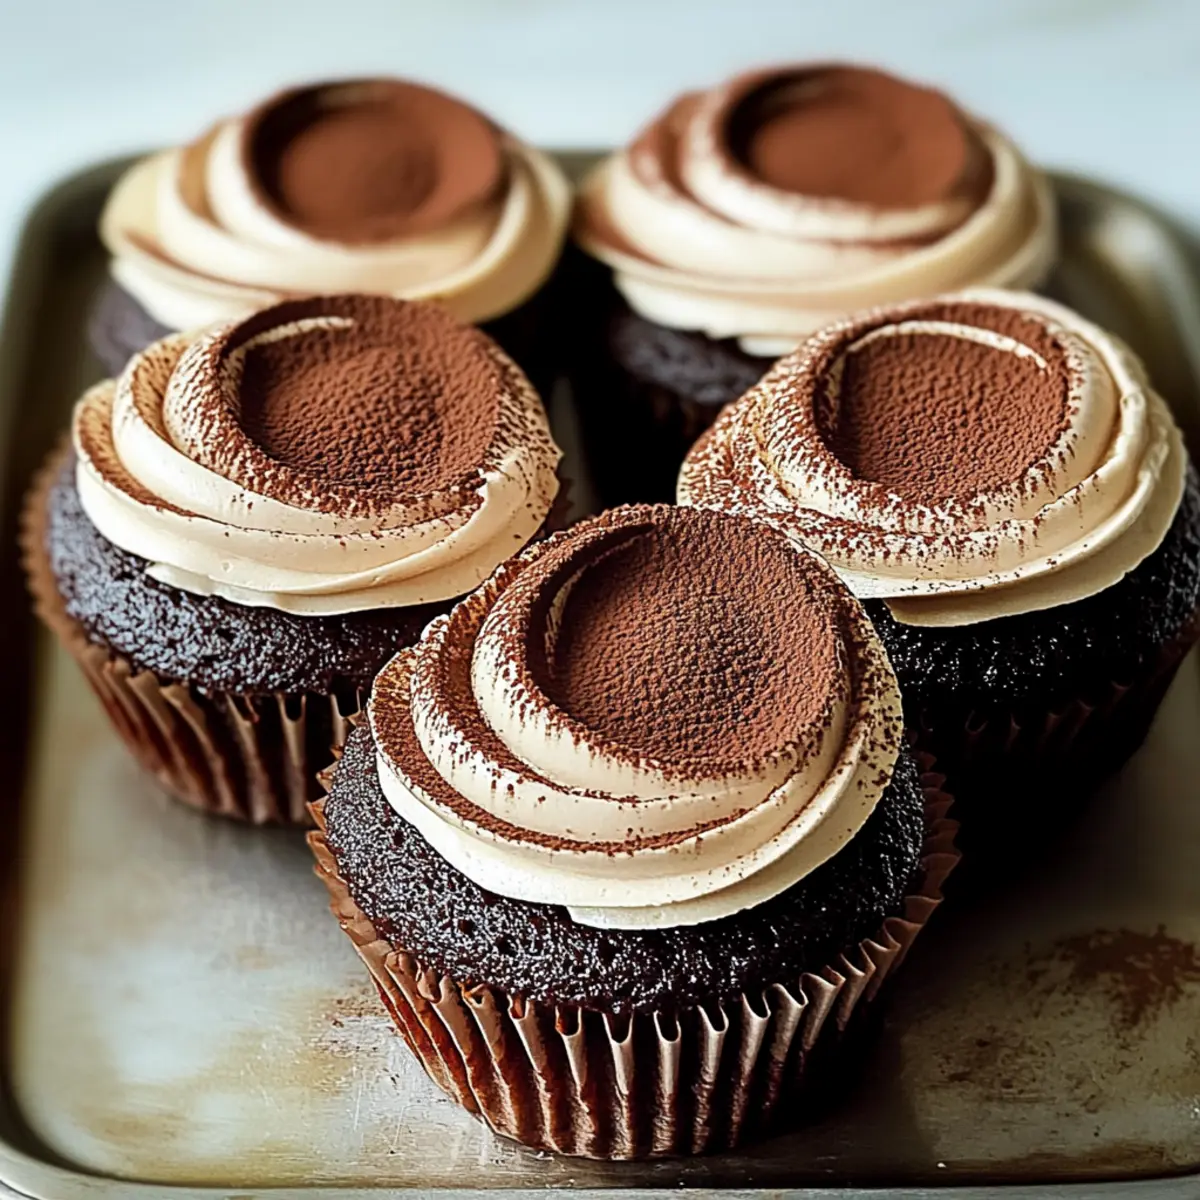
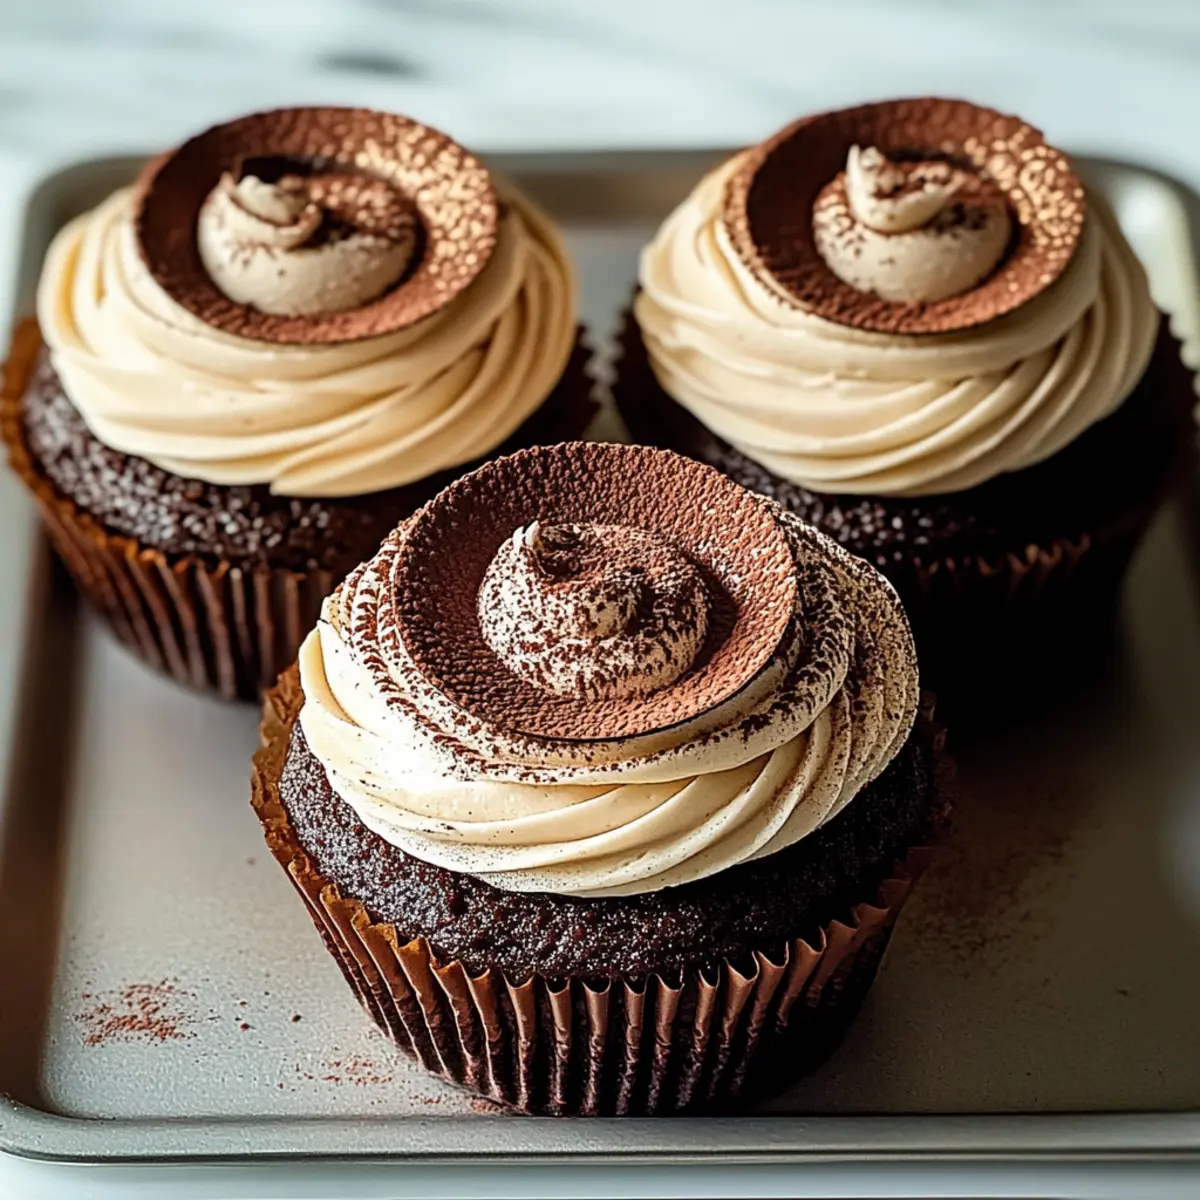
As I sifted through my pantry this morning, I stumbled upon a forgotten bag of cocoa powder, its rich aroma whispering promises of delight. That’s when I decided to whip up a batch of Chocolate Tiramisu Cupcakes—an irresistible blend of two classic desserts. These cupcakes not only satisfy your chocolate cravings but also bring a luxurious twist to traditional tiramisu. With quick prep and the option for a gluten-free version, they’re perfect for any celebration or just a sweet treat to enjoy at home. Just imagine creamy mascarpone nestled between layers of moist chocolate goodness, topped with a dusting of cocoa! Ready to craft your own moments of indulgence?
Why are these cupcakes a must-try?
Decadent flavor awaits! These Chocolate Tiramisu Cupcakes beautifully combine plush chocolate cake with rich mascarpone, elevating dessert time to pure bliss. Easy to make, even novice bakers will find joy in creating this indulgent treat. Impressive yet simple, they’re perfect for gatherings or a personal pick-me-up. Looking for more chocolate fun? Check out the Decadent Chocolate Strawberry or indulge in a Hot Chocolate Poke cake for even more cocoa-inspired magic! Don’t forget, a gluten-free option means everyone can savor the delightful layers.
Chocolate Tiramisu Cupcake Ingredients
• Gather these essentials to create your own chocolate tiramisu cupcakes!
For the Cupcake Batter
- All-purpose Flour – Provides structure to the cupcakes; substitute with gluten-free flour blend if needed.
- Cocoa Powder – Adds rich chocolate flavor; use unsweetened cocoa powder for best results.
- Baking Powder – Helps the cupcakes rise and become fluffy; ensure it’s fresh for optimal leavening.
- Granulated Sugar – Sweetens the cupcakes; for a deeper flavor, consider using brown sugar.
- Eggs – Adds moisture and stability; helps bind ingredients together.
- Milk – Contributes to moisture; can be substituted with almond milk for a dairy-free option.
- Vegetable Oil – Keeps the cupcakes moist; melted butter can be used instead.
For the Filling
- Mascarpone Cheese – Provides a creamy filling that embodies the tiramisu flavor; no substitute is recommended, but cream cheese can be an alternative in a pinch.
- Espresso or Strong Coffee – Infuses flavor; use coffee liqueur for a twist.
For Topping and Dusting
- Cocoa Powder (for dusting) – A finishing touch to enhance flavor and presentation.
Step‑by‑Step Instructions for Chocolate Tiramisu Cupcakes
Step 1: Preheat the Oven
Begin by preheating your oven to 350°F (175°C). While the oven warms, line a muffin tin with cupcake liners to prepare for your Chocolate Tiramisu Cupcakes. Ensure that you have all your equipment ready, including mixing bowls, a whisk, and measuring cups, to streamline your baking process.
Step 2: Mix Dry Ingredients
In a large mixing bowl, whisk together the all-purpose flour, unsweetened cocoa powder, baking powder, and granulated sugar. Keep whisking until the mixture is well combined and there are no lumps. This dry blend forms the foundation of your cupcake batter, so it’s essential to achieve a consistent texture before moving to the next step.
Step 3: Combine Wet Ingredients
In a separate bowl, blend together the eggs, milk, and vegetable oil until smooth. You can use a whisk or electric mixer to ensure everything is well mixed. This step introduces moisture to your Chocolate Tiramisu Cupcakes, making the batter rich and delicious, so take your time to achieve a silky consistency.
Step 4: Combine Wet and Dry Mixtures
Gently pour the wet ingredients into the dry mixture, folding everything together with a spatula. Be careful not to overmix, as this can lead to a rubbery texture. You want just enough mixing to combine the ingredients, leaving a slightly lumpy batter that promises a fluffy and moist cupcake experience.
Step 5: Bake the Cupcakes
Spoon the batter into the prepared muffin tins, filling each liner about two-thirds full. Place the muffin tin into the preheated oven and bake for 18-20 minutes, or until a toothpick inserted into the center comes out clean. As they bake, your kitchen will be filled with the irresistible aroma of chocolate.
Step 6: Cool the Cupcakes
Once baked, remove the cupcakes from the oven and allow them to cool in the tin for about 5 minutes. Then transfer the cupcakes to a wire rack to cool completely. This cooling step is essential for allowing the flavors to settle, ensuring that your Chocolate Tiramisu Cupcakes are ready for the delicious filling.
Step 7: Prepare the Mascarpone Filling
While the cupcakes cool, whip the mascarpone cheese with espresso or strong coffee using a hand mixer until it becomes fluffy and creamy. This luscious filling embodies the tiramisu essence and will bring your cupcakes to life. Aim for a consistency that can be easily piped or spooned into the cupcakes.
Step 8: Fill the Cupcakes
Once the cupcakes are completely cool, use a small knife to carefully hollow out the tops, creating little pockets for the mascarpone filling. Spoon or pipe the whipped mascarpone mixture into each hollowed cupcake, pressing the tops back on gently afterward. This step ensures that every bite of your Chocolate Tiramisu Cupcakes is indulgently filled.
Step 9: Dust with Cocoa Powder
To finish, dust the tops of the filled cupcakes with cocoa powder using a fine sieve or cocoa dusting wand. This finishing touch not only enhances the flavor but adds a beautiful presentation to your Chocolate Tiramisu Cupcakes. Now, they are ready to impress your family and friends!
How to Store and Freeze Chocolate Tiramisu Cupcakes
-
Room Temperature: Keep cupcakes for short-term enjoyment at room temperature in an airtight container for up to 1 day. This keeps them soft and delicious.
-
Fridge: Stow leftovers in the refrigerator for up to 3 days. Make sure they’re in an airtight container to maintain moisture and prevent them from drying out.
-
Freezer: For longer storage, freeze unfilled cupcakes in an airtight container for up to 2 months. When ready to enjoy, thaw at room temperature and fill with mascarpone just before serving.
-
Reheating: To warm filled cupcakes, place them in a microwave for a few seconds. Enjoy with a fresh dusting of cocoa for that perfect chocolate tiramisu cupcake experience!
Chocolate Tiramisu Cupcakes Variations
Feel free to get creative with your Chocolate Tiramisu Cupcakes by trying these fun variations!
-
Gluten-Free: Substitute regular flour with a gluten-free blend to cater to those with dietary restrictions. Your friends won’t even notice the difference!
-
Dairy-Free Delight: Swap the mascarpone with a dairy-free cream cheese alternative for a vegan take. The rich taste remains, perfect for all to enjoy.
-
Liqueur Twist: Infuse your mascarpone filling with flavored liqueurs such as hazelnut or amaretto for added depth. This playful addition will elevate the flavor profile beautifully.
-
Espresso Cookies: Incorporate crumbled espresso-soaked ladyfingers into the batter for added texture and tiramisu authenticity. It’s like dessert inception!
-
Fruity Addition: Top with fresh berries like raspberries or strawberries for a touch of brightness and natural sweetness. This will create a stunning visual as well!
-
Nutty Crunch: Mix in chopped hazelnuts or almonds into the cupcake batter for an added crunch. It will create a delightful contrast to the soft, fluffy cake.
-
Choco-Coffee Cravings: Replace half the cocoa powder with instant coffee granules for a stronger coffee flavor complementary to the tiramisu. Your chocolate cravings just found their perfect partner!
-
Monthly Inspiration: Try adding seasonal spices like cinnamon or nutmeg during the fall to mix up the flavor profile—perfect for holiday baking!
Finding new ways to enhance your cooking can be such a joy! Whichever twist you choose, these variations are sure to delight your friends and family, whether you’re celebrating a special occasion or simply craving something sweet.
What to Serve with Decadent Chocolate Tiramisu Cupcakes
Picture a sweet gathering filled with laughter, where these rich cupcakes steal the spotlight from the first bite to the last crumb.
- Espresso: The boldness of strong espresso beautifully complements the chocolate and mascarpone, enhancing the indulgent flavors of the cupcakes.
- Whipped Cream: A dollop of freshly whipped cream adds a light and airy contrast to the dense cupcakes, making each bite even more delightful.
- Berries: Fresh raspberries or strawberries provide a fruity brightness that cuts through the sweetness, adding a refreshing balance to each rich bite.
- Chocolate Sauce: Drizzle some decadent chocolate sauce on top for a luxurious touch that intensifies the chocolate cravings within.
- Ice Cream: Serve with a scoop of vanilla bean ice cream; its creaminess paired with the cupcake makes for a heavenly dessert experience.
- Mint Leaves: A sprinkle of fresh mint not only adds a pop of color but also a refreshing burst that complements the rich mascarpone filling.
- Dessert Wine: Pair with a sweet dessert wine like Marsala; its subtle flavors echo the tiramisu elements, creating a harmonious blend.
- Chocolate-Covered Almonds: For a crunchy contrast, pair with these nutty sweets that echo the chocolate flavors while adding an appealing texture.
Expert Tips for Chocolate Tiramisu Cupcakes
- Moisture Matters: Ensure your cupcakes are cooled completely before filling to prevent sogginess. Enjoying the Chocolate Tiramisu Cupcakes is best when they are evenly filled.
- Gentle Mixing: Overmixing can result in tough cupcakes. Mix just until combined for a light, fluffy texture—your taste buds will thank you!
- Filling Consistency: Whip the mascarpone until fluffy but not overly runny. This will ensure it holds its shape when filling the cupcake tops.
- Chill Before Serving: Allow the filled cupcakes to rest at room temperature for about 30 minutes before serving. This enhances the flavors and makes for a delightful experience.
- Storage Tips: Keep leftovers in an airtight container in the refrigerator, where they can last for up to three days. Enjoy your delicious creations at their best!
Make Ahead Options
These Chocolate Tiramisu Cupcakes are perfect for meal prep enthusiasts! You can bake the cupcakes up to 24 hours in advance, letting them cool completely before storing them in an airtight container. The mascarpone filling can be prepped up to 3 days ahead; simply whip the mascarpone with espresso, cover it tightly, and refrigerate. When you’re ready to serve, hollow out the cupcake tops, fill them with the creamy mixture, and dust with cocoa powder for a fresh finish. By preparing these scrumptious cupcakes in advance, you’ll save valuable time while ensuring they remain just as delicious on serving day!
Chocolate Tiramisu Cupcakes Recipe FAQs
What kind of flour should I use for Chocolate Tiramisu Cupcakes?
For the best results, I recommend using all-purpose flour to provide structure to the cupcakes. However, if you need a gluten-free option, you can substitute it with a gluten-free flour blend. Just be sure to check that it contains a binding agent like xanthan gum for the best texture.
How long can I store Chocolate Tiramisu Cupcakes?
These delightful cupcakes can be stored in the refrigerator for up to 3 days. Just make sure to keep them in an airtight container to maintain their moisture and freshness. If you’re keeping them at room temperature, they’ll be good for about 1 day, ensuring you get that soft, delectable bite.
Can I freeze Chocolate Tiramisu Cupcakes?
Absolutely! You can freeze unfilled cupcakes for up to 2 months. To freeze, place them in an airtight container, separating layers with parchment paper if needed. When you’re ready to enjoy them, simply thaw at room temperature and fill them with mascarpone just before serving. This way, they retain their deliciousness!
What should I do if my cupcakes turn out dry?
If your Chocolate Tiramisu Cupcakes are dry, it could be due to overmixing the batter or baking them for too long. For a moist cupcake, mix just until the ingredients are combined and check them a few minutes before the baking time is up. You can also brush the cupcakes with a simple syrup made of equal parts sugar and water to add moisture back in.
Are there any dietary considerations for the ingredients?
Yes! When making Chocolate Tiramisu Cupcakes, if you have dairy sensitivities, consider substituting regular milk with almond milk and using dairy-free alternatives for the mascarpone, like cashew cream. This way, you can enjoy the same delicious flavors while catering to dietary needs. Also, always check for allergies related to any flavorings or additives in your ingredients.
Indulge in Chocolate Tiramisu Cupcakes for Pure Bliss
Ingredients
Equipment
Method
- Preheat your oven to 350°F (175°C) and line a muffin tin with cupcake liners.
- In a large bowl, whisk together the flour, cocoa powder, baking powder, and sugar until well combined.
- In a separate bowl, blend the eggs, milk, and vegetable oil until smooth.
- Combine the wet ingredients with the dry mixture, folding until just combined.
- Spoon the batter into the muffin tins, filling each about two-thirds full and bake for 18-20 minutes.
- Cool the cupcakes in the tin for 5 minutes, then transfer to a wire rack to cool completely.
- Whip the mascarpone cheese with espresso or coffee until fluffy.
- Hollow out the tops of cooled cupcakes and fill with the mascarpone mixture, replacing the tops.
- Dust the cupcakes with cocoa powder before serving.
Leave a Reply