
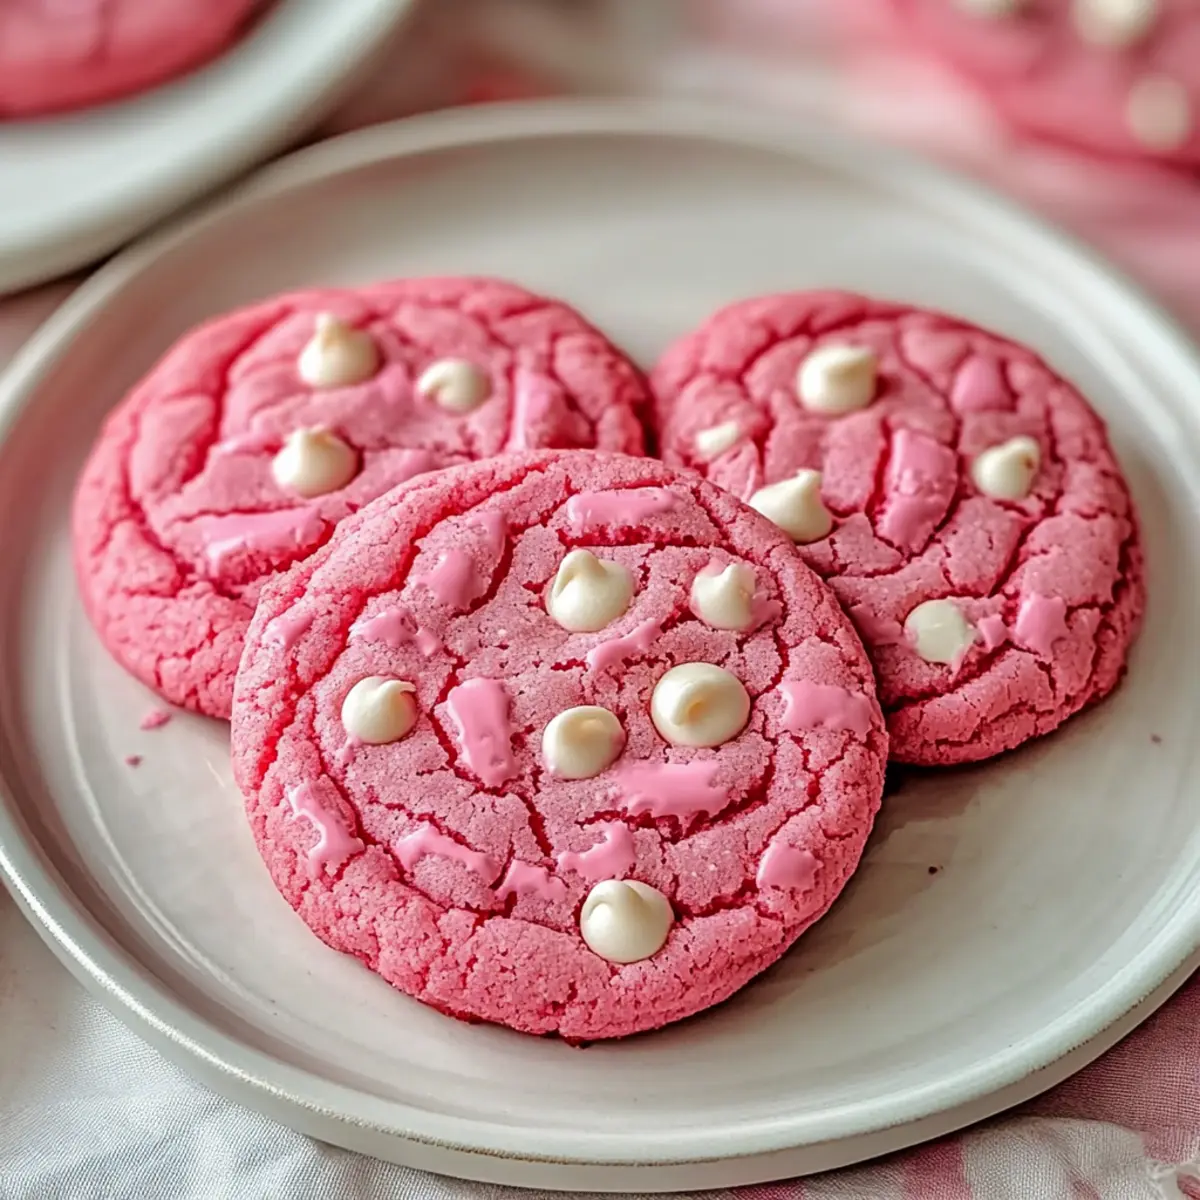
The scent of freshly baked cookies filled the air as I peeked into the oven, eagerly awaiting my latest creation: Pink Velvet Cookies. These delightful treats not only showcase a stunning pink hue that brightens up any gathering, but they are also melt-in-your-mouth soft and chewy—perfect for celebrating love, joy, or any cheerful occasion. What I adore about this Pink Velvet Cookie recipe is its simplicity; you can whip it up in no time, making it a fantastic option for busy home chefs looking to impress. Plus, with the option to easily customize with add-ins like white chocolate chips or nuts, each batch can be a unique masterpiece. So, are you ready to bring a splash of color and sweetness to your dessert table? Let’s dive in!
Why Choose Pink Velvet Cookies?
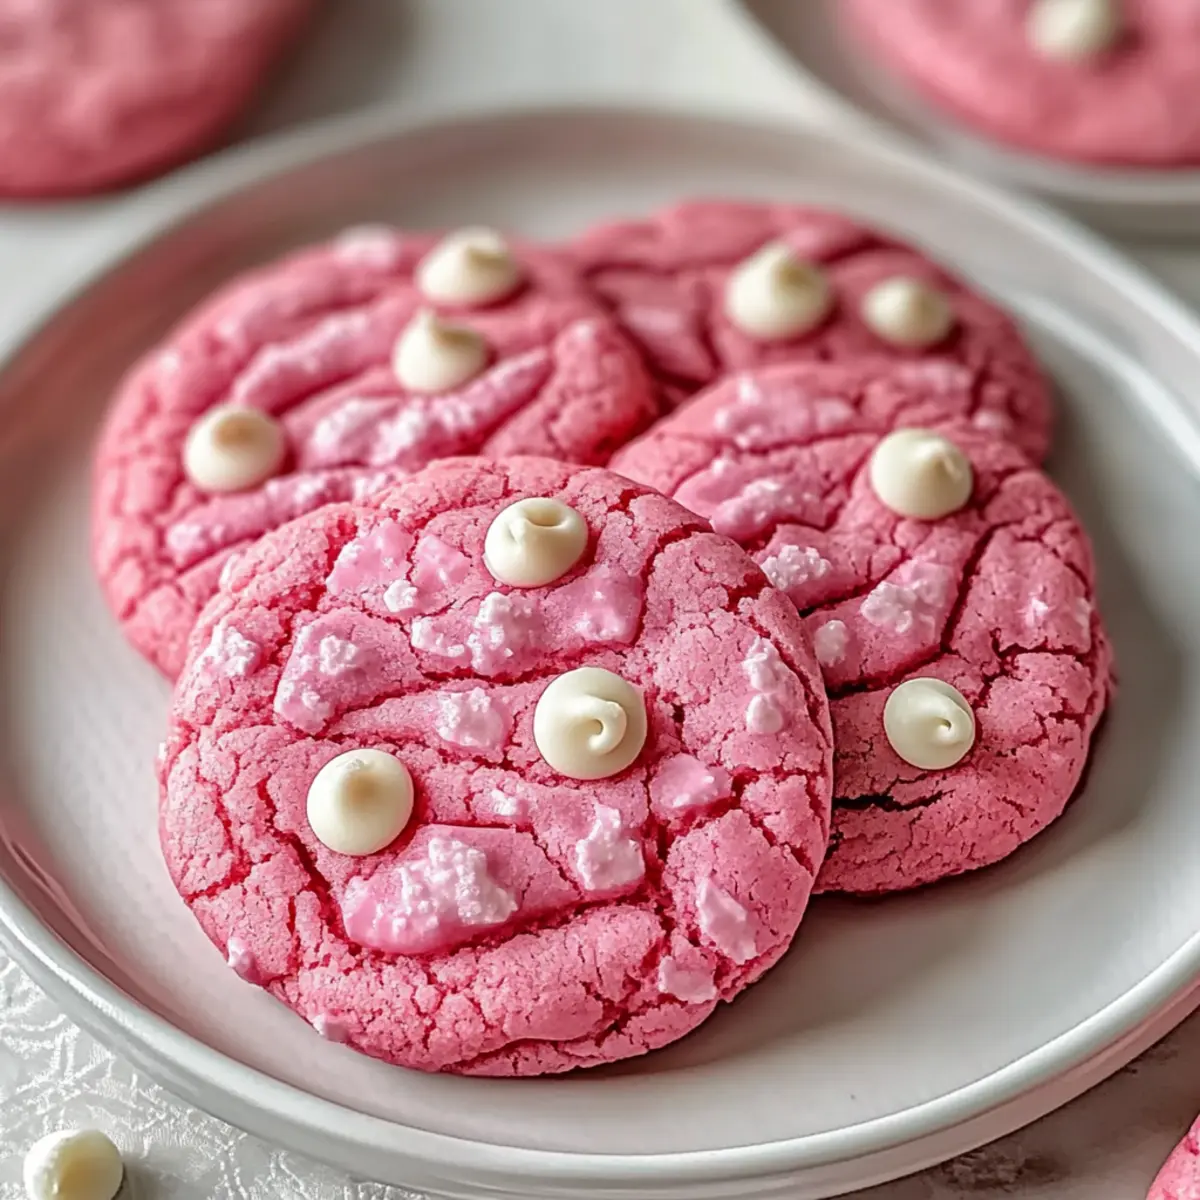
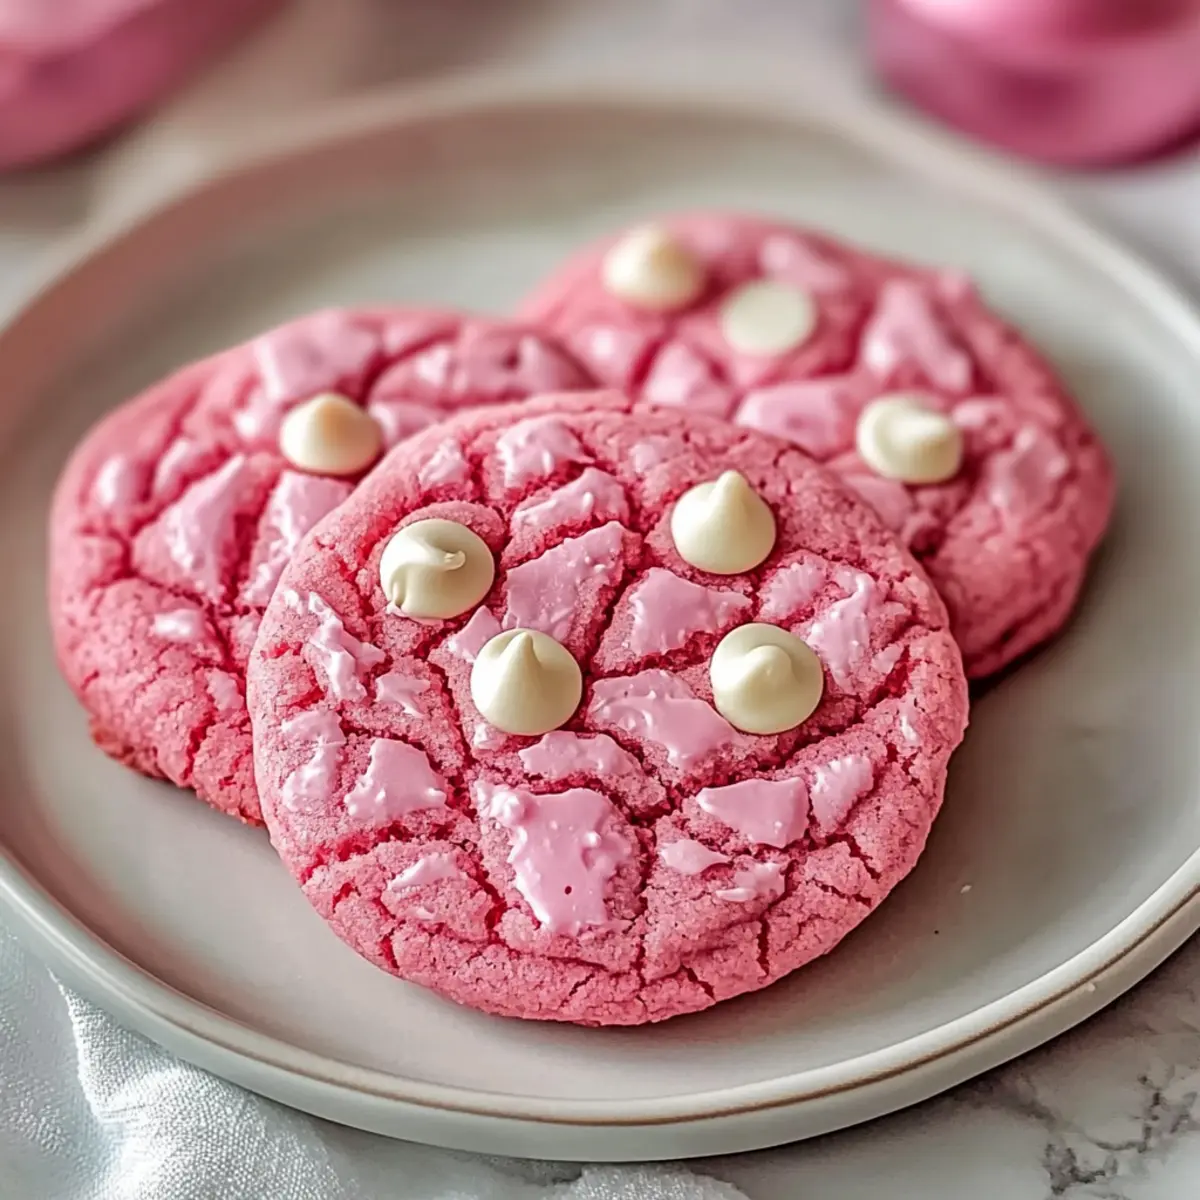
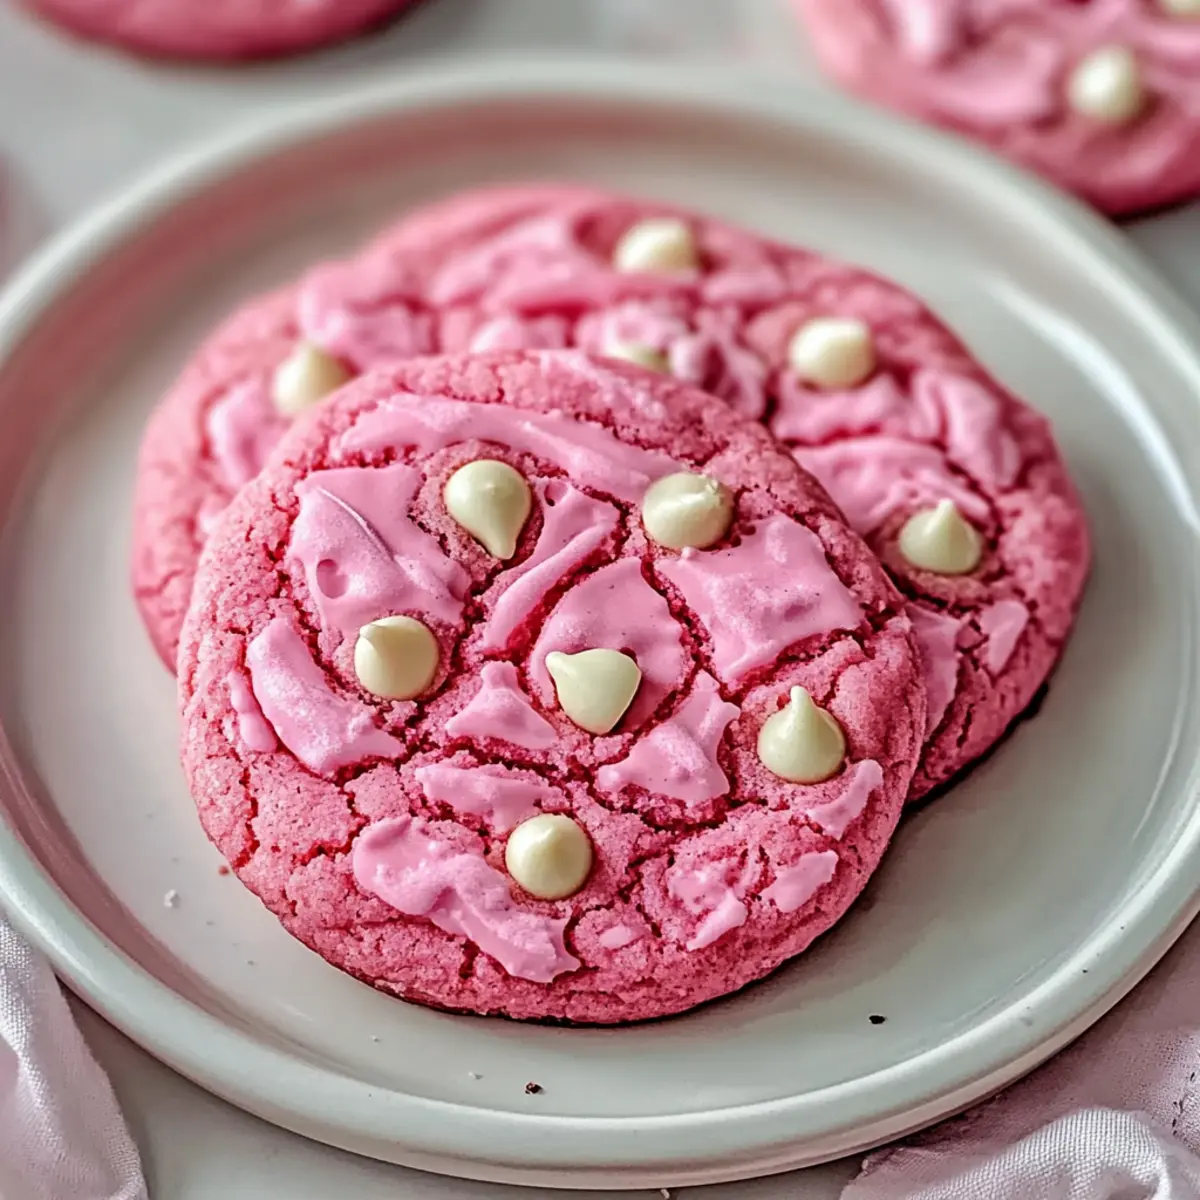
Exceptional appeal: These cookies don’t just taste fantastic—they’re a feast for the eyes! The vibrant pink color makes them a showstopper at any gathering.
Easy to customize: Want to elevate your treats? Add in white chocolate chips, nuts, or even dried coconut flakes for a personal touch!
Perfect for every occasion: Whether it’s a birthday, Valentine’s Day, or just a sweet treat for yourself, these cookies fit right in.
Quick and straightforward: You can go from mixing bowl to cookie platter in less than an hour, perfect for those impromptu gatherings!
Family-friendly: Everyone will adore these cookies, from kids to adults. Serve them with a glass of milk or alongside your favorite dessert platter!
Try pairing them with my Soft Pumpkin Cookies for a delightful fall treat, or mix it up with some Strawberry Crunch Cookies for a delicious dessert buffet!
Pink Velvet Cookie Ingredients
• Ensure you have everything you need for a perfect batch of Pink Velvet Cookies!
For the Batter
- All-purpose flour – Provides structure for cookies; substitute with 1:1 gluten-free baking flour for gluten-free cookies.
- Baking powder – This leavening agent helps the cookies rise and achieve a soft texture.
- Baking soda – Aids in browning and complements the leavening process.
- Salt – Balances sweetness, enhancing overall flavor.
- Unsalted butter – Adds moisture and richness; make sure it’s softened for easier mixing.
- Granulated sugar – Contributes sweetness, helping the cookies spread perfectly.
- Brown sugar – Adds moisture and a depth of flavor thanks to its molasses content.
- Eggs (2 large) – Provides necessary structure and richness; beat until pale for optimal texture.
- Vanilla extract – Enhances the flavor profile beautifully.
- Pink gel food coloring – Delivers that vibrant color; opt for gel over liquid for better consistency.
Optional Add-Ins
- White chocolate chips – Sweetness and a creamy texture addition; substitute with nuts or dried fruits if desired for a twist.
- Dark chocolate chips or nuts – Great alternatives for unique flavor profiles.
- Dried coconut flakes – A fun way to add a tropical touch to your cookies.
Be ready to indulge in soft, chewy Pink Velvet Cookies that are sure to brighten your day!
Step‑by‑Step Instructions for Pink Velvet Cookies
Step 1: Preheat and Prepare
Begin by preheating your oven to 350°F (175°C). While the oven warms up, line a baking sheet with parchment paper, ensuring it’s ready to catch the delightful Pink Velvet Cookies. This step is essential to prevent the cookies from sticking and allows for easy cleanup once they’re baked.
Step 2: Whisk Dry Ingredients
In a medium bowl, whisk together the all-purpose flour, baking powder, baking soda, and salt until well combined. This mixture provides the necessary structure and leavening for our Pink Velvet Cookies. Set this bowl aside, letting the magic of these dry ingredients work together in perfect harmony.
Step 3: Cream Butter and Sugars
In a large mixing bowl, cream together the softened unsalted butter, granulated sugar, and brown sugar until the mixture is light and fluffy, about 3-5 minutes. You’ll know it’s ready when it’s fluffy and pale, creating a perfect base for your Pink Velvet Cookies. Use an electric mixer for the best results.
Step 4: Incorporate Eggs and Flavor
Add in the two large eggs, one at a time, beating well after each addition. Then stir in the vanilla extract and pink gel food coloring, mixing until everything is well incorporated and vibrant. The pink hue will start to shine through, making your batter enticingly colorful.
Step 5: Combine Wet and Dry Ingredients
Gradually add the dry ingredients to the wet mixture, mixing just until combined. Be careful not to overmix; you want your Pink Velvet Cookies to remain tender. If you’re using optional white chocolate chips, fold them in gently at this stage to ensure they are evenly distributed without compromising the cookie texture.
Step 6: Scoop and Space
Use a tablespoon or cookie scoop to drop balls of dough onto the prepared baking sheet, spacing them about 2 inches apart. This spacing is crucial to prevent the Pink Velvet Cookies from merging as they spread during baking. Aim for uniform sizes so they bake evenly.
Step 7: Bake to Perfection
Place the baking sheet in the preheated oven and bake the cookies for 10-12 minutes. Keep an eye on the edges; they should be set and lightly golden while the centers remain a touch soft. This contrast creates that perfect chewy texture that makes Pink Velvet Cookies irresistible.
Step 8: Cooling Bliss
Once baked, allow the cookies to cool on the sheet for about 5 minutes before transferring them to a wire rack. This cooling time helps them firm up without overbaking. The Pink Velvet Cookies will continue to set as they cool, ensuring they stay soft and delicious.
How to Store and Freeze Pink Velvet Cookies
Room Temperature: Store cookies in an airtight container at room temperature for up to 5 days to maintain their soft and chewy texture.
Fridge: If you prefer, you can refrigerate the cookies in an airtight container for longer freshness, but they may lose some of their softness, typically good for up to 1 week.
Freezer: For longer storage, freeze Pink Velvet Cookies in a single layer on a baking sheet before transferring them to an airtight container. They will keep well for up to 3 months.
Reheating: To enjoy your cookies warm, reheat them in the microwave for 10-15 seconds or in a preheated oven at 350°F (175°C) for a few minutes to bring back their delightful softness.
Make Ahead Options
These Pink Velvet Cookies are ideal for meal prep! You can prepare the cookie dough up to 24 hours in advance by mixing all the ingredients and then covering the bowl with plastic wrap or transferring it to an airtight container. This helps the flavors develop beautifully while keeping the dough fresh. For an even longer option, you can scoop the dough balls onto the baking sheet, freeze them for a few hours, and then transfer them to a zip-top bag, where they’ll stay good for up to 3 months. When you’re ready to bake, simply add a couple of extra minutes to the baking time without thawing. Enjoy the convenience of having homemade Pink Velvet Cookies ready to bake at a moment’s notice, ensuring deliciousness with minimal effort!
What to Serve with Pink Velvet Cookies?
These delectable cookies are a delightful addition to any dessert table, inviting joyful moments with every soft, chewy bite.
-
Creamy Milkshake: The sweet, rich flavor of a milkshake complements the cookies’ sweetness perfectly, making each bite even more indulgent.
-
Fresh Berries: Juicy strawberries or raspberries provide a refreshing contrast, balancing the rich sweetness of the cookies.
-
Fruity Salad: A vibrant fruit salad with a mix of citrus and berries adds brightness and a refreshing crunch to your dessert spread.
-
Coffee or Latte: The warm, bitter notes of coffee create a delightful contrast to the sweet pink cookies, enhancing your experience.
-
Vanilla Ice Cream: Serve a scoop of creamy vanilla ice cream alongside the cookies for a classic comfort treat that melts beautifully in the mouth.
-
Chocolate Drizzle: A light drizzle of melted chocolate over the cookies elevates their appeal, adding an extra layer of flavor and sophistication.
Expert Tips for Pink Velvet Cookies
- Butter Temperature: Ensure your butter is at room temperature before mixing. Cold butter can result in a dense cookie and uneven texture.
- Don’t Overmix: When combining the dry ingredients with the wet mixture, mix just until combined to keep your Pink Velvet Cookies soft and chewy.
- Check Doneness: The cookies should be lightly golden at the edges while slightly underdone in the center; they will firm up as they cool.
- Storage Secrets: Store cookies in an airtight container at room temperature for up to 5 days, or freeze for longer freshness.
- Customization Benefits: Feel free to experiment with add-ins like dark chocolate chips or dried coconut flakes for a unique twist on your Pink Velvet Cookies!
Pink Velvet Cookie Variations
Embrace your creativity and discover delightful twists for these Pink Velvet Cookies that will make each bite irresistibly unique!
-
Gluten-Free: Replace all-purpose flour with a 1:1 gluten-free baking flour for a delicious, gluten-sensitive-friendly treat. These cookies will still be soft and delightful!
-
Coconut Bliss: Add ½ cup of dried coconut flakes to the batter for a tropical flair. This variation introduces a chewy texture and hints of coconut that enhance the overall flavor.
-
Nutty Delight: Swap out white chocolate chips for chopped nuts like pecans or walnuts. This brings a satisfying crunch and a nutty flavor that complements the sweetness beautifully.
-
Chocolate Lovers: Mix in dark chocolate chips instead of white chocolate for a rich, decadent twist. These cookies can satisfy any chocoholic in your life!
-
Fruity Flavor: Toss in ½ cup of dried cranberries or cherries for a fruity burst. The tangy sweetness of the fruit pairs perfectly with the soft cookie base.
-
Iced Finish: Drizzle your cooled cookies with a simple icing made from powdered sugar and milk. This adds a lovely shine and sweetness that elevates their visual appeal!
-
Almond Flavor: Substitute vanilla extract with almond extract for a delightful nutty flavor. A little goes a long way, creating a lovely aroma and taste.
-
Spicy Kick: Add a pinch of cinnamon or a dash of cayenne pepper for a surprise warmth. This twist will delight adventurous eaters seeking something different!
Customize your Pink Velvet Cookies and enjoy each new creation! Happy baking, and don’t forget to try them alongside my Soft Pumpkin Cookies or Strawberry Crunch Cookies for a sweet treat extravaganza!
Pink Velvet Cookie Recipe FAQs
How do I know if my pink food coloring is the right consistency?
Absolutely! Gel food coloring is preferred for these cookies because it maintains the consistency of the dough better than liquid versions. This means you’ll achieve that vibrant pink without adding extra moisture that can alter the cookie’s texture. If your dough has an even color and the pink is bright and appealing, you’re ready to bake!
How should I store my Pink Velvet Cookies?
For the best results, store your cookies in an airtight container at room temperature for up to 5 days. This will help keep them soft and chewy. If you want to keep them longer, freeze them by placing them in a single layer on a baking sheet until solid. Then, transfer them to an airtight container. They can be frozen for up to 3 months!
Can I make Pink Velvet Cookies gluten-free?
Very! Simply substitute the all-purpose flour with a 1:1 gluten-free baking flour. This option keeps the same delightful texture without the gluten, so all cookie lovers can enjoy these colorful treats. Just make sure all other ingredients, especially add-ins, are also gluten-free.
What can I do if my cookies spread too much?
If your cookies tend to spread excessively, here are a few troubleshooting tips: First, ensure your butter is softened but not melted; melted butter can lead to more spreading. Second, consider chilling the dough in the refrigerator for about 30 minutes before baking. This allows the fats to firm up and helps maintain your cookie shape as they bake.
Are there any allergy considerations for these cookies?
It’s essential to check all ingredients for potential allergens. For nut allergies, avoid using nut-based add-ins like almond extract or mixed nuts. These cookies are primarily vegetarian, but ensure that any optional toppings or chocolate chips align with dietary restrictions. If you’re unsure, opt for dairy-free and gluten-free options available at your local store.
How can I keep the cookies soft during storage?
To retain the soft texture of the cookies, you can include a slice of bread in the container. The moisture from the bread will help prevent your Pink Velvet Cookies from drying out. Just remember to replace the bread every few days, and your cookies will remain delightfully chewy!
Pink Velvet Cookie Bliss – Chewy, Colorful Treats Await
Ingredients
Equipment
Method
- Preheat your oven to 350°F (175°C) and line a baking sheet with parchment paper.
- In a medium bowl, whisk together the all-purpose flour, baking powder, baking soda, and salt until well combined.
- In a large mixing bowl, cream together the softened unsalted butter, granulated sugar, and brown sugar until light and fluffy, about 3-5 minutes.
- Add in the eggs one at a time, beating well after each addition. Stir in the vanilla extract and pink gel food coloring until well incorporated.
- Gradually mix in the dry ingredients until combined, being careful not to overmix.
- Use a tablespoon to drop balls of dough onto the prepared baking sheet, spacing them about 2 inches apart.
- Bake for 10-12 minutes until edges are set and lightly golden, while centers remain soft.
- Allow cookies to cool on the sheet for about 5 minutes before transferring to a wire rack.
Leave a Reply