
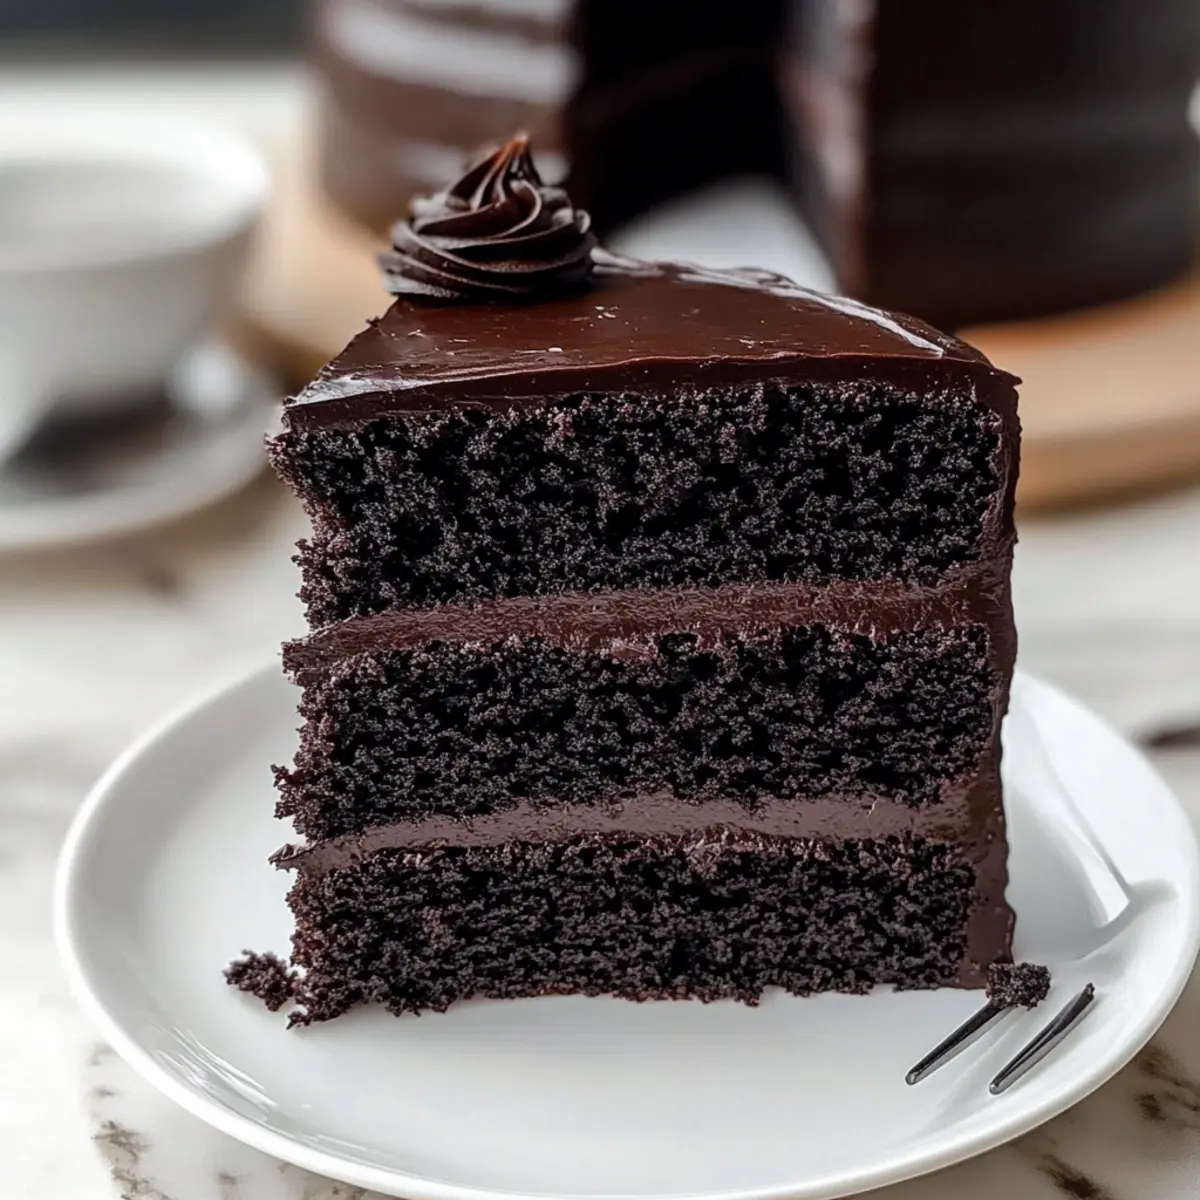
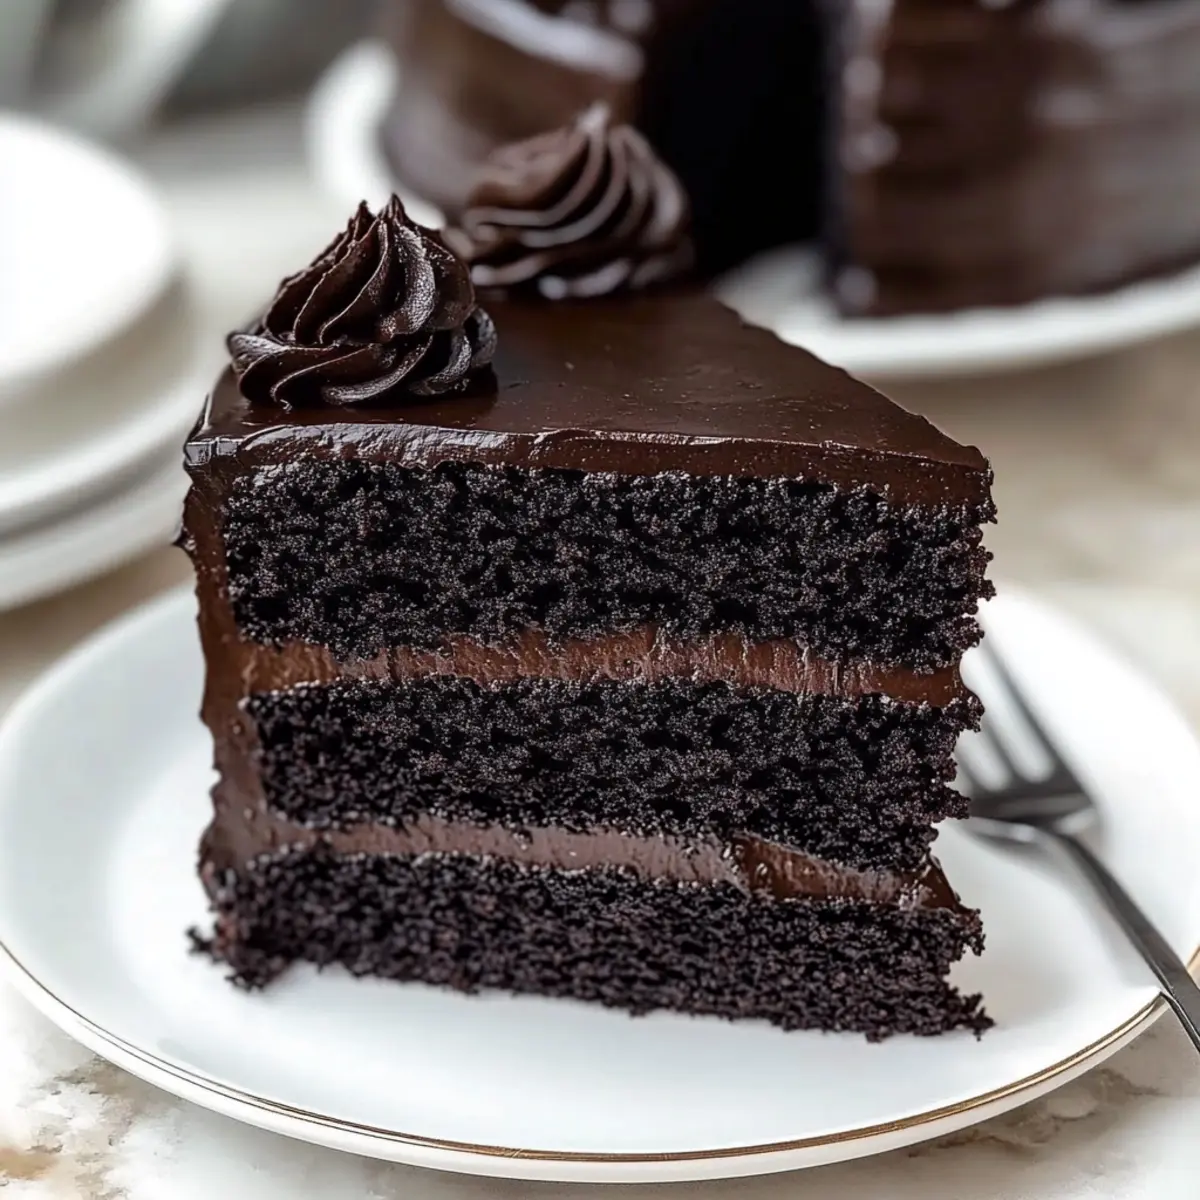
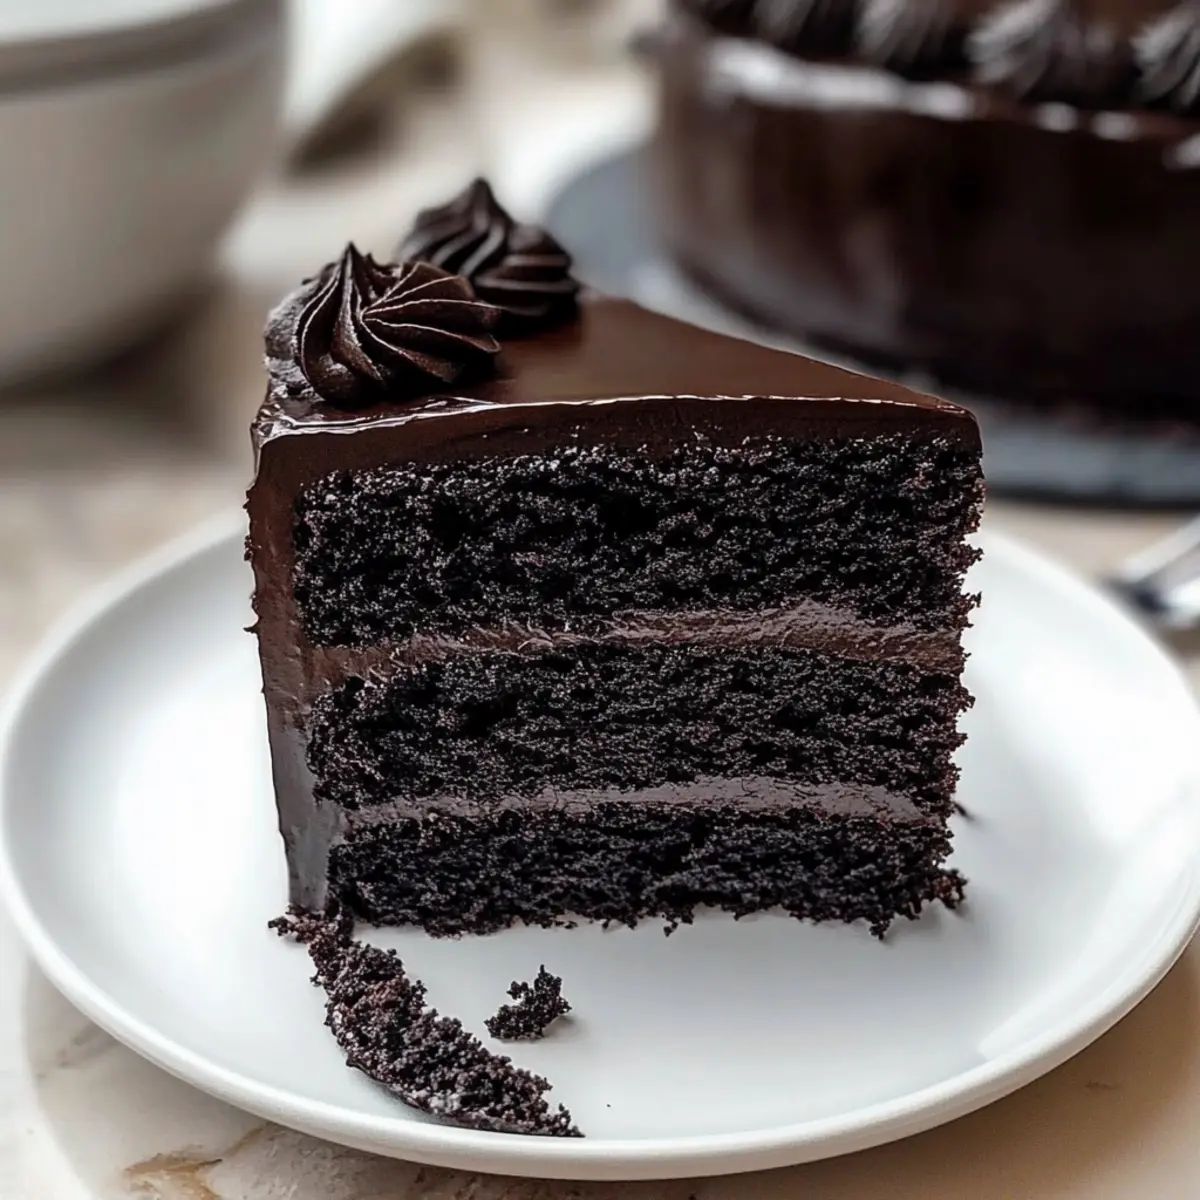
As I pulled my Black Velvet Cake from the oven, the enchanting aroma swirled through the kitchen, tempting everyone to peek inside. This cake, with its deep, rich color and an irresistibly moist crumb, is a true showstopper that elevates any occasion, from cozy dinners to festive celebrations. What sets this recipe apart is the unique twist of black cocoa, enhancing both flavor and allure. Not only is it a visual masterpiece that impresses guests, but it’s also surprisingly simple to prepare using everyday ingredients. So, whether you’re an experienced baker or just starting out, this Black Velvet Cake will make you feel like a culinary superstar in no time. Ready to dive into this delicious adventure and learn how to create a cake that truly captivates?
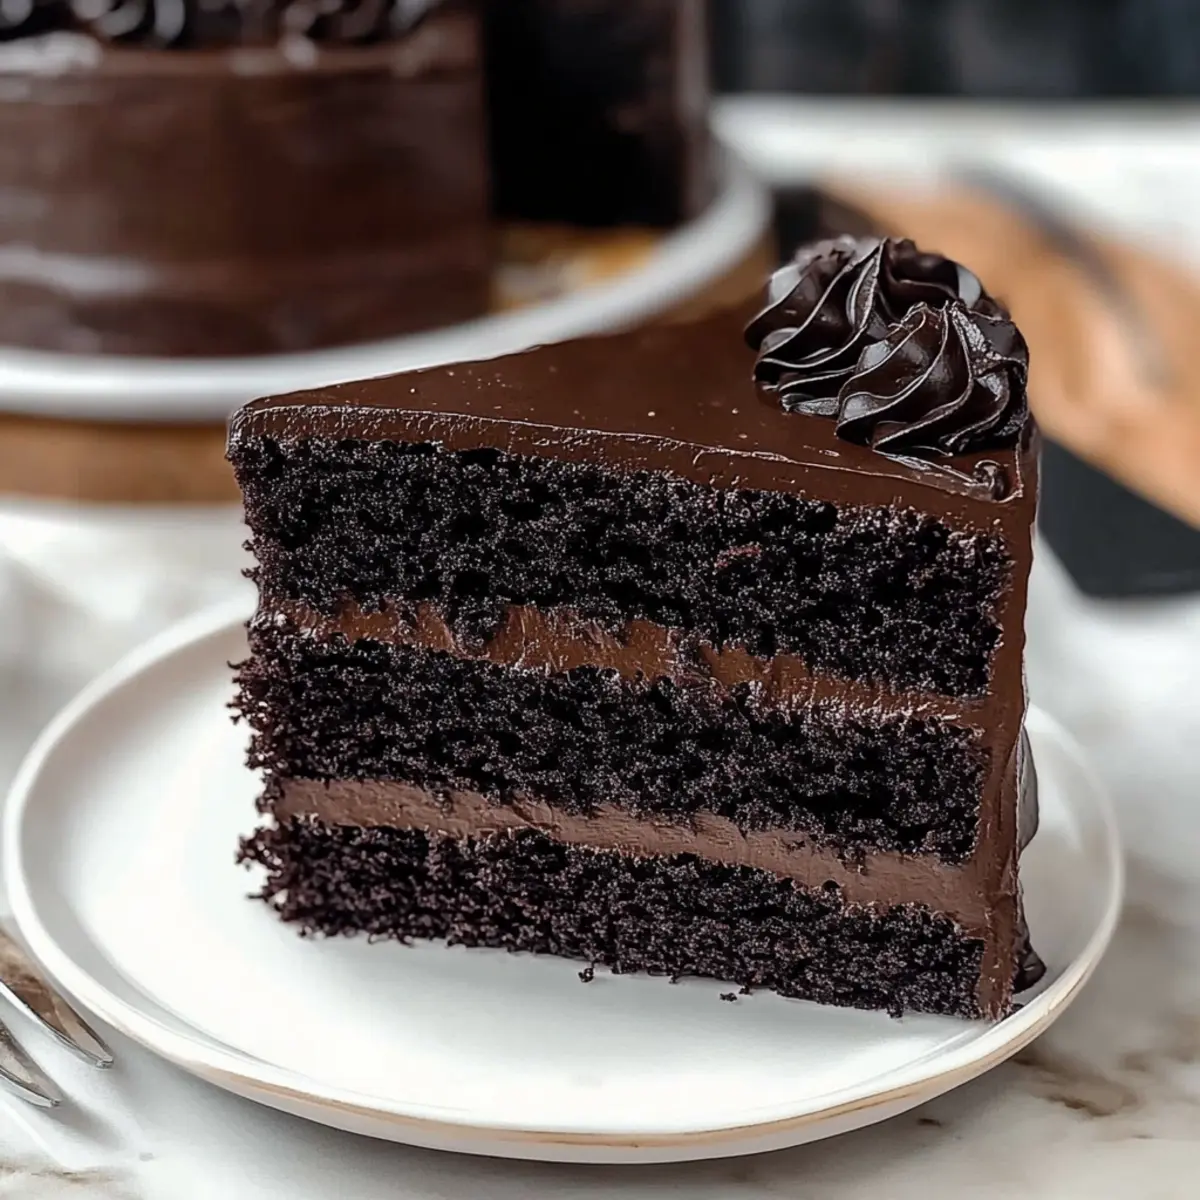
Why Is Black Velvet Cake So Unique?
Irresistible Taste: The combination of black cocoa and buttermilk creates a rich, deep flavor unlike any other chocolate cake.
Stunning Visuals: Its striking dark hue is sure to steal the spotlight at any gathering, making it a perfect centerpiece for celebrations.
Easy to Make: With just a few common ingredients, this cake is straightforward to whip up, perfect for both novice bakers and seasoned chefs alike.
Versatile Options: Swap out the traditional frosting for a decadent cream cheese or luscious ganache for a unique twist.
Perfect for Any Occasion: Whether it’s a holiday feast or a cozy dinner at home, this cake elevates everyday moments into something special.
Don’t miss out on other amazing treats, like Strawberry Shortcake Layer or Chocolate Poke Cake that will impress your family and friends!
Black Velvet Cake Ingredients
• Dive into the silky richness of this cake with these essential ingredients!
For the Cake Batter
- All-purpose flour – Provides structure; can substitute with cake flour for a lighter texture.
- Granulated sugar – Adds sweetness; consider using brown sugar for a deeper flavor.
- Buttermilk – Contributes moisture and tang; substitute with milk plus a tablespoon of vinegar or lemon juice.
- Unsalted butter – Adds creaminess; can be swapped with margarine or a vegan butter alternative.
- Vegetable oil – Ensures moistness; replace with melted coconut oil or melted butter for added flavor.
- Large eggs – Binds the ingredients; no direct substitute, but use flax eggs for a vegan option.
- Black cocoa powder – Provides color and intense chocolate flavor; substitute with Dutch-process cocoa if necessary.
- Unsweetened cocoa powder – Adds additional chocolate flavor; can be omitted if using more black cocoa.
- Baking powder – Serves as a leavening agent; make sure it’s fresh for best results.
- Baking soda – Reacts with buttermilk for extra fluffiness; essential for the cake’s rise.
- Salt – Balances flavors; no substitutes needed.
- White vinegar – Adds tenderness; substitute with lemon juice if required.
- Vanilla extract – Enhances flavor; consider using pure vanilla for a more robust taste.
- Black food coloring (gel or paste) – For a deep color if desired; omit for a darker brown or use additional cocoa.
Get ready to create magic with your very own Black Velvet Cake!
Step‑by‑Step Instructions for Black Velvet Cake
Step 1: Preheat the Oven and Prepare Pans
Begin by preheating your oven to 350°F (175°C). While it warms up, prepare two 9-inch round cake pans by greasing them with butter or oil and dusting them with flour, or lining them with parchment paper. This will ensure that your Black Velvet Cake rises beautifully and releases easily once baked.
Step 2: Cream the Butter and Sugar
In a large mixing bowl, use an electric mixer to beat together the softened unsalted butter and granulated sugar until the mixture is light and fluffy, about 3-5 minutes. You want to see the color change to a pale yellow, indicating that air has been incorporated, which is essential for a tender texture in your Black Velvet Cake.
Step 3: Incorporate Wet Ingredients
Add the vegetable oil to the butter-sugar mixture, mixing until fully combined. Next, add the eggs one at a time, making sure to mix well after each addition. Stir in the vanilla extract and white vinegar, blending until the batter is smooth. This step enriches the flavor and adds moisture, making your cake irresistibly soft.
Step 4: Combine Dry Ingredients
In a separate bowl, sift together the all-purpose flour, black cocoa powder, unsweetened cocoa powder, baking powder, baking soda, and salt. Sifting ensures that there are no lumps and helps aerate the flour, making it easier to mix later. This dry mixture is crucial for achieving the rich color and deep chocolate flavor of your Black Velvet Cake.
Step 5: Mix Ingredients Together
Gradually add the dry ingredients to the wet mixture, alternating with the buttermilk. Begin and end with the dry ingredients, mixing gently until just combined. Avoid overmixing to keep your Black Velvet Cake light and fluffy. The batter should be smooth and glossy, giving a preview of the delightful texture to come.
Step 6: Add Food Coloring
If you desire an even deeper hue, add black food coloring, a drop at a time, mixing until you reach your preferred color. This stage is optional, but it enhances the stunning visual aspect of your Black Velvet Cake. Carefully evaluate the shade, as the color will slightly deepen when baked.
Step 7: Divide and Smooth the Batter
Using a spatula, divide the cake batter evenly between the prepared pans, smoothing the tops for an even bake. This helps the Black Velvet Cake layers to rise uniformly. Ensure each layer has the same amount of batter for balanced, show-stopping layers that stack perfectly when assembled.
Step 8: Bake the Cakes
Place the pans in the preheated oven and bake for 25-30 minutes or until a toothpick inserted into the center of the cakes comes out clean. Keep an eye on them as they bake; a perfectly cooked Black Velvet Cake will spring back lightly when pressed and have a moist aroma wafting through your kitchen.
Step 9: Cool the Cakes
Once baked, remove the pans from the oven and let them cool in the pans for about 10 minutes. After this, carefully transfer the cakes to a wire rack, allowing them to cool completely before frosting. This cooling step helps the cake layers firm up, making it easier to create a beautifully frosted Black Velvet Cake.
What to Serve with Black Velvet Cake
Indulging in a slice of this rich cake invites the senses to a sweet celebration, making it part of a beautifully crafted meal.
-
Creamy Vanilla Ice Cream: The cool, creamy texture of vanilla ice cream balances the deep chocolate flavor of the cake, creating an exquisite harmony of tastes.
-
Fresh Berries Medley: Bright, tart berries like raspberries and strawberries add a burst of freshness, cutting through the richness of the cake and enhancing its decadent nature.
-
Espresso or Coffee: A cup of bold espresso or freshly brewed coffee pairs beautifully with this dessert; the bitter notes contrast perfectly with the sweetness of the cake.
-
Chocolate Ganache: Drizzling warm chocolate ganache over the cake elevates its luxurious feel, adding a silky layer that deepens the chocolate experience.
-
Light Whipped Cream: A dollop of lightly sweetened whipped cream adds a fluffy, airy component that enhances the cake’s chocolatey richness without overwhelming it.
-
Zesty Citrus Sorbet: A refreshing citrus sorbet, like lemon or orange, introduces a tangy flavor that cleanses the palate, making each bite of the rich cake even more enjoyable.
-
Red Wine: A glass of velvety red wine, such as Merlot or Cabernet Sauvignon, complements the bold flavors of the Black Velvet Cake, enriching the overall dining experience.
-
Nutty Biscotti: Pairing with crunchy biscotti brings a delightful textural contrast, perfect for dipping into your drink, whether coffee or dessert wine.
Expert Tips for Black Velvet Cake
-
Room Temperature Ingredients: Ensure your eggs and butter are at room temperature for better mixing, which leads to a lighter Black Velvet Cake.
-
Sifting Matters: Always sift your dry ingredients, especially the cocoa powders. This prevents lumps and ensures even distribution, creating a smooth batter.
-
Watch Your Bake Time: Keep an eye on the baking time. Each oven is different, so check early with a toothpick to avoid overbaking.
-
Don’t Rush the Cooling: Allow the cakes to cool completely before frosting. This prevents melting and sliding of your frosting for a perfect presentation.
-
Experiment with Frosting: Choose your frostings wisely; a cream cheese frosting complements the rich flavors of the Black Velvet Cake beautifully and balances the sweetness.
Make Ahead Options
These Black Velvet Cake layers are perfect for meal prep, allowing you to save time on busy days! You can bake the cakes up to 24 hours in advance; simply let them cool completely, then wrap them tightly in plastic wrap and refrigerate to maintain their moisture. If you want to prepare further ahead, the un-frosted cake layers can be frozen for up to 3 months—just ensure they’re well-wrapped. When you’re ready to serve, thaw them in the refrigerator overnight, and frost with your favorite icing right before serving for pristine freshness. This way, your Black Velvet Cake will taste just as luxurious as if it were freshly baked!
Black Velvet Cake Variations & Substitutions
Feel free to make this delightful Black Velvet Cake your own by playing with flavors and textures!
- Dairy-Free: Swap buttermilk with almond or oat milk mixed with a tablespoon of vinegar for a vegan-friendly version.
- Flavor Boost: Add 1-2 tablespoons of espresso powder to the batter for a rich mocha flavor that complements the chocolate beautifully.
- Nutty Delight: Fold in 1/2 cup of chopped walnuts or pecans into the batter before baking for a crunchy texture contrast.
- Frosting Options: Try a lavish chocolate ganache or a light whipped cream frosting instead of cream cheese for a different taste experience.
- Mini Cake Bites: Bake the batter in a mini muffin tin for delicious bite-sized Black Velvet Cake bites perfect for parties!
- Gluten-Free: Use a 1:1 gluten-free flour blend in place of all-purpose flour to make this cake suitable for gluten sensitivity while keeping that wonderful taste.
- Spicy Twist: Add 1/2 teaspoon of cayenne pepper to the batter for a subtle kick, enhancing the chocolate flavor with a warming heat.
- Layered Extravaganza: Create a multi-layered masterpiece by baking in three pans and stacking with different frostings between layers for an impressive presentation.
And while you’re exploring this chocolatey delight, don’t forget to check out other delectable treats like Spice Gooey Cake or make breakfast fun with Jack Lantern Pancakes! Happy baking!
Storage Tips for Black Velvet Cake
-
Room Temperature: Store cake slices in an airtight container at room temperature for up to 3 days. This keeps the moisture and flavor intact while still being easily accessible for snacks.
-
Fridge: If you need to extend its life, refrigerate the cake wrapped tightly in plastic wrap or in an airtight container for up to 1 week. This is helpful if you’ve topped it with cream cheese frosting.
-
Freezer: For longer storage, freeze slices of Black Velvet Cake in individual portions, securely wrapped in plastic wrap and then aluminum foil, for up to 3 months. Let thaw in the fridge before enjoying.
-
Reheating: To serve, allow the cake to come to room temperature or warm it slightly in the microwave for about 10-15 seconds. This helps renew its deliciously soft texture.
Black Velvet Cake Recipe FAQs
How do I choose the right black cocoa powder?
Choosing high-quality black cocoa powder is key to achieving that intense color and flavor in your Black Velvet Cake. Look for a brand that is pure and unsweetened, as this will give you the best results. It should be very dark and have a rich chocolate scent. If you only have regular cocoa on hand, Dutch-process cocoa can be a good substitute, but the cake will have a lighter color and a different taste profile.
How should I store the Black Velvet Cake?
To keep your Black Velvet Cake at its best, store it in an airtight container at room temperature for up to 3 days. This method helps maintain its moisture. If you want to keep it longer, simply wrap it tightly in plastic wrap and refrigerate it for up to 1 week. Just be sure to let it come to room temperature before serving to enjoy its full flavor.
Can I freeze the Black Velvet Cake?
Absolutely! To freeze your Black Velvet Cake, wrap individual slices tightly in plastic wrap, then in aluminum foil for extra protection. This way, the cake can be stored in the freezer for up to 3 months. When you’re ready to enjoy it, simply transfer it to the fridge overnight to thaw. For a little extra decadence, warm the cake in the microwave for 10-15 seconds before serving.
What should I do if my cake is sinking in the middle?
If your Black Velvet Cake sinks in the middle, it could be due to several factors. First, make sure your oven is properly calibrated; an incorrect temperature can cause cakes to underbake. Additionally, overmixing the batter can create a dense texture, which may also lead to sinking. To prevent this, mix just until the ingredients are combined. If it happens, try to enjoy the “cake” as a more pudding-like dessert or add frosting to mask the imperfections!
Is this cake suitable for people with allergies?
The Black Velvet Cake does contain common allergens like eggs, dairy, and wheat. If you’re baking for someone with allergies, consider substituting ingredients accordingly. Use flax eggs for a vegan option and plant-based milk mixed with vinegar instead of buttermilk. You can also substitute all-purpose flour with a gluten-free blend, ensuring that it’s suitable for those with gluten sensitivities.
What type of frosting pairs well with Black Velvet Cake?
For a truly indulgent experience, I recommend pairing your Black Velvet Cake with cream cheese frosting or a rich chocolate ganache. The tanginess of the cream cheese frosting beautifully balances the intense chocolate flavor, while ganache adds a luxurious finish. Feel free to experiment with flavored frostings like salted caramel or peanut butter for a unique twist!
Indulge in Decadence with Black Velvet Cake Bliss
Ingredients
Equipment
Method
- Preheat the oven to 350°F (175°C) and prepare two 9-inch round cake pans.
- Cream the softened butter and sugar until light and fluffy, about 3-5 minutes.
- Incorporate vegetable oil, eggs one at a time, vanilla extract, and white vinegar until smooth.
- Sift together the flour, black cocoa, unsweetened cocoa, baking powder, baking soda, and salt.
- Gradually add dry ingredients to the wet mixture alternating with buttermilk, mixing gently.
- Add black food coloring if desired.
- Divide batter evenly between pans and smooth the tops.
- Bake for 25-30 minutes until a toothpick comes out clean.
- Cool the cakes in pans for 10 minutes then transfer to a wire rack to cool completely.
Leave a Reply