
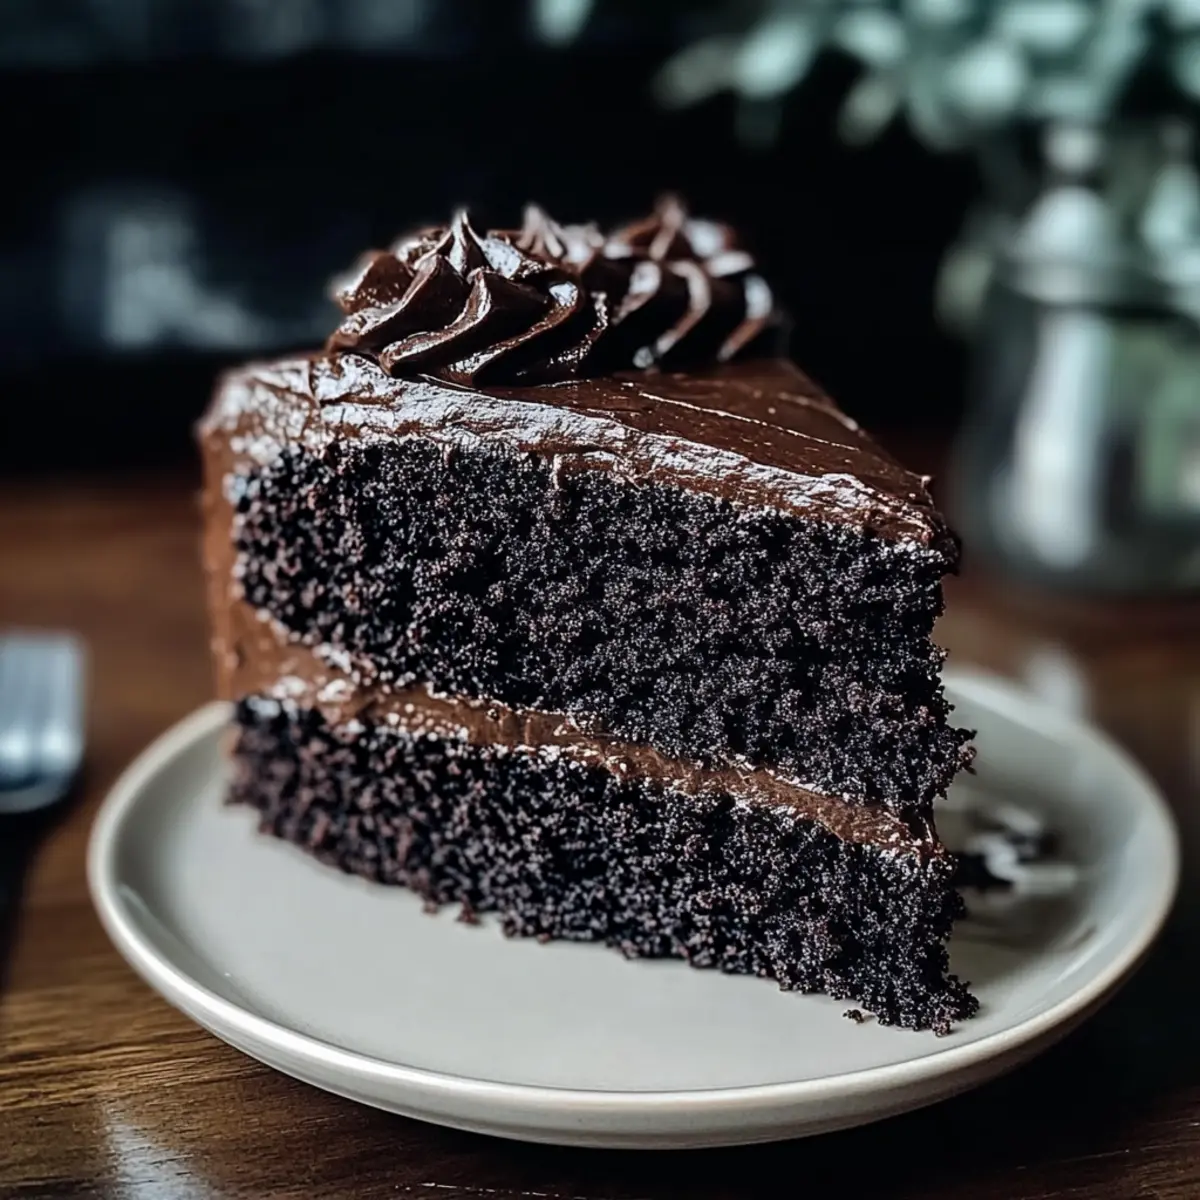
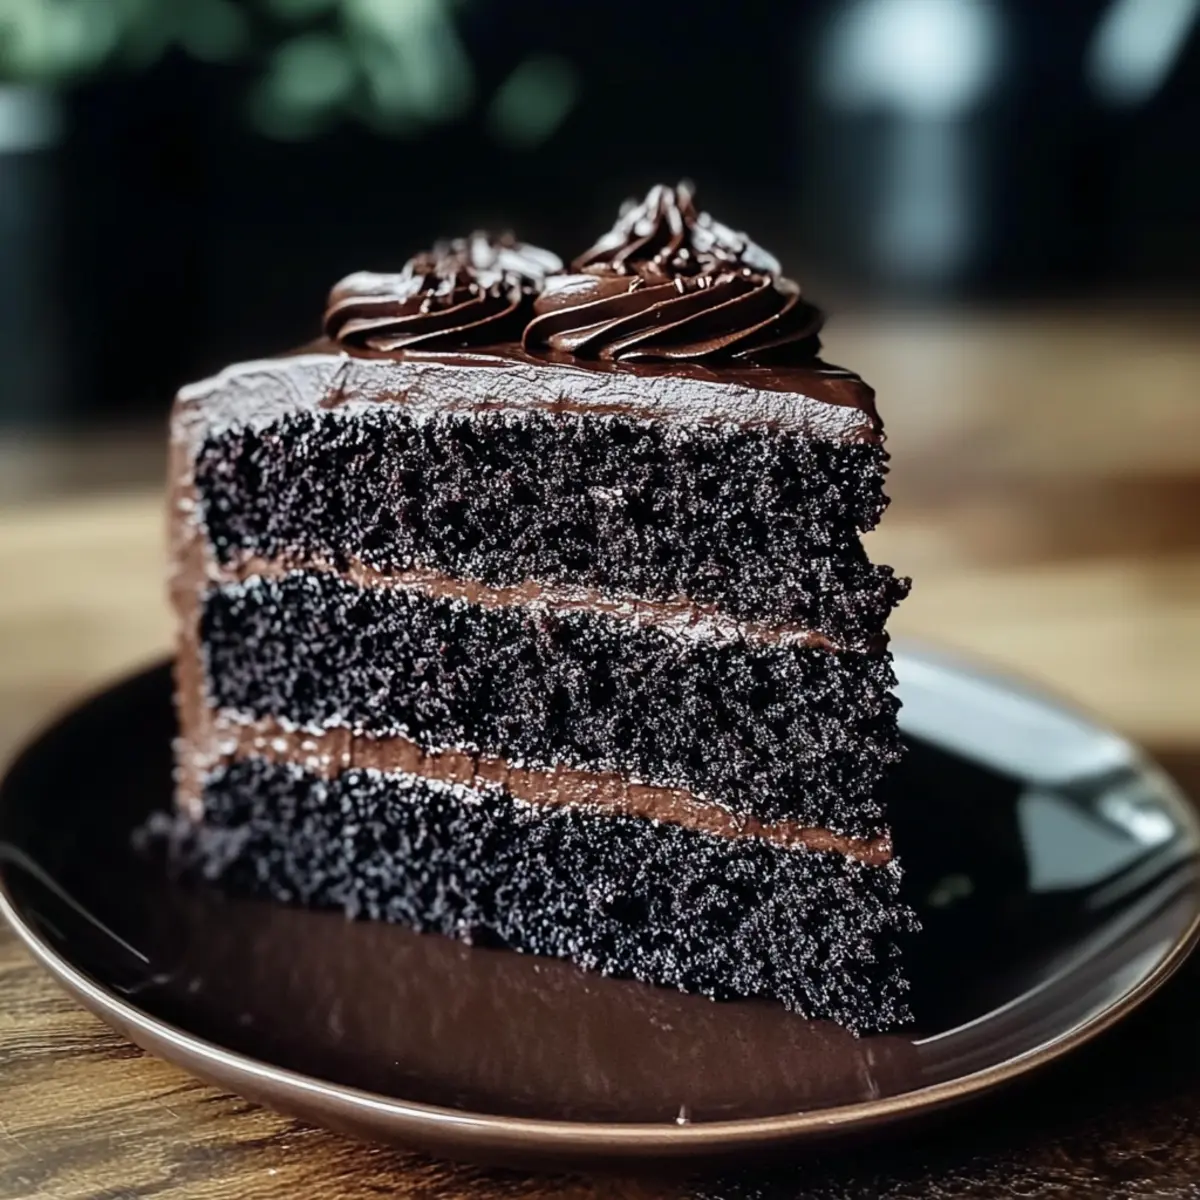
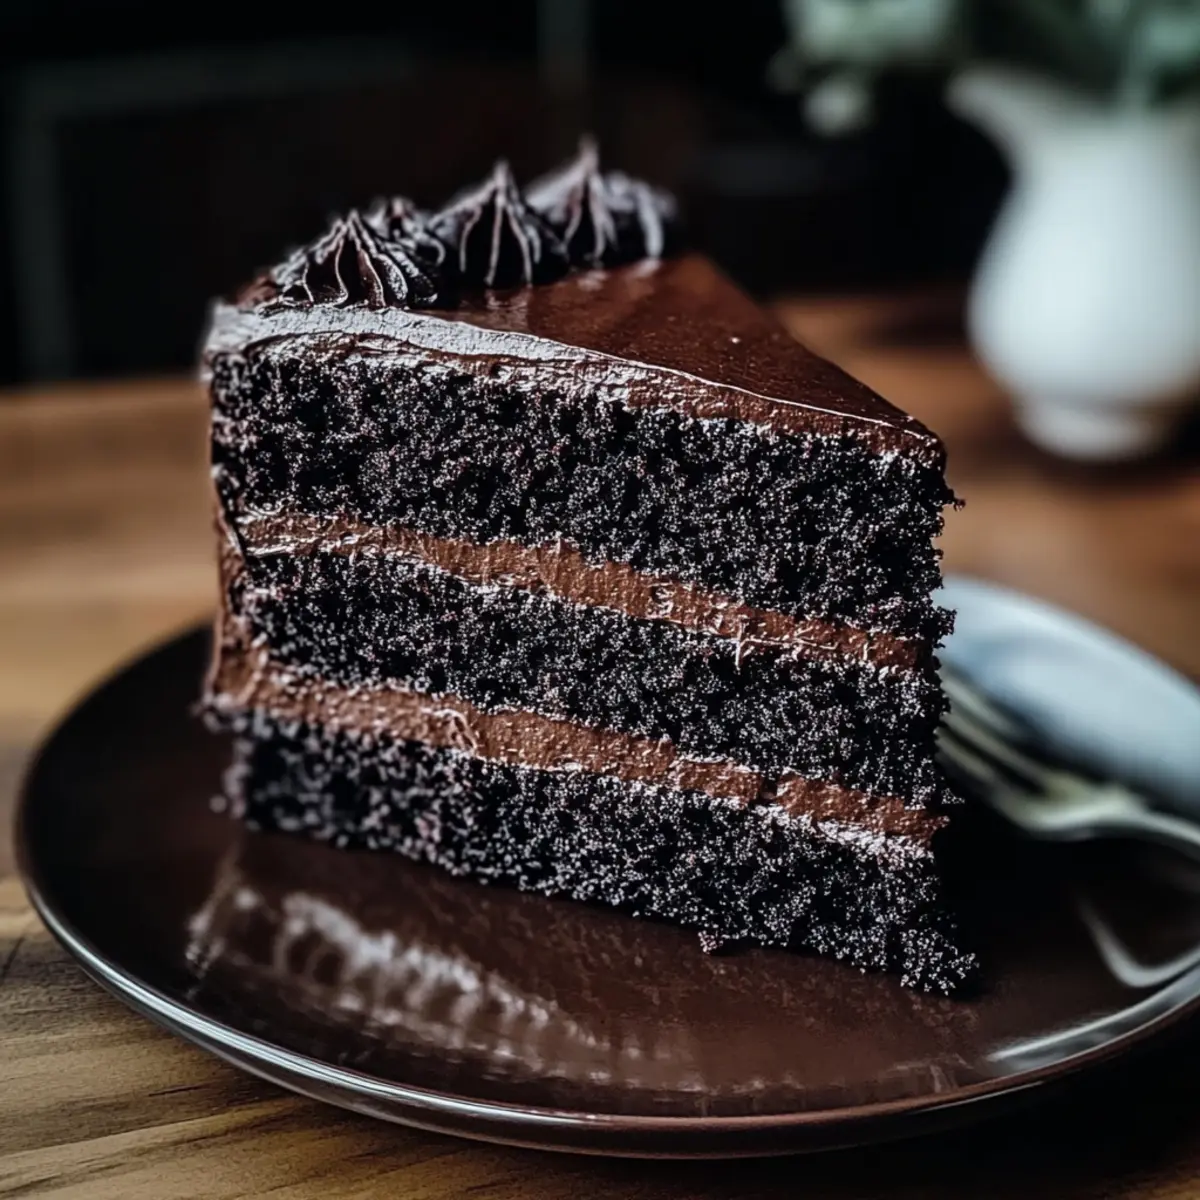
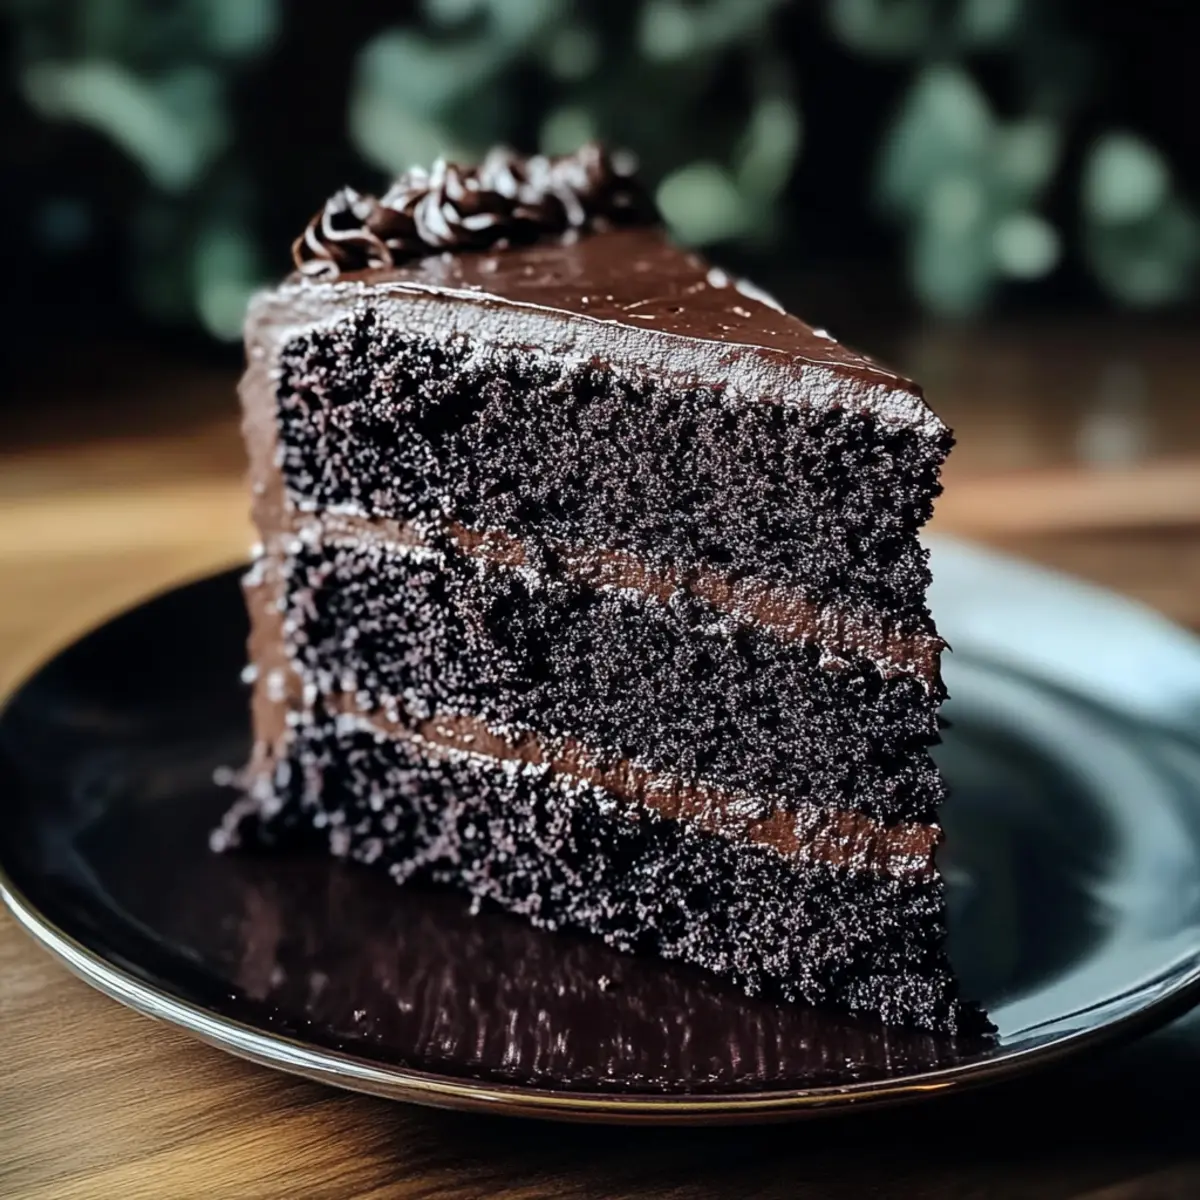
There’s something magical about the contrast of rich chocolate and tangy cream cheese that transforms an ordinary celebration into an extraordinary one. Enter the Black Velvet Cake, a show-stopping dessert that combines a soft, moist texture with deep cocoa flavor, making it an instant favorite for birthdays, anniversaries, or just because. Not only is it a crowd-pleaser, but it’s also surprisingly simple to whip up, allowing both novice bakers and seasoned cooks to shine. This delightful cake offers maximum flavor with minimal fuss, ensuring that you can impress without the stress. Are you ready to dive into a slice of this heavenly creation? Let’s make some memories!
Why Is This Cake So Irresistible?
Irresistible Flavors: The dark, rich chocolate mingles perfectly with the creamy, tangy frosting, creating a flavor combination that will have your taste buds dancing.
Simple to Create: With straightforward steps, even beginners can bake this dazzling cake with ease, making it a go-to for any occasion.
Perfect for Celebrations: Be it birthdays, anniversaries, or holiday gatherings, the Black Velvet Cake serves as an impressive centerpiece sure to delight your guests.
Versatile Options: Add a scoop of vanilla ice cream or drizzle with chocolate sauce for an elevated dessert experience, just like with our Chocolate Poke Cake.
Store and Enjoy: Leftovers? This cake stays delicious for days, perfect for a sweet treat throughout the week, or freeze unfrosted layers for future celebrations!
Memorable Moments: Baking this cake creates lasting memories with loved ones—share a slice and make a celebration unforgettable.
Black Velvet Cake Ingredients
• Make this delicious treat with ease!
For the Cake
- All-Purpose Flour – Essential for structure, giving the cake its light texture.
- Granulated Sugar – Balances out the cocoa’s richness and keeps the cake moist.
- Unsweetened Cocoa Powder – Adds a deep chocolate flavor for a true chocolate cake experience.
- Baking Soda – This leavening agent helps the cake rise; ensure it’s fresh to maximize effectiveness.
- Salt – Enhances the flavors and balances the sweetness perfectly.
- Vegetable Oil – Keeps the cake moist and tender; feel free to use melted butter for an extra flavor boost.
- Buttermilk – Provides moisture and a delightful tang; substitute with regular milk and a splash of vinegar if needed.
- Large Eggs – Binds the ingredients while adding richness to the cake.
- Vanilla Extract – Enhances the sweetness and overall flavor; no substitutes necessary.
- Boiling Water – Key for creating a smooth batter and ensuring moisture throughout the cake.
For the Cream Cheese Frosting
- Cream Cheese – Provides a creamy and tangy base, enhancing the cake’s overall taste.
- Powdered Sugar – Sweetens the frosting and helps achieve a smooth consistency.
- Unsalted Butter – Adds richness and creaminess; using it at room temperature makes it easy to blend.
- Vanilla Extract – Adds a warm note to the frosting; feel free to include a touch of lemon zest for a unique twist.
This Black Velvet Cake is bound to be a crowd-pleaser, making any celebration unforgettable!
Step‑by‑Step Instructions for Black Velvet Cake
Step 1: Preheat & Prepare Pans
Begin by preheating your oven to 350°F (175°C). While the oven warms up, prepare two 9-inch round cake pans by greasing them with butter or oil and dusting them with flour to prevent sticking. Alternatively, you can line the bottoms with parchment paper for added assurance. Set the prepared pans aside as you move on to mixing the dry ingredients.
Step 2: Mix Dry Ingredients
In a large mixing bowl, whisk together the all-purpose flour, granulated sugar, unsweetened cocoa powder, baking soda, and salt until they are well combined. This step is crucial for ensuring uniform flavor and texture in your Black Velvet Cake. Take a moment to enjoy the rich chocolate aroma as you blend these dry ingredients thoroughly.
Step 3: Combine Wet Ingredients
Next, add the vegetable oil, buttermilk, large eggs, and vanilla extract to your dry mixture. Using an electric mixer or whisk, blend the ingredients until they are just combined, being careful not to overmix. The batter will start to come together, bringing the luscious, velvety texture characteristic of a Black Velvet Cake.
Step 4: Incorporate Boiling Water
Carefully stir in the boiling water into the batter. This is a key step, as the hot water helps create a smooth, silky batter that promises a moist cake. The batter will be thin, but this is perfectly normal; it will bake into a beautiful, tender cake as it rises in the oven.
Step 5: Bake
Pour the batter evenly into the prepared cake pans, smoothing the tops with a spatula. Place the pans in the preheated oven and bake for 30-35 minutes. Keep an eye on them and use a toothpick to check for doneness; it should come out clean when inserted into the center of the cakes. This ensures your Black Velvet Cake is perfectly baked.
Step 6: Cool & Frost
Once baked, remove the pans from the oven and let them cool for about 10 minutes. After cooling slightly, carefully turn the cakes out onto a wire rack to cool completely. When the cakes are cool to the touch, generously spread your cream cheese frosting between the layers and on top, creating a lovely finish for this decadent Black Velvet Cake.
What to Serve with Black Velvet Cake
Experience the delight of pairing your special cake with delightful accompaniments that will enhance every bite.
- Fresh Berries: The tartness of strawberries or raspberries beautifully contrasts the sweet richness of the cake, adding a burst of freshness.
- Vanilla Ice Cream: A scoop of creamy vanilla ice cream melts into the warm cake, creating a rich, indulgent dessert experience that is simply irresistible.
- Chocolate Ganache: Drizzling chocolate ganache on top intensifies the chocolate experience, complementing the Black Velvet Cake’s deep cocoa flavor without overwhelming it.
- Espresso: A small cup of rich espresso balances the sweetness, enhancing the chocolate and making for a sophisticated after-dinner treat.
- Whipped Cream: Light, fluffy whipped cream adds a creamy texture that offsets the dense cake, making each slice feel luxurious and smooth.
- Caramel Sauce: A drizzle of warm caramel sauce brings a sweet, buttery note that pairs wonderfully with the tangy cream cheese frosting, adding an extra layer of flavor.
- Mint Leaves: A sprinkle of fresh mint leaves not only adds a pop of color but also introduces a refreshing element that brightens the dessert experience.
- Chocolate-Covered Strawberries: These delightful bites can serve as a fun side treat, adding an elegant touch that emphasizes the chocolate theme of the cake.
Make Ahead Options
These Black Velvet Cake layers are a fantastic option for meal prep enthusiasts! You can bake the cake itself up to 3 days in advance; simply allow the layers to cool completely, wrap them tightly in plastic wrap, and refrigerate. For the best quality, the cream cheese frosting can be prepared up to 24 hours before serving. Keep it covered in the fridge, and give it a good stir before using to restore its creamy texture. When you’re ready to serve, take the layers from the fridge, allow them to reach room temperature (for about 30 minutes), and generously spread the frosting between the layers and on top for that melt-in-your-mouth experience!
Expert Tips for Your Black Velvet Cake
-
Room Temperature Ingredients: Ensure all cold ingredients, like buttermilk and eggs, are at room temperature for better emulsification, leading to a smoother batter and a fluffier cake.
-
Don’t Overmix: Gently mix the wet and dry ingredients just until combined. Overmixing can lead to a dense texture instead of the light, velvety finish you want for your Black Velvet Cake.
-
Fresh Baking Soda: Always check that your baking soda is fresh. This leavening agent is crucial for a light texture, and outdated baking soda may lead to a flat cake.
-
Boiling Water Tip: When adding boiling water, do it slowly and carefully to avoid splashing. This step is vital for ensuring moisture and a tender crumb in your cake.
-
Cooling Time: Allow the cakes to cool completely before frosting. If the cakes are warm, the frosting can melt, making it difficult to achieve that beautiful presentation.
-
Storage Wisely: If you have leftovers, store the cake in an airtight container in the fridge to maintain freshness. It can last for up to 3-4 days, making it a perfect treat throughout the week!
Black Velvet Cake Variations & Substitutions
Feel free to add your personal touch to the Black Velvet Cake with these delightful twists!
- Ganache Topping: Swap the cream cheese frosting for a rich chocolate ganache made from melting chocolate and heavy cream for an indulgent twist.
- Chocolate Chips: Mix in a handful of chocolate chips to the batter for an extra burst of chocolaty goodness that enhances each bite.
- Almond Extract: Substitute vanilla extract with a splash of almond extract in the frosting to create an unexpected yet delicious flavor profile.
- Dairy-Free: Use plant-based milk and vegan butter to create a dairy-free version, ensuring everyone can enjoy the cake!
- Spicy Heat: Add a pinch of cayenne pepper to the batter for a surprising kick that contrasts beautifully with the sweetness.
- Fruit Infusion: Layer in some fresh raspberries or cherries between the cake layers for a fruity contrast to the rich chocolate.
- Nutty Surprise: Fold in some finely chopped walnuts or pecans to add a lovely crunch and nutty flavor throughout the cake.
- Mini Cakes: Bake the batter in muffin tins for adorable mini Black Velvet cupcakes and adjust the baking time to 20-25 minutes for quick treats.
No matter how you choose to personalize your Black Velvet Cake, make sure to save a slice to enjoy with a warm cup of coffee or a side of our comforting Spice Gooey Cake. Happy baking!
How to Store and Freeze Black Velvet Cake
Fridge: Store any leftover Black Velvet Cake in an airtight container for up to 3-4 days. This helps maintain its moistness and flavor.
Freezer: For longer storage, freeze unfrosted layers by wrapping each in plastic wrap and then aluminum foil. They can last for up to three months, ready for future celebrations!
Reheating: If serving leftovers, let the cake come to room temperature before enjoying. You can warm individual slices in the microwave for about 10-15 seconds for an extra delightful treat.
Black Velvet Cake Recipe FAQs
What type of cocoa powder should I use for the Black Velvet Cake?
Absolutely! You should use unsweetened cocoa powder for the best results. This type brings out the deep chocolate flavor that is essential to the cake’s rich taste. Look for a high-quality brand to ensure maximum flavor impact. Avoid using Dutch-process cocoa as its alkalized nature may alter the cake’s texture and rise.
How should I store my Black Velvet Cake after baking?
Very good question! If frosted, store your Black Velvet Cake in an airtight container in the refrigerator for up to 3-4 days. This helps retain its moisture and flavor. If left unfrosted, it can be stored in a cool, dry place for even longer. Just be sure to wrap it well to avoid drying out!
Can I freeze the Black Velvet Cake?
Absolutely! To freeze, first ensure the cake is completely cooled. Then, wrap each unfrosted layer tightly in plastic wrap and again in aluminum foil. You can freeze them for up to three months. When you’re ready to enjoy, just remove them from the freezer and let them thaw in the refrigerator overnight before frosting and serving.
What should I do if my cake domed too much?
If your Black Velvet Cake has a significant dome after baking, don’t worry! This is often caused by an overly high oven temperature or too much baking powder. You can remedy this by gently leveling the top with a serrated knife once cooled. That way, your frosting will sit evenly, and your presentation will remain beautiful!
Can I use a different frosting than cream cheese?
Of course! While the cream cheese frosting perfectly complements the chocolate flavors of the Black Velvet Cake, you can certainly substitute it with chocolate ganache or whipped cream for a lighter option. If you do this, remember that the cake is quite rich, so a lighter frosting can balance the flavors delightfuly!
Is this cake safe for people with gluten allergies?
Great consideration! Unfortunately, the traditional Black Velvet Cake recipe contains all-purpose flour, which is not gluten-free. However, you could successfully substitute the all-purpose flour with a gluten-free baking mix in a 1:1 ratio. Be sure to check your other ingredients, as some may also contain gluten.
Decadent Black Velvet Cake with Creamy Frosting Delight
Ingredients
Equipment
Method
- Preheat your oven to 350°F (175°C) and prepare two 9-inch round cake pans.
- In a large bowl, whisk together all-purpose flour, granulated sugar, cocoa powder, baking soda, and salt.
- Add vegetable oil, buttermilk, eggs, and vanilla extract. Mix until just combined.
- Stir in boiling water carefully to create a smooth batter.
- Pour the batter into prepared pans and bake for 30-35 minutes until a toothpick comes out clean.
- Let the cakes cool for about 10 minutes before transferring them to a wire rack. Frost with cream cheese frosting when cooled.
Leave a Reply