
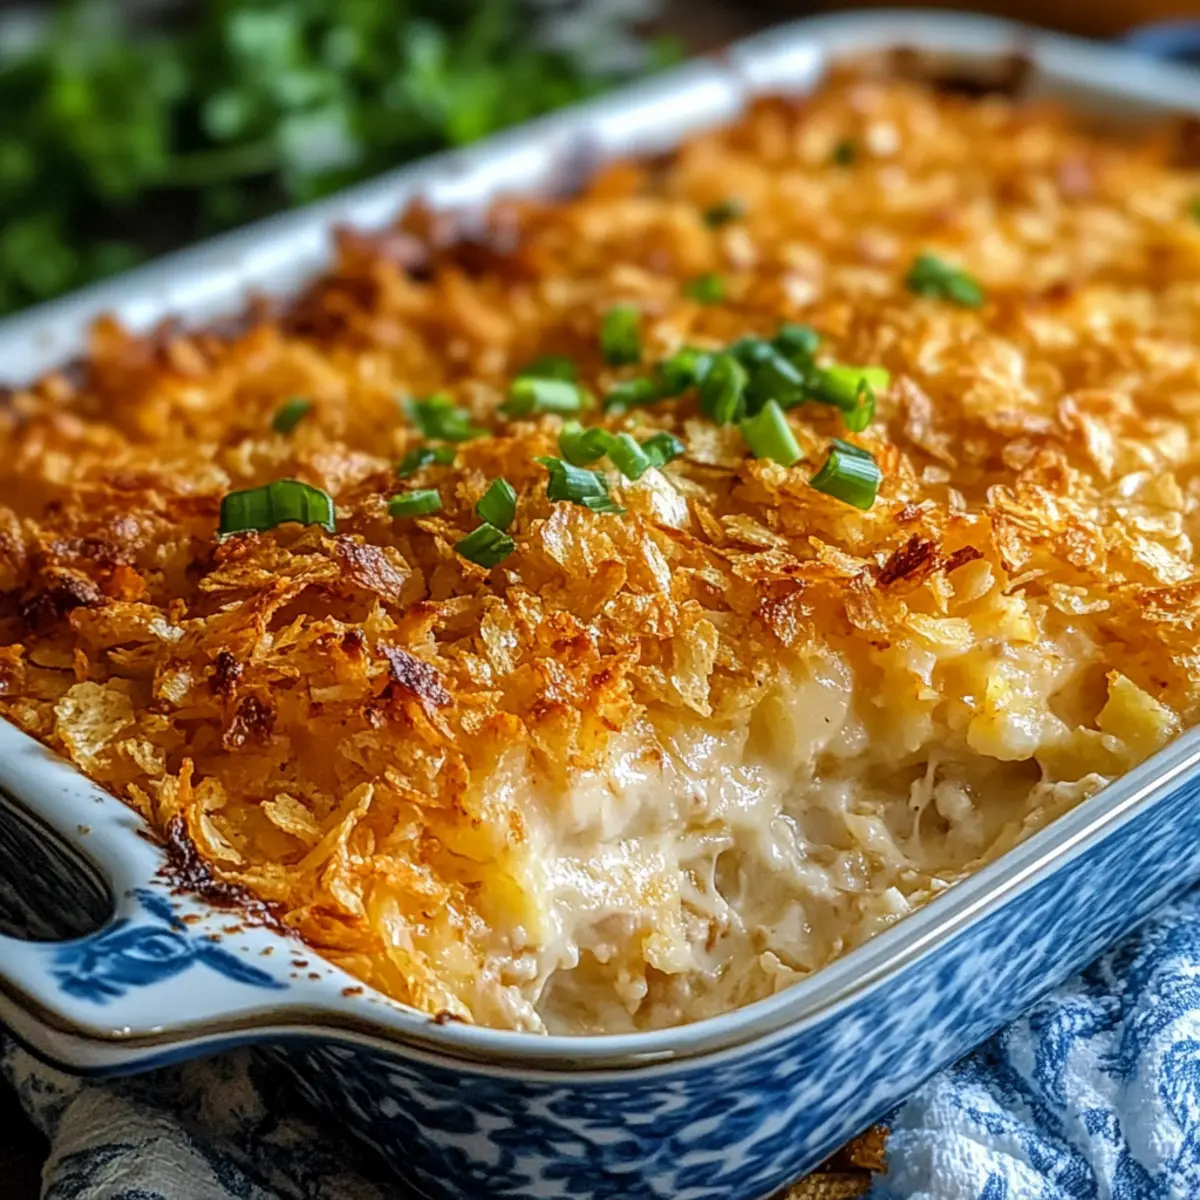
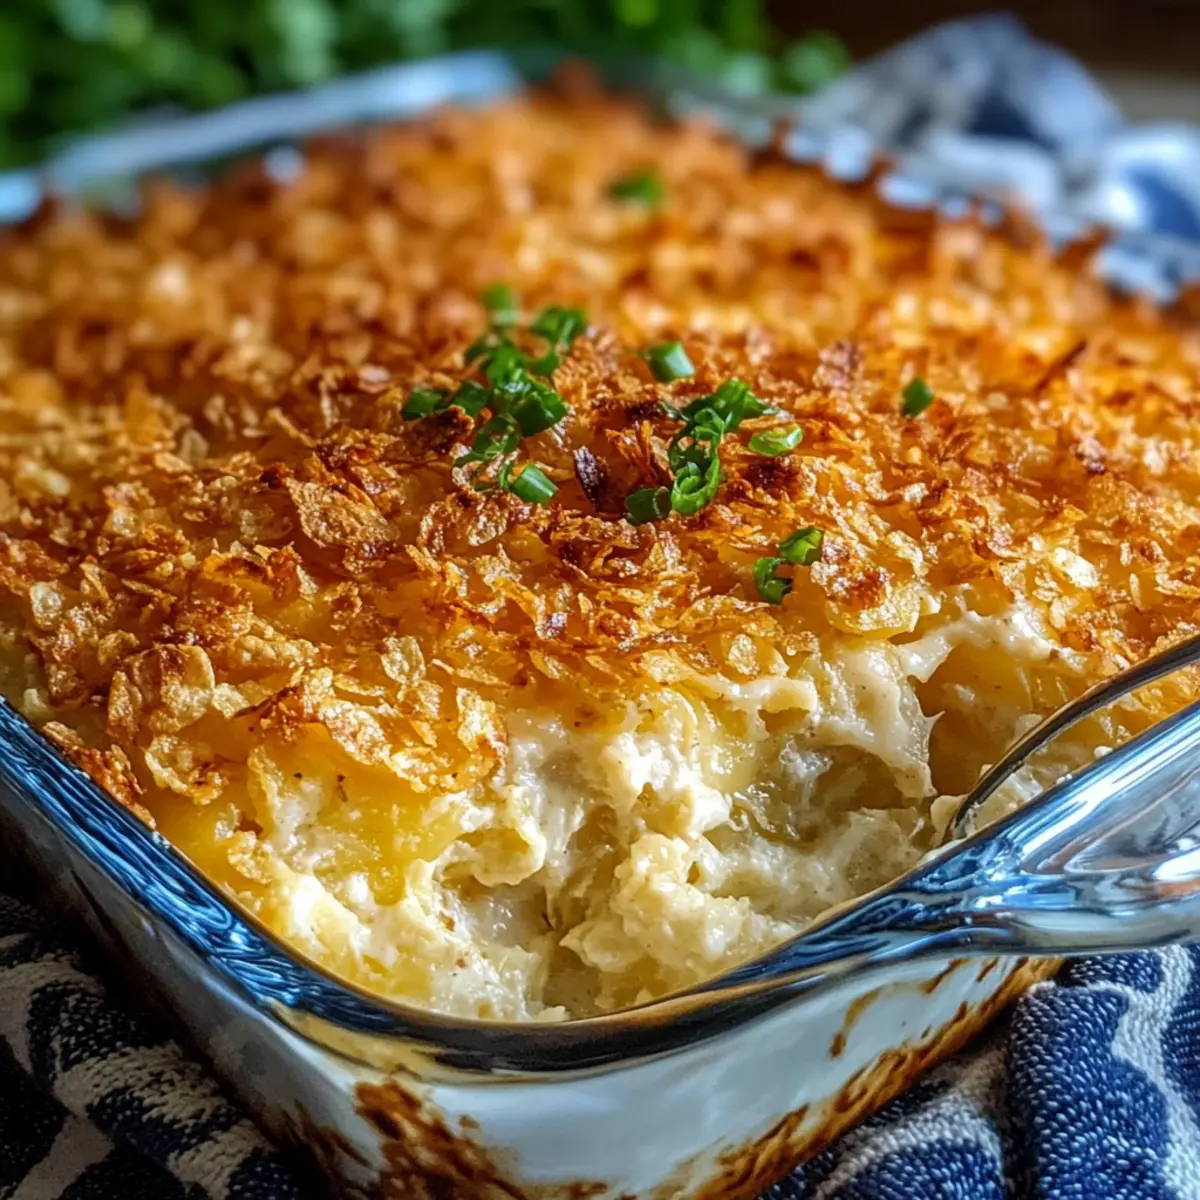
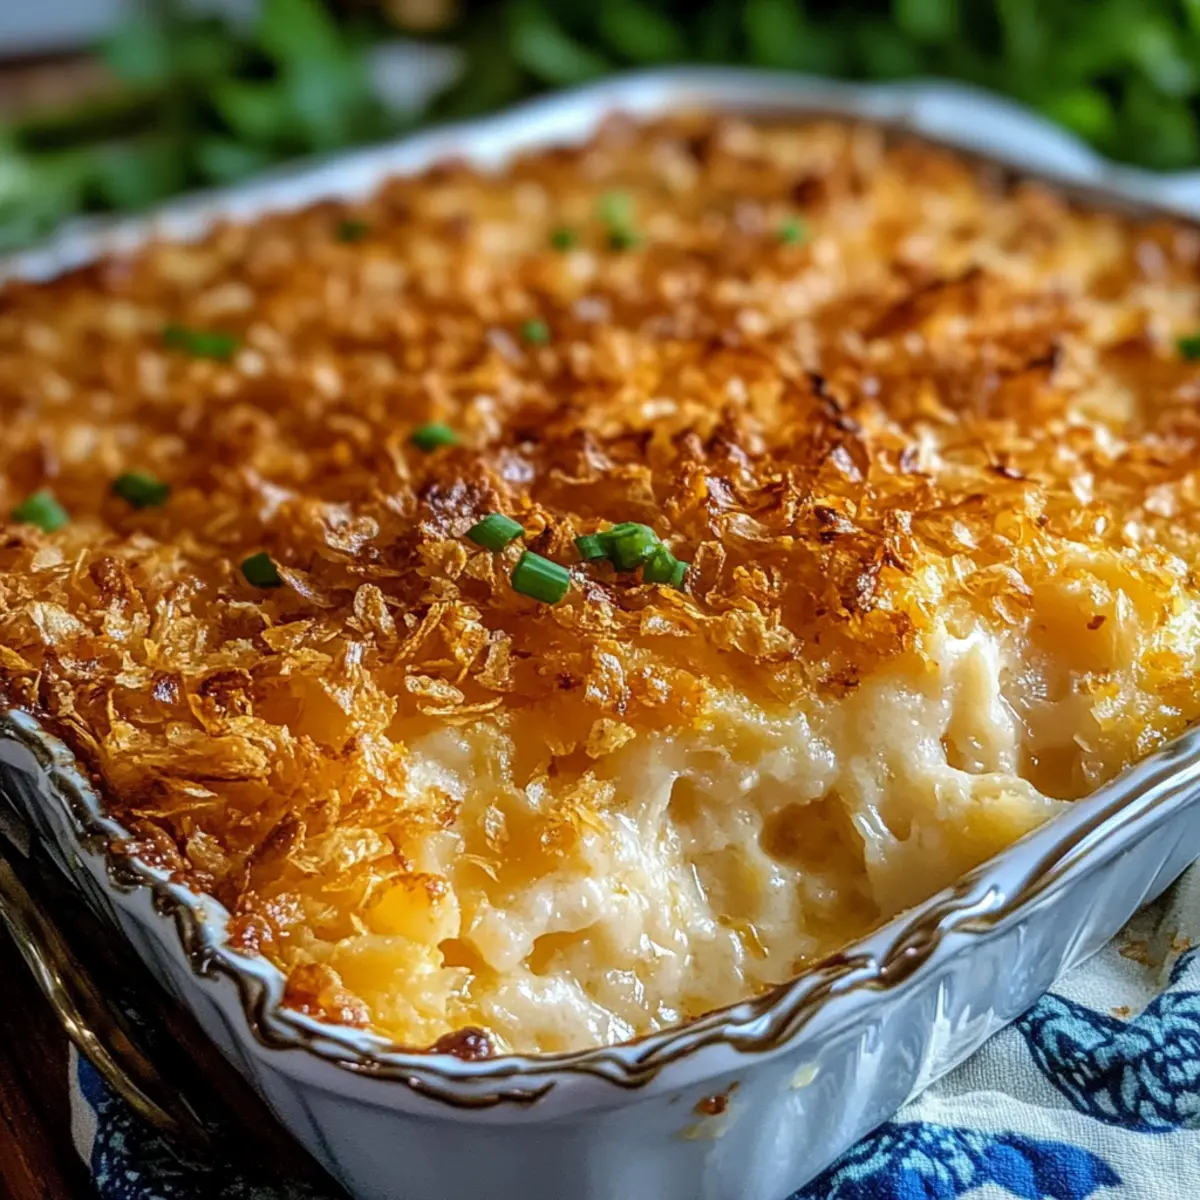
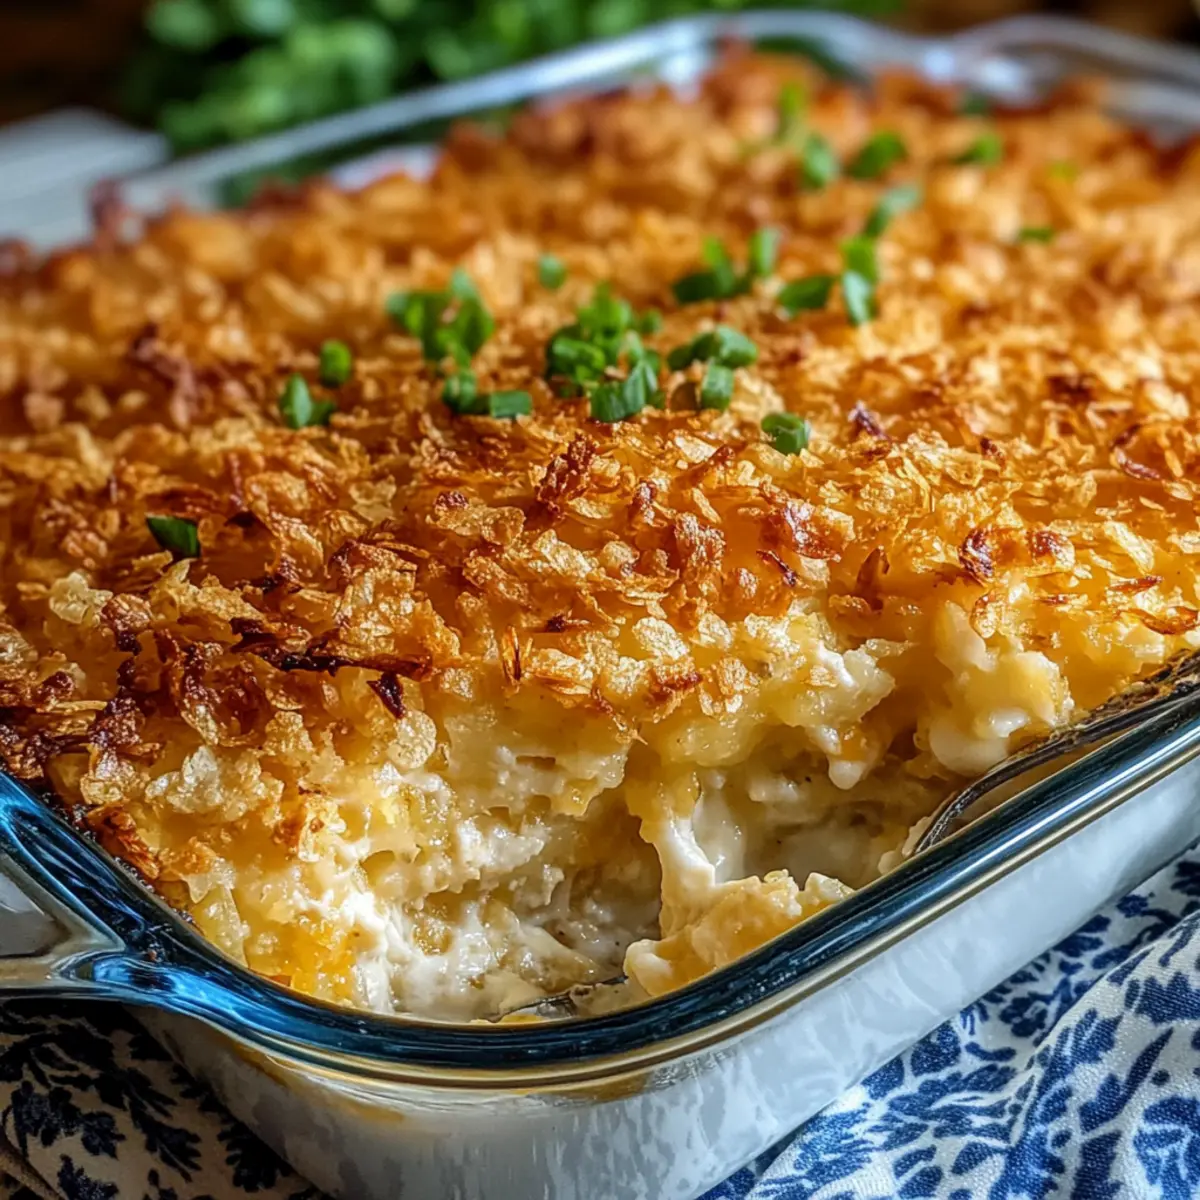
As I stood in the kitchen, an aromatic blend of melted cheese and crispy goodness danced through the air, instantly wrapping me in nostalgia. Funeral Potatoes, or what many affectionately refer to as Cheesy Hash Brown Casserole, have a special place in my heart as the ultimate comfort food. This delightful dish isn’t just tasty; it’s a crowd-pleaser that brings friends and family together at potlucks, holiday gatherings, or even just a cozy weeknight dinner. With its easy prep and creamy, cheesy filling complimented by a satisfying crunchy topping, this casserole is versatile enough to elevate any occasion. Ready to whip up a bowl of warmth and joy? Let’s dive into the recipe!
Why are Funeral Potatoes a Must-Try?
Irresistible Comfort: Funeral Potatoes, or Cheesy Hash Brown Casserole, are the epitome of cozy indulgence, offering a warm, creamy filling that’s utterly satisfying. Crowd-Pleaser: Perfect for gatherings, this dish is sure to be devoured by guests, leaving them asking for seconds. Customizable Delight: With variations like adding bacon or veggies, it’s easy to make this dish your own. Quick and Easy: With minimal prep and straightforward steps, you can whip this up in no time and have a delicious result. If you enjoy comforting casseroles like Tuna Casserole Comfort or Egg Breakfast Casserole, this one will soon become a favorite too!
Cheesy Hash Brown Casserole Ingredients
For the Casserole
- Frozen Hash Browns – The ideal base for this dish, offering texture and bulk.
- Sour Cream – Adds a creamy tang; Greek yogurt works as a lighter substitute.
- Cream of Chicken Soup – Provides moisture and richness; swap for cream of mushroom soup for a vegetarian option.
- Cheddar Cheese – Delivers sharpness and gooeyness; consider Monterrey Jack for a different flavor twist.
- Mozzarella Cheese – Contributes a stretchy texture and mild taste; provolone is a good alternative.
- Melted Butter – Enhances flavor and helps achieve that appealing golden crust; olive oil serves as a healthier alternative.
- Chopped Onion – Adds savory depth; shallots or green onions can be used for a milder flavor.
- Garlic Powder – Offers a hint of enticing aroma; fresh garlic provides a bolder taste.
- Salt and Black Pepper – Essential for seasoning; adjust to taste for that perfect balance.
For the Topping
- Crushed Cornflakes or Potato Chips – Create a delightful crunchy finish on top; potato chips add a different flavor crunch.
Step‑by‑Step Instructions for Cheesy Hash Brown Casserole
Step 1: Preheat Oven
Start by preheating your oven to 350°F (175°C). While it warms up, grab a 9×13-inch baking dish and generously grease it with butter or spray. This ensures your Cheesy Hash Brown Casserole comes out easily and has a beautifully crisp edge.
Step 2: Prepare Casserole Mix
In a large mixing bowl, combine the frozen hash browns, sour cream, cream of chicken soup, shredded cheddar, and mozzarella cheeses, melted butter, chopped onion, garlic powder, salt, and black pepper. Mix everything together until the hash browns are well coated with the creamy goodness, which will create a luscious texture in your casserole.
Step 3: Transfer to Baking Dish
Once the mixture is nicely blended, pour it into the greased baking dish. Spread it evenly with a spatula to ensure that every bite of your Cheesy Hash Brown Casserole has the perfect balance of creaminess and crispiness.
Step 4: Add Topping
Now, it’s time to add some crunch! Sprinkle a generous layer of crushed cornflakes or potato chips over the top of your casserole. This will create a delightful golden-brown topping that complements the creamy interior perfectly, adding an irresistible texture.
Step 5: Bake
Place the casserole in the preheated oven and bake for 40–45 minutes. Keep an eye on it; the casserole is ready when it’s bubbly and the top is a beautiful golden brown. The aroma will fill your kitchen, hinting at the delicious comfort food that’s about to be served.
Step 6: Rest and Serve
After baking, remove the Cheesy Hash Brown Casserole from the oven and let it rest for about 5 minutes. This resting time helps it set, making it easier to slice and serve. Then, scoop it onto plates or a serving platter for everyone to enjoy!
What to Serve with Funeral Potatoes?
Nothing brings warmth to a gathering quite like the comforting embrace of this delightful casserole, inviting everyone to the table.
-
Green Salad: A simple mixed greens salad with a light vinaigrette balances the richness, offering refreshing crunch with every bite.
-
Garlic Bread: Pairing this dish with warm, buttery garlic bread enhances the overall comfort factor, perfect for sopping up any leftover cheesy goodness.
-
Roasted Vegetables: Roasted seasonal veggies provide a delightful contrast, adding color and a nutritional boost that compliments the creamy casserole flawlessly.
-
Glazed Carrots: Sweet and tender glazed carrots bring out a delightful harmony of flavors, making each plate a vibrant display of comfort food.
-
Crispy Chicken: A side of crispy chicken provides protein and a savory crunch, ensuring your meal feels complete and satisfying.
-
Sweet Iced Tea: Serve with a glass of sweet iced tea for a classic comforting beverage that pairs beautifully with the richness of the potatoes.
-
Pumpkin Pie: As dessert, a slice of creamy pumpkin pie rounds out the meal with spices that echo the flavors in your casserole, leaving everyone smiling.
Cheesy Hash Brown Casserole Variations
Feel free to unleash your creativity and tailor this recipe to your taste with these delightful twists!
-
Meat Lover’s Delight: Incorporate cooked bacon or crumbled sausage into the mix for a hearty addition. The smoky flavors enhance every savory bite, bringing extra depth to this comfort dish.
-
Spice It Up: Add paprika or cayenne pepper to bring in some heat. Just a pinch will elevate the flavor profile, warming your soul and your taste buds!
-
Veggie Twist: Swap out some of the hash browns for cooked broccoli or cauliflower for a colorful, nutritious twist. The veggies add a lovely texture and complement the cheesy goodness, making it a well-rounded dish.
-
Cheesy Variety: Experiment with different cheeses like Monterrey Jack or a pepper jack for an added kick. This brings a unique flavor dimension that makes each slice exciting.
-
Creamy Upgrade: Instead of cream of chicken soup, try a creamy ranch dressing mix for a zesty twist. It infuses the casserole with tangy notes, making every mouthful a surprise.
-
Herb Infusion: Stir in fresh herbs like chives or parsley for a refreshing burst of flavor. They add brightness and color, transforming your casserole into a visually appealing dish.
-
Crunchy Alternatives: Use crushed tortilla chips instead of cornflakes on top for a fun crunch. They contribute a different texture and add a lovely corn flavor to every bite.
-
Nutty Flourish: Add sliced almonds or walnuts on top for a delightful crunch. They bring a satisfying nuttiness that contrasts wonderfully with the creamy base, giving a gourmet feel to your casserole.
If you love this comforting dish, you might also enjoy the Grilled Cheese Burrito, another recipe that offers simplicity with richness. Each variation serves to highlight the versatility of this Cheesy Hash Brown Casserole, making it perfect for any occasion!
How to Store and Freeze Cheesy Hash Brown Casserole
- Room Temperature: Best enjoyed fresh, but if left out, cool completely and consume within 2 hours to ensure food safety.
- Fridge: Store leftovers in an airtight container for up to 3 days. Reheat in the oven or microwave until heated throughout.
- Freezer: Freeze in a tightly sealed container or foil for up to 2 months. Thaw overnight in the fridge before reheating for best results.
- Reheating: Reheat in the oven at 350°F (175°C) for about 20 minutes, or until warmed through, to retain the casserole’s creamy texture and golden topping.
Make Ahead Options
These Cheesy Hash Brown Casserole dishes are perfect for meal prep enthusiasts! You can assemble the entire casserole up to 24 hours in advance, simply cover it with plastic wrap and refrigerate before baking. This allows the flavors to meld beautifully while saving you precious time on busy days. If you’re preparing further ahead, you can freeze it for up to 3 months; just make sure to wrap it tightly in foil and place it in an airtight container. When you’re ready to bake, simply transfer the casserole directly from the fridge to the oven, adding 10-15 minutes to the baking time. This way, you can enjoy a comforting meal, just as delicious as if made fresh, without the last-minute rush!
Expert Tips for Cheesy Hash Brown Casserole
-
Even Distribution: Ensure that the hash browns are evenly mixed in the casserole to avoid any spots of undercooked potatoes or clumpy cheese.
-
Watch for Doneness: Check your casserole periodically to achieve that perfect golden brown on top without burning. Each oven is different!
-
Crispy Topping Tip: For an extra crunchy finish, broil the casserole for the last few minutes—just keep a close eye on it to prevent burning.
-
Mix Properly: Thoroughly combine the ingredients without overmixing; this helps achieve a fluffy texture rather than a dense casserole.
-
Prep Ahead: If you’re short on time, assemble the Cheesy Hash Brown Casserole the day before, refrigerate overnight, and bake directly from the fridge, adding extra time as needed.
Cheesy Hash Brown Casserole Recipe FAQs
How do I choose the best frozen hash browns for this casserole?
Absolutely! When selecting frozen hash browns, look for bags labeled “shredded” or “diced” without any added preservatives. Ideally, they should be pale in color and dry, without dark spots that indicate freezer burn. If you’re feeling adventurous, fresh grated potatoes can substitute, but keep in mind they will need about 30-40 minutes of extra preparation time, including rinsing, drying, and pre-cooking.
What’s the best way to store leftover Cheesy Hash Brown Casserole?
Very simple! Once completely cooled, transfer leftovers to an airtight container and store them in the refrigerator for up to 3 days. You can also reheat individual portions in the microwave or warm it all back up in the oven to bring back that delectable creamy texture.
Can I freeze my Cheesy Hash Brown Casserole? If so, how?
Absolutely! To freeze, let your casserole cool completely first. Then, cover it tightly with aluminum foil or transfer it to a freezer-safe container. You can keep it in the freezer for up to 2 months. For best results, thaw it overnight in the refrigerator before reheating. When you’re ready to enjoy it, just bake at 350°F (175°C) for about 20-30 minutes until heated through.
How can I troubleshoot if my casserole comes out too dry?
If your casserole ends up dry, it could be due to baking too long or not enough moisture in the ingredients. For future attempts, keep an eye on the baking time and maybe add a splash of milk or more sour cream to the mix to ensure creaminess. Remember, the goal is that delicious blend of creamy filling and crispy topping!
Are there any dietary considerations for my Cheesy Hash Brown Casserole?
Definitely! For those with dietary restrictions, you can make it vegetarian by opting for cream of mushroom soup instead of cream of chicken soup. If you’re looking to lighten it up, substitute Greek yogurt for sour cream and use a mix of low-fat cheeses. Always check packaging for allergens, particularly if serving to guests with allergies, such as dairy or gluten.
Can I add other ingredients to customize my casserole?
The more the merrier! You can incorporate cooked bacon or sausage for a heartier dish. Add in veggies like cooked broccoli or bell peppers for a veggie twist or even experiment with different spices such as paprika or cayenne pepper for an extra kick of flavor. Your imagination is the limit!
Cheesy Hash Brown Casserole: The Ultimate Comfort Dish
Ingredients
Equipment
Method
- Preheat your oven to 350°F (175°C) and grease a 9x13-inch baking dish.
- In a large mixing bowl, combine the frozen hash browns, sour cream, cream of chicken soup, cheddar cheese, mozzarella cheese, melted butter, chopped onion, garlic powder, salt, and black pepper. Mix until well coated.
- Pour the mixture into the greased baking dish and spread it evenly.
- Sprinkle a layer of crushed cornflakes or potato chips on top.
- Bake for 40–45 minutes until bubbly and golden brown.
- Let the casserole rest for about 5 minutes before serving.
Leave a Reply