
When the sun sets and the day’s chaos fades away, I find myself craving something sweet to end it on a delicious note. That’s where this no-churn chocolate brownie ice cream comes into play. It’s a delightful treat that seamlessly combines creamy chocolate with sumptuous brownie pieces, making it the ultimate indulgence for any chocolate lover. With just five simple ingredients, you can whip up this quick and easy dessert in no time—ideal for those evenings when you want a homemade delight without the fuss. Plus, it’s a versatile recipe, offering gluten-free options for those who need them. So, are you ready to discover how to transform your kitchen into a sweet retreat?
Why is this ice cream a game changer?
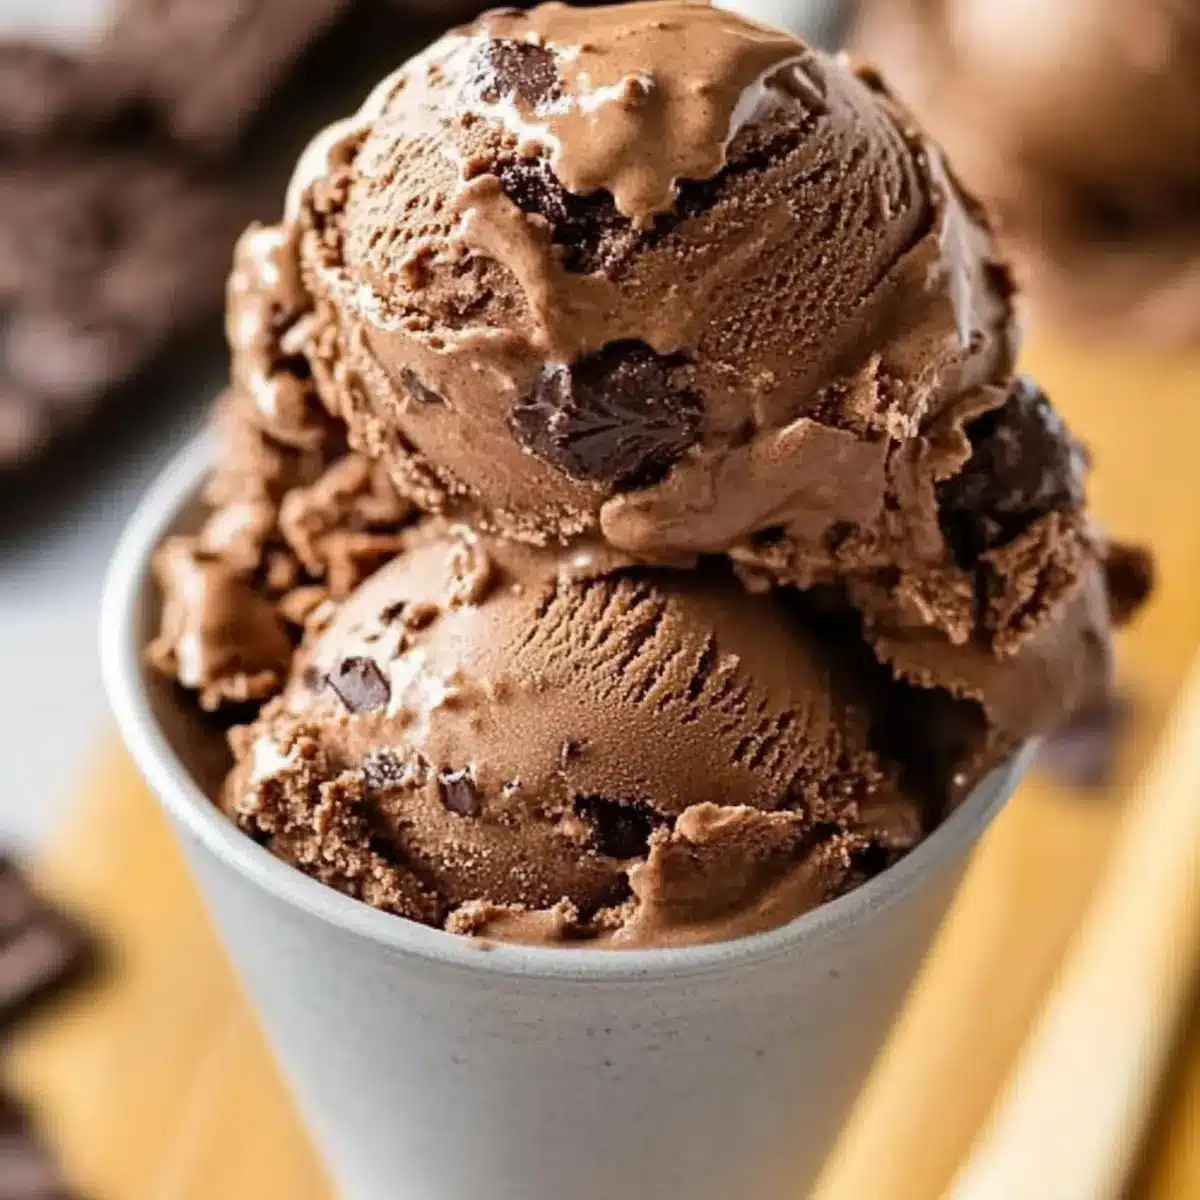
Decadent Flavor: The rich, chocolatey base combined with fudgy brownie chunks creates an indulgent experience that chocolate lovers will adore.
No Churn Required: Skip the ice cream maker! This recipe allows you to make creamy chocolate brownie ice cream effortlessly at home.
Quick Preparation: With just five ingredients, you can easily whip this treat together in minutes, leaving you more time to relax.
Endless Variations: Feeling adventurous? You can swap brownie pieces with nuts, chocolate chips, or even dollops of peanut butter for a personalized touch.
Crowd-Pleasing Delight: Perfect for gatherings, this ice cream will undoubtedly impress your family and friends, turning any event into a sweet celebration.
Dive into the fun of homemade desserts with this delightful recipe that rivals store-bought options anytime!
Chocolate Brownie Ice Cream Ingredients
• To create your creamy chocolate brownie ice cream, gather these essential ingredients that promise a delightful treat!
For the Base
- Whipping Cream – Essential for a rich, velvety texture; always use heavy cream for the best results.
- Sweetened Condensed Milk – Acts as both sweetener and creaminess booster; a full-sized can (395ml / 14oz) is perfect for this recipe.
- Dutch Process Cocoa Powder – Deepens the chocolate flavor; if unavailable, unsweetened cocoa works just fine.
- Vanilla Extract – This aromatic ingredient enhances the overall flavor profile, making each bite even more enjoyable.
For the Brownie Add-In
- Brownie Pieces – Add chewy, fudgy chunks throughout your ice cream; you can use homemade brownies or store-bought for convenience and flexibility!
Prepare your ingredients, and get ready to whip up this chocolate brownie ice cream that’s sure to become a family favorite!
Step‑by‑Step Instructions for Chocolate Brownie Ice Cream
Step 1: Prepare the Base Mixture
In a large mixing bowl, whisk together 1 can of sweetened condensed milk, ½ cup of Dutch process cocoa powder, and 1 teaspoon of vanilla extract until you achieve a smooth and creamy consistency. This should take about 2-3 minutes of vigorous stirring, making sure there are no lumps. You want a rich chocolate base, so get your muscles working!
Step 2: Whip the Cream
In a separate chilled bowl, pour in 2 cups of heavy whipping cream. Using an electric mixer, whip the cream on medium speed until soft peaks form, roughly 3-5 minutes. Be careful not to over-whip, as this could turn the mixture grainy. Aim for a light and fluffy texture that beautifully complements the chocolate brownie ice cream, creating that luxurious mouthfeel.
Step 3: Fold in the Cream
Gently add one-third of the whipped cream to the chocolate mixture. Using a spatula, fold it in carefully, combining the two without deflating the cream. This process lightens the chocolate base, making it airy. Continue folding the cream into the chocolate gradually until fully incorporated, ensuring every bit of the silky chocolate brownie ice cream base is mixed well, but still fluffy.
Step 4: Add Brownie Pieces
Next, take about 1 cup of chopped brownie pieces and fold them into the chocolate mixture with gentle strokes. Ensure the brownie chunks are evenly distributed throughout the ice cream base, adding texture and indulgence to every scoop. Resist the urge to stir vigorously—you want that wonderful balance of lightness and fudgy brownie bits to remain intact!
Step 5: Transfer to Container
Once everything is combined, pour the mixture into an airtight container or a loaf pan. Spread the mixture evenly, smoothing out the top with a spatula. This step not only ensures an even freeze but also packs the ice cream tightly to prevent ice crystals from forming.
Step 6: Freeze
Cover the container with a lid or plastic wrap and place it in the freezer for at least 12 hours or overnight. It’s crucial to allow the chocolate brownie ice cream to set properly, enabling the creamy mixture to solidify into a delightful, scoopable dessert. Look for a firm yet creamy texture when you’re ready to indulge.
Step 7: Serve and Enjoy
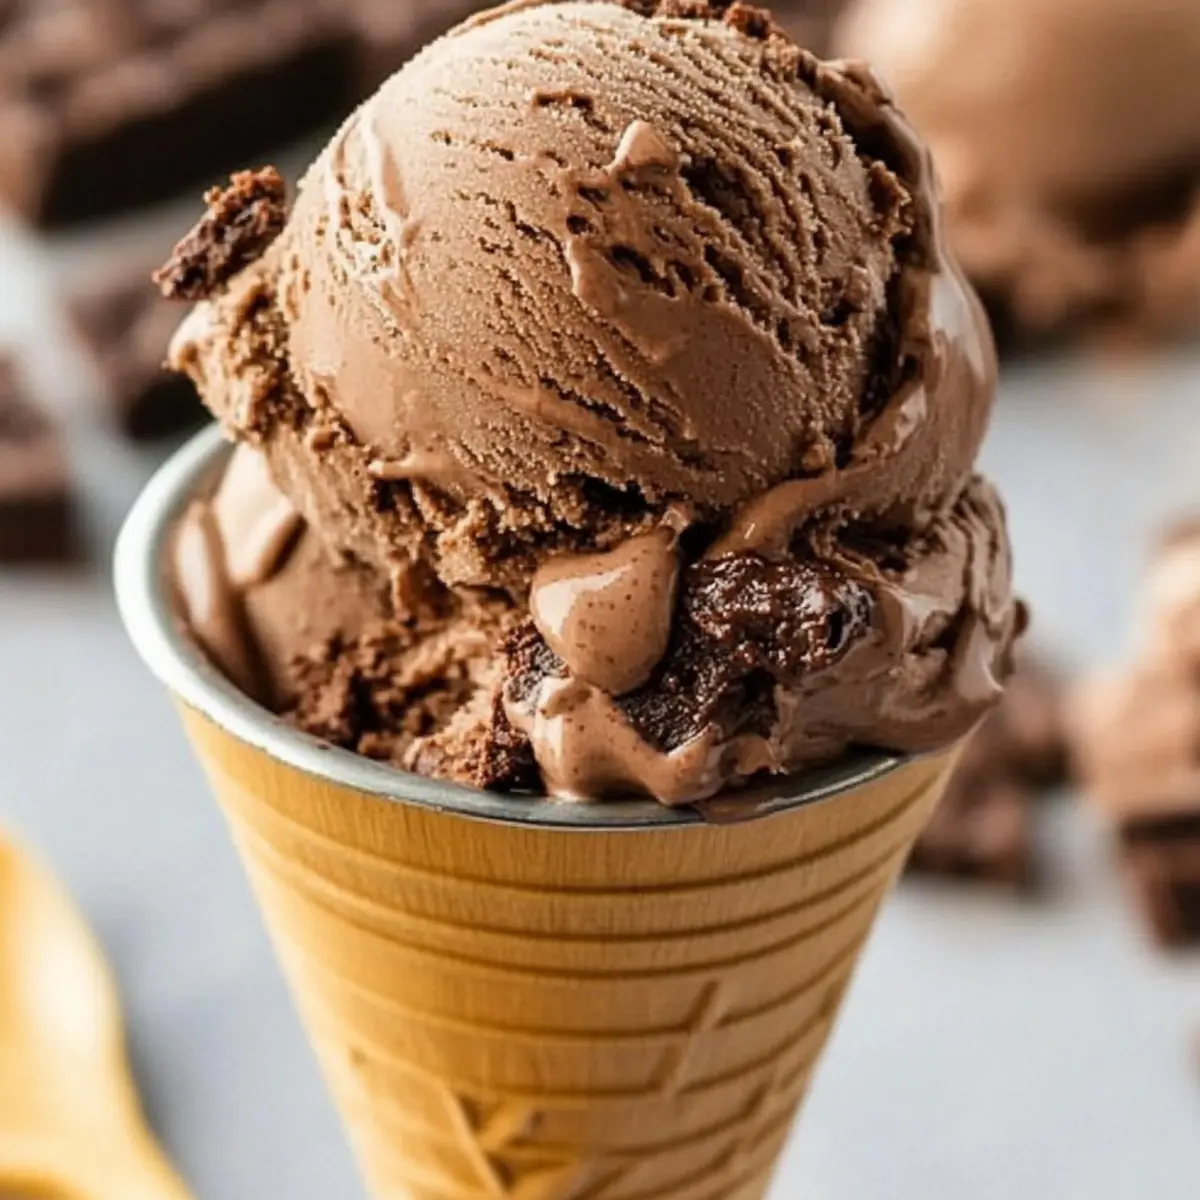
When you’re ready to enjoy your chocolate brownie ice cream, scoop generous portions into bowls or cones. For a touch of elegance, serve with a dollop of whipped cream, a drizzle of chocolate syrup, or fresh fruit. Savor the joy of each silky bite that features rich chocolate flavor intermingled with fudgy brownie bits—a true treat made right at home!
Make Ahead Options
Preparing your No-Churn Chocolate Brownie Ice Cream ahead of time is an absolute game-changer for busy weeknights and impromptu gatherings! You can make the entire ice cream base and freeze it up to 24 hours in advance, ensuring it’s ready whenever the craving strikes. Simply follow the steps to combine the sweetened condensed milk, cocoa, and whipped cream before folding in the brownie pieces. Transfer the mixture to an airtight container and place it in the freezer to set. To maintain its luscious quality, always ensure the container is sealed tightly to prevent ice crystals. When ready to serve, just scoop it out and enjoy that heavenly chocolate indulgence, saving precious time while delighting your family!
How to Store and Freeze Chocolate Brownie Ice Cream
Fridge: Store the ice cream in the fridge for up to 3 days if you plan to consume it quickly, but it’s best enjoyed freshly frozen.
Freezer: Keep your chocolate brownie ice cream in an airtight container in the freezer for up to 2-3 weeks for optimal freshness and texture.
Airtight Seal: Make sure to cover the container tightly to prevent ice crystals from forming, ensuring every scoop remains creamy and indulgent.
Reheating Instructions: If the ice cream is too hard, let it sit at room temperature for about 5-10 minutes before scooping to achieve the perfect consistency.
Chocolate Brownie Ice Cream Variations
Feel free to play with this recipe and make it your own—your taste buds will thank you!
-
Nutty Delight: Incorporate chopped walnuts or pecans for a lovely crunch and added flavor. They not only bring texture but also complement the chocolate beautifully.
-
Gluten-Free: Use gluten-free brownies to keep the dessert’s deliciousness while catering to dietary needs. This small swap allows everyone to enjoy this treat worry-free!
-
Chocolate Chip Boost: Swap brownie pieces for chocolate chips. They’ll melt slightly, intensifying the chocolate flavor and adding a fun gooeyness that’s pure bliss.
-
Flavor Swirls: Mix in caramel or peanut butter for added richness. A quick swirl creates a delightful contrast to the fudgy brownies, making each bite a new experience!
-
Minty Twist: Add a few drops of peppermint extract for a refreshing mint chocolate brownie ice cream. This variation will really brighten up those summer nights!
-
Fruit Fusion: Fold in fresh raspberries or strawberries for a fruity twist. The berries’ tartness cuts through the sweetness, providing a refreshing balance.
-
Spicy Kick: Sprinkle in a pinch of cayenne pepper or chili powder for a surprising heat that harmonizes beautifully with chocolate.
-
Sweet Toppings: Serve with whipped cream, crushed cookies, or sprinkles for an extra touch of sweetness and fun. Who doesn’t love a bit of crunch and color?
With these delicious twists, your no-churn chocolate brownie ice cream will never feel boring. For more dessert ideas, check out my Decadent Chocolate Strawberry Overnight Oats for a refreshing breakfast option or indulge in my Hot Chocolate Poke for another chocolatey treat!
What to Serve with No-Churn Chocolate Brownie Ice Cream?
Treat your taste buds to a delightful pairing experience that enhances every creamy, chocolatey bite of your ice cream!
-
Warm Chocolate Sauce: Drizzling warm chocolate sauce over the top adds an extra layer of rich sweetness, intensifying the chocolate flavor. It creates a delightful contrast that melts into the ice cream, making each scoop even more indulgent.
-
Fresh Berries: Juicy strawberries or raspberries bring a burst of freshness that cuts through the richness. Their tartness balances the sweetness, offering a refreshing palate cleanse between bites.
-
Crunchy Pretzels: The salty crunch of pretzels adds a fun twist to your dessert. Their unique texture complements the creamy ice cream, creating an exciting blend of flavors and textures that keeps every bite interesting.
-
Coffee: A warm cup of coffee perfectly pairs with the chocolate brownie ice cream. Its bitter notes contrast beautifully with the sweetness, enhancing the chocolate flavor while providing a cozy element to your dessert experience.
-
Whipped Cream: Topping your ice cream with a dollop of light whipped cream creates a fluffy, creamy layer that heightens the dessert’s indulgence. The lightness balances the dense brownie pieces for a heavenly texture combo.
-
Nuts: Chopped almonds or walnuts add a delightful crunchy element alongside the chewy brownie chunks. Their earthy flavor enriches the whole experience, contributing to a well-rounded dessert that satisfies various cravings.
Expert Tips for Chocolate Brownie Ice Cream
-
Chill Your Tools: Ensure your mixing bowls and beaters are cold to help whip the cream better, resulting in a fluffier chocolate brownie ice cream.
-
Gentle Folding: Remember to fold in the whipped cream gently to maintain airiness; over-mixing can lead to dense ice cream.
-
Perfect Brownie Size: Cut your brownie pieces into even, bite-sized chunks to distribute uniformly throughout the ice cream, enhancing every scoop.
-
Patience to Freeze: After transferring to a container, freeze the mixture for a full 12 hours or overnight for the ideal creamy texture without ice crystals.
-
Airtight Storage: Use an airtight container to store your chocolate brownie ice cream, sealing out air to keep it fresh for 2-3 weeks.
Chocolate Brownie Ice Cream Recipe FAQs
How do I select the right brownies for my ice cream?
Absolutely! For the best texture and flavor, choose brownies that are fudgy and moist. They should be a bit undercooked to ensure they maintain their gooey consistency when frozen. If you’re using store-bought, look for those labeled as “fudge” or “extra moist”. Alternatively, you can bake a batch at home—you want them to be rich and chocolaty for the ultimate indulgence!
How long can I store homemade chocolate brownie ice cream?
You can store your chocolate brownie ice cream in the freezer for up to 2-3 weeks. To ensure it remains creamy, package it in an airtight container and press a piece of plastic wrap directly onto the surface of the ice cream before sealing it. This will help prevent ice crystals from forming and keep your dessert as delicious as the day it was made!
Can I freeze the chocolate brownie ice cream? How should I do it?
Absolutely! Freezing is a straightforward process. After your ice cream has been mixed and you’ve folded in the brownie pieces, transfer it to an airtight container. If you’re using a loaf pan, cover it tightly with plastic wrap or a lid. Make sure to freeze the ice cream for at least 12 hours or overnight to achieve a scoopable texture. If you notice it’s too hard, simply let it sit at room temperature for about 5-10 minutes before scooping!
What if my whipped cream doesn’t reach soft peaks?
Very! If your whipped cream isn’t forming soft peaks, there could be a couple of factors at play. First, ensure your mixing bowl and the cream are adequately chilled—this helps significantly in achieving the right texture. If it’s still not working, try using an electric mixer at high speed; this generally speeds up the process. Be careful not to over-whip, though, as it can turn grainy. Aim for that fluffy lightness, as it’s crucial for the ice cream’s creamy texture!
Is this chocolate brownie ice cream gluten-free?
Yes, it can be! To make this chocolate brownie ice cream gluten-free, simply ensure that the brownie pieces you’re using are made from gluten-free recipes or store-bought brands. Load your creation with deliciousness without worrying about gluten. It’s as easy as that!
How do I serve chocolate brownie ice cream for a special occasion?
For a delightful presentation, serve your chocolate brownie ice cream in elegant bowls or waffle cones. Top each serving with a generous dollop of freshly whipped cream, a drizzle of chocolate syrup, or sprinkle with nuts for an extra crunch. Add a few fresh berries on the side for a pop of color—trust me, it’ll turn dessert time into a sweet celebration!
Creamy Chocolate Brownie Ice Cream You Can Make Today
Ingredients
Equipment
Method
- In a large mixing bowl, whisk together the sweetened condensed milk, Dutch process cocoa powder, and vanilla extract until smooth.
- In a separate bowl, whip the heavy cream on medium speed until soft peaks form.
- Gently fold one-third of the whipped cream into the chocolate mixture, then gradually fold in the rest.
- Fold in the brownie pieces until evenly distributed.
- Pour the mixture into an airtight container and smooth the top.
- Cover and freeze for at least 12 hours or overnight.
- Scoop and serve with optional toppings like whipped cream or chocolate syrup.
Leave a Reply