
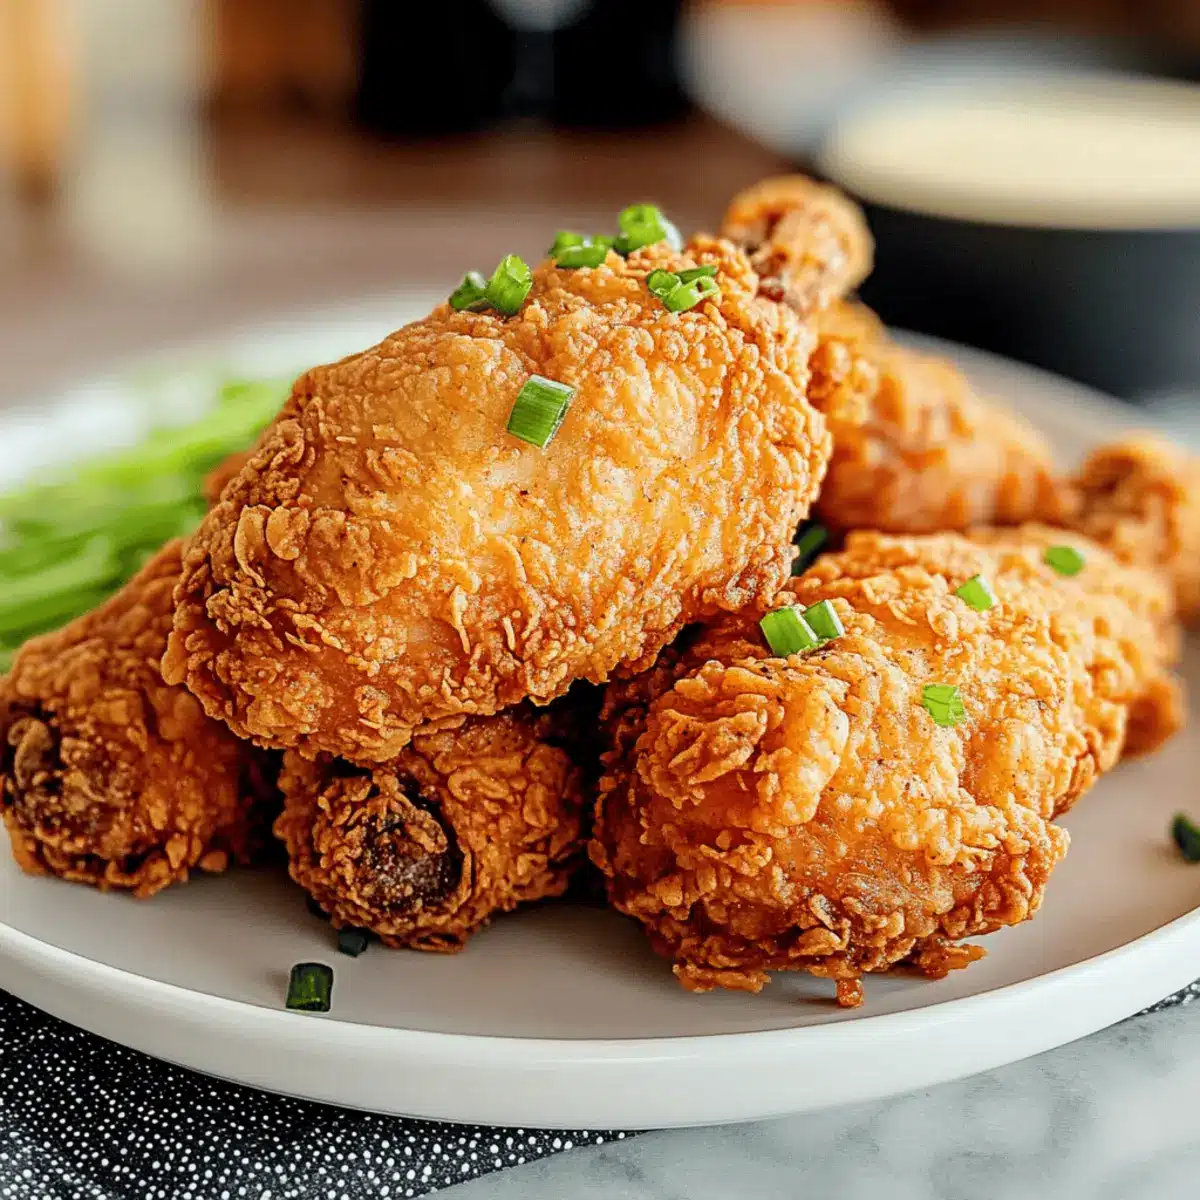
As I stood over the stove, the enticing aroma of frying chicken filled the kitchen, whisking me back to my childhood—a time when family dinners meant a feast fit for a king. There’s something undeniably soul-soothing about preparing Classic Crispy Buttermilk Fried Chicken. This dish isn’t just a meal; it’s a hug on a plate, featuring a perfectly golden crust encasing juicy, tender meat that guarantees smiles all around. One of the best perks? It’s incredibly easy to customize for every taste, whether you prefer a spicy kick or a gluten-free twist. Plus, it’s a surefire crowd-pleaser to impress friends and family alike. So, are you ready to dive into this Southern classic and perhaps discover some delicious variations along the way?
Why Is This Chicken So Irresistible?
Crispiness, the hallmark of this dish, achieves a delightful crunch that perfectly complements the juicy chicken inside. Flavor-packed, a gorgeous blend of spices elevates the taste to unforgettable heights. Versatile options abound as you can easily adapt it to suit dietary preferences, be it gluten-free or baked instead of fried. Quick preparation means you can whip it up for a weeknight meal or impress guests at gatherings. If you’re a fan of comforting cuisine, you’ll love pairing this with classic sides like creamy mashed potatoes or coleslaw for a complete feast.
Crispy Buttermilk Fried Chicken Ingredients
For the Marinade
- Buttermilk – This tangy liquid tenderizes the chicken, adding rich flavor; if unavailable, mix 1 cup of milk with 1 tablespoon of lemon juice or vinegar for a DIY substitute.
For the Chicken
- Chicken Pieces – Thighs, drumsticks, or breasts can be used for a satisfying protein base; cut them to uniform sizes for even cooking.
For the Coating
- All-Purpose Flour – This forms the crispy exterior you crave; opt for a gluten-free flour blend if you’re looking for a gluten-free version.
- Paprika – Adds a subtle warmth and vibrant color to the crust; don’t skip this spice for that classic fried chicken flavor.
- Garlic Powder – Infuses the coating with fragrant richness; it balances well with the other spices.
- Onion Powder – Complements the garlic and paprika, adding depth to the flavor profile.
- Salt – Essential for enhancing all the ingredients’ natural flavors; adjust according to your taste preference.
- Pepper – Adds a zing that rounds out the seasoning mix; feel free to increase for a spicier kick.
For Frying
- Vegetable Oil – Choose a neutral oil that can withstand high temperatures; ensure it’s heated to 350°F (175°C) for that perfect crispy buttermilk fried chicken texture.
Step‑by‑Step Instructions for Crispy Buttermilk Fried Chicken
Step 1: Marinate the Chicken
Begin by soaking your chicken pieces in a large bowl filled with buttermilk, salt, and a sprinkle of spices. Cover and refrigerate for at least 4 hours, or overnight for the best results. This step is crucial as the buttermilk tenderizes the chicken while infusing it with tangy flavor, setting the foundation for a truly delicious Crispy Buttermilk Fried Chicken.
Step 2: Prepare the Coating
In a separate mixing bowl, combine the all-purpose flour with paprika, garlic powder, onion powder, salt, and pepper. Mix well until the dry ingredients are evenly distributed. This flavorful coating is what will create that signature crispy texture once your chicken is fried. Set aside a plate for dredging once the chicken is marinated.
Step 3: Dredge the Chicken
Remove the marinated chicken from the refrigerator, allowing any excess buttermilk to drip off. Dip each piece of chicken into the seasoned flour mixture, ensuring it’s well-coated. For an extra crunch, you can dip it back into the buttermilk briefly before re-coating it in the flour mix. This double dredging will create a thicker, crunchier crust for your Crispy Buttermilk Fried Chicken.
Step 4: Heat the Oil
In a large, deep skillet or heavy pot, heat vegetable oil to 350°F (175°C). You’ll want enough oil to submerge the chicken pieces halfway. Use a deep-fry thermometer for accuracy, as the right temperature is essential for achieving that crispy texture while keeping the inside juicy. If you don’t have a thermometer, a small sprinkle of flour should sizzle upon contact with the oil.
Step 5: Fry the Chicken
Carefully add several pieces of chicken to the hot oil, avoiding overcrowding to maintain oil temperature. Fry the chicken in batches for 12-15 minutes, turning occasionally until each piece is golden brown and reaches an internal temperature of 165°F (74°C). The sizzling sound and beautiful golden color indicate that your Crispy Buttermilk Fried Chicken is nearing perfection.
Step 6: Drain and Rest
Once cooked, transfer the fried chicken to a wire rack or lay it on paper towels to drain excess oil. Allow the chicken to rest for a few minutes before serving, which helps to redistribute the juices and enhances the flavor. This resting period is essential to ensure every bite of your Crispy Buttermilk Fried Chicken is tender and juicy.
Make Ahead Options
These Classic Crispy Buttermilk Fried Chicken pieces are a fantastic option for meal prep enthusiasts looking to save time during busy weeknights! You can marinate the chicken in buttermilk, salt, and spices up to 24 hours in advance. Just cover it and refrigerate to enhance its flavor and tenderness. Additionally, you can prepare the seasoned flour mix ahead of time and store it in an airtight container for up to 3 days. When you’re ready to serve, simply dredge the marinated chicken in the flour mixture and fry it as directed. This way, you’ll enjoy irresistibly crispy results with minimal effort, allowing you more time to savor family gatherings or prepare delightful side dishes!
Storage Tips for Crispy Buttermilk Fried Chicken
Fridge: Store leftover crispy buttermilk fried chicken in an airtight container for up to 3 days to maintain its flavor and texture.
Freezer: For longer storage, individually wrap each piece in plastic wrap before placing them in a freezer bag. They’ll last for up to 2 months in the freezer.
Reheating: To enjoy that glorious crunch again, reheat the chicken in the oven at 375°F (190°C) for 10-12 minutes. This method ensures your crispy buttermilk fried chicken stays deliciously crispy!
Crispy Buttermilk Fried Chicken Variations
Feel free to let your culinary imagination roam with these delicious twists on this classic dish!
- Gluten-Free: Substitute all-purpose flour with a gluten-free flour blend, ensuring a crispy texture for every diet.
- Baked Version: Skip the frying! Coat your chicken with seasonings and bake at 400°F (200°C) for 35-40 minutes for a healthier option.
- Spicy Kick: Add cayenne pepper or your favorite hot sauce to the marinade for a fiery twist that will ignite your taste buds.
- Herb-Infused: Incorporate dried herbs like thyme or rosemary into the flour mix for a fragrant, flavorful crust. You’ll be amazed at how aromatic your kitchen becomes!
- Sweet & Spicy: Mix a bit of brown sugar into the seasoned flour to create a unique sweet and spicy coating—perfect for balance.
- Southern Twist: Serve your crispy chicken in a warm buttermilk biscuit alongside pickles and spicy mayo for a true Southern sandwich experience.
- Crispy Panko: For an extra crunch, use panko breadcrumbs mixed with the seasoned flour to amp up the texture. It’s a crispy game-changer!
- Buttermilk Ranch: Swap plain buttermilk for ranch-flavored buttermilk for a zesty take that adds complexity to every bite.
With these variations, your Crispy Buttermilk Fried Chicken can be as unique as your family gatherings, leaving everyone asking for seconds! And for additional inspiration, you might also love our Minute Chicken Cutlets or Cheese Buffalo Chicken. Happy cooking!
Expert Tips for Crispy Buttermilk Fried Chicken
- Choose the Right Chicken: Use a mix of dark and white meat for the best flavor and juiciness; thighs and drumsticks remain moist while frying.
- Don’t Skip the Marinade: Marinating the chicken in buttermilk is key for tenderness; allowing it to soak overnight enhances the flavors even more.
- Maintain Oil Temperature: Frying at 350°F (175°C) is crucial; too low leads to greasy chicken, while too high burns the coating before the meat cooks.
- Avoid Overcrowding: Frying too many chicken pieces at once can drop the oil temperature, resulting in soggy, not crispy, buttermilk fried chicken.
- Rest Before Serving: Letting the chicken rest for a few minutes after frying allows juices to redistribute, ensuring a tender bite every time.
- Experiment with Spices: Feel free to add your favorite spices into the flour mixture for a unique twist on the classic crispy buttermilk fried chicken flavor.
What to Serve with Classic Crispy Buttermilk Fried Chicken
When you want to create a feast that’s comforting and memorable, these delightful sides will harmonize beautifully with the chicken’s crunch and flavor.
-
Creamy Mashed Potatoes: The luscious, buttery texture pairs perfectly with the crispy chicken, creating a satisfying contrast that feels like home.
-
Tangy Coleslaw: This fresh and crunchy side adds a zesty note that brightens up the richness of the fried chicken, making every bite sing.
-
Warm Cornbread: There’s nothing like a slice of savory cornbread to soak up the juices. It’s a true Southern staple that complements the crispy buttermilk fried chicken beautifully.
-
Green Beans Almondine: Lightly sautéed green beans with toasted almonds introduce a crunchy and nutritious element, rounding out the meal with vibrant color.
-
Pickles: Crispy dill pickles offer a delightful tang and crunch that cuts through the richness, highlighting the chicken’s flavor while adding an addictive bite.
-
Peach Cobbler: For dessert, a warm peach cobbler brings sweetness and nostalgia to the table, ending the meal on a high note that your family will cherish.
These pairings create the perfect medley that captures the essence of Southern comfort food, ensuring every meal feels like a warm hug!
Crispy Buttermilk Fried Chicken Recipe FAQs
How do I know if my chicken is ripe and ready for cooking?
Absolutely! Look for chicken pieces that are plump and have a fresh smell. Avoid any that show dark spots or have a slimy texture; these are signs of spoilage. If using whole chickens, ensure the skin is intact and the flesh feels firm.
What’s the best way to store leftover fried chicken?
To maintain its crispiness, refrigerate leftover crispy buttermilk fried chicken in an airtight container for up to 3 days. If you have more to save, you can also freeze individual pieces wrapped in plastic wrap, then place them in a freezer bag. This method retains quality for up to 2 months.
Can I freeze fried chicken, and how do I do it?
Certainly! Freezing fried chicken is a great way to enjoy leftovers later. First, let the chicken cool completely. Next, wrap each piece tightly in plastic wrap, followed by aluminum foil or place in a freezer bag. Make sure to squeeze out as much air as possible to prevent freezer burn. When you’re ready to eat, simply reheat in the oven at 375°F (190°C) for 10-12 minutes for that freshly fried taste!
What if my fried chicken turns out soggy instead of crispy?
Very! Soggy fried chicken usually results from overcrowding the pan while frying, leading to a drop in oil temperature. Always fry in batches and maintain an oil temperature of 350°F (175°C). If you find your coating isn’t crispy, ensure to double dredge the chicken—dipping it back into buttermilk then flour again can help create that desired crunch.
Is there a gluten-free option for this fried chicken recipe?
Absolutely! To make crispy buttermilk fried chicken gluten-free, simply substitute the all-purpose flour with a gluten-free flour blend. This works beautifully while keeping that crispy coating intact. Also, make sure the buttermilk is made with gluten-free milk options; this ensures a safe meal for those with gluten sensitivities.
What should I do if someone in my family has a chicken allergy?
For those with chicken allergies, I recommend trying this buttermilk technique on other proteins like turkey thighs or even tofu for a delicious vegetarian alternative. Ensure the marinade and coating spices are free from allergens to keep everyone safe and still enjoy that crispy, comfort food texture!

Crispy Buttermilk Fried Chicken: Southern Comfort at Its Best
Ingredients
Equipment
Method
- Soak chicken pieces in a large bowl with buttermilk, salt, and spices. Refrigerate for at least 4 hours or overnight.
- In a mixing bowl, combine all-purpose flour with paprika, garlic powder, onion powder, salt, and pepper. Mix until even.
- Remove chicken from buttermilk, letting excess drip off. Dredge in flour mixture, coating well. Optionally, double dredge for extra crunch.
- Heat vegetable oil in a skillet to 350°F (175°C). Use enough oil to submerge chicken halfway.
- Fry chicken pieces in batches for 12-15 minutes until golden brown and cooked through. Maintain proper oil temperature.
- Transfer fried chicken to a rack or paper towels to drain. Let rest for a few minutes before serving.
Leave a Reply