
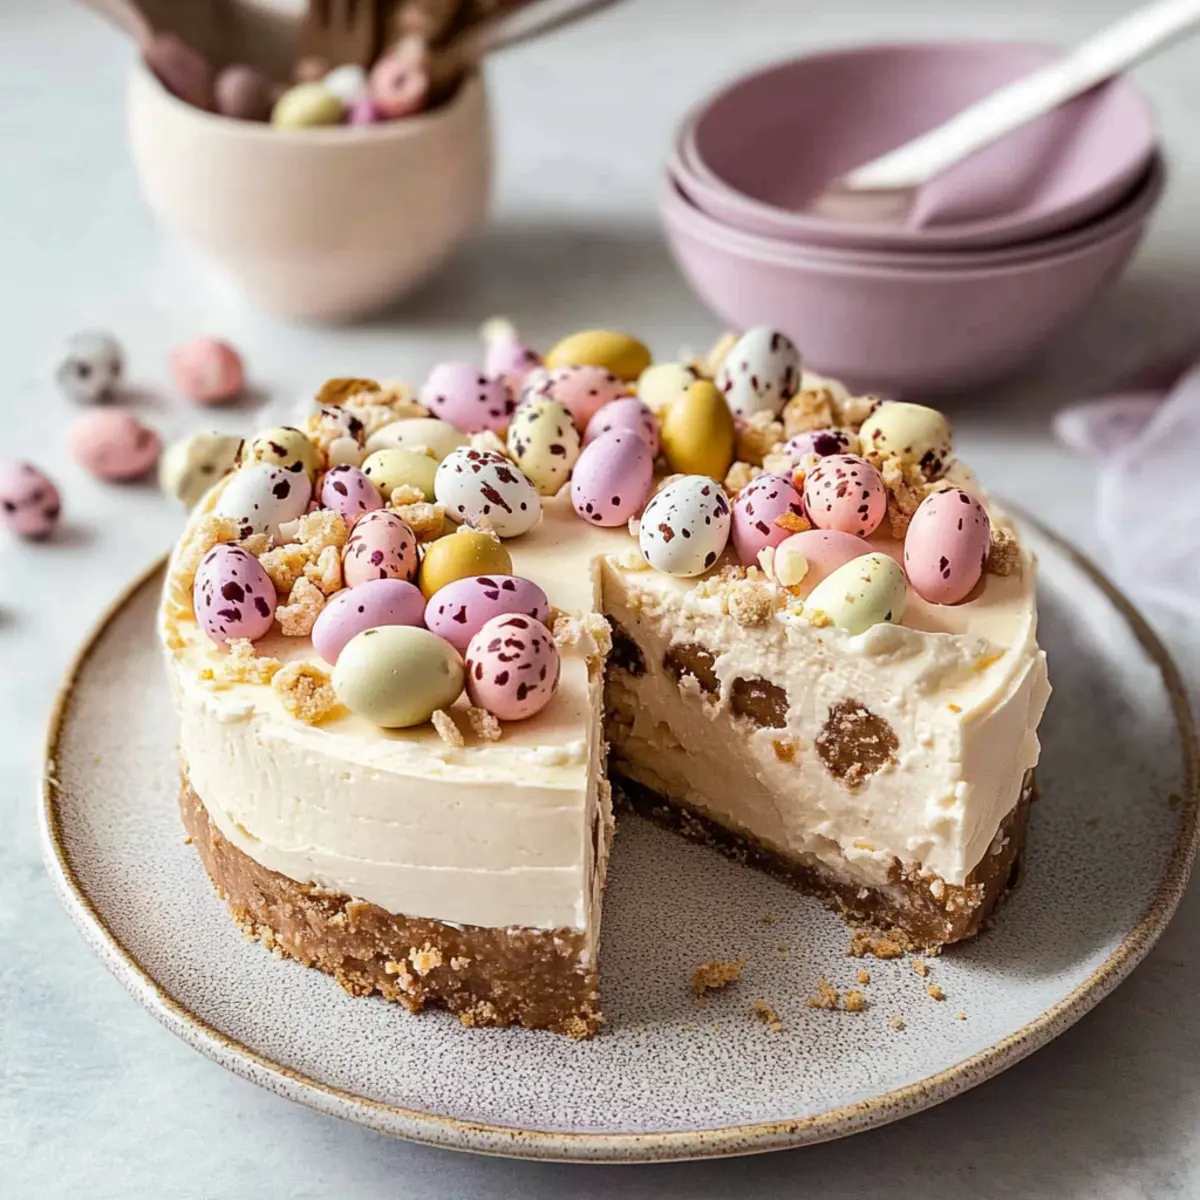
As I stood in my kitchen, the warm aroma of vanilla wafting through the air, I couldn’t help but smile at the anticipation of spring. This Easter, I wanted to create something truly special—enter the Easter No-Bake Mini Egg Cheesecake. Not only is this dessert a breeze to whip up, but it’s also a vibrant centerpiece that caters to both kids and adults alike. The rich creamy filling, paired with a buttery biscuit base and the delightful crunch of Cadbury Mini Eggs, transforms this dish into a festive delight perfect for any gathering. Plus, it’s hassle-free—no baking required and ready to impress your guests in no time! Are you ready to bring a slice of joy to your holiday table? Let’s get started!
Why is This Cheesecake a Must-Try?
Simplicity: This Easter No-Bake Mini Egg Cheesecake requires minimal effort, making it perfect for busy cooks.
Irresistibly Creamy: The rich cream cheese filling blends beautifully with the crispy biscuit base, creating a heavenly bite.
Festive Appeal: Featuring colorful Cadbury Mini Eggs, this dessert not only looks stunning but also brings joy to both kids and adults at the table.
Make-Ahead Friendly: Prepare it a day before your gathering, freeing up your schedule for other holiday preparations.
Versatility: Swap out Mini Eggs for crushed Oreos for a unique twist or serve in individual cups for a charming presentation, just like in the Egg Breakfast Casserole.
This cheesecake is sure to become a new favorite at your Easter celebrations!
Easter No-Bake Mini Egg Cheesecake Ingredients
For the Biscuit Base
• Digestive Biscuits – Essential for a sturdy yet crumbly crust; alternatives include Graham crackers.
• Unsalted Butter (melted) – Binds the biscuit crumbs together; make sure it’s fully melted for a smooth mixture.
For the Cream Cheese Filling
• Philadelphia Cream Cheese – Provides that luscious creamy texture; stick to brick-style for the best results.
• Double Cream – Adds rich creaminess; ensure it’s cold for proper whipping.
• Powdered Icing Sugar – Sweetens the filling while creating a smooth texture; always sift to avoid lumps.
• Vanilla Bean Paste – Enhances flavor and aroma; can be swapped with pure vanilla extract if necessary.
• Fine Salt – Balances the sweetness and enhances all the flavors.
For the Decoration
• Cadbury Mini Eggs – The star ingredient that adds both flavor and visual appeal; crush some for the filling and save extra for topping.
Step‑by‑Step Instructions for Easter No-Bake Mini Egg Cheesecake
Step 1: Prepare the Pan
Begin by lining the base of a 23cm (9-inch) springform pan with parchment paper for easy release. This step is crucial to ensure that your Easter No-Bake Mini Egg Cheesecake comes out smoothly once set. Make sure the paper fits snugly against the edges of the pan to prevent any filling from leaking during the chilling process.
Step 2: Make Biscuit Base
In a food processor, crush the digestive biscuits until they resemble fine crumbs. Combine the crumbs with melted unsalted butter until the mixture resembles wet sand. Firmly pack this mixture into the bottom of the prepared pan using the back of a measuring cup. Refrigerate for at least 30 minutes or freeze for 15 minutes to allow the base to firm up perfectly before adding the creamy filling.
Step 3: Cream Cheese Filling
In a medium mixing bowl, beat the Philadelphia cream cheese with an electric mixer until it’s smooth and creamy. In another bowl, whip the cold double cream to stiff peaks. Gently fold the whipped cream into the cream cheese mixture, incorporating it carefully to maintain the lightness. Add in the sifted powdered icing sugar, vanilla bean paste, and a pinch of fine salt, mixing until just combined for a luscious filling.
Step 4: Combine Mini Eggs
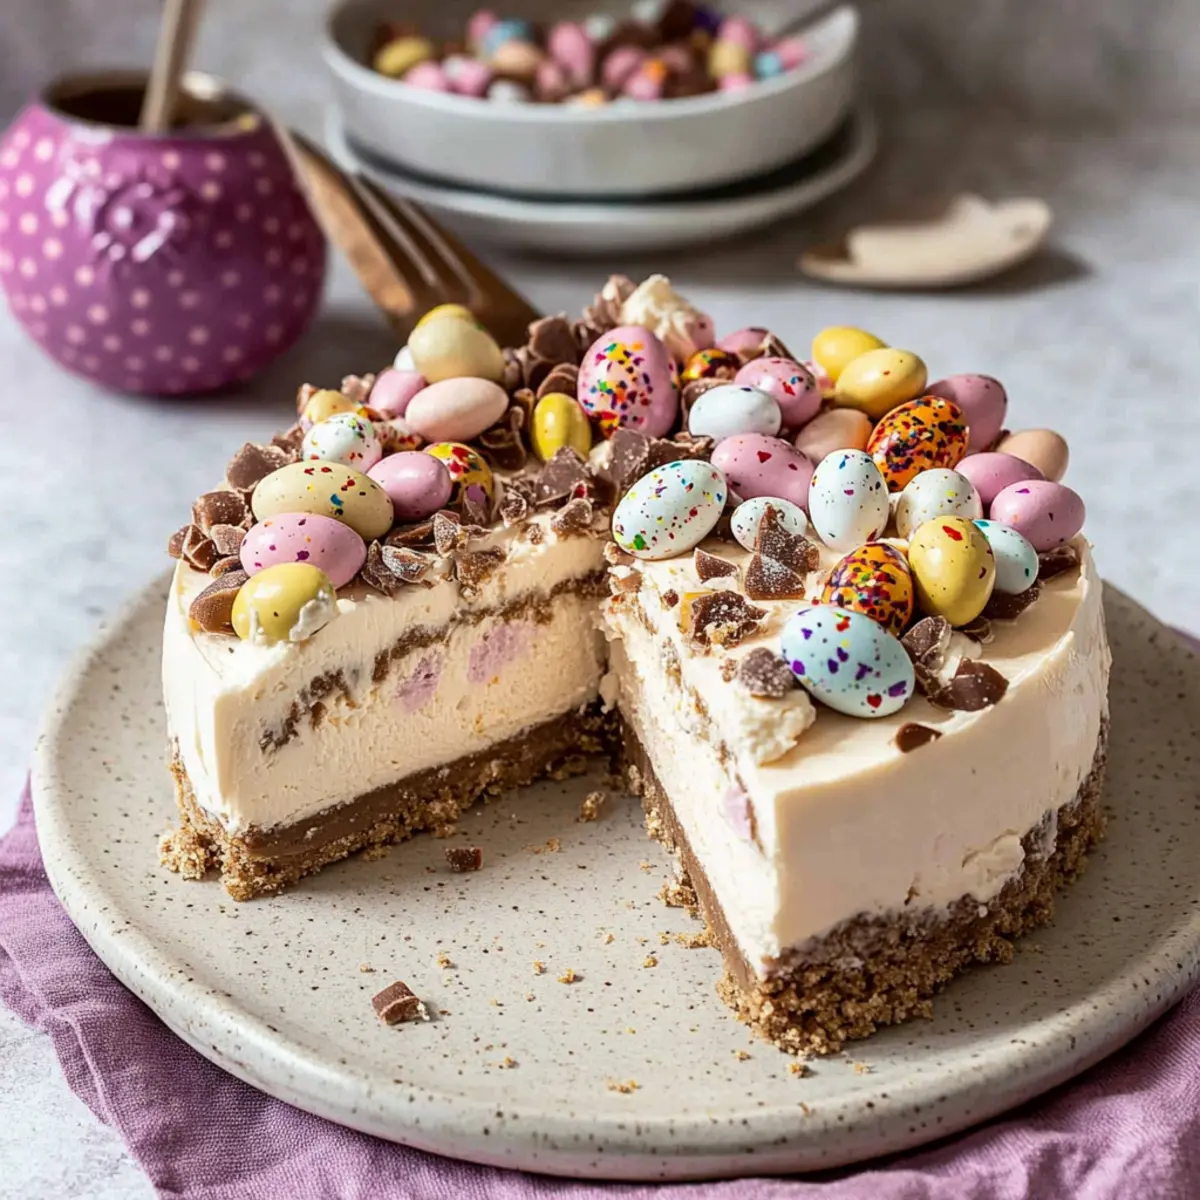
Crush about ⅔ of the Cadbury Mini Eggs in a ziplock bag or food processor, leaving some larger pieces for added texture and color. Gently fold these crushed Mini Eggs into the cream cheese mixture, ensuring they’re evenly distributed without over-mixing. This step adds delightful specks of color and flavor, enhancing the overall allure of your Easter No-Bake Mini Egg Cheesecake.
Step 5: Assemble the Cheesecake
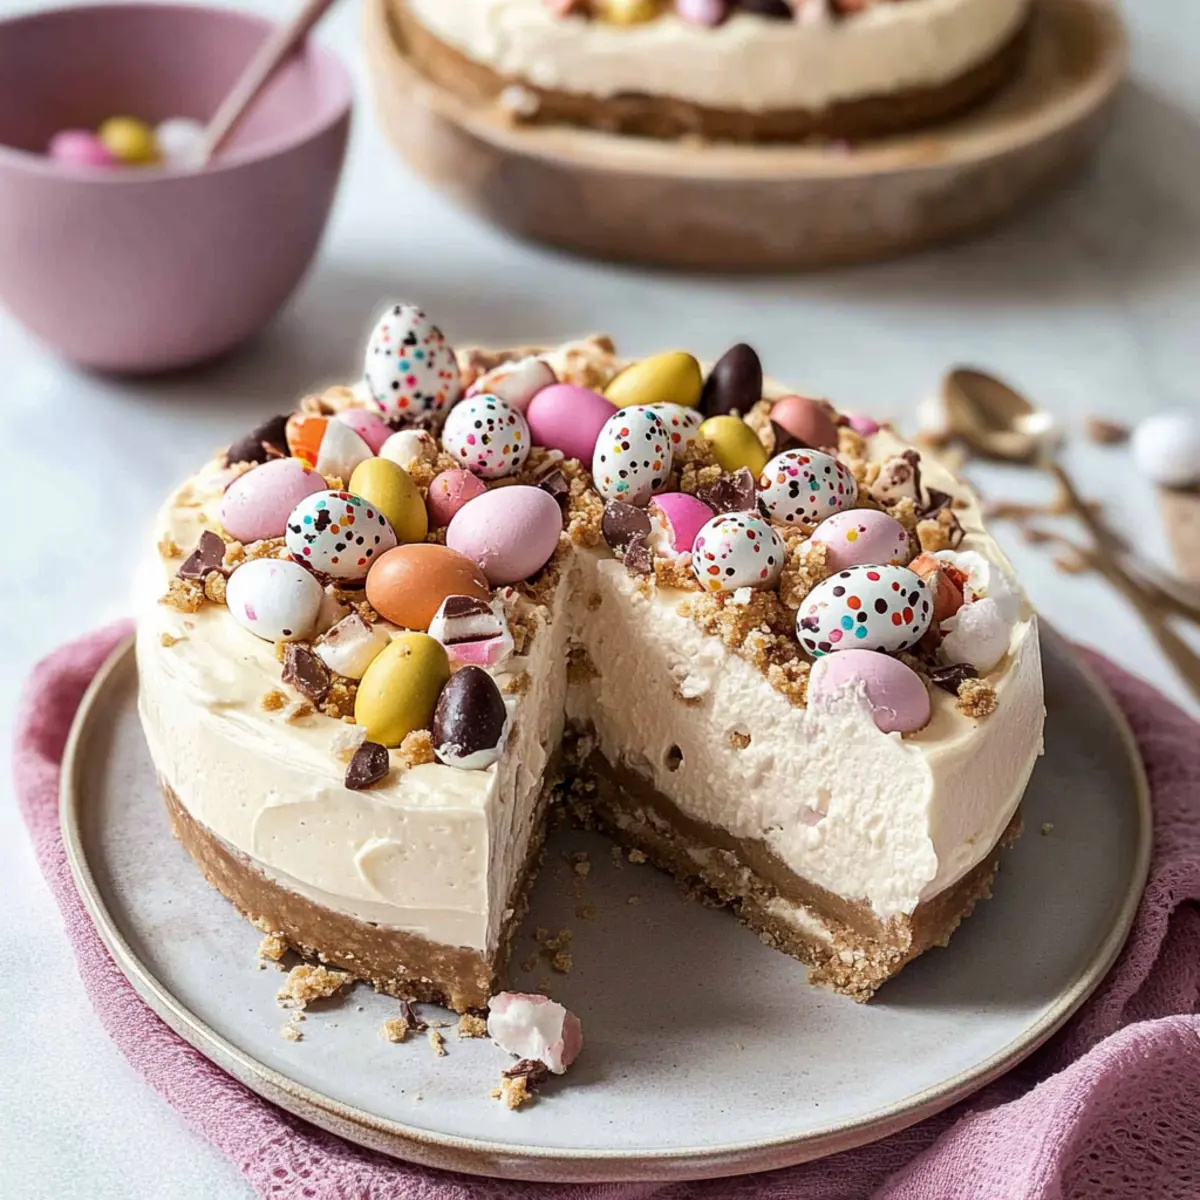
Spoon the creamy filling into the chilled biscuit base, smoothing the top with a spatula for an even finish. Cover the cheesecake tightly with plastic wrap to prevent any odors from the refrigerator seeping in. Chill the cheesecake in the refrigerator for at least 6 hours, though overnight is best, allowing the flavors to meld beautifully and the cheesecake to set properly.
Step 6: Decorate
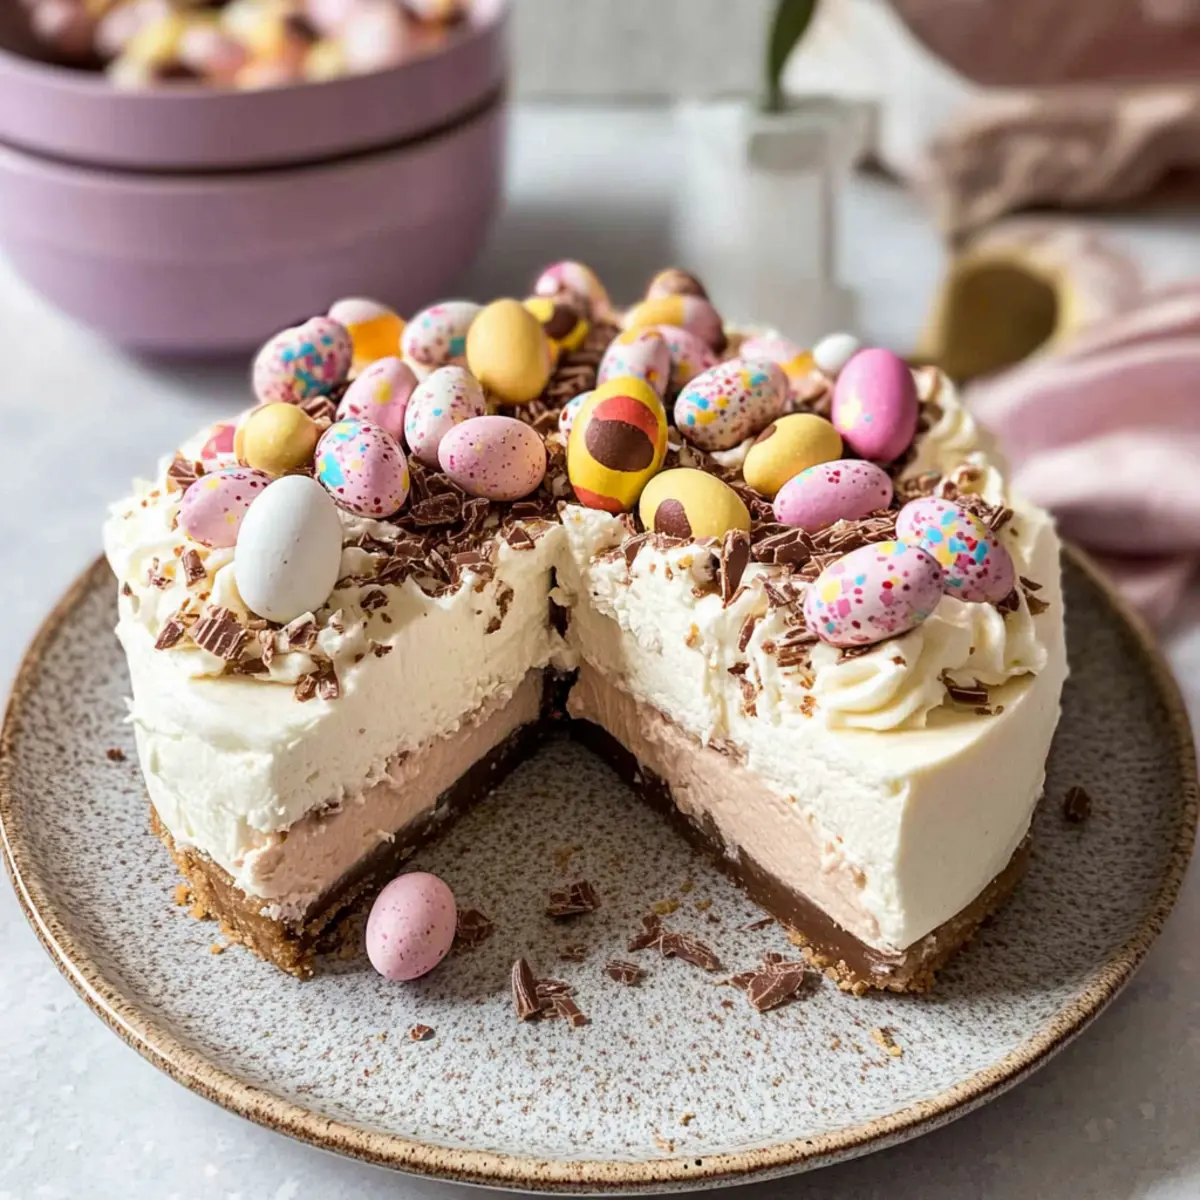
Once your Easter No-Bake Mini Egg Cheesecake is set, carefully unclip the springform pan and remove the cheesecake. Decorate the top with the reserved whole Cadbury Mini Eggs, arranging them in a fun, festive pattern. For an extra touch, consider adding chocolate shavings or edible flowers for a vibrant, springtime presentation that will impress your guests!
Expert Tips for Easter No-Bake Mini Egg Cheesecake
-
Use Quality Ingredients: Start with fresh, high-quality cream cheese and heavy cream for the best flavor and texture in your Easter No-Bake Mini Egg Cheesecake.
-
Chill Properly: Allow your cheesecake to set in the refrigerator for a full 6 hours, or preferably overnight, for optimal firmness and flavor development.
-
Avoid Overmixing: When folding in the whipped cream and Mini Eggs, do so gently to maintain the lightness of the filling. Overmixing can result in a dense cheesecake.
-
Pack the Crust Tight: Make sure to press the biscuit base firmly into the pan to create a sturdy bottom—this helps prevent crumbling when slicing the cheesecake.
-
Presentation Matters: For a stunning finish, sprinkle some crushed Mini Eggs around the base or on top alongside the whole eggs, adding color and festive flair.
What to Serve with Easter No-Bake Mini Egg Cheesecake
For a delightful Easter feast, consider these vibrant pairings that will elevate your dessert experience.
- Creamy Vanilla Whipped Cream: Add a dollop of whipped cream for a light, airy contrast to the rich cheesecake, enhancing every bite.
- Fresh Berry Medley: A mix of strawberries, blueberries, and raspberries brings a refreshing tartness that balances the sweetness of the cheesecake. The colors will also brighten your plate!
- Minty Fruit Salad: Combines seasonal fruits like melon and kiwi with a hint of fresh mint for a zesty side that complements the creamy dessert beautifully.
- Chocolate-Covered Strawberries: This decadent pairing echoes the indulgence of the cheesecake while providing an exciting crunch and burst of flavor.
- Elderflower Sparkling Water: A fragrant, non-alcoholic drink that provides a floral note, perfectly offsetting the cheesecake’s richness and captivating your guests.
- Carrot Cake Cupcakes: Keep the Easter theme alive with moist cupcakes topped with cream cheese frosting; together, they create a nostalgic celebration of flavors.
- Lemon Sorbet: Serve a scoop of this refreshing sorbet to cleanse the palate, ensuring your dessert is a delightful finale to the meal.
- Chocolate Mousse: Pair the cheesecake with airy chocolate mousse for a luxurious dessert duo that tantalizes the senses with rich cocoa flavor.
- Coconut Macaroons: These chewy delights will add a tropical flair to your dessert table, creating a beautiful contrast in texture and flavor.
- Espresso or Coffee: A warm cup of coffee enhances the sweet flavors in your cheesecake, providing a cozy finish to your vibrant Easter gathering.
Easter No-Bake Mini Egg Cheesecake Variations
Feel free to get creative and make this dessert your own—each twist promises delightful surprises for your taste buds!
-
Oreo Twist: Replace Mini Eggs with crushed Oreos instead for a cookies-and-cream delight. This easily transforms your cheesecake into a crowd-pleaser that’s rich and scrumptious.
-
Lemon Zest: Add the zest of one lemon to the cream cheese filling for a refreshing citrus note that brightens the rich flavors. The tanginess pairs beautifully with the creaminess.
-
Nut-Free Version: Swap out the digestive biscuits for nut-free graham crackers to cater to allergy needs while keeping that classic cheesecake base intact.
-
Vegan Delight: Use vegan cream cheese and coconut cream instead of double cream for a plant-based version that doesn’t skimp on flavor. This creates a creamy vegan cheesecake perfect for all guests.
-
Chocolate Drizzle: Melt dark chocolate and drizzle it over the top before adding the Mini Eggs for an extra dose of indulgence. The chocolate will harden slightly, giving you a beautiful finishing touch.
-
Mini Cup Versions: Pour the cheesecake filling into small dessert cups or jars instead of a whole cheesecake. Top with Mini Eggs for a stunning and portable dessert option that’s perfect for gatherings.
-
Spicy Kick: Add a pinch of cinnamon or a splash of espresso powder to the cream cheese mixture for a surprising depth and warmth. This unique twist can elevate your cheesecake and make it more memorable.
Don’t forget to explore other family-loved recipes like the hearty Greek Eggplant Moussaka or the delightful Meatloaf Stuffed Mini for more inspiration in your kitchen!
Make Ahead Options
Preparing the Easter No-Bake Mini Egg Cheesecake ahead of time is a fantastic strategy for busy cooks looking to streamline their holiday preparations. You can make the biscuit base up to 24 hours in advance; simply refrigerate it tightly wrapped to maintain its crunch. The cream cheese filling can also be whipped together a day ahead and stored (covered) in the refrigerator for optimum freshness. When ready to serve, combine the crushed Mini Eggs into the filling, pour it over the crust, and chill for at least 6 hours or, ideally, overnight. This way, you can ensure that your cheesecake remains just as delicious and inviting for your gathering without the last-minute stress!
Storage Tips for Easter No-Bake Mini Egg Cheesecake
- Fridge: Store the cheesecake in an airtight container or well-wrapped with plastic wrap for up to 3 days to maintain its creamy texture and flavor.
- Freezer: Freeze the Easter No-Bake Mini Egg Cheesecake (without decoration) for up to 2 months. Allow it to fully thaw in the refrigerator before serving for the best texture.
- Serving After Storage: Once thawed, if desired, you can add fresh decorations like whipped cream or additional Mini Eggs before serving to enhance its visual appeal.
- Make-Ahead: Prepare the cheesecake a day or two before your Easter celebration, keeping it securely stored in the fridge to save time on the big day.
Easter No-Bake Mini Egg Cheesecake Recipe FAQs
How do I choose ripe ingredients for the cheesecake?
Absolutely! For the best results, ensure your cream cheese and double cream are fresh—check expiration dates. When selecting eggs, look for ones with intact shells and free from cracks. While Mini Eggs are often available during the Easter season, make sure they are colorful and not showing any signs of moisture or deformation.
What is the best way to store leftover cheesecake?
Very important! Store your Easter No-Bake Mini Egg Cheesecake in an airtight container or tightly wrapped in plastic wrap in the fridge. It will keep well for up to 3 days, allowing you to enjoy its lusciousness over time without compromising its texture!
Can I freeze this cheesecake?
Definitely! To freeze your cheesecake, make sure to do so without any decorations. Wrap it tightly in plastic wrap and place it in an airtight container. It can be stored in the freezer for up to 2 months. When you’re ready to serve, thaw it in the refrigerator overnight for the best texture!
What should I do if my cheesecake doesn’t set properly?
No worries! If your cheesecake doesn’t set to your liking, there could be a couple of reasons. First, make sure you chilled it for at least 6 hours or overnight, as cooling helps it firm up. If you find the mixture too runny before chilling, you can try folding in more whipped cream until it thickens up, or even chill it for a bit longer. If it still doesn’t set, you may opt for a little additional gelatin as a last resort to help firm it up.
Are there any dietary considerations I should keep in mind?
Absolutely! If you have any dietary restrictions, it’s good to note that this cheesecake contains dairy and gluten from the biscuits. For a gluten-free option, substitute digestive biscuits with gluten-free versions or use almond flour plus butter for a crust. Additionally, ensure that the cream cheese and double cream you use align with your dietary needs, especially if there are allergies involved with dairy products.
How do I make the cheesecake look more appealing?
The more the merrier when it comes to presentation! After chilling, you can decorate with whole Cadbury Mini Eggs, sprinkle some crushed ones around, or even add some whipped cream and fresh berries for a pop of color. Edible flowers make a lovely spring touch too, enhancing both beauty and taste of your Easter No-Bake Mini Egg Cheesecake!
Easter No-Bake Mini Egg Cheesecake: Creamy Delight Awaits
Ingredients
Equipment
Method
- Prepare the Pan: Line the base of a 23cm (9-inch) springform pan with parchment paper for easy release.
- Make Biscuit Base: Crush the digestive biscuits and combine with melted butter, then pack into the bottom of the pan and refrigerate.
- Cream Cheese Filling: Beat the cream cheese until smooth, whip the cream to stiff peaks, and gently combine with other filling ingredients.
- Combine Mini Eggs: Crush Mini Eggs and fold into the cream cheese mixture for added texture.
- Assemble the Cheesecake: Spoon the creamy filling into the biscuit base, smooth the top, cover, and chill for at least 6 hours.
- Decorate: Unclip the pan, decorate with whole Mini Eggs, and optionally add chocolate shavings or flowers.
Leave a Reply