
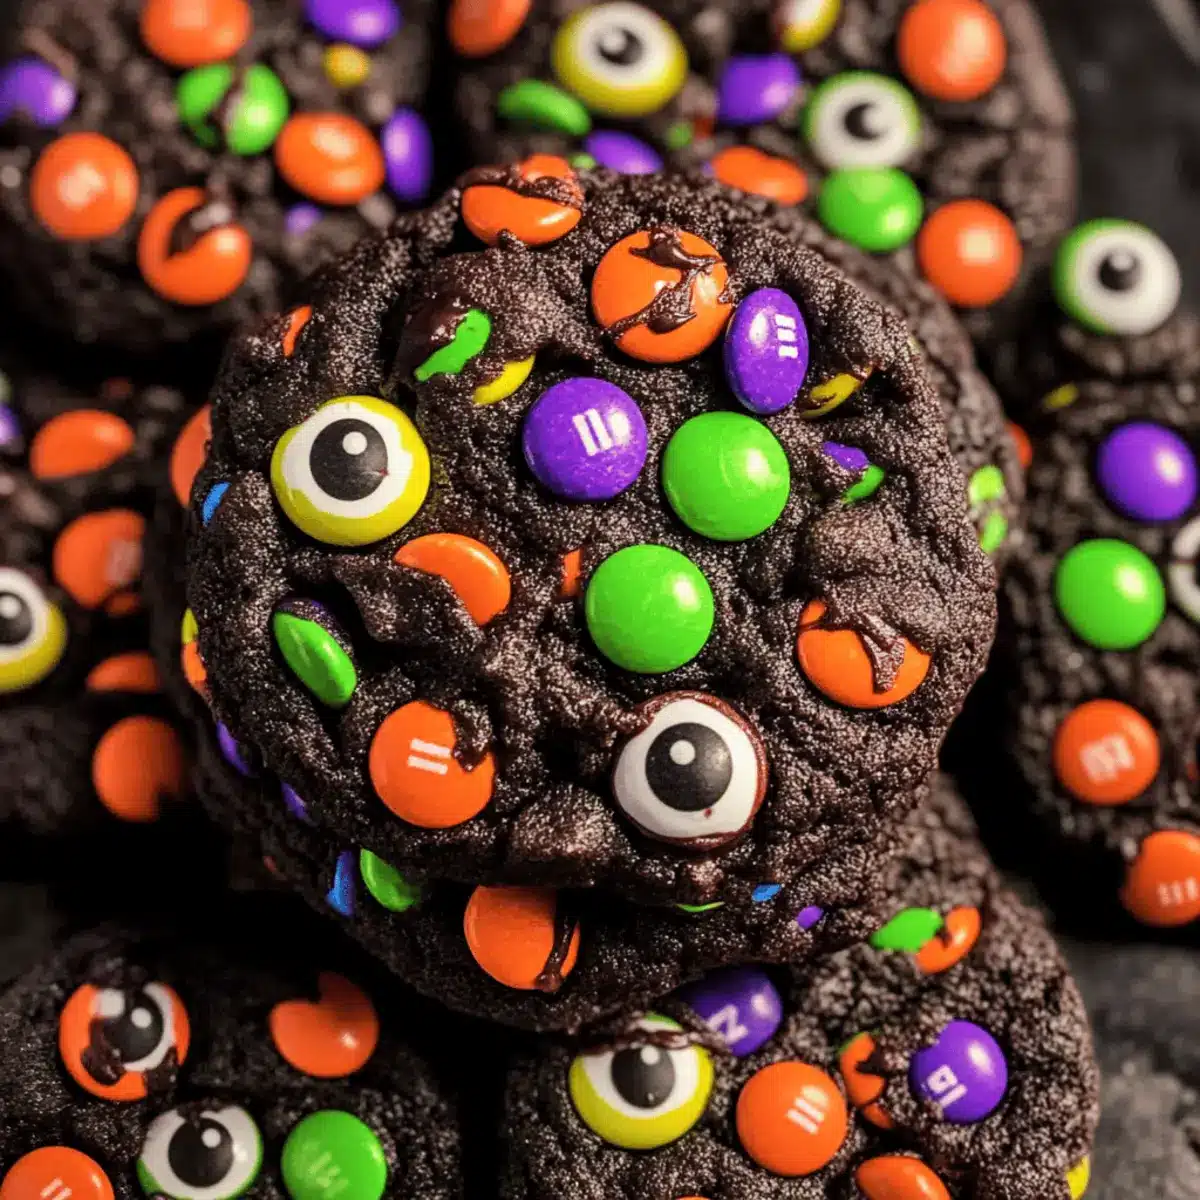
As I rummaged through my pantry last Halloween, I stumbled upon a treasure trove of black cocoa powder, bright M&Ms, and a mischievous bag of candy eyeballs. An idea struck me: why not create some Extra Chocolatey Halloween Monster Cookies? These festive treats boast a rich black velvet texture that’s irresistibly chewy and appealingly spooky. The best part? They’re surprisingly quick to make from scratch, making them perfect for last-minute Halloween parties or gatherings. With a few fun decorations, not only do these cookies delight the taste buds of both kids and adults alike, but they also turn any gathering into a celebration. Ever wondered how a cookie could be both a crowd-pleaser and an easy bake? Let’s dive into this delightful recipe and uncover the magic together!
Why Are These Halloween Cookies a Must-Bake?
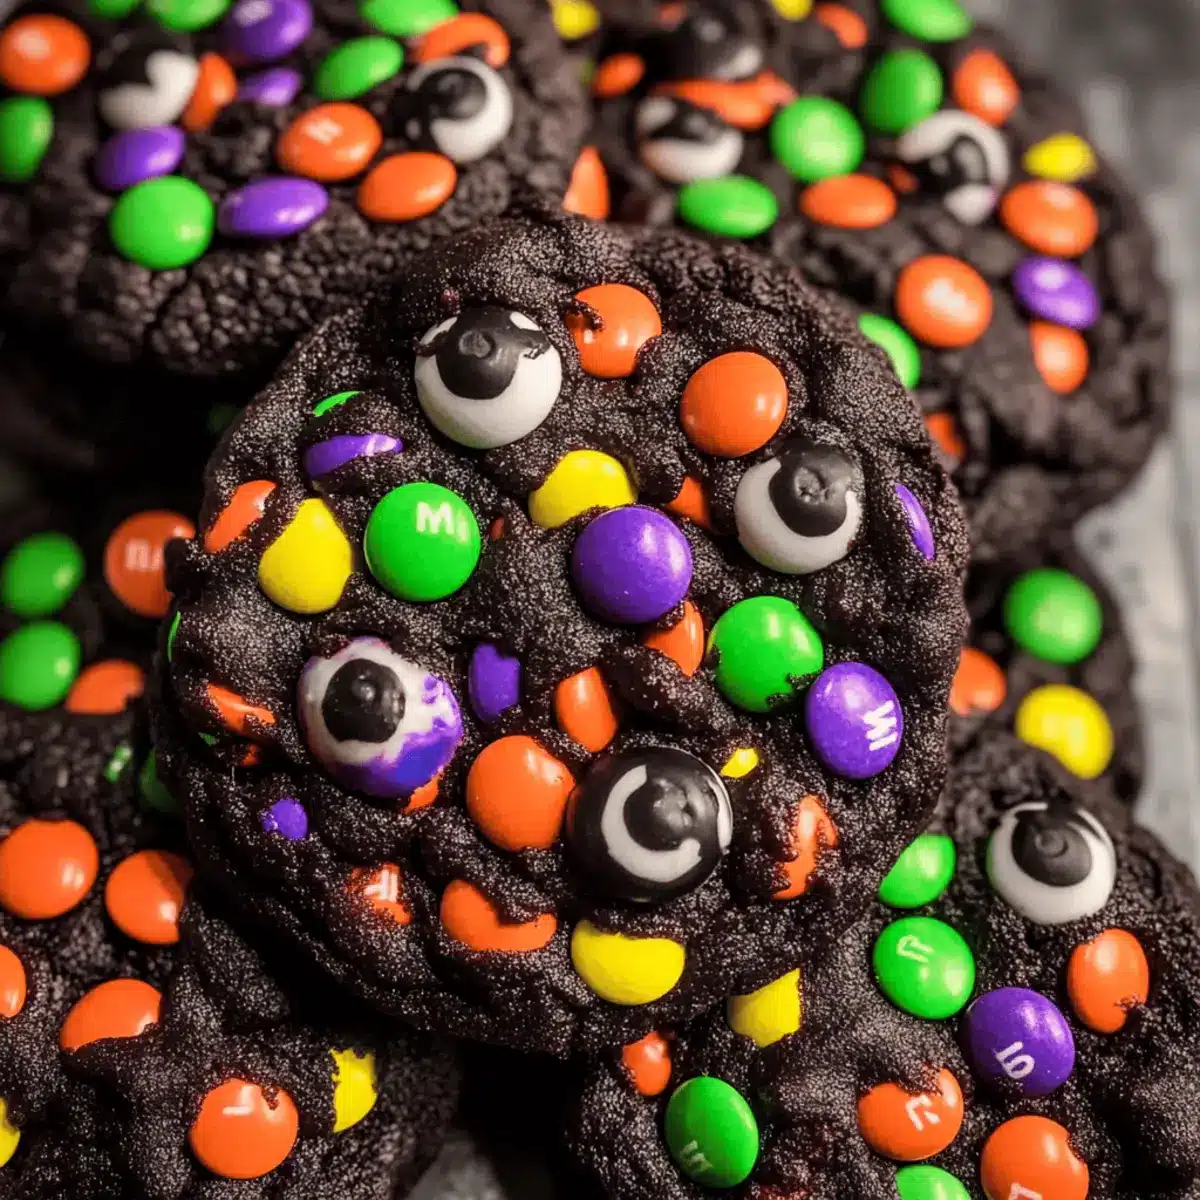
Deliciously Chocolatey: With a rich, black velvet texture, these cookies deliver an intense chocolate flavor that will leave you craving more.
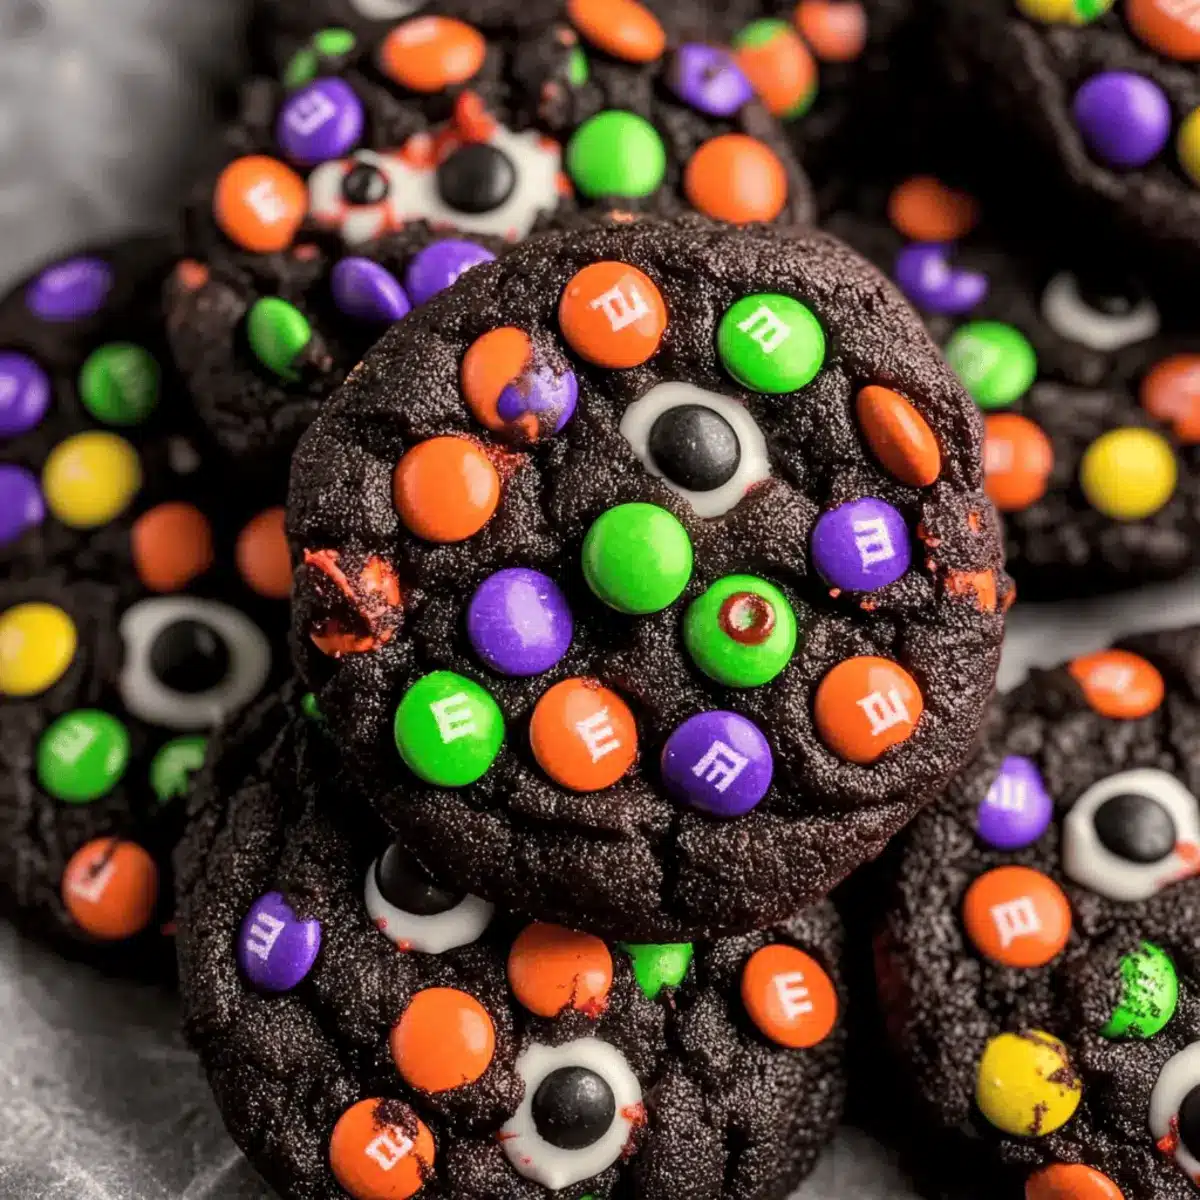
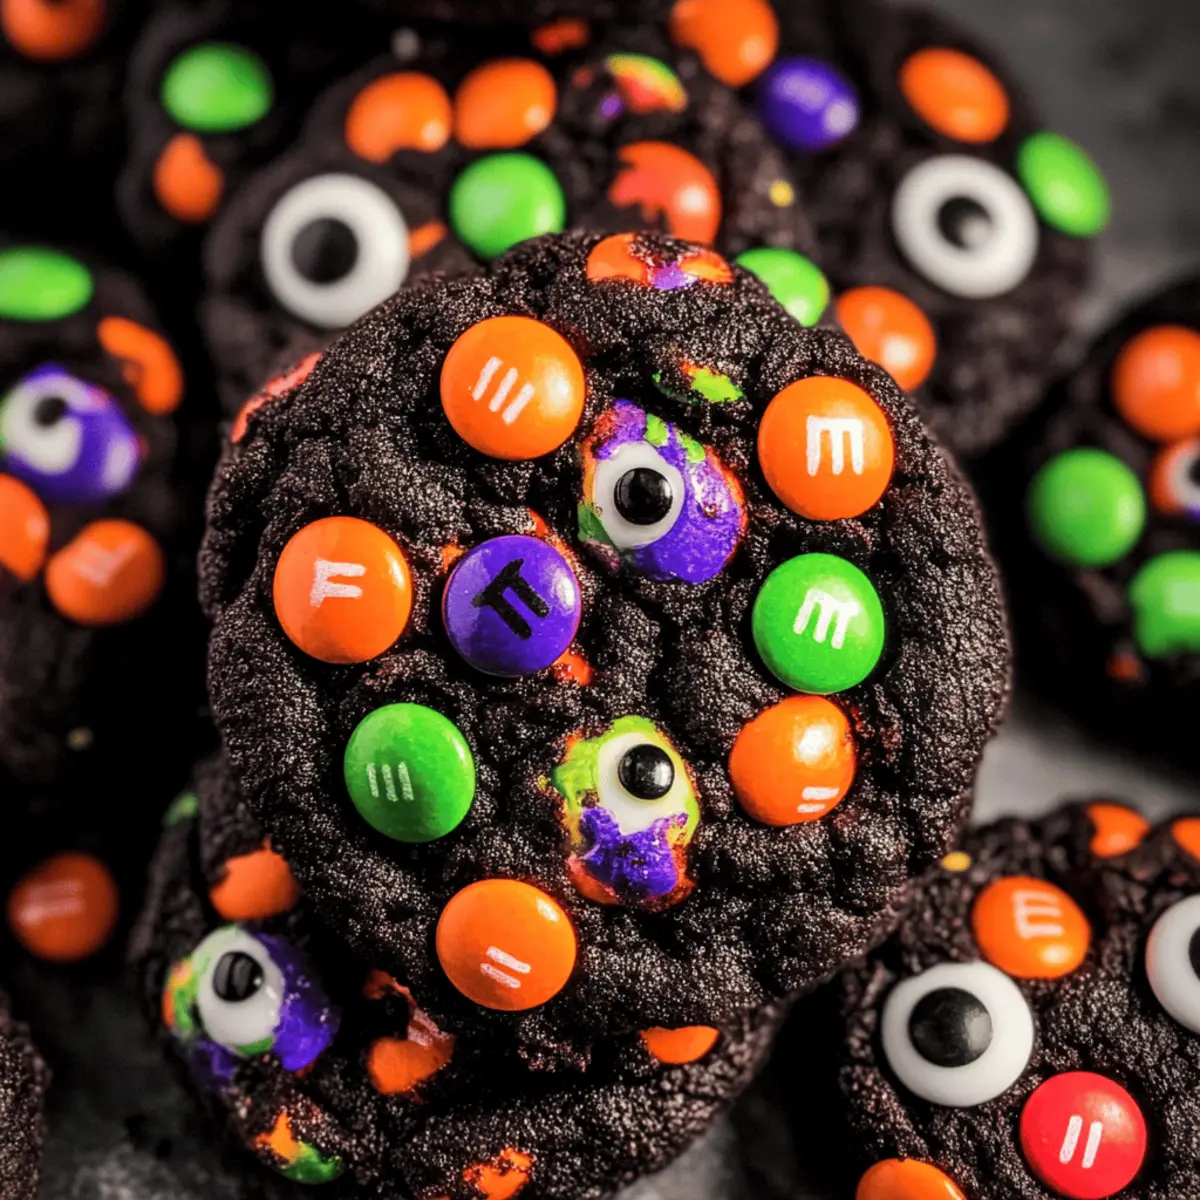
Spooktacular Decorations: Colorful M&Ms and candy eyeballs transform these treats into festive masterpieces, perfect for impressing guests at any Halloween gathering.
Quick and Easy: Ready in just over 30 minutes, these cookies are a lifesaver for last-minute party preparations.
Versatile Options: Not in the mood for M&Ms? Swap them out for chocolate chips or even nuts for a different bite.
Perfect for Any Occasion: They’re not just for Halloween! Serve them up any time you want a fun and delicious treat.
For more delightful cookie inspirations, check out these Soft Pumpkin Cookies and Strawberry Crunch Cookies.
Halloween Cookie Ingredients
• Whip up these delightful Halloween Cookies with ease to impress your guests!
For the Cookie Base
- All-Purpose Flour – Provides structure to the cookies; substitute with gluten-free flour for a GF version.
- Black Cocoa Powder – Adds an intense chocolate flavor and dark color; can be replaced with regular cocoa mixed with black food coloring if needed.
- Baking Powder – Helps the cookies rise and maintain a soft texture; no substitutes recommended.
- Baking Soda – Works alongside baking powder to ensure a fluffy cookie; essential for proper rise.
- Salt – Enhances the flavors of the other ingredients; don’t skip this for the best taste!
- Unsalted Butter – Contributes moisture and richness; use softened cold butter for optimal mixing.
- Light Brown Sugar – Introduces moisture and a caramel-like depth; dark brown sugar can be used for a richer flavor.
- Granulated Sugar – Sweetens the cookies and helps create their crisp edges; no significant substitutions recommended.
- Egg Yolks – Adds richness, moisture, and essential texture; avoid using whole eggs as they alter the cookie’s outcome.
- Vanilla Extract – Brings a warm, aromatic flavor to balance the sweetness; choose pure vanilla for the best results.
For the Decorations
- Halloween M&Ms – Adds festive color and sweetness; regular chocolate chips are a fine alternative, too.
- Halloween Jimmies – Gifts additional decorative texture and color; substitute with any sprinkles you have on hand.
- Candy Eyeballs – Fun for spooky detail; can be swapped with chocolate chips or mini marshmallows if desired.
Step‑by‑Step Instructions for Halloween Cookies
Step 1: Prep the Oven & Baking Sheets
Begin by preheating your oven to 350°F (175°C) to ensure a warm environment for your Halloween Cookies. While the oven warms up, take two baking sheets and line them with parchment paper to prevent sticking and ensure even baking. Visualize a cozy, inviting kitchen filled with the rich aroma of chocolate as you prepare for the delightful baking ahead.
Step 2: Mix Dry Ingredients
In a medium-sized mixing bowl, whisk together 2 cups of all-purpose flour, 1/2 cup of black cocoa powder, 1 teaspoon each of baking powder and baking soda, along with a pinch of salt. This blend creates a solid foundation for your Halloween Cookies, enhancing their chocolatey depth. Ensure there are no lumps in the mixture, as a smooth, dry ingredient blend contributes to the cookies’ texture.
Step 3: Cream Butter & Sugars
Using an electric mixer, beat together 1/2 cup of softened unsalted butter, 1/2 cup of light brown sugar, and 1/2 cup of granulated sugar in a large bowl for about 2 minutes. Mix until the combination is light and fluffy, transforming the butter and sugars into a creamy texture. This crucial step allows the sugars to aerate, which helps your Halloween Cookies rise beautifully as they bake.
Step 4: Incorporate Yolks & Vanilla
Next, add in 2 egg yolks and 1 teaspoon of pure vanilla extract, continuing to mix for an additional 2 minutes until the mixture turns pale and fluffy. The egg yolks enrich the dough, while the vanilla adds a warm, aromatic flavor. Take a moment to savor the sweet scent filling your kitchen—this mixture is the heart of your delightful Halloween Cookies!
Step 5: Combine Mixtures
Gradually incorporate the dry ingredient mixture into the wet ingredients, mixing on low speed until just combined. Be careful not to overmix; you’re looking for a smooth and slightly thick dough that will form the base of your Halloween Cookies. With the vibrant, dark batter coming together, your anticipation builds for the tasty treats ahead!
Step 6: Add Mix-Ins
With a rubber spatula, gently fold in 1 cup of Halloween M&Ms and 1/4 cup of Halloween jimmies into the dough. This step brings in colorful pops of festivity that will make your cookies not only delicious but visually enticing! Make sure to evenly distribute the M&Ms and jimmies throughout the dough for that perfect Halloween touch.
Step 7: Form Dough Balls
Using a 2-tablespoon scoop, create 17 equal-sized dough balls, placing them on the prepared baking sheets. Ensure you space them about 2 inches apart to allow room for spreading during baking. Each little mound of dough is now poised to turn into a monstrous delight; it’s a satisfying sight that promises deliciousness!
Step 8: Decorate
Before baking, gently press more M&Ms, candy eyeballs, and additional sprinkles onto each dough ball to enhance the spooky designs. Unleash your creativity as you create unique faces on your Halloween Cookies—the more unique and fun they look, the more fun they feel when biting into them!
Step 9: Bake
Pop the baking sheets into the preheated oven and bake the cookies for 10-11 minutes. Keep an eye on them; the edges should be set while the centers remain soft and chewy. The heavenly aroma wafting from the oven will leave you eagerly waiting to taste these decadent Halloween Cookies!
Step 10: Cool Down
Once baked, let the cookies cool on the baking sheets for about 5 minutes. Then, gently transfer them to a wire rack to cool completely. This crucial cooling period allows the cookies to firm up and develop their chewy texture, ready to be devoured at your next Halloween gathering!
Expert Tips for Halloween Cookies
Measure Flour Correctly: Use the spoon and level method, or weigh it at 125g per cup, to avoid dense cookies. Precision makes a big difference!
Chill the Dough: If the cookie dough feels too sticky during shaping, chill it for 15-20 minutes before baking to create a smoother texture.
Keep an Eye on Baking Time: Bake until the edges are set and the centers are slightly soft. Overbaking leads to dry cookies instead of chewy Halloween treats.
Enhance Decorations: For added fun, use an assortment of colorful M&Ms and sprinkles, ensuring they are evenly distributed for each spooky cookie.
Store Properly: Place the Halloween cookies in an airtight container for freshness, keeping them deliciously soft for up to 4 days!
What to Serve with Extra Chocolatey Halloween Monster Cookies?
Indulge in a whimsical spread that perfectly complements the festive charm of your Halloween Monster Cookies.
-
Creamy Pumpkin Soup: The warmth and richness of pumpkin soup provide a luscious balance to the deep chocolate flavor of the cookies. Perfect as a cozy starter!
-
Warm Apple Cider: This spiced beverage adds a comforting touch that enhances the sweetness of your cookies, making every bite feel like a warm hug in a mug.
-
Chewy Caramel Brownies: Double the chocolate delight by serving fudgy brownies alongside. The chewy texture and caramel sweetness elevate the dessert experience beautifully!
-
Spooky Fruit Platter: A colorful mix of fruits like oranges, grapes, and berries brings freshness and vibrancy to your dessert table, offering a light contrast to the dense cookies.
-
Hot Chocolate Bar: Elevate the dessert experience by setting up a hot chocolate bar. Let guests customize their drinks with marshmallows, whipped cream, and more M&Ms!
With these delightful pairings, your Halloween gathering will become an unforgettable feast of flavors and fun!
How to Store and Freeze Halloween Cookies
Room Temperature: Store homemade Halloween cookies in an airtight container at room temperature for up to 4 days to keep them soft and chewy.
Fridge: If you prefer a cooler treat, place the cookies in the fridge for up to a week. Just remember to let them warm up a bit before enjoying to restore their softness.
Freezer: For longer storage, freeze the cookies in an airtight container or zip-top bag for up to 2 weeks. Allow them to defrost at room temperature when you’re ready to indulge.
Reheating: To enjoy your Halloween cookies warm, pop them in the microwave for about 10-15 seconds. This will revive their gooey center and enhance the chocolatey goodness!
Make Ahead Options
These Extra Chocolatey Halloween Cookies are a fantastic choice for meal prep, allowing you to enjoy Halloween treats without the last-minute rush! You can prepare the cookie dough up to 24 hours in advance; simply scoop the dough into balls and place them on a lined baking sheet. Cover it tightly with plastic wrap and refrigerate. For optimal texture, bake them just before serving—this way, they’ll maintain that delectable chewy center and slightly crisp edges. If you want to get even further ahead, you can freeze the dough balls for up to 3 months. When you’re ready to bake, there’s no need to thaw; just add a couple of extra minutes to the baking time for fresh, delicious Halloween Cookies!
Halloween Cookies Variations & Substitutions
Feel free to explore different twists that make these Halloween cookies uniquely yours!
- Gluten-Free: Use a 1:1 gluten-free flour blend for a gluten-free version without sacrificing texture or taste.
- Different Cocoa: Swap black cocoa powder for regular cocoa powder and add a dash of food coloring for that deep hue and rich taste.
- Sweeteners: Replace light brown sugar with dark brown sugar for a richer, caramel-like depth of flavor that everyone will love.
- Chewy Add-ins: Fold in dried cranberries or nuts like walnuts for a delightful chewy texture and a nutty flavor that contrasts beautifully with the chocolate.
- Extra Chocolate: For a chocolate explosion, add chocolate chips in addition to the M&Ms—your taste buds will thank you!
- Spicy Kick: Toss in a pinch of cayenne pepper or cinnamon for a subtle heat that pairs wonderfully with the chocolate flavors.
- Alternative Mix-ins: Trade the Halloween M&Ms for peanut butter chips or caramel bits to delight the senses with a new flavor profile.
- Whipped Topping: Instead of candy eyeballs, use mini marshmallows or whipped cream on top for a fluffy and light finish to these festive treats.
These variations can take your Halloween cookies to a whole new level! If you’re looking for more delicious cookie inspirations, be sure to check out my recipes for Soft Pumpkin Cookies and Strawberry Crunch Cookies. Happy baking!
Halloween Cookies Recipe FAQs
How do I choose the best black cocoa powder for my Halloween cookies?
Absolutely! When selecting black cocoa powder, look for brands that are labeled as “Dutch-processed.” This type typically has a richer flavor and darker color, enhancing the intense chocolate experience of your Halloween cookies. Smell it before purchasing; it should have a deep, chocolatey fragrance without any off-putting scents.
What is the best way to store Halloween cookies to keep them fresh?
Very! To maintain the softness and chewiness of your Halloween cookies, store them in an airtight container at room temperature for up to 4 days. For extended freshness, you can place a slice of bread in the container, as it helps retain moisture. Alternatively, refrigerating them will keep them fresh for up to a week, but be sure to let them sit at room temperature before enjoying!
Can I freeze my Halloween cookies?
Absolutely! To freeze your Halloween cookies, first ensure they are completely cooled. Then, place them in an airtight container or zip-top bag, separating layers with parchment paper if desired. They can be frozen for up to 2 weeks. When you’re ready to indulge, simply let them thaw at room temperature.
My cookie dough is too sticky! What should I do?
No worries! If your cookie dough feels overly sticky, chill it in the refrigerator for 15-20 minutes. This step firms up the butter in the dough, reducing stickiness and making it easier to scoop and shape. You can also lightly dust your hands with flour when forming the dough balls to prevent sticking.
Are there any allergies I should consider with this cookie recipe?
Very! If anyone has common allergies, you should definitely consider making substitutions. For nut allergies, ensure that the mix-ins (like M&Ms or sprinkles) are nut-free. If gluten is a concern, use certified gluten-free all-purpose flour instead. Always check ingredient labels to ensure there aren’t any allergens hidden in your products!
What if I want to make these cookies healthier?
Absolutely! You can make your Halloween cookies healthier by substituting half of the all-purpose flour with almond flour or oat flour. Additionally, you can reduce the overall sugar by 25% without significantly affecting texture. For a fun twist, add oats or chia seeds for an extra nutritional boost!
Halloween Cookies That Are Extra Chocolatey and Fun
Ingredients
Equipment
Method
- Prep the Oven & Baking Sheets: Preheat your oven to 350°F (175°C) and line two baking sheets with parchment paper.
- Mix Dry Ingredients: In a bowl, whisk together the flour, black cocoa powder, baking powder, baking soda, and salt.
- Cream Butter & Sugars: Beat together the butter, light brown sugar, and granulated sugar until light and fluffy.
- Incorporate Yolks & Vanilla: Add in the egg yolks and vanilla extract, mixing until the mixture is pale and fluffy.
- Combine Mixtures: Gradually mix the dry ingredients into the wet ingredients until just combined.
- Add Mix-Ins: Fold in the Halloween M&Ms and jimmies into the dough.
- Form Dough Balls: Create 17 equal-sized dough balls and place them on the prepared baking sheets.
- Decorate: Press more M&Ms, candy eyeballs, and sprinkles onto each dough ball.
- Bake: Bake the cookies for 10-11 minutes until edges are set and centers are soft.
- Cool Down: Let the cookies cool on baking sheets for 5 minutes before transferring to a wire rack.
Leave a Reply