
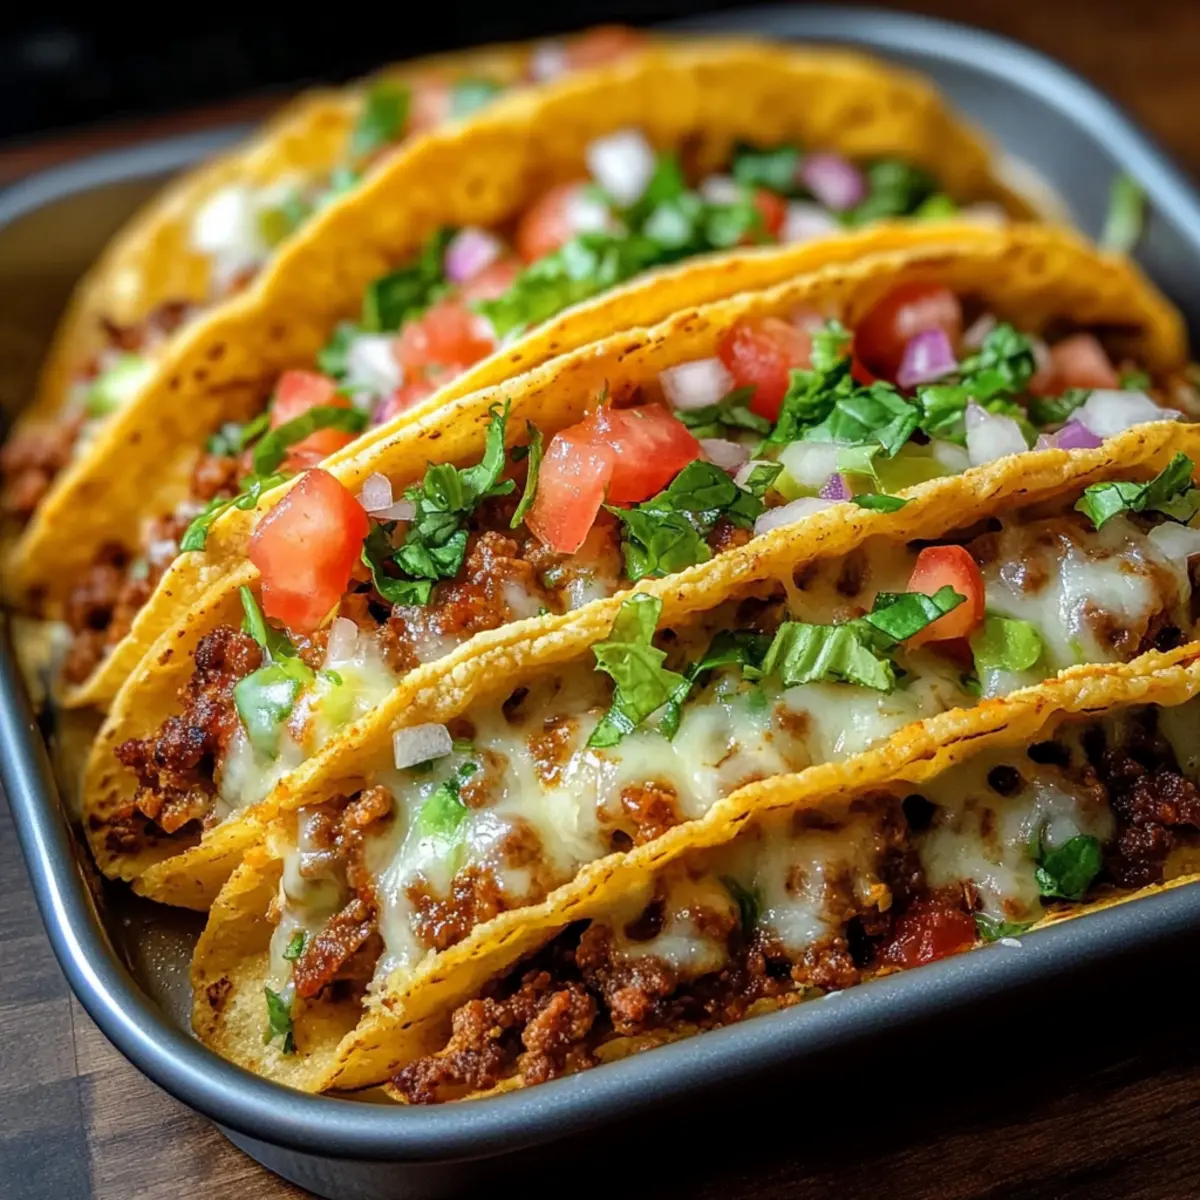
If you’ve ever dreamt of a taco experience that’s both crispy and melty, then you’re in for a treat with these Oven-Baked Cheesy Tacos! Picture standing in your kitchen, the aroma of seasoned beef and gooey cheese wafting through the air, promising warmth and comfort with every bite. These tacos are not only a quick meal option, taking just 30 minutes to prepare, but they’re also completely customizable, ensuring everyone at the table leaves satisfied. Whether you’re a busy parent, a night-owl student, or simply craving a delicious homemade meal, this recipe is your go-to solution for weeknight dinners. Ready to dive into a plate filled with crispy taco shells and loaded goodness? Let’s get started!
Why Are These Tacos a Must-Try?
Crispy Texture: Enjoy the delightful crunch of hard taco shells that hold up beautifully to savory fillings.
Quick to Prepare: In just 30 minutes, you’ll have a delicious dinner on the table, perfect for busy weeknights.
Customizable Toppings: You can personalize each taco with your favorite toppings, from fresh lettuce to spicy jalapeños. The options are endless!
Family-Friendly: These Oven-Baked Cheesy Tacos are sure to please even the pickiest eaters, making mealtime stress-free. Try pairing them with an easy side like Grilled Cheese Burrito for a complete meal.
Hearty and Satisfying: With protein-packed fillings and melted cheese, these tacos deliver a comforting experience that warms the heart.
Oven-Baked Cheesy Tacos Ingredients
• For a delicious taco night, here’s what you need!
For the Filling
- Ground Beef – The heart of the dish, adding savory flavor and bulk; feel free to swap for ground turkey, chicken, or plant-based options like lentils.
- Onion – Enhances sweetness and depth; shallots work well too if you prefer a milder taste.
- Garlic – Packs in extra flavor; use fresh minced garlic or a dash of garlic powder for convenience.
- Taco Seasoning – A blend of spices that gives the filling its authentic taco flavor; homemade mixes are a great option too!
- Tomato Sauce/Salsa – Brings moisture to the dish; opt for salsa if you want some heat or stick with plain tomato sauce for a milder taste.
For the Shells
- Taco Shells – Hard corn taco shells offer the best crunch and structure; they’re essential for holding all that delicious filling.
For the Cheese
- Shredded Cheese – Go for cheddar, Monterey Jack, or a Mexican blend to achieve melty perfection atop each taco!
For the Toppings
- Fresh Toppings (lettuce, tomatoes, onions) – These add a refreshing crunch; layer on extras like avocados or cilantro to elevate the tacos even more!
Remember, the joy of these Oven-Baked Cheesy Tacos lies in their versatility—feel free to modify as you like for a taco experience just right for you!
Step‑by‑Step Instructions for Oven-Baked Cheesy Tacos
Step 1: Preheat the Oven
Begin by preheating your oven to 400°F (200°C). This initial step is crucial for achieving perfectly crispy taco shells. Gather your baking dish and have it ready to hold the taco shells as they bake. A well-preheated oven ensures that your Oven-Baked Cheesy Tacos will have that delightful golden crust in no time.
Step 2: Arrange Taco Shells
Carefully arrange the hard corn taco shells upright in your baking dish, making sure they are evenly spaced. This configuration allows the heat to circulate around each shell, creating that coveted crunch. If you’re using a 9×13 inch dish, you’ll typically fit around 12 shells comfortably. Set the dish aside while you prepare the filling.
Step 3: Cook the Beef and Onion
In a skillet over medium heat, add your ground beef and diced onion. Cook for about 5–7 minutes, stirring frequently until the beef is browned and the onion is soft. Drain any excess fat to prevent a greasy filling. This delicious mixture forms the flavorful heart of your Oven-Baked Cheesy Tacos, so stir well to combine.
Step 4: Add Garlic and Seasoning
Stir in minced garlic and taco seasoning into the cooked beef and onion mixture. Continue to cook for another 1–2 minutes, allowing the spices to bloom and infuse the filling with flavor. If you prefer a little kick, you can adjust the seasoning or add a dash of hot sauce. Finally, add the tomato sauce or salsa and simmer for 5 minutes, letting everything meld beautifully.
Step 5: Fill the Taco Shells
With your beef mixture ready, it’s time to fill those taco shells generously. Spoon the cooked filling carefully into each shell to avoid overflow, creating an even distribution. This will ensure that every bite of your Oven-Baked Cheesy Tacos is filled with savory goodness.
Step 6: Top with Cheese
Now, it’s time for the best part: topping your filled taco shells with a generous layer of shredded cheese. Sprinkle the cheese evenly over all the tacos, ensuring that each shell is well-covered. This cheesy goodness is what makes your Oven-Baked Cheesy Tacos so irresistible once they come out of the oven.
Step 7: Bake to Perfection
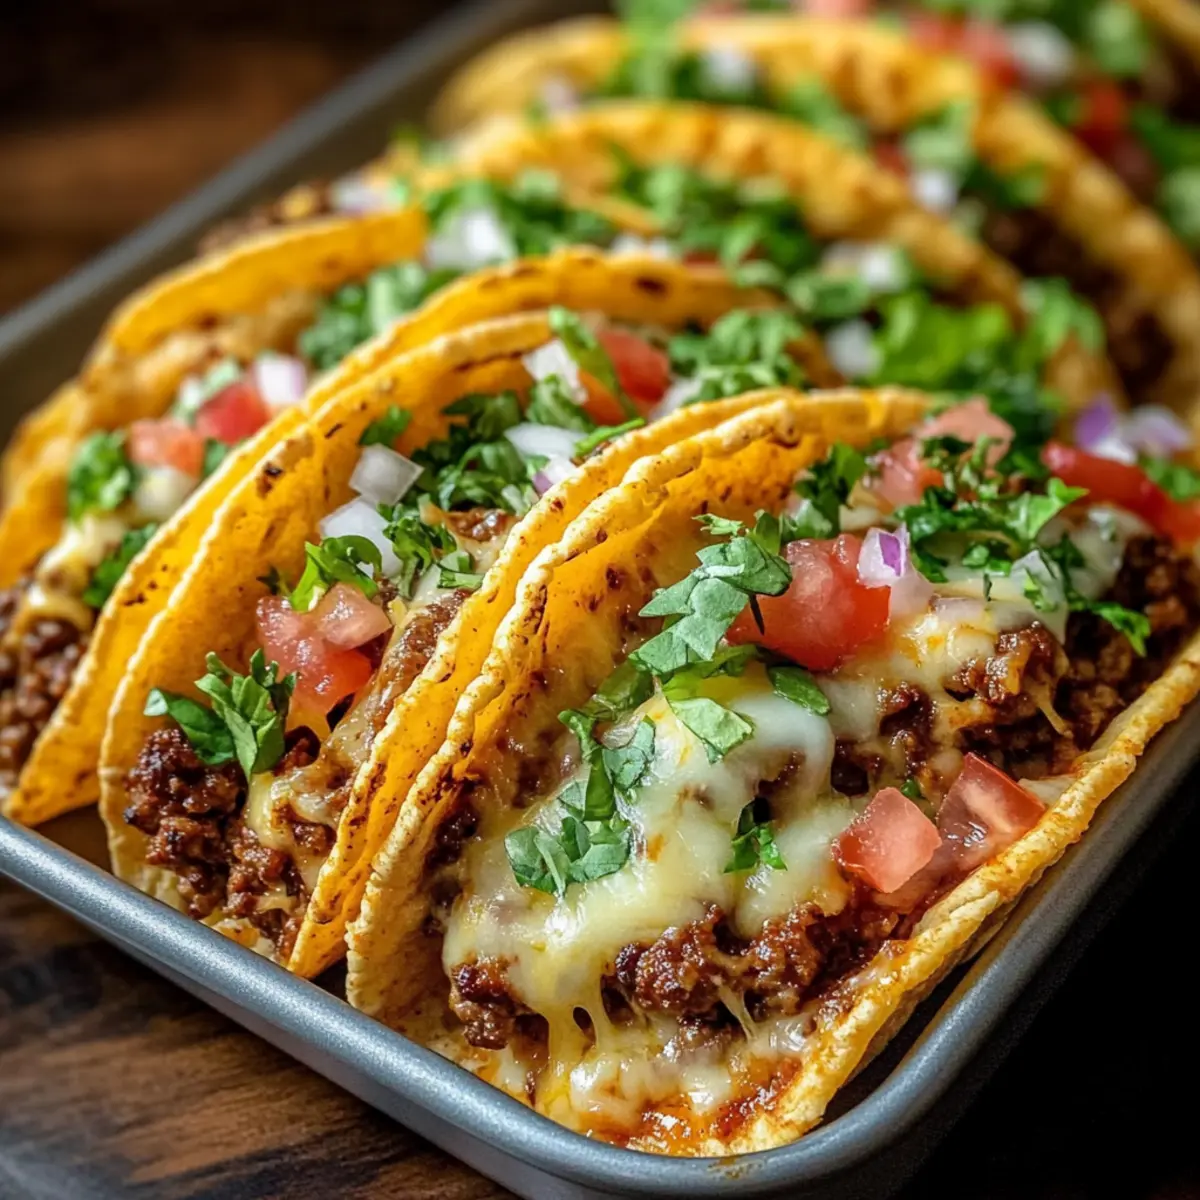
Place the baking dish in the preheated oven and bake for 10-15 minutes. Keep an eye on the tacos—you’re looking for that lovely melt of cheese and a slight golden hue on the taco shells. This is when the magic happens, transforming your assembled ingredients into a crispy, cheesy delight.
Step 8: Add Fresh Toppings and Serve
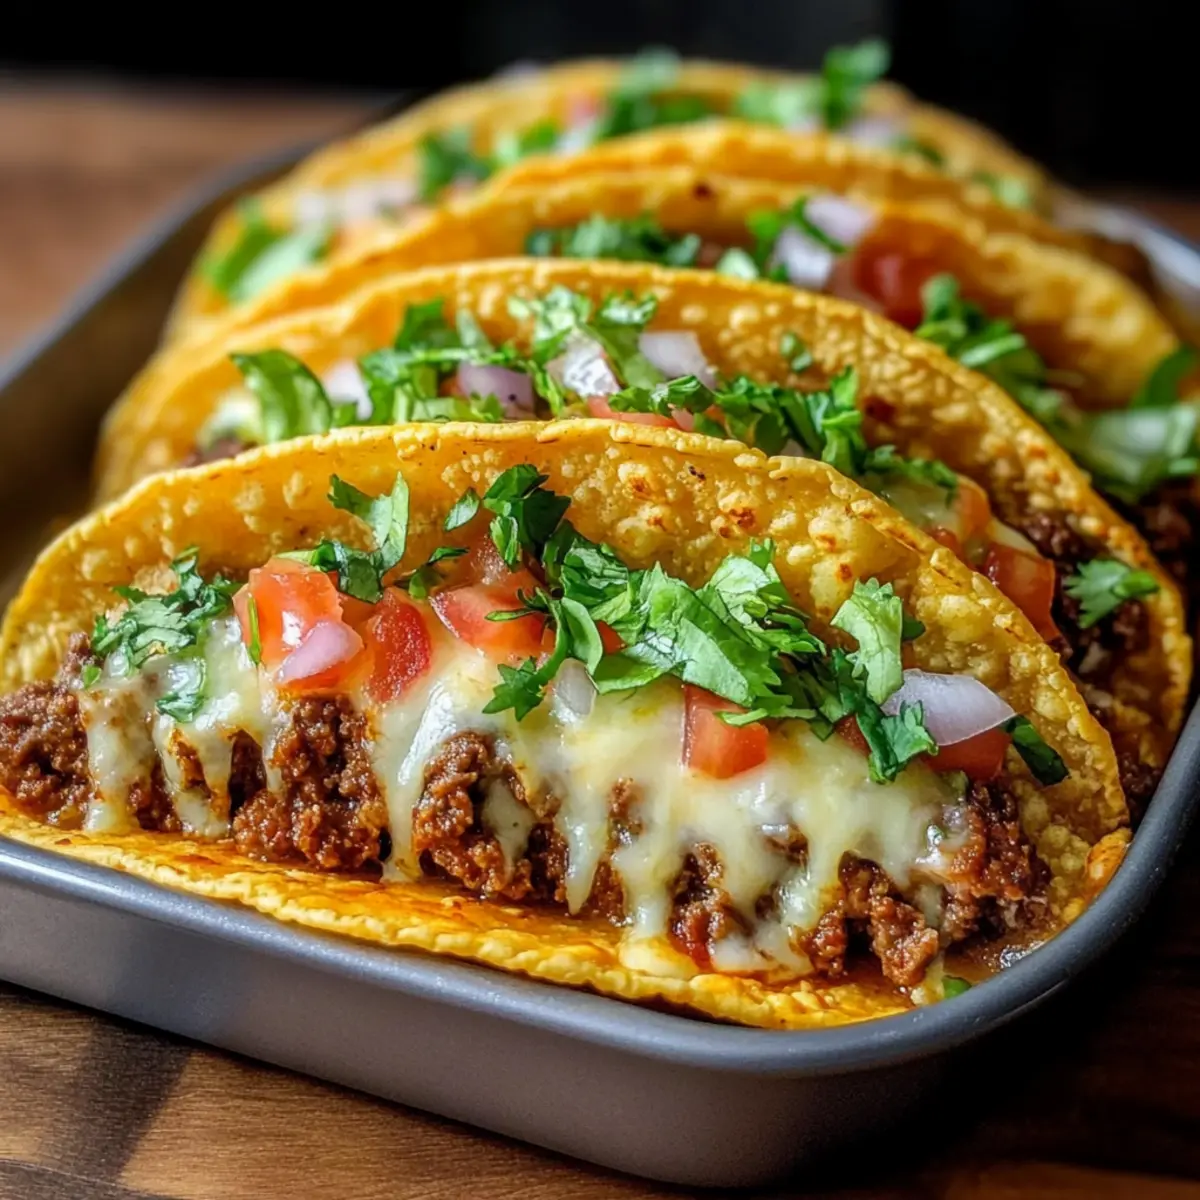
Once baked, remove the dish from the oven and let the tacos cool slightly. Top with your choice of fresh ingredients like shredded lettuce, diced tomatoes, and sliced onions. Feel free to elevate your Oven-Baked Cheesy Tacos with guacamole or sour cream on the side. Serve warm, and get ready for a scrumptious meal that brings everyone together!
Expert Tips for Oven-Baked Cheesy Tacos
-
Preheat Properly: Ensure your oven is fully preheated to 400°F (200°C) for crispy taco shells. A hot oven promotes even cooking and ideal texture.
-
Season Well: Taste your beef mixture before filling the shells. Adjust the taco seasoning as needed, so each bite of your Oven-Baked Cheesy Tacos bursts with flavor.
-
Avoid Soggy Shells: Fill the taco shells carefully, avoiding overstuffing to prevent sogginess. A generous yet manageable amount of filling keeps the shells crispy.
-
Chill Before Baking: If prepping ahead, cover assembled tacos in the fridge. Make sure to bake them fresh just before serving for maximum crunch.
-
Customize Freely: Experiment with toppings! Avocados, jalapeños, or cilantro can elevate the flavor profile of your Oven-Baked Cheesy Tacos, making each bite unique.
Oven-Baked Cheesy Tacos: Fun Variations
Feel free to get creative and customize these delicious tacos to suit your taste buds and dietary preferences!
-
Gluten-Free: Use gluten-free corn taco shells to ensure everyone can enjoy these tasty treats without worry.
-
Chicken Delight: Swap out ground beef for shredded cooked chicken for a lighter, yet equally satisfying option that everyone will love.
-
Vegetarian: Utilize lentils or black beans instead of meat for a hearty plant-based filling. Season well to pack in plenty of flavor!
-
Spice it Up: Add chopped jalapeños or a dash of cayenne pepper to the beef mixture for a spicy kick if you’re feeling adventurous.
-
Cheese Lovers: Experiment with cheese blends such as pepper jack or feta for exciting flavor variations and uniqueness.
-
Taco Bar: Set up a taco bar with an array of toppings like guacamole, sour cream, and fresh cilantro, allowing everyone to create their own perfect taco.
-
Sweet Potato: Try swapping out the beef for mashed sweet potato. This adds a delightful sweetness, especially when paired with a tangy salsa.
-
Salsa Choices: Opt for different varieties of salsa, such as pineapple or mango salsa, to add a refreshing and fruity twist to your tacos.
These variations not only enhance flavors but allow for creative culinary experiences at any gathering! If you’re in the mood for another delicious twist, be sure to check out the flavorful Grilled Cheese Burrito for an added layer of comfort. The possibilities are endless!
Storage Tips for Oven-Baked Cheesy Tacos
Fridge: Store leftover Oven-Baked Cheesy Tacos in an airtight container for up to 3 days. This preserves the flavor and prevents them from drying out.
Freezer: For longer storage, freeze individual tacos wrapped tightly in plastic wrap and then placed in a freezer-safe bag for up to 2 months. Thaw in the fridge before reheating.
Reheating: To enjoy the tacos again, reheat in the oven at 350°F (175°C) for about 10-15 minutes until heated through and the cheese is melted. Optionally, cover with foil to maintain moisture.
Prep Ahead: Assemble the tacos without baking and store them covered in the fridge for up to 24 hours. Bake when ready to serve for fresh, crispy tacos.
What to Serve with Oven-Baked Cheesy Tacos
Elevate your taco night with these delightful pairings that balance flavors and textures beautifully.
-
Creamy Guacamole: This rich dip adds a luscious creaminess that beautifully contrasts the crispy tacos.
-
Zesty Mexican Rice: Flavorful and slightly spicy, this rice embodies a hearty base that complements every bite of savory tacos.
-
Fresh Garden Salad: A crisp salad adds a refreshing crunch and vibrant colors, enhancing the overall enjoyment of your meal. Toss in avocado for added richness.
-
Spicy Black Beans: Full of flavor and protein, these beans bring a nutritious and bold punch to your taco feast, rounding out the plate perfectly.
-
Sour Cream: This cool, tangy topping is the perfect finish to balance the spices in your cheesy tacos, inviting everyone to dig in.
-
Chilled Agua Fresca: A refreshing fruit drink, this is the ideal thirst-quencher to wash down your tasty tacos while adding a sweet touch to your meal.
Make Ahead Options
These Oven-Baked Cheesy Tacos are perfect for meal prep enthusiasts! You can assemble the tacos without baking them up to 24 hours in advance. Simply fill the taco shells with the beef mixture and cheese, then cover them tightly with plastic wrap before refrigerating to prevent dryness. When you’re ready to serve, preheat your oven and bake as instructed for 10-15 minutes until the cheese melts and the shells are golden. This prep-ahead strategy not only saves time on busy weeknights but also ensures your tacos are just as delicious as if you made them from scratch at the last moment. Enjoy the ease of homemade tacos, ready at your convenience!
Oven-Baked Cheesy Tacos Recipe FAQs
How do I select the perfect ground beef for my tacos?
Absolutely! When choosing ground beef, look for 80/20 or 85/15 lean-to-fat ratios for the best flavor and juiciness without being too greasy. If you prefer a healthier option, ground turkey or chicken also works beautifully. Just be sure to season well, as these leaner meats can lack some of the richness of beef.
What’s the best way to store leftover Oven-Baked Cheesy Tacos?
You can store leftover Oven-Baked Cheesy Tacos in an airtight container in the fridge for up to 3 days. Just make sure they cool down before sealing to avoid condensation. When you’re ready for a tasty snack or meal, you can reheat them in the oven for that delightful crispiness!
Can I freeze my Oven-Baked Cheesy Tacos?
Of course! To freeze, wrap each taco tightly in plastic wrap and then place them in a freezer-safe bag. They can be kept in the freezer for up to 2 months. Thaw in the fridge overnight before reheating them in the oven at 350°F (175°C) for about 10-15 minutes until heated through and cheese is melty.
What if my taco shells become soggy?
Very common! To avoid soggy taco shells, fill them moderately to prevent overflow, and ensure your beef mixture isn’t too wet. If your filling is a bit saucy, consider draining excess liquid before filling the shells. Also, placing them upright and evenly spaced in the baking dish will help maintain that satisfying crunch!
Are these tacos suitable for someone with gluten allergies?
Indeed! By choosing gluten-free corn taco shells and being mindful of your taco seasoning and sauces—making sure they are gluten-free—you can easily enjoy these Oven-Baked Cheesy Tacos without worry. Just check labels carefully to ensure all components suit your dietary needs.
How long can I prepare the tacos ahead of time?
You can prepare the Oven-Baked Cheesy Tacos ahead of time by assembling them without baking. Cover the dish and store in the fridge for up to 24 hours. This way, you can bake them fresh right before serving for that delicious crunch while enjoying the convenience of advance prep!
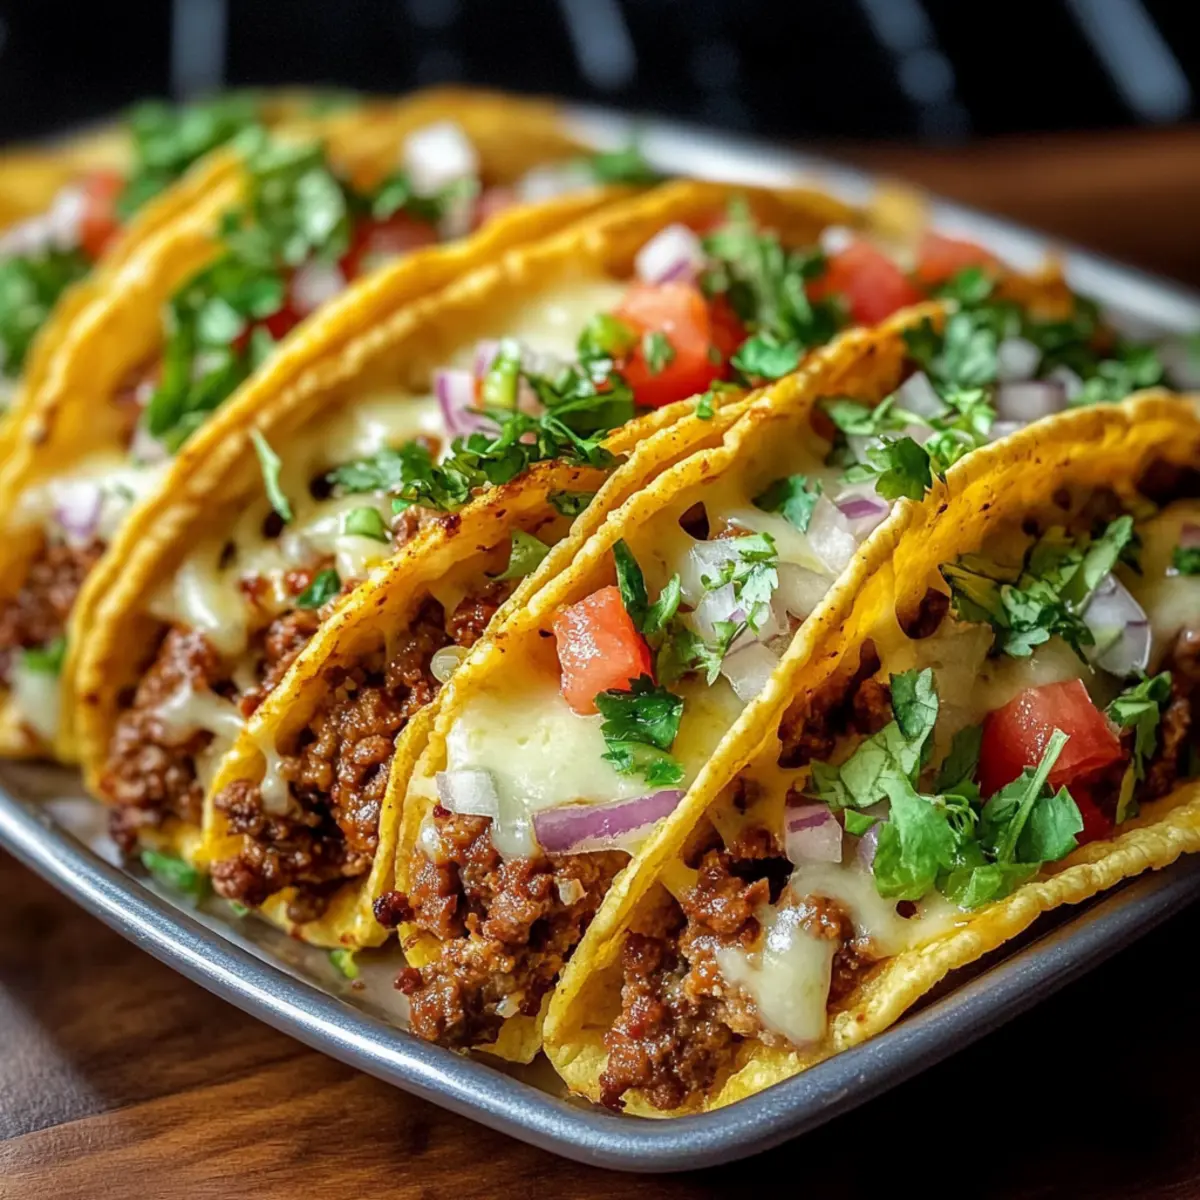
Oven-Baked Cheesy Tacos: Crispy Comfort in 30 Minutes
Ingredients
Equipment
Method
- Preheat your oven to 400°F (200°C).
- Arrange the hard corn taco shells upright in your baking dish.
- Cook the ground beef and diced onion in a skillet over medium heat for about 5–7 minutes until the beef is browned.
- Add minced garlic and taco seasoning, cooking for another 1–2 minutes. Then add tomato sauce or salsa and simmer for 5 minutes.
- Fill each taco shell with the beef mixture.
- Top filled taco shells with shredded cheese.
- Bake for 10-15 minutes until the cheese is melted and shells are slightly golden.
- Remove from oven and add fresh toppings. Serve warm.
Leave a Reply