
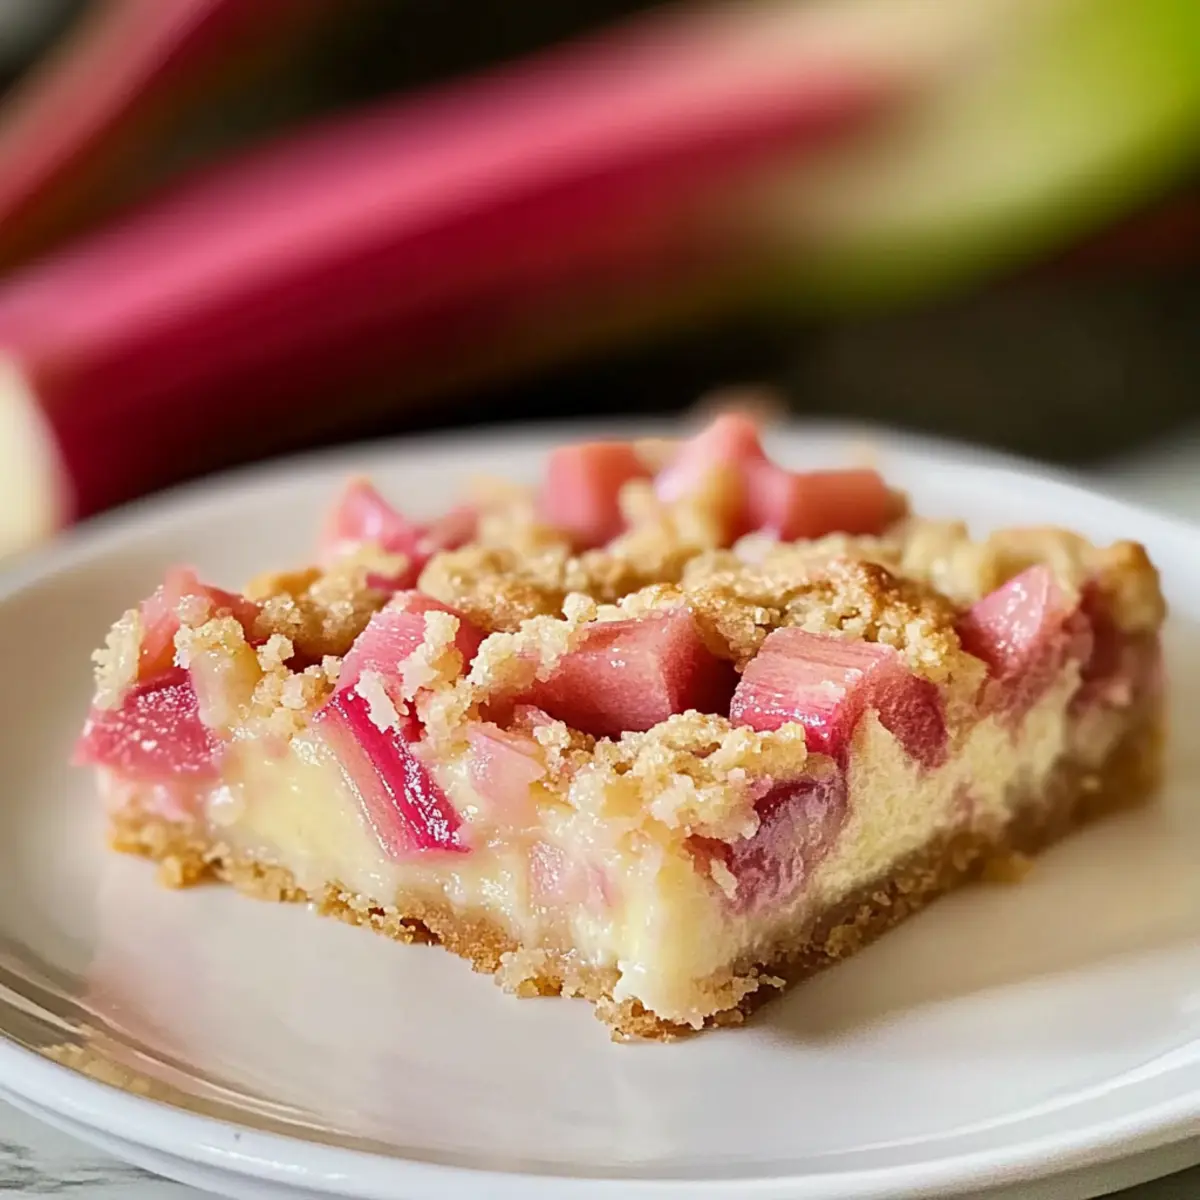
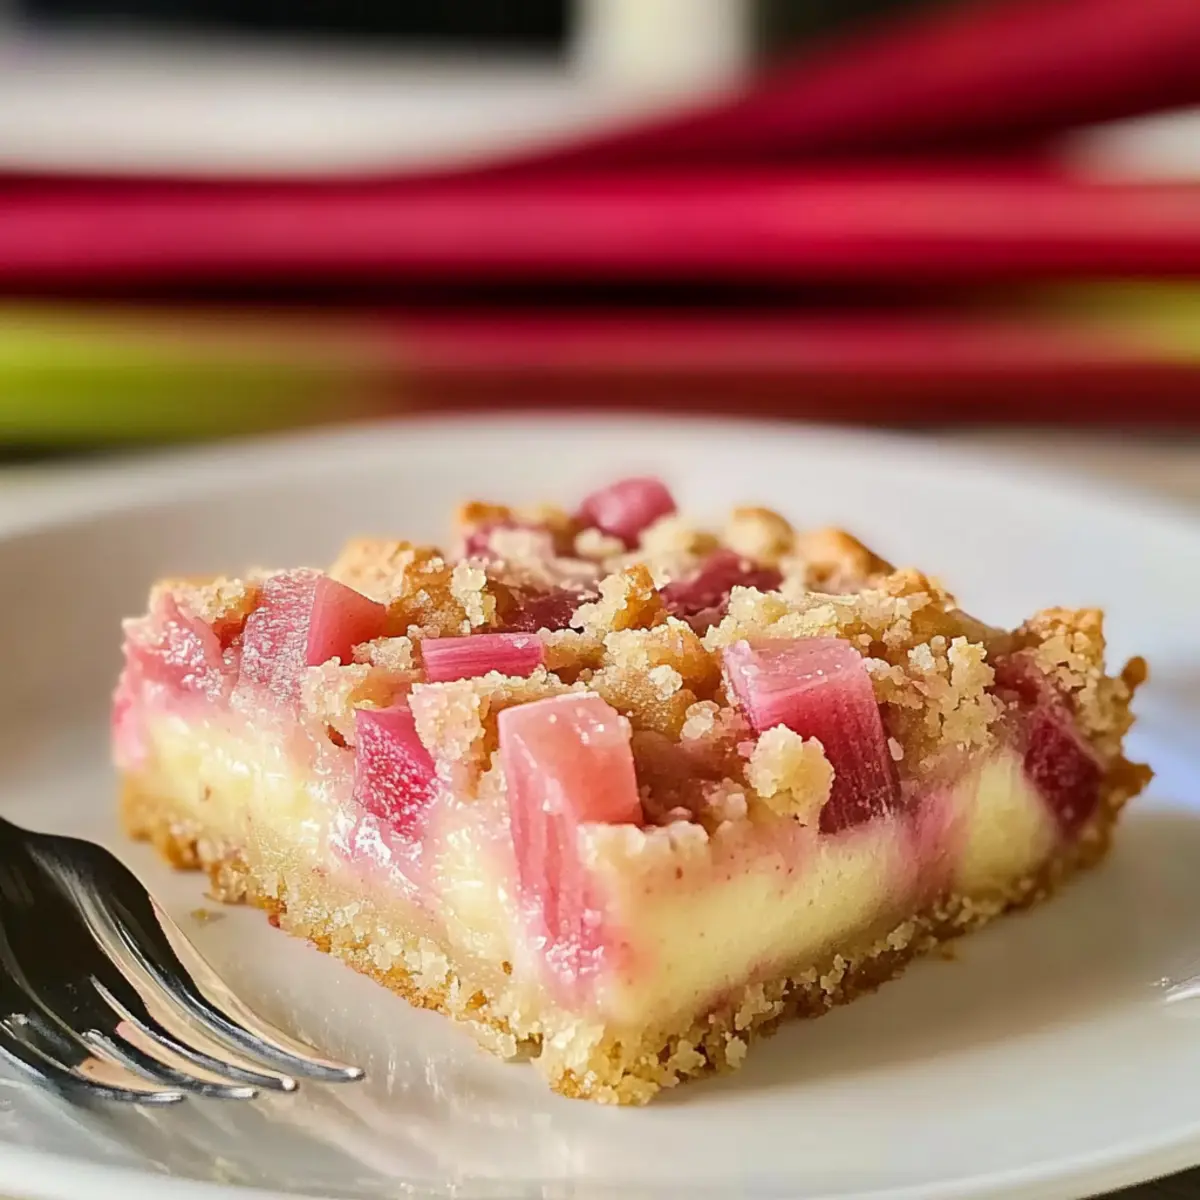
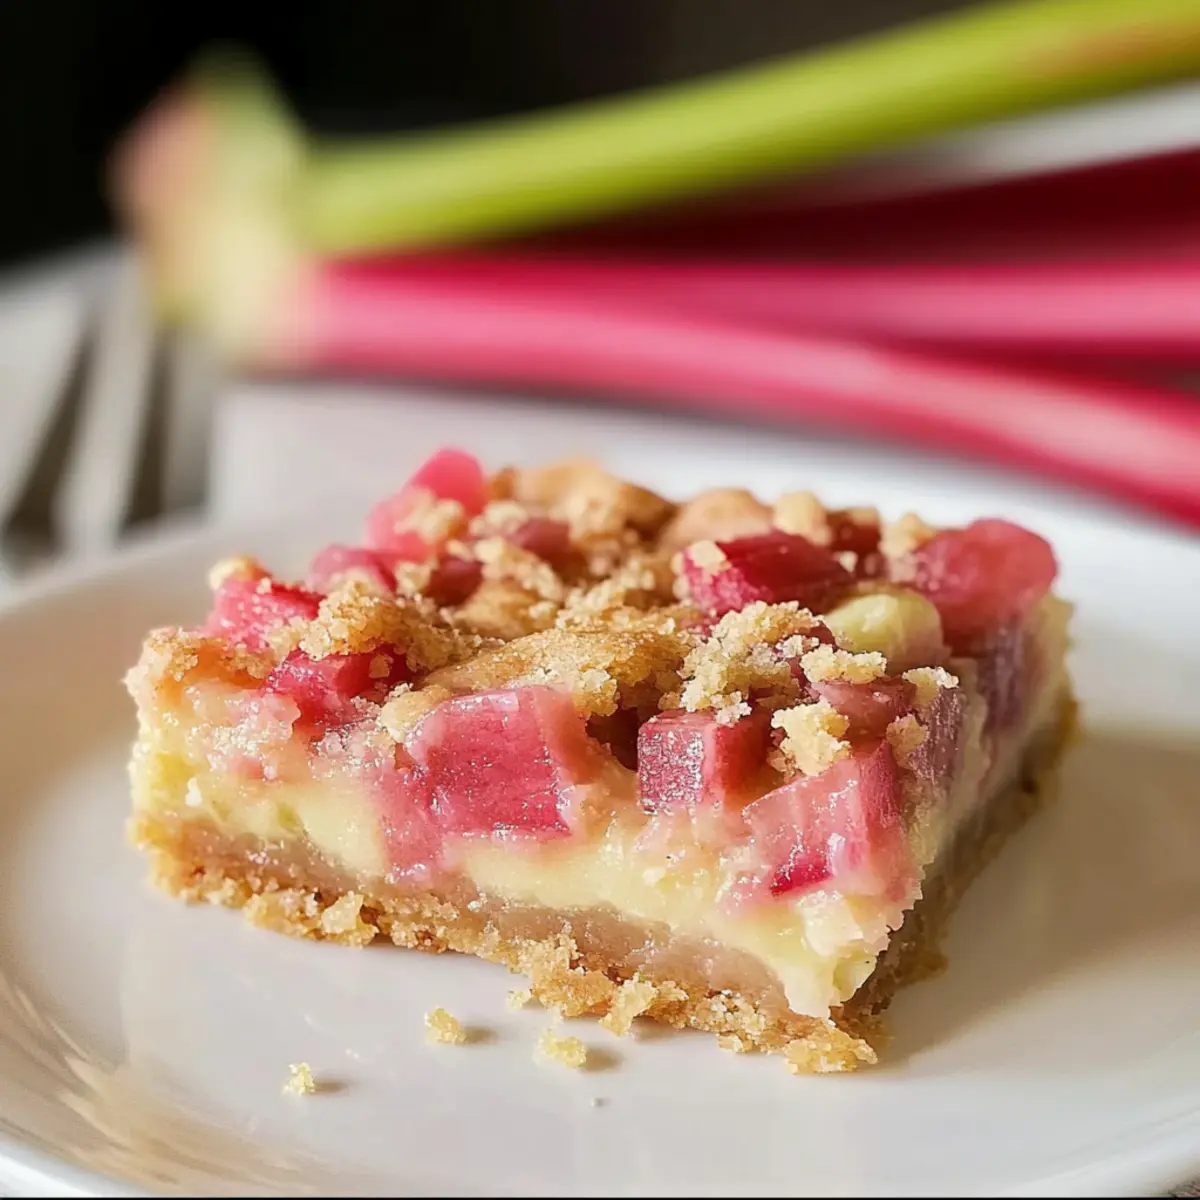
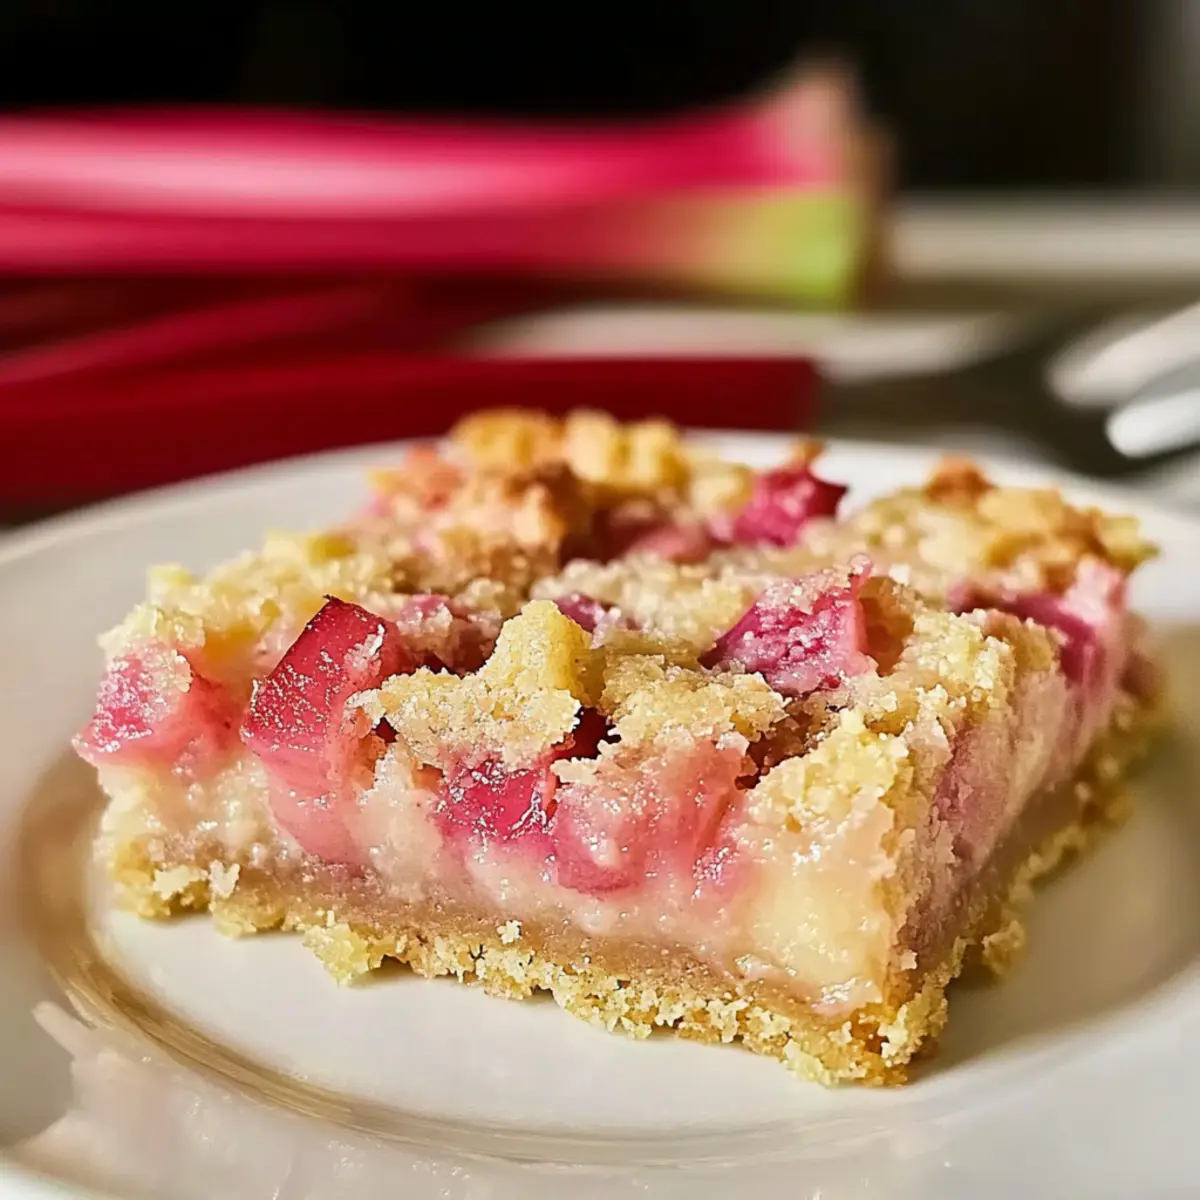
As I stood in my kitchen, the delightful scent of fresh rhubarb filled the air, reminding me that some of the best desserts come from simple beginnings. That’s how my Easy Rhubarb Dream Bars came to life—a buttery shortbread crust topped with a silky custard that perfectly captures the sweet-tart essence of rhubarb. Not only is this sheet pan dessert a breeze to whip up, making it perfect for both novice bakers and seasoned pros, but it also lets you get creative with variations like raspberries or cranberries. Plus, it can seamlessly fit into gluten-free or vegan diets, ensuring everyone can indulge. Ready to impress your friends and family with a homemade treat that ticks all the boxes? Keep scrolling for this easy recipe that’ll have everyone coming back for seconds!
Why Are These Rhubarb Dream Bars Special?
Simplicity is key: With just a handful of pantry staples, you can create these delectable bars in no time—perfect for those busy days!
Flavorful Balance comes from the sweet-tart rhubarb combined with a rich, buttery crust that makes every bite a comforting delight.
Versatile Options mean you can easily swap in other fruits like raspberries or cranberries if you’re feeling adventurous, adapting the recipe to your preferences.
Crowd-Pleasing Appeal ensures everyone at your gathering will be reaching for seconds, as these bars offer something for everyone, including gluten-free and vegan adaptations.
Quick Preparation is a bonus: With minimal prep time, you can enjoy this delightful dessert without spending hours in the kitchen. Don’t forget to check out some gluten-free substitutes to customize your bars!
Rhubarb Dream Bars Ingredients
• For the Crust
- All-purpose flour – Provides structure for the crust and filling; substitute with a gluten-free 1:1 baking blend for gluten-free.
- Powdered sugar – Creates a tender, melt-in-your-mouth crust.
- Butter – Adds richness and moisture, helping the crust hold together; substitute with plant-based margarine for a vegan option.
• For the Filling
- Granulated sugar – The main sweetener in the topping that balances rhubarb’s tartness.
- Eggs – Binds the topping together for a soft custard layer once baked; can be replaced with an egg replacer for vegan diets.
- Salt – Enhances the overall flavor.
- Rhubarb – The star ingredient providing a fresh, fruity punch with a bright, tangy flavor; you can also use diced raspberries for an alternative twist.
- Ground cinnamon (optional) – Adds warmth and depth to the flavor profile, giving your Rhubarb Dream Bars an extra layer of taste.
Step‑by‑Step Instructions for Rhubarb Dream Bars
Step 1: Preheat and Prepare
Begin by preheating your oven to 325°F (163°C). While the oven warms up, grease a 9×13-inch baking pan with butter or cooking spray to ensure your Rhubarb Dream Bars release easily after baking. This step ensures a perfect base for your buttery shortbread crust.
Step 2: Make the Crust
In a large mixing bowl, combine 2 cups of all-purpose flour with 1/2 cup of powdered sugar and 1 cup of softened butter. Using a pastry cutter or your fingers, blend the mixture until it resembles coarse crumbs. This will form a tender crust, so take care not to overmix—it should be crumbly and slightly moist.
Step 3: Bake the Crust
Evenly press the crumbly mixture into the bottom of the prepared baking pan. Use your fingers or the bottom of a glass to create an even layer. Place the pan in the preheated oven and bake for 15 minutes, or until the edges begin to set but do not turn golden—this par-baking step is crucial for a sturdy base.
Step 4: Prepare the Filling
While the crust is baking, crack 3 large eggs into a separate bowl and beat them lightly. Then, mix in 1 cup of granulated sugar, 2 tablespoons of flour, and a pinch of salt, stirring until the mixture is smooth. If you like, add a sprinkle of cinnamon to enhance the flavor profile of your Rhubarb Dream Bars.
Step 5: Add the Rhubarb
Fold in 3 cups of diced fresh or thawed rhubarb into the egg mixture, ensuring that each piece is coated. This fresh fruit adds a delightful tang and vibrancy to your filling. Pour the completed mixture evenly over the par-baked crust, using a spatula to spread it out gently.
Step 6: Bake the Bars
Return the baking pan to the oven, letting your Rhubarb Dream Bars bake for an additional 60 minutes. Keep an eye on them and check for doneness—when the center is set and slightly puffed, they’re ready! The top should have a light golden hue, indicating that they are perfectly baked.
Step 7: Cool and Slice
Once baked, remove the pan from the oven and allow the bars to cool completely in the pan. This may take about 1-2 hours, but it’s essential for achieving clean, easy slices. Once cooled, cut into squares and prepare to enjoy a deliciously sweet-tart treat!
Make Ahead Options
These Rhubarb Dream Bars are perfect for busy home cooks looking to save time during the week! You can prepare the crust up to 24 hours in advance by par-baking it and then tightly wrapping it in plastic wrap to keep it fresh and prevent drying out. The filling can also be mixed and stored in the refrigerator for up to 3 days. Just remember to add your diced rhubarb right before baking to maintain its vibrant color and texture. When you’re ready to finish, simply pour the filling over the prepared crust and bake as directed, so you’ll have a delightful, homemade dessert with minimal effort!
What to Serve with Rhubarb Dream Bars
Looking to create a mouthwatering meal that balances the tangy sweetness of your dessert?
-
Fresh Whipped Cream: A dollop of lightly sweetened whipped cream adds a fluffy texture, enhancing the sweet-tart flavor of the bars. It’s the perfect light topping!
-
Vanilla Ice Cream: Creamy vanilla ice cream provides a delightful contrast to the warm bars. The cold and rich flavor perfectly balances the tangy tang of the rhubarb.
-
Balsamic Glazed Strawberries: Juicy strawberries drizzled with balsamic glaze lend a sweet, tangy touch that complements the bars beautifully. Their vibrant flavor and color are sure to impress!
-
Lemon Zest Sprinkles: Brighten up your presentation with a sprinkle of fresh lemon zest over the bars. It adds a refreshing citrus pop that elevates the overall flavor profile.
-
Mint Infused Iced Tea: A refreshing glass of mint iced tea serves as a cool, invigorating drink that balances the sweetness of the dessert. Plus, it adds a refreshing touch to your meal.
-
Chocolate Drizzle: For a decadent twist, try drizzling melted chocolate over the bars. The sweet chocolate pairs wonderfully with the tart rhubarb, creating a delightful contrast of flavors.
Creating a full meal around your Rhubarb Dream Bars opens up endless possibilities—let your imagination run wild!
How to Store and Freeze Rhubarb Dream Bars
Fridge: Store leftovers in an airtight container in the refrigerator for up to 5 days, keeping them fresh while the flavors meld beautifully.
Freezer: If you want to savor this sweet treat later, freeze the Rhubarb Dream Bars in an airtight container for up to 3 months. Just make sure they’re well wrapped to prevent freezer burn.
Reheating: When you’re ready to enjoy, simply thaw overnight in the fridge, then reheat in the oven at 300°F (150°C) for about 10-15 minutes to revive their delightful texture.
Serving: These bars can be served chilled or at room temperature, making them a versatile dessert option that’s perfect for any occasion!
Rhubarb Dream Bars Variations
Ready to explore exciting ways to make these Rhubarb Dream Bars truly your own? Let your creativity shine through unique ingredient swaps and flavor twists that will elevate this delightful treat.
- Berry Bonanza: Substitute rhubarb with diced raspberries or cranberries for a vibrant twist that bursts with sweetness.
- Citrus Zest: Add a tablespoon of lemon or orange zest to the filling for a refreshing zing that brightens every bite.
- Honey Sweetness: Swap half of the granulated sugar for honey to infuse natural sweetness into your custard layer.
- Coconut Flour: Use coconut flour instead of all-purpose for a gluten-free option that also adds a nuances of flavor.
- Nutty Crunch: Sprinkle toasted pecans or walnuts on top before baking for added texture and a delightful nutty flavor.
- Chocolate Drizzle: After cooling, drizzle melted dark chocolate on top for a rich contrast to the tangy filling—decadent and irresistible!
- Spicy Kick: Mix in a pinch of cayenne pepper or ginger to the filling for a surprising touch of heat that pairs well with the tartness of rhubarb.
- Vegan Delight: Replace eggs with an egg replacer like flax egg for a completely vegan-friendly dessert that everyone can enjoy.
Whichever variation you choose, don’t forget to check out some gluten-free substitutes to make these bars a hit for everyone at your table!
Expert Tips for Rhubarb Dream Bars
- Avoid Overmixing: Keep your crust crumbly by mixing just until combined; overmixing can lead to a tough texture.
- Use Thawed Rhubarb: If using frozen rhubarb, thaw it first and pat it dry to prevent excess moisture in the filling, which can make it soggy.
- Check for Doneness: Use a toothpick to test the center of your Rhubarb Dream Bars; it should come out clean when they are ready.
- Cool Before Slicing: Allow the baked bars to cool completely in the pan to ensure clean slices and the best texture.
- Experiment with Flavors: Feel free to get creative! Try substituting the rhubarb with raspberries or add a hint of lemon zest for a refreshing twist.
Rhubarb Dream Bars Recipe FAQs
What’s the best way to select fresh rhubarb?
Absolutely! When choosing fresh rhubarb, look for firm, crisp stalks that are vibrant in color—dark pink or red variety is ideal. Avoid any stalks with dark spots or wilting, as these are signs of age. If you can bend the stalks without them breaking, they’re fresh!
How should I store my Rhubarb Dream Bars?
Very simple! Store leftovers in an airtight container in the refrigerator for up to 5 days. This keeps them fresh and allows the flavors to meld beautifully! You can also place parchment paper between layers to prevent sticking.
Can I freeze my Rhubarb Dream Bars for later?
Absolutely! To freeze, first let the bars cool completely. Then, wrap them tightly in plastic wrap and place them in an airtight container. They’ll last for up to 3 months. When you’re ready to enjoy them, thaw overnight in the fridge and reheat in a 300°F oven for about 10-15 minutes for that fresh-baked taste!
What’s the best way to troubleshoot if my bars turn out soggy?
If your Rhubarb Dream Bars end up soggy, it’s likely due to excess moisture from the rhubarb. To prevent this, always thaw frozen rhubarb, pat it dry, and coat it lightly with flour before adding it to the filling. If your bars seem undercooked, they may need an extra 5-10 minutes in the oven—just check that the center is set!
Are there any allergen considerations for this recipe?
Yes! This recipe contains eggs and dairy. For a vegan version, use a plant-based margarine in place of butter and an egg replacer for the eggs. Additionally, ensure your substitutive flour is labeled gluten-free if dietary restrictions are in place. Always check labels if serving those with allergies.
Can I use other fruits instead of rhubarb?
Absolutely! If rhubarb isn’t your thing or you want to mix it up, you can substitute it with diced raspberries or cranberries. Just note that fruits with higher moisture content may slightly alter the consistency, so keep an eye on the baking time to ensure they set well!
Rhubarb Dream Bars – A Simple Sweet & Tangy Delight
Ingredients
Equipment
Method
- Preheat your oven to 325°F (163°C) and grease a 9×13-inch baking pan.
- Combine the flour, powdered sugar, and butter in a mixing bowl until it resembles coarse crumbs.
- Press the mixture evenly into the pan and bake for 15 minutes until edges are set.
- Beat the eggs in a bowl, then mix in granulated sugar, flour, salt, and cinnamon until smooth.
- Fold in diced rhubarb and pour over the crust.
- Bake for an additional 60 minutes, checking for doneness.
- Allow to cool completely in the pan for 1-2 hours before slicing.
Leave a Reply