
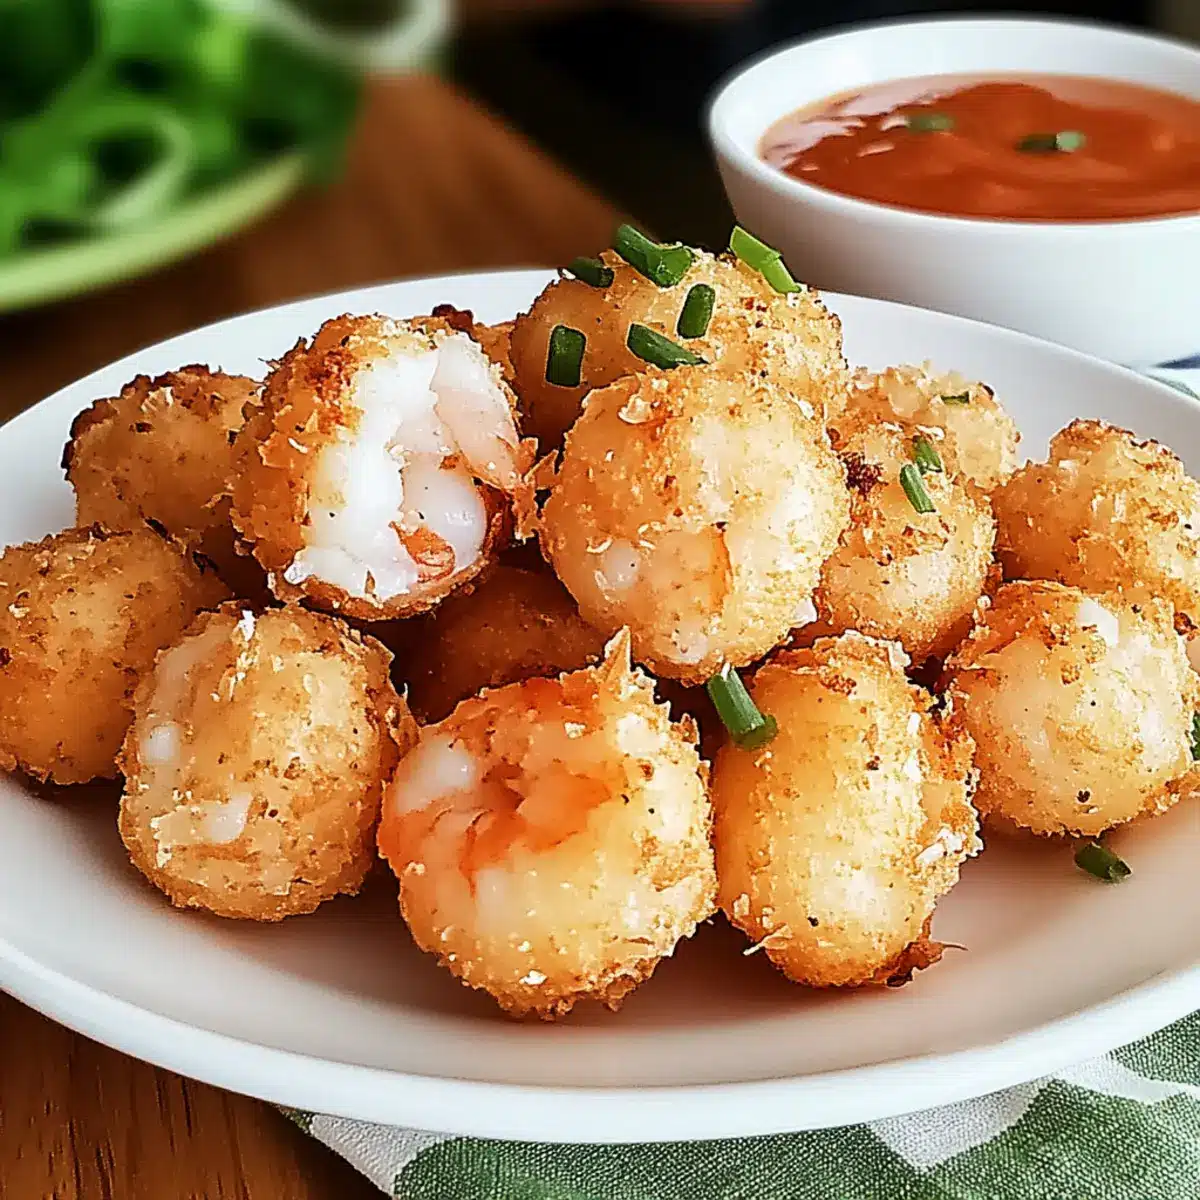
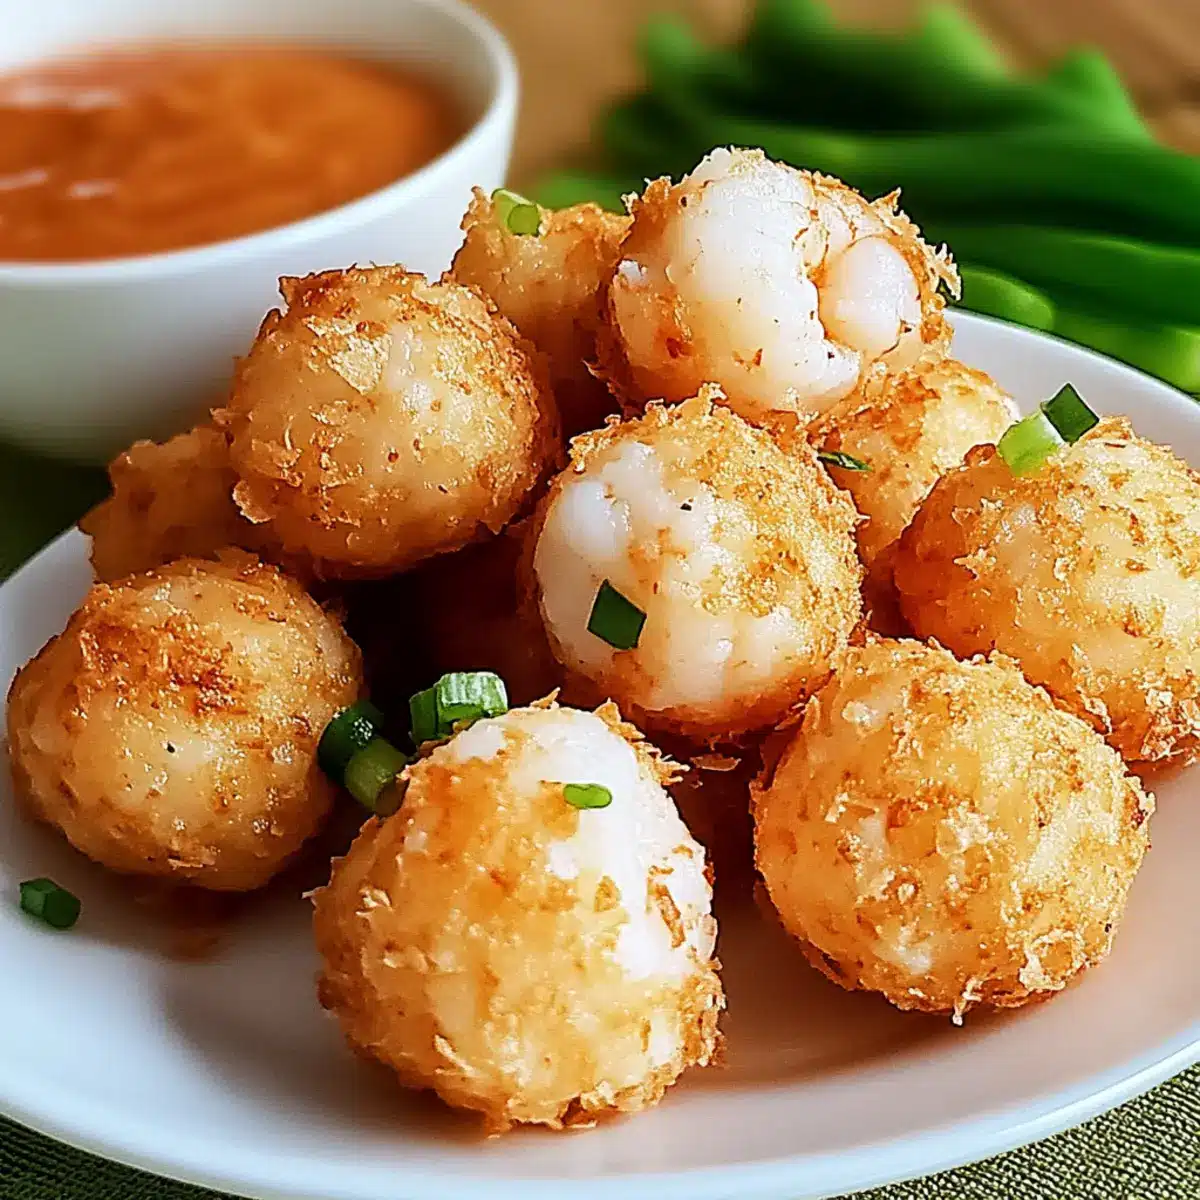
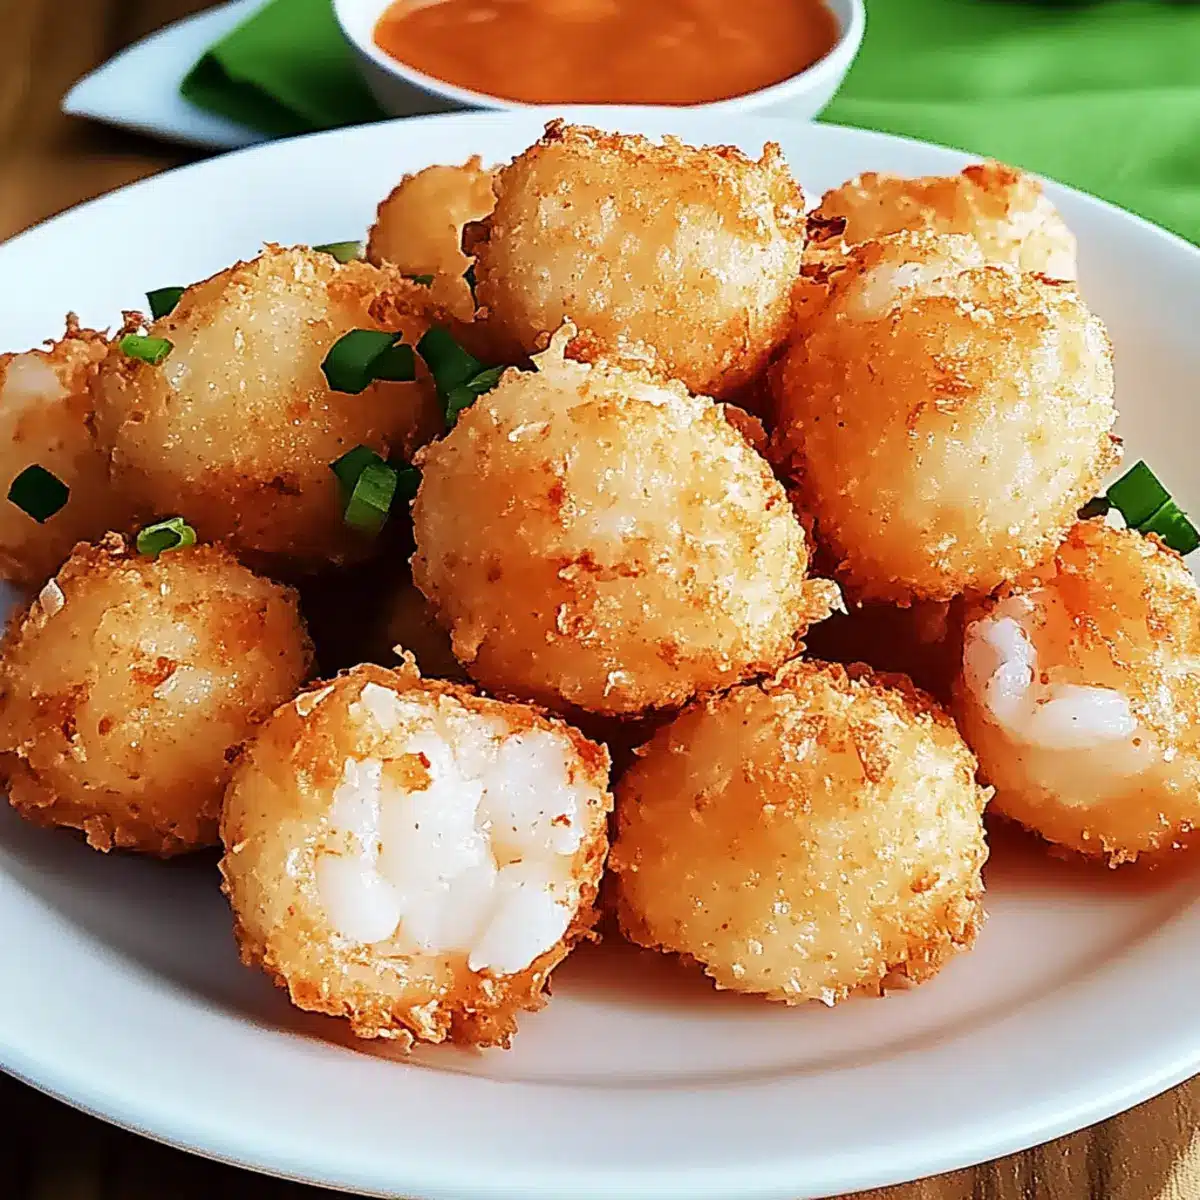
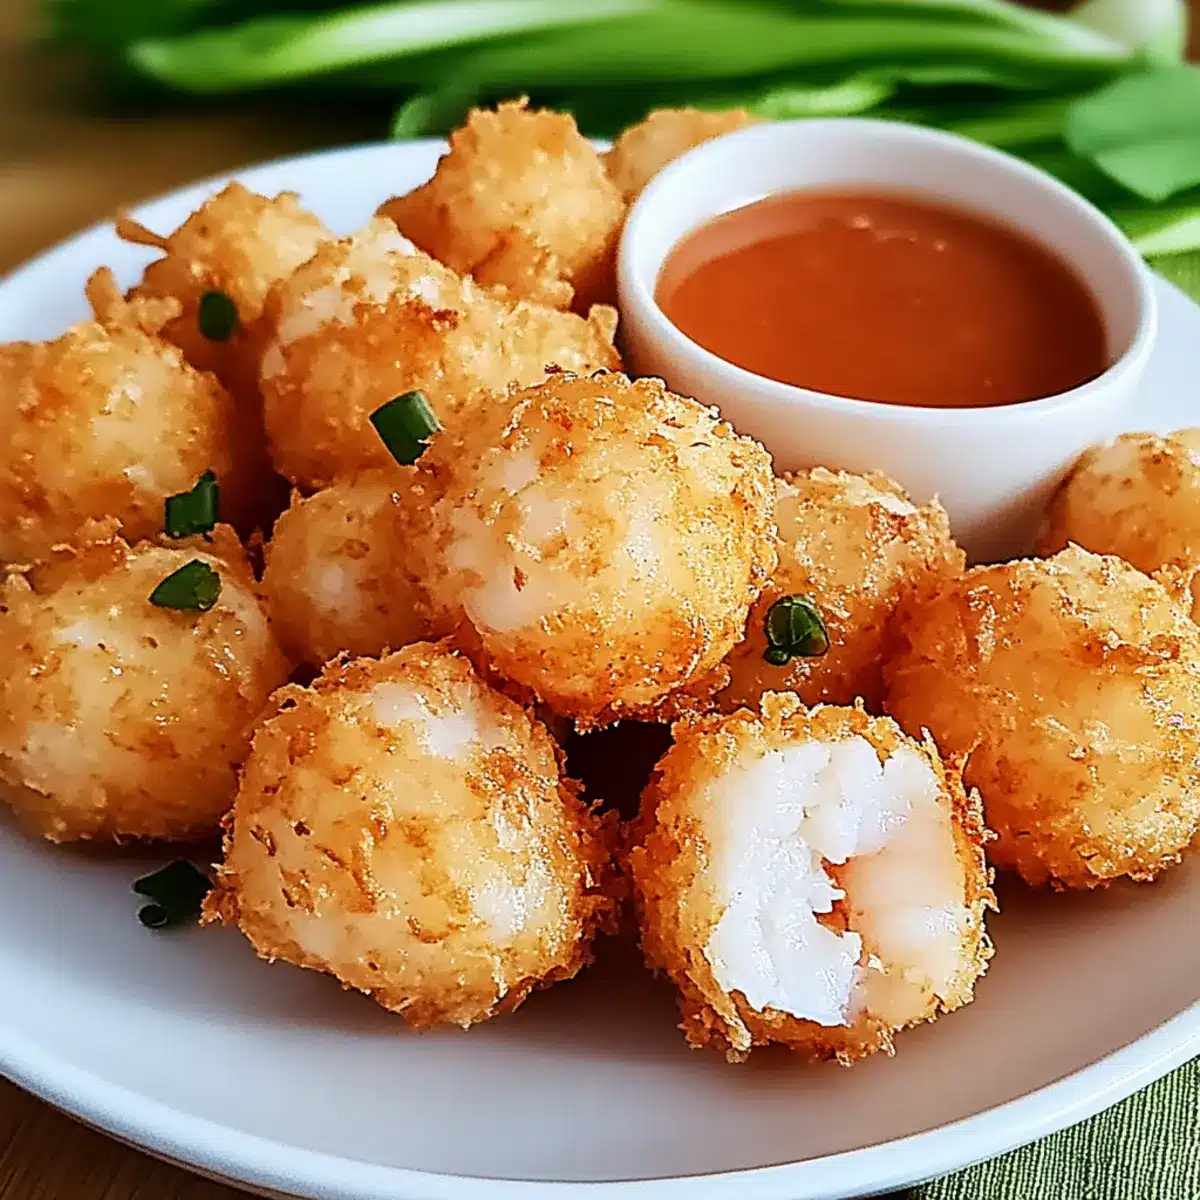
As I stood in my kitchen, the scent of garlic and fresh shrimp filled the air, transporting me to a sunny seaside market. That’s when I decided to whip up a batch of Shrimp Balls—a versatile treat that’s perfect for any gathering. These crispy bites boast a delightful contrast of textures, featuring a golden crust cradling juicy shrimp filling. Not only are they quick to prepare, making them a go-to for busy weeknights, but they also serve as a crowd-pleaser at parties or family dinners. Each savory morsel invites conversation and enjoyment, sparking a sense of joy among friends. Are you ready to dive into this shrimp-filled adventure and impress your loved ones with a homemade dish? Let’s get started!
Why Choose These Shrimp Balls?
Irresistible Flavor: The perfect blend of shrimp, spices, and seasonings creates a mouthwatering taste that gives every bite a burst of delight.
Quick Preparation: Whipping up these shrimp balls is a breeze, taking less time than your average fast food run, making them a fantastic option for busy weeknights.
Versatile Appetizer: Whether served with tangy aioli or dramatic sweet chili sauce, these shrimp balls fit seamlessly into any menu, just like our Halloween Meatballs Spooky.
Crowd-Pleaser: Perfect for parties, family gatherings, or casual snacking, these delightful bites will have everyone asking for your secret recipe!
Textural Heaven: With a crispy outer layer that gives way to a juicy center, each shrimp ball delivers an unforgettable eating experience that’ll keep friends and family returning for more.
Shrimp Balls Ingredients
• To create these delicious shrimp balls, gather your ingredients before diving into the fun of making them!
For the Shrimp Mixture
- Shrimp – Fresh or frozen; both options provide a sweet and protein-rich base for your shrimp balls.
- Egg – Acts as a binder, holding your shrimp mixture together for that perfect shape.
- Garlic Powder – Adds aromatic flavor; you can switch to minced fresh garlic for a bolder taste.
For the Coating
- Breadcrumbs – Provides a crispy exterior when fried; substitute with panko for an extra crunch.
- Green Onions – Brings a burst of freshness; chives can be used if you prefer a milder flavor.
For the Seasoning
- Seasoning Mix (e.g., salt, pepper, paprika) – Enhances the shrimp’s flavor; customize to suit your taste, and don’t forget the seasonings play a vital role in your shrimp balls!
Step‑by‑Step Instructions for Shrimp Balls
Step 1: Prep Shrimp
Start by peeling and deveining your shrimp, removing the shells and tails for a clean base. Next, finely chop the shrimp or pulse it in a food processor until it’s roughly minced, ensuring some texture remains. This preparation takes about 5-7 minutes, setting the stage for your flavorful shrimp balls.
Step 2: Mix Ingredients
In a large mixing bowl, combine the minced shrimp with breadcrumbs, egg, garlic powder, chopped green onions, and your seasoning mix of choice. Use a fork or your hands to gently mix everything, ensuring all ingredients are evenly distributed and well incorporated. The mixture should hold together nicely, allowing you to form balls easily.
Step 3: Shape Balls
With clean hands, take portions of the shrimp mixture and roll them into small balls about 1 inch in diameter. Aim for uniform sizes to ensure even cooking. As you shape the shrimp balls, place them on a plate lined with parchment paper, allowing you to prepare them for frying without sticking.
Step 4: Heat Oil
Pour oil into a deep skillet, filling it about 2 inches deep, and heat over medium-high heat. Use a cooking thermometer to check the oil temperature, bringing it to around 350°F. Once the oil is shimmering but not smoking, you are ready to add the shrimp balls, ensuring a crispy exterior.
Step 5: Fry Shrimp Balls
Carefully lower the shrimp balls into the hot oil, taking care not to overcrowd the pan. Fry the shrimp balls for about 3-4 minutes, turning them occasionally with a slotted spoon until they achieve a golden-brown color all over. This step creates the delightful crunchy texture of your shrimp balls.
Step 6: Drain and Serve
Once the shrimp balls are perfectly golden, remove them from the oil using a slotted spoon and let them drain on a plate lined with paper towels. This absorbs excess oil, keeping your shrimp balls crispy. Serve them hot alongside your favorite dipping sauce, letting your guests indulge in this delicious treat.
How to Store and Freeze Shrimp Balls
Fridge: Store leftover shrimp balls in an airtight container for up to 2 days. This keeps them fresh while maintaining their delicious flavor and texture.
Freezer: For longer storage, freeze cooked shrimp balls in a single layer on a baking sheet. Once frozen, transfer to a freezer-safe bag or container, where they can last up to 3 months.
Reheating: To reheat, bake frozen shrimp balls in a preheated oven at 375°F for about 15-20 minutes until heated through. This helps maintain their crispy exterior.
Thawing: If you prefer frying, thaw the shrimp balls in the fridge overnight before cooking. This ensures the best texture and flavor!
What to Serve with Flavorful Shrimp Balls
Dive into a world of complementary flavors that will make your shrimp balls truly unforgettable.
-
Creamy Coleslaw: A crunchy, tangy slaw balances the savory shrimp balls, adding a refreshing crunch to every bite. The bright colors and flavors bring a delightful contrast to your plate.
-
Garlic Bread: This comforting classic pairs wonderfully with shrimp balls, providing a rich, buttery flavor that enhances the dining experience. Toasted until golden, each slice is perfect for soaking up any delicious dipping sauce.
-
Spicy Aioli: Drizzling or dipping your shrimp balls in this creamy, zesty sauce adds an extra kick, elevating the flavor to new heights. It’s an irresistible companion that will leave your taste buds tingling.
-
Cucumber Salad: A light, crisp salad with thinly sliced cucumbers and a tangy dressing brightens up the meal, creating balance with the fried shrimp balls’ richness. This dish adds a refreshing note that’s perfect for warm evenings.
-
Sweet Chili Sauce: This delicious dipping sauce offers a delightful sweetness and slight heat that perfectly complements the flavors of the shrimp balls. It’s a crowd-pleaser that brings excitement to every bite.
-
Mango Salsa: A vibrant and fruity salsa pairs beautifully with the savory shrimp balls, providing a sweet and tangy contrast that adds zing to your dish. The tropical flavors will transport your taste buds to a sunny beach!
Expert Tips for Perfect Shrimp Balls
-
Oil Temperature: Make sure the oil is hot enough (about 350°F) before frying; otherwise, your shrimp balls may become greasy and soggy.
-
Batch Frying: Avoid overcrowding the skillet to ensure even cooking and crispy results. Fry in small batches for the best texture.
-
Chill the Mixture: Consider chilling the shaped shrimp balls in the fridge for at least 30 minutes before frying. This helps them hold their shape during cooking.
-
Texture Check: For an added crunch, use panko breadcrumbs instead of regular breadcrumbs, creating an irresistible crispy exterior for your shrimp balls.
-
Seasoning Variations: Don’t hesitate to customize your seasonings to suit your palate. Play around with spices to create unique flavor profiles in your shrimp balls.
-
Dipping Sauce Pairing: Enhance your shrimp ball experience by serving them with tangy sauces like sweet chili or aioli, which perfectly complement their savory flavor.
Make Ahead Options
These Shrimp Balls are perfect for meal prep enthusiasts looking to save time during hectic weeknights! You can prepare the shrimp mixture up to 24 hours in advance by combining minced shrimp, breadcrumbs, egg, garlic powder, green onions, and seasonings in a bowl. Cover the mixture tightly and refrigerate it. When you’re ready to serve, simply form the mixture into balls and fry them for a quick, satisfying appetizer. For best results, chill the shaped balls in the fridge for 30 minutes before frying to help them maintain their shape. With these make-ahead tips, you’ll have delicious shrimp balls waiting to impress your family or guests with minimal effort!
Shrimp Balls Variations & Substitutions
Feel free to get creative with these shrimp balls! Each variation can elevate your dish to new flavor heights.
-
Herb-Infused: Add fresh herbs like parsley or cilantro for a fragrant twist that brightens each bite. Mixing in these herbs can transform the overall taste, making it more vibrant and enjoyable.
-
Creamy Center: Incorporate a small piece of cream cheese or spicy pepper jack inside each ball for a delightful surprise! The warmth from the fried exterior will melt the creamy center, adding richness to your shrimp balls.
-
Spicy Kick: Mix in some diced jalapeños or Sriracha to the shrimp mixture for an exciting heat level. Adjust the amount to suit your palate, ensuring you get the perfect balance of spice and flavor.
-
Coconut Crunch: Replace some breadcrumbs with shredded coconut for a tropical twist in texture. This adds a hint of sweetness and pairs beautifully with dipping sauces like sweet chili.
-
Fish Sauce Flavor: Use a splash of fish sauce or soy sauce in the mixture for an umami kick. This substitution adds depth and richness, enhancing the shrimp’s natural sweetness.
-
Zesty Lemon: Grate some zest from a lemon into the mixture for a refreshing citrus note. The zesty addition will brighten each bite, evoking the essence of a seaside meal.
-
Vegetable Boost: Add finely chopped bell peppers or carrots for extra nutrition and crunch. The colorful veggies enhance texture and offer moments of freshness within the bites.
For additional inspiration, don’t forget the fan-favorite Halloween Meatballs Spooky, which adds a touch of unconventional fun to your dinner spread!
Shrimp Balls Recipe FAQs
How do I choose the best shrimp for shrimp balls?
Absolutely! Select fresh shrimp with a firm texture and a slight ocean scent. If using frozen shrimp, ensure they are properly thawed and avoid any that have dark spots or smells. Always look for shrimp labeled as “wild-caught” for the best flavor.
How long can I store leftover shrimp balls?
Very! Store your cooked shrimp balls in an airtight container in the refrigerator for up to 2 days. To keep them fresh, ensure the container is well-sealed to prevent moisture loss. If you want to savor them longer, consider freezing them.
Can I freeze shrimp balls?
Definitely! To freeze, lay your cooked shrimp balls in a single layer on a baking sheet and place them in the freezer for about 1-2 hours, until solid. Once frozen, transfer them to a freezer-safe bag or container, where they can be stored for up to 3 months.
What should I do if my shrimp balls are falling apart while frying?
If your shrimp balls are falling apart, try mixing in some additional breadcrumbs or chilling the shaped balls for about 30 minutes before frying. This helps the mixture bind better. Make sure the oil is sufficiently hot at 350°F, and don’t overcrowd the pan while frying, as this could impact the cooking process.
Are shrimp balls suitable for people with shellfish allergies?
No, they are not! If someone has shellfish allergies, it’s best to avoid shrimp balls altogether, as they contain shrimp as the primary ingredient. For a similar texture and taste, consider experimenting with plant-based alternatives like chickpeas or cauliflower. Always consult with guests regarding dietary restrictions before serving.
Crispy Shrimp Balls That Steal the Show at Every Party
Ingredients
Equipment
Method
- Peel and devein the shrimp, then finely chop or pulse in a food processor until roughly minced.
- In a large bowl, combine the minced shrimp, breadcrumbs, egg, garlic powder, green onions, and seasoning mix.
- Roll the mixture into small balls, about 1 inch in diameter, and place on parchment-lined plate.
- Heat oil in a deep skillet to 350°F.
- Fry the shrimp balls for 3-4 minutes until golden-brown, turning occasionally.
- Remove from oil and let drain on paper towels before serving hot with dipping sauce.
Leave a Reply